はじめに
以前似たような記事を書きましたが、そこそこ反響があったようです。ですが自分的には最後の方でhypernovaを使うことを書いたのですが、Server Side Rendering(以下SSR)がイマイチだったので、書き直すことにしました。
今回は実際にリリースする予定の製品での使用技術で記事を書きます。
恒例ですが、今回使用する全体ソースはこちらを元にあげております。
上記のソースはImmutable-jsが入っているので少し違うところもあります。
前提条件
本記事では以下のツールやパッケージ等を使用します。
- バックエンド
- Ruby on Rails(5.0.1)
- react_on_rails(gem)
- フロントエンド
- React(15.4.1)
- Redux(5.0.1)
- React-Router(3.0.2)
- ビルドツール
- webpack(2.2.1)
- パッケージ管理
- bundler
- yarn
Rails環境の構築
Railsの環境はあるものとして話を進めます。
react_on_railsを追加
まずはreact_on_railsのgemをインストールするのでGemfileに追加し、bundle installします。
+ gem 'react_on_rails'
+ gem 'foreman'
読み込みJavaScriptの設定
Rails自体にReactを入れるのが初めてという方であれば、react_on_railsにはgeneratorがあるのでそれを使用しても結構です。
$ bundle exec rails generate react_on_rails:install -R
もし上記のgeneratorコマンドを使用した場合は以下の修正が邪魔なので消しておきます。
- //= require webpack-bundle

// This is a manifest file that'll be compiled into application.js, which will include all the files
// listed below.
以前の記事を読んでくれるとわかると思いますが、sprocketsとはお別れしたいのでこのようにしています。
上記によりsprocketsに頼らないので、helpersに以下を足しておきます。
module ApplicationHelper
  def assets_path(path)
    return "http://localhost:4000/#{path}" if Rails.env.development?
    manifest = Rails.application.config.assets_manifest
    path = manifest[path] if manifest && manifest[path].present?
    "/dist/#{path}"
  end
end
それでJavaScriptを読み込むViewには以下の記述を足しておきます。
<h1>Hello World</h1>
<%= javascript_include_tag assets_path("main.js") %>
<%= react_component("CounterApp", prerender: false) %>
RailsからRedux(store)にアクセスできるようにする
ここは後々行うSSRに必要な記述を追加しておきます。
<!DOCTYPE html>
<html>
...
  <body>
    <%= yield %>
+   <%= redux_store_hydration_data %>
  </body>
</html>
redux_store_hydration_dataヘルパーを呼び出し、redux(store)にアクセスできるようにします。
最後にGemfileにmini_racerが足されていると思うので、もう一度bundle installしておけば完了です。
React環境の構築
まずはClientサイドでRenderingを行う普通のReactアプリケーションを作成します。
react_on_railsのgeneratorコマンドにて作成している場合は、
$ bundle exec foreman s -f Procfile.dev
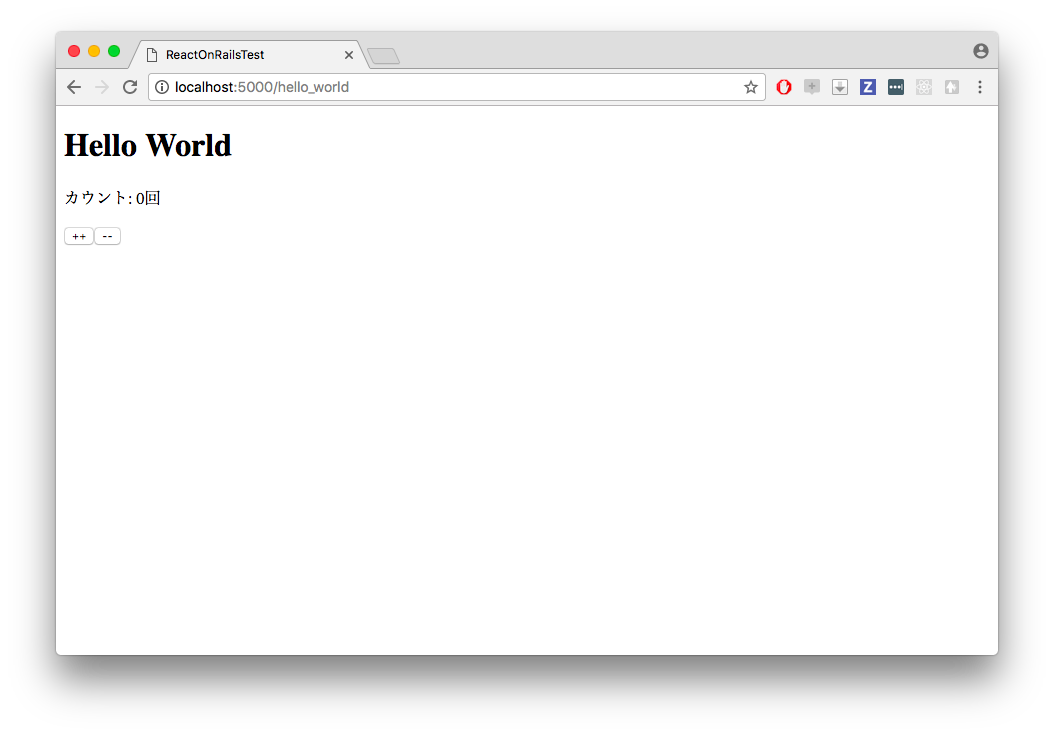
を実施してから、http://localhost:5000/hello_worldでHello Worldが表示されます。
それではちょっと味気ないのでここからサンプルのReactを作成していきます。
packageの追加
react_on_railsのgeneratorを使用してもちょっとだけ足りないpackageがあるので追加します。
$ cd client
$ yarn add react-router react-router-redux redux-actions
$ yarn add -D css-loader isomorphic-style-loader postcss-loader react-hot-loader style-loader webpack-dev-server
Counterアプリケーションの作成
よくサンプルとしてあるCounterアプリケーションを以下のように作成します。
import { createAction } from 'redux-actions'
export const INCREMENT_COUNTER = 'INCREMENT_COUNTER'
export const DECREMENT_COUNTER = 'DECREMENT_COUNTER'

export const increment = createAction(INCREMENT_COUNTER)
export const decrement = createAction(DECREMENT_COUNTER)
import React, { Component } from 'react'

export default class Counter extends Component {
  render() {
    const { count, onIncrement, onDecrement } = this.props
    return (
      <div>
        <p>カウント: {count}回</p>
        <button id={"increment"} onClick={onIncrement}>++</button>
        <button id={"decrement"} onClick={onDecrement}>--</button>
      </div>
    )
  }
}
import React, { Component } from 'react'
import { Provider, connect } from 'react-redux'
import { bindActionCreators } from 'redux'
import * as Actions from '../../actions/Counter'

import Counter from '../../components/Counter'

class CounterContainer extends Component {
  constructor(props) {
    super(props)
  }

  render() {
    const { data, actions } = this.props
    return (
      <div>
        <Counter count={data.count} onIncrement={actions.increment} onDecrement={actions.decrement} />
      </div>
    )
  }
}

const mapStateToProps = (state) => {
  return {
    data: state.counter
  }
}

const mapDispatchToProps = (dispatch) => {
  return {
    actions: bindActionCreators(Actions, dispatch)
  }
}

export default connect(mapStateToProps, mapDispatchToProps)(CounterContainer)
import { handleActions } from 'redux-actions'

const reducerMap = {
  INCREMENT_COUNTER(state, action) {
    return {...state, count: state.count + 1}
  },
  DECREMENT_COUNTER(state, action) {
    return {...state, count: state.count - 1}
  },
}

export default handleActions(reducerMap, {count: 0})
import { combineReducers } from 'redux'
import { routerReducer as routing } from 'react-router-redux'
import counter from './Counter'

export default combineReducers({
  counter,
  routing
})
import React from 'react'
import { Provider } from 'react-redux'
import ReactOnRails from 'react-on-rails'

import configureStore from '../store/sample'
import CounterContainer from '../containers/Counter'

const CounterApp = (props, _railsContext) => (
  <Provider store={configureStore(props)}>
    <CounterContainer />
  </Provider>
)

export default CounterApp

ReactOnRails.register({
  CounterApp,
})
ReactOnRails.registerStore({
  configureStore,
})
import { createStore, applyMiddleware } from 'redux'

import counterReducer from '../reducers'

const configureStore = (preloadState = {}) => {
  return createStore(counterReducer, preloadState)
}

export default configureStore
Client Rendering用webpack.config.jsの作成
最後に作ったCounterアプリケーションをコンパイルするwebpackを用意します。
const path = require('path')
const webpack = require('webpack')
const glob = require("glob")

module.exports = {
  entry: glob.sync("./app/bundles/HelloWorld/startup/sample.js"),
  output: {
    filename: '[name].js',  // このままならmain.jsが作成される
    publicPath: 'http://localhost:4000/'
  },
  module: {
    loaders: [
      {
        test: /\.js$/,
        exclude: /node_modules/,
        loader: 'babel-loader',
      },
      {
        test: /\.css$/,
        loaders: [
          'style-loader',
          'css-loader?modules',
          'postcss-loader'
        ]
      }
    ]
  },
  plugins: [
    new webpack.HotModuleReplacementPlugin(),
    new webpack.NoEmitOnErrorsPlugin(),
    new webpack.LoaderOptionsPlugin({
      postcss: {}
    })
  ],
  resolve: {
    extensions: ['.js', '.jsx'],
  },
  devtool: 'inline-source-map',
  devServer: {
    contentBase: '../public/dist',
    port: 4000
  }
};
で上記のwebpack.config.jsonをwebpack-dev-serverから下記のように起動します。
...
  "scripts": {
    "dev": "NODE_ENV=development webpack-dev-server --config webpack.client.config.js --progress --colors --inline --hot",
...
  },
...
これでhttp://localhost:5000/hello_worldを開けば、以下のようにCounterが表示されるはずです。
Server Rendering
では作ったアプリケーションをSSRに対応しましょう。
SSR用webpack.config.jsの作成
上記で作ったCounterアプリケーションはReact-Routerを使用していないので簡単です。
まずはSSRに必要となるJavaScriptを吐き出すwebpack.config.jsを用意します。
const path = require('path')
const webpack = require('webpack')
const glob = require("glob")

module.exports = {
  entry: [
    'es5-shim/es5-shim',
    'es5-shim/es5-sham',
    'babel-polyfill',
    './app/bundles/HelloWorld/startup/sample.js',
  ],
  output: {
    filename: 'webpack-bundle.js',
    path: '../app/assets/webpack',
  },
  module: {
    loaders: [
      {
        test: require.resolve('react'),
        loader: 'imports-loader?shim=es5-shim/es5-shim&sham=es5-shim/es5-sham',
      },
      {
        test: /\.js$/,
        exclude: /node_modules/,
        loader: 'babel-loader',
      },
      {
        test: /\.css$/,
        loaders: [
          'style-loader',
          'css-loader?modules',
          'postcss-loader'
        ]
      }
    ]
  },
  plugins: [
    new webpack.HotModuleReplacementPlugin(),
    new webpack.NoEmitOnErrorsPlugin(),
    new webpack.LoaderOptionsPlugin({
      postcss: {}
    })
  ],
  resolve: {
    extensions: ['.js', '.jsx'],
    alias: {
      react: path.resolve('./node_modules/react'),
      'react-dom': path.resolve('./node_modules/react-dom'),
    },
  },
};
注目してほしいのは./app/bundles/HelloWorld/startup/sample.jsの部分です。
Client用とまったく同じものを読んでいます。
次に上記の設定でJavaScriptを吐き出すwebpackのコマンドを仕込んでおきます。
...
  "scripts": {
    "dev": "NODE_ENV=development webpack-dev-server --config webpack.client.config.js --progress --colors --inline --hot",
...
    "build:development": "NODE_ENV=development webpack -w --config webpack.server.config.js"
  },
...
先程追加した、devとは違いbuild:developmentを用意しJavaScriptをビルドするようにしています。
SSRの場合は実ファイルが必要になるのでわざわざファイルを作成しています。
詳しくはconfig/initializers/react_on_rails.rbを参照下さい。
最後にRailsのViewを以下のように編集します。
<h1>Hello World</h1>
<%= javascript_include_tag assets_path("main.js") %>
- <%= react_component("CounterApp", prerender: false) %>
+ <%= react_component("CounterApp", prerender: true) %>
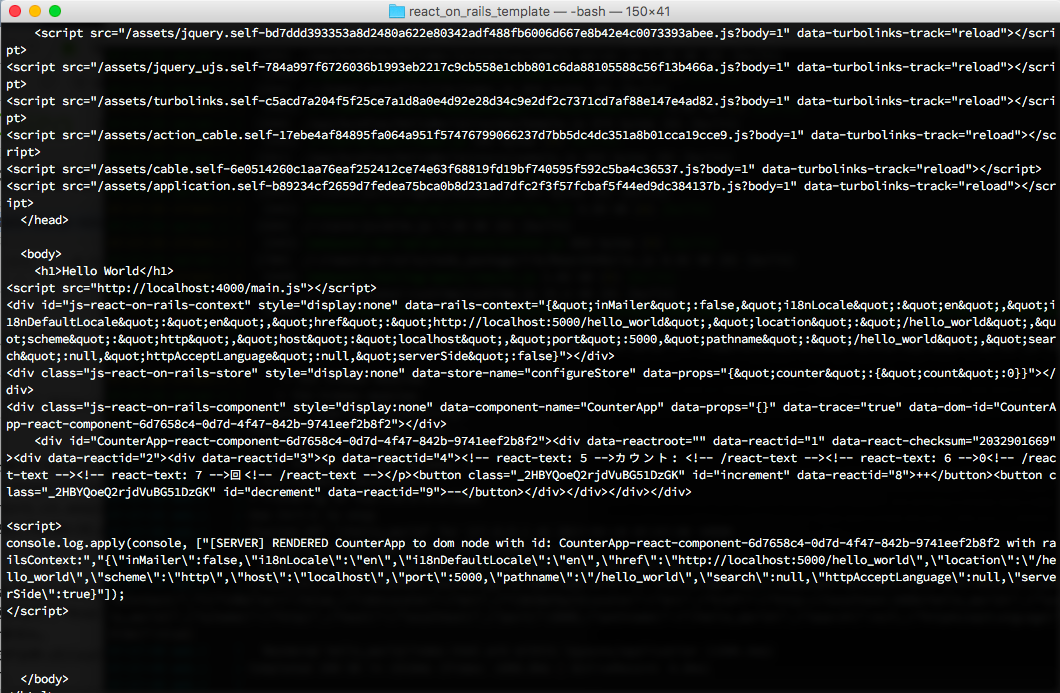
この状態で、
$ curl http://localhost:5000/hello_world
を実行するとCouterがSSRされているのがわかると思います。
React-RouterでのSSR
厄介なのでReact-Routerがある場合です。ちょっと特別なことをしてあげないと現状はできません。
まずは作ったCounterアプリケーションをReact-Routerで動くようにちょっとだけ改造します。
import React, { Component } from 'react'
import { Provider, connect } from 'react-redux'
import { bindActionCreators } from 'redux'
import * as Actions from '../../actions/Counter'
+ import { Link } from 'react-router'

import Counter from '../../components/Counter'

class CounterContainer extends Component {
  constructor(props) {
    super(props)
  }

  render() {
    const { data, actions } = this.props
    return (
      <div>
        <Counter count={data.count} onIncrement={actions.increment} onDecrement={actions.decrement} />
+       <Link to='/hello_world/next'>next</Link>
      </div>
    )
  }
}

const mapStateToProps = (state) => {
  return {
    data: state.counter
  }
}

const mapDispatchToProps = (dispatch) => {
  return {
    actions: bindActionCreators(Actions, dispatch)
  }
}

export default connect(mapStateToProps, mapDispatchToProps)(CounterContainer)
import React          from 'react'
import { Route,
         IndexRoute } from 'react-router'
import Counter        from '../containers/Counter'

const Top = ({children}) => {
  return (
    <div>
      {children}
    </div>
  )
}

const NextPage = () => {
  return (
    <div>
      next page
    </div>
  )
}

export default (
  <Route path="/hello_world" component={Top}>
    <IndexRoute component={Counter} />
    <Route path="next" component={NextPage} />
  </Route>
)
import React from 'react'
import { Provider } from 'react-redux'
import ReactOnRails from 'react-on-rails'
import { syncHistoryWithStore } from 'react-router-redux'
import { Router, browserHistory } from 'react-router'

import configureStore from '../store/sample'
import routes from '../routes/Sample'

const CounterApp = (_props, _railsContext) => {
  const store = ReactOnRails.getStore("configureStore")

  // Create an enhanced history that syncs navigation events with the store
  const history = syncHistoryWithStore(
    browserHistory,
    store,
  )

  return (
    <Provider store={store}>
      <Router history={history}>
        {routes}
      </Router>
    </Provider>
  )
}

export default CounterApp

ReactOnRails.register({
  CounterApp,
})
ReactOnRails.registerStore({
  configureStore,
})
import React from 'react'
import { Provider } from 'react-redux'
import { match, RouterContext } from 'react-router'
import ReactOnRails from 'react-on-rails'

import configureStore from '../store/sample'
import routes from '../routes/Sample'

const CounterApp = (_props, railsContext) => {
  const store = ReactOnRails.getStore('configureStore')

  let error
  let redirectLocation
  let routeProps
  const { location } = railsContext

  match({ routes, location }, (_error, _redirectLocation, _routeProps) => {
    error = _error
    redirectLocation = _redirectLocation
    routeProps = _routeProps
  })

  if (error || redirectLocation) {
    return { error, redirectLocation }
  }

  return (
    <Provider store={store}>
      <RouterContext {...routeProps} />
    </Provider>
  )
}

export default CounterApp

ReactOnRails.register({
  CounterApp,
})
ReactOnRails.registerStore({
  configureStore
})
module.exports = {
- entry: glob.sync("./app/bundles/HelloWorld/startup/sample.js"),
+ entry: glob.sync("./app/bundles/HelloWorld/startup/sample.client.js"),
  output: {
module.exports = {
  entry: [
    'es5-shim/es5-shim',
    'es5-shim/es5-sham',
    'babel-polyfill',
-   './app/bundles/HelloWorld/startup/sample.js',
+   './app/bundles/HelloWorld/startup/sample.server.js',
  ],
startup/sample.client.jsとstartup/sample.server.jsはSSRのために別々のファイルを用意しています。
また最後にRailsのViewを以下のように編集して、Storeを渡せるようにしておきます。
<h1>Hello World</h1>
<%= javascript_include_tag assets_path("main.js") %>
+ <%=
+ redux_store('configureStore',
+   {
+     props: {
+       counter: {
+         count: 1
+       },
+     },
+   }
+ )
+ %>
<%= react_component("CounterApp", prerender: true) %>
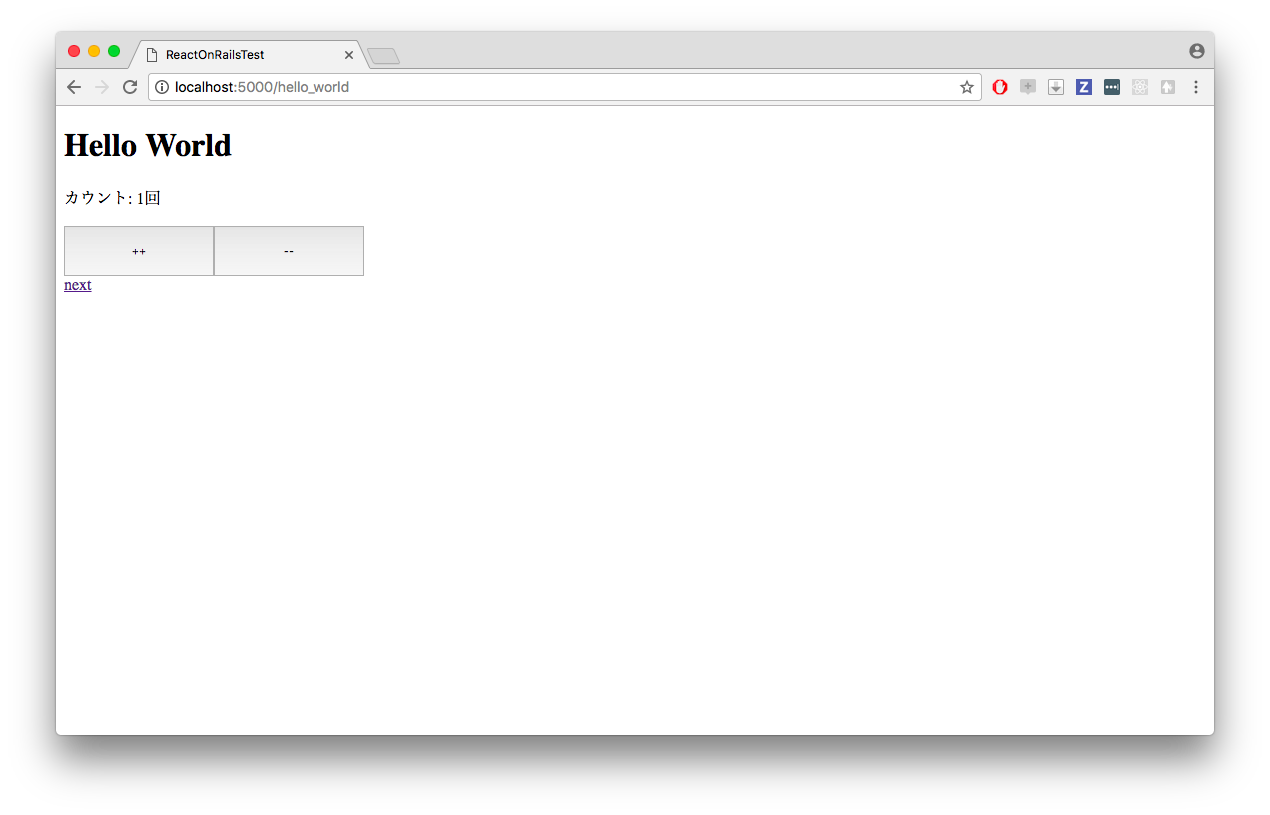
これでhttp://localhost:5000/hello_worldを開くと
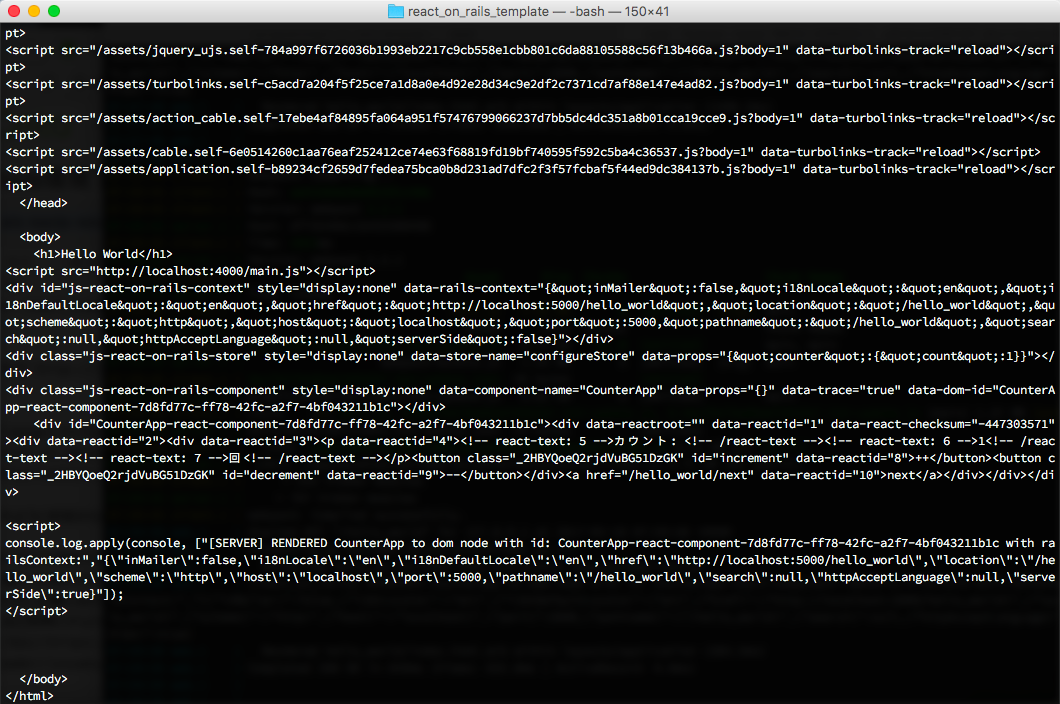
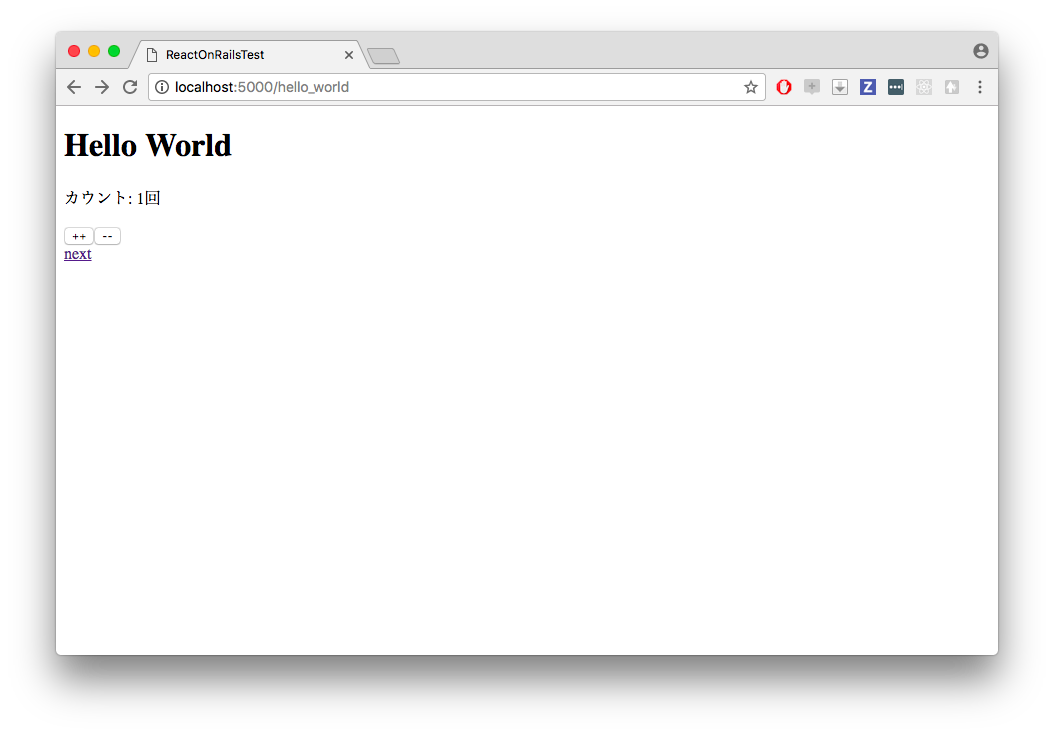
このように初回からCounterが1となった状態でSSRされます。
Styleをあてる状態でSSR
最後にcomponentsでCSSを読み込んでいる場合にSSRをする方法を書きたいと思います。
※ただし正確にはStyleが当たっていない状態でSSRされ、Client側にて再度Renderingされると同時にStyleが当たることになります。完璧な状態でのSSRは現状難しい、、、詳しくはこちらをご覧ください。
作成したCounterにStyleをあてます。
import React, { Component } from 'react'
+ import style from './style.css'

export default class Counter extends Component {
  render() {
    const { count, onIncrement, onDecrement } = this.props
    return (
      <div>
        <p>カウント: {count}回</p>
-       <button id={"increment"} onClick={onIncrement}>++</button>
-       <button id={"decrement"} onClick={onDecrement}>--</button>
+       <button className={style.large} id={"increment"} onClick={onIncrement}>++</button>
+       <button className={style.large} id={"decrement"} onClick={onDecrement}>--</button>
      </div>
    )
  }
}
.large {
  width: 150px;
  height: 50px;
}
でこのままstyle-loaderを使用すると動作しません。なぜならば**style-loaderはwindow関数があり、Client専用にしか動かないため**です。
そこでServer Sideのみisomorphic-style-loaderを使用します。
...
      {
        test: /\.css$/,
        loaders: [
-         'style-loader',
+         'isomorphic-style-loader',
          'css-loader?modules',
          'postcss-loader'
        ]
      }
...
これでhttp://localhost:5000/hello_worldを開くとStyle込みでの(なんちゃって)SSRができているはずです。
さいごに
いかがでしたでしょうか。
本記事はバックエンドがRailsであることを最大の利点としてreact_on_railsのgemに頼ったSSRを実施してみました。
react_on_railsはデフォルトではExecJsでJavaScriptが実行されますが、Nodejsでも可能なようなので、Nodejsで動かしたいという方は挑戦してみてもいいのではないでしょうか。
指摘等あれば遠慮なくご連絡下さい。(安定の誤字脱字もあると思います)