概要
- ホスト側のGUIでdocker上のROS系アプリケーションを起動する方法を紹介します
- 簡単に使える dockerfile がなかったので作って公開しました → chikuta-dockerfiles
検証環境
今回検証した環境は以下になります。
Hardware
cpu - AMD Ryzen 9 3900X
gpu - Geforce RTX 2060 super
ram - 32G
Software
os - ubuntu 20.04.1
kernel - Linux define 5.4.0-48-generic
docker - 19.03.13
nvidia-driver - 450.66
cuda version - 11.0
nvidia-smi の出力を添付しておきます。
$ nvidia-smi
+-----------------------------------------------------------------------------+
| NVIDIA-SMI 450.66       Driver Version: 450.66       CUDA Version: 11.0     |
|-------------------------------+----------------------+----------------------+
| GPU  Name        Persistence-M| Bus-Id        Disp.A | Volatile Uncorr. ECC |
| Fan  Temp  Perf  Pwr:Usage/Cap|         Memory-Usage | GPU-Util  Compute M. |
|                               |                      |               MIG M. |
|===============================+======================+======================|
|   0  GeForce RTX 206...  Off  | 00000000:0E:00.0  On |                  N/A |
| 38%   40C    P8    11W / 175W |    916MiB /  7979MiB |      1%      Default |
|                               |                      |                  N/A |
+-------------------------------+----------------------+----------------------+
環境整備
最初にnvidia-container-runtimeをインストールします。
# apt 関連設定
$ curl -s -L https://nvidia.github.io/nvidia-container-runtime/gpgkey | sudo apt-key add -
$ distribution=$(. /etc/os-release;echo $ID$VERSION_ID)
$ curl -s -L https://nvidia.github.io/nvidia-container-runtime/$distribution/nvidia-container-runtime.list | sudo tee /etc/apt/sources.list.d/nvidia-container-runtime.list

# nvidia-container-runtimeインストール
$ sudo apt update
$ sudo apt install nvidia-container-runtime

# docker service の再起動
$ sudo systemctl restart docker.service
次に docker group に自身の UID を登録します。docker を使っている人はやっていると思いますが念の為。
$ sudo usermod -a -G docker `id -un`
$ sudo systemctl restart docker.service
実行方法
次に dockerイメージのビルドを行います。
$ git clone https://github.com/chikuta/chikuta-dockerfiles.git
$ cd chikuta-dockerfiles
$ ./docker/ros-bionic-melodic/build-docker-image.bash
次に以下のコマンドを実行することでビルドしたイメージのコンテナを起動できます。スクリプトの中身はxhost周りの処理とdockerの引数をラッピングしたものです。必要に応じて編集をすれば自分の環境を作れるで積極的にカスタマイズしましょう。
$ cd chikuta-dockerfiles
$ ./docker/ros-bionic-melodic/run-docker-container.bash
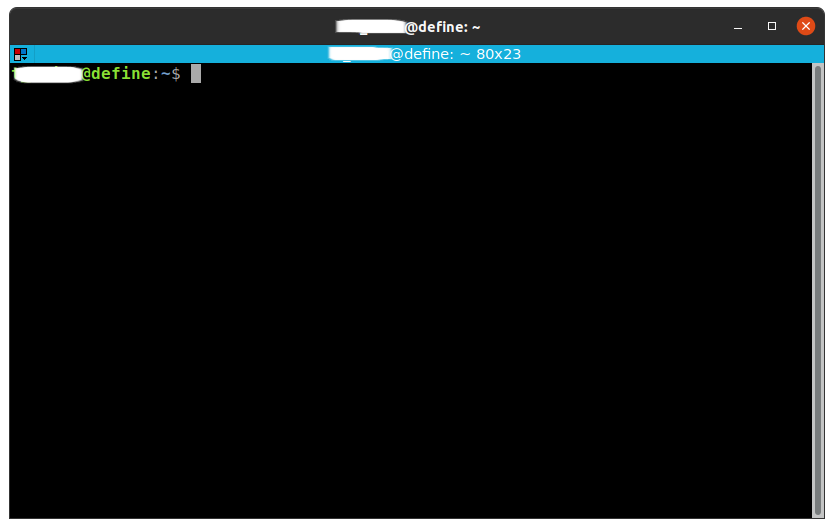
スクリプトを実行するとterminatorが立ち上がります。これは dockerコンテナ上で動いているターミナルアプリケーションになるため、ここで実行したコマンドは全てdockerコンテナ上で処理されます。
コンソールをデフォルトの赤色から青色に変更しているのがおしゃれですね。

terminatorを起動するアイディアはshadow-robotのdockerfileを参考にしています。本家はdockerfile上でansibleを実行する過剰な仕様なので必要なところだけを抽出してコンパクトにまとめました。
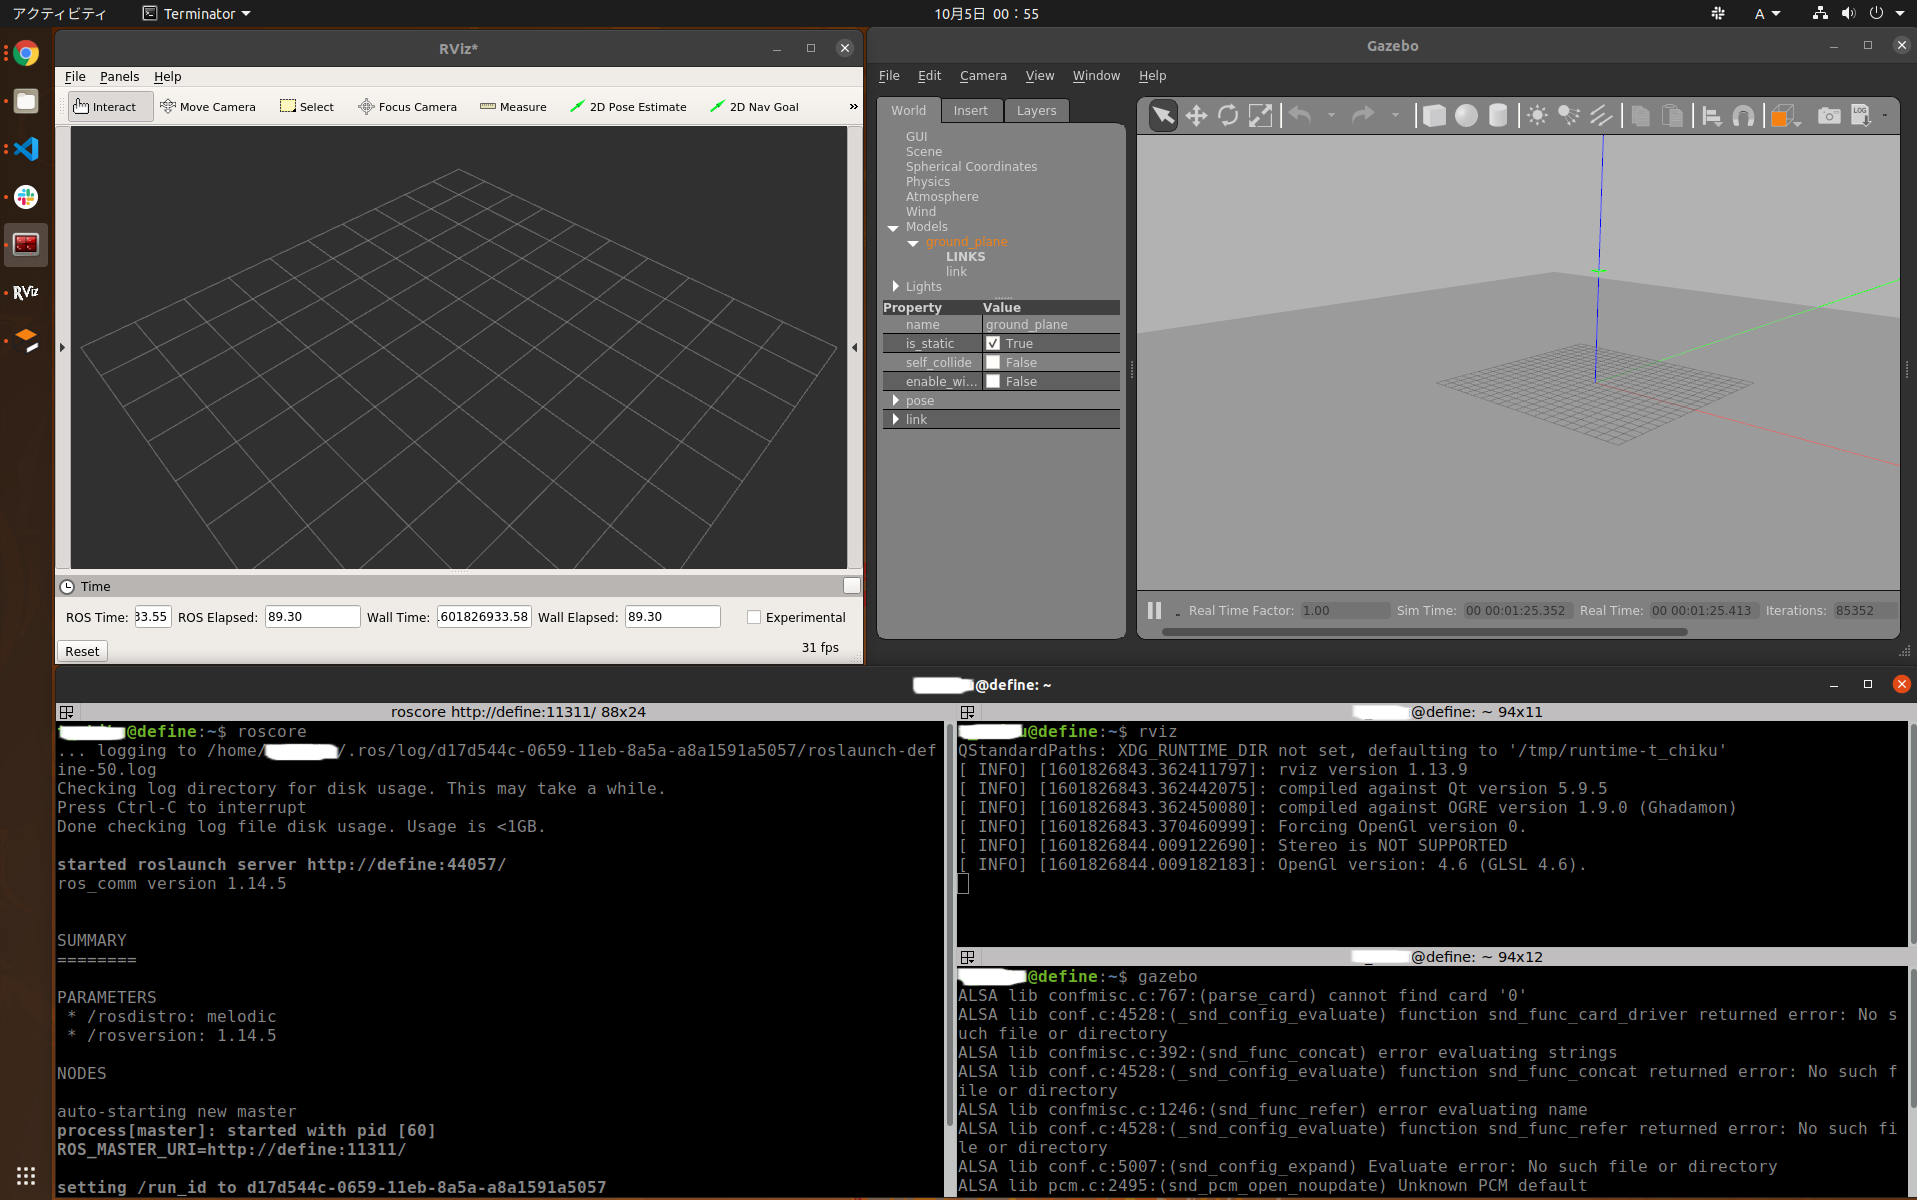
最後に基本的なGUIアプリを立ち上げてみましょう。
# 1st terminal
$ roscore

# 2nd terminal
$ rviz

# 3rd terminal
$ gazebo
