更新
2021/12/22:最新の環境で試した内容は、Myブログの方に記載しましたので、よろしければご覧ください。
以降の記事は当時の内容です。
はじめに
みなさんプログラミングの際にVS Codeを使っていますでしょうか。
私はよく使っています![]()
とても軽量ですし、必要最低限の機能はもちろん、ソースの管理や、デバッグ、強力な拡張機能など、非常に気に入っております。
まだ正式版の機能ではありませんが、VS Codeがリモート開発に対応したということで試してみました。
今回はサンプルということでDockerでPHPの環境を用意し開発してみます。
これができると、わざわざローカルに実行環境を用意しなくても、リモート先で直接開発ができるためとても便利ですね!
参考
環境
- Windows10
- Visual Studio Code Insiders(1.34.0-insider)
- Docker
- PHP
VS Codeインストール
今のところ正式版ではないので、Insidersビルドをダウンロードします。
Download Visual Studio Code Insiders
私は「.zip」の64bit版をダウンロードしました。

起動と拡張機能のインストール
zipファイル解凍後、**「Code - Insiders.exe」**をダブルクリックし起動します。

以下の拡張機能をインストールします。
VS Code上から拡張機能を検索し、**「Remote Development」**をインストールします。

Dockerの用意
今回はWindowsを使用しており、WindowsにDockerをインストールしました。
インストール後、Dockerの共有フォルダの設定も行います。
Myブログで恐縮ですが、参考ください。
参考:WindowsにDockerをインストールしてPython環境を構築
PHPプロジェクトの用意
試しにサンプルプロジェクトをダウンロードしました。
任意の場所にGit Cloneします。
git clone https://github.com/Microsoft/vscode-remote-try-php
VS Codeの左下の緑のアイコンをクリックします。

Remote-Containers: Open Folder in Container...を選択します。

その後、Cloneしたフォルダを選択します。
プロジェクトにはDockerの設定も含まれているため、初回起動時にはコンテナが自動で作成されます。

PHPの実行
index.phpを開いてみましょう。
簡単な文字列のechoとphpinfoが記載されています。
<?php

/*----------------------------------------------------------------------------------------
 * Copyright (c) Microsoft Corporation. All rights reserved.
 * Licensed under the MIT License. See LICENSE in the project root for license information.
 *---------------------------------------------------------------------------------------*/

function sayHello($name) {
	echo "Hello $name!";
}

?>

<html>
	<head>
		<title>Visual Studio Code Remote :: PHP</title>
	</head>
	<body>
		<?php

		sayHello('remote world');

		phpinfo();

		?>
	</body>
</html>
コンテナの中に入ってみましょう。
Ctrl+Shifr+@をクリックし、コンテナ内のbashを起動します。
Terminalウィンドウで操作ができます。

試しにunameと打ってみましょう。
Linuxと表示されました。コンテナ内であることが確認できました。
root@eebc4735adc2:/workspaces/vscode-remote-try-php# uname
Linux
ついでにPHPのバージョンも確認します。
PHP7.3.5でした。
root@eebc4735adc2:/workspaces/vscode-remote-try-php# php -v
PHP 7.3.5 (cli) (built: May  8 2019 02:35:42) ( NTS )
Copyright (c) 1997-2018 The PHP Group
Zend Engine v3.3.5, Copyright (c) 1998-2018 Zend Technologies
    with Xdebug v2.7.2, Copyright (c) 2002-2019, by Derick Rethans
サーバーを起動します。
php -S localhost:8000
root@eebc4735adc2:/workspaces/vscode-remote-try-php# php -S localhost:8000
PHP 7.3.5 Development Server started at Mon May  6 20:37:30 2019
Listening on http://localhost:8000
Document root is /workspaces/vscode-remote-try-php
Press Ctrl-C to quit.
F1キーを押し、Remote-Containers: Forward Port from Container...を選択します。

ポート転送をしますので、Forward 8000を選択します。

Open Browserをクリックします。

ブラウザでhttp://localhost:8000/にアクセスされ、index.phpが表示されました。
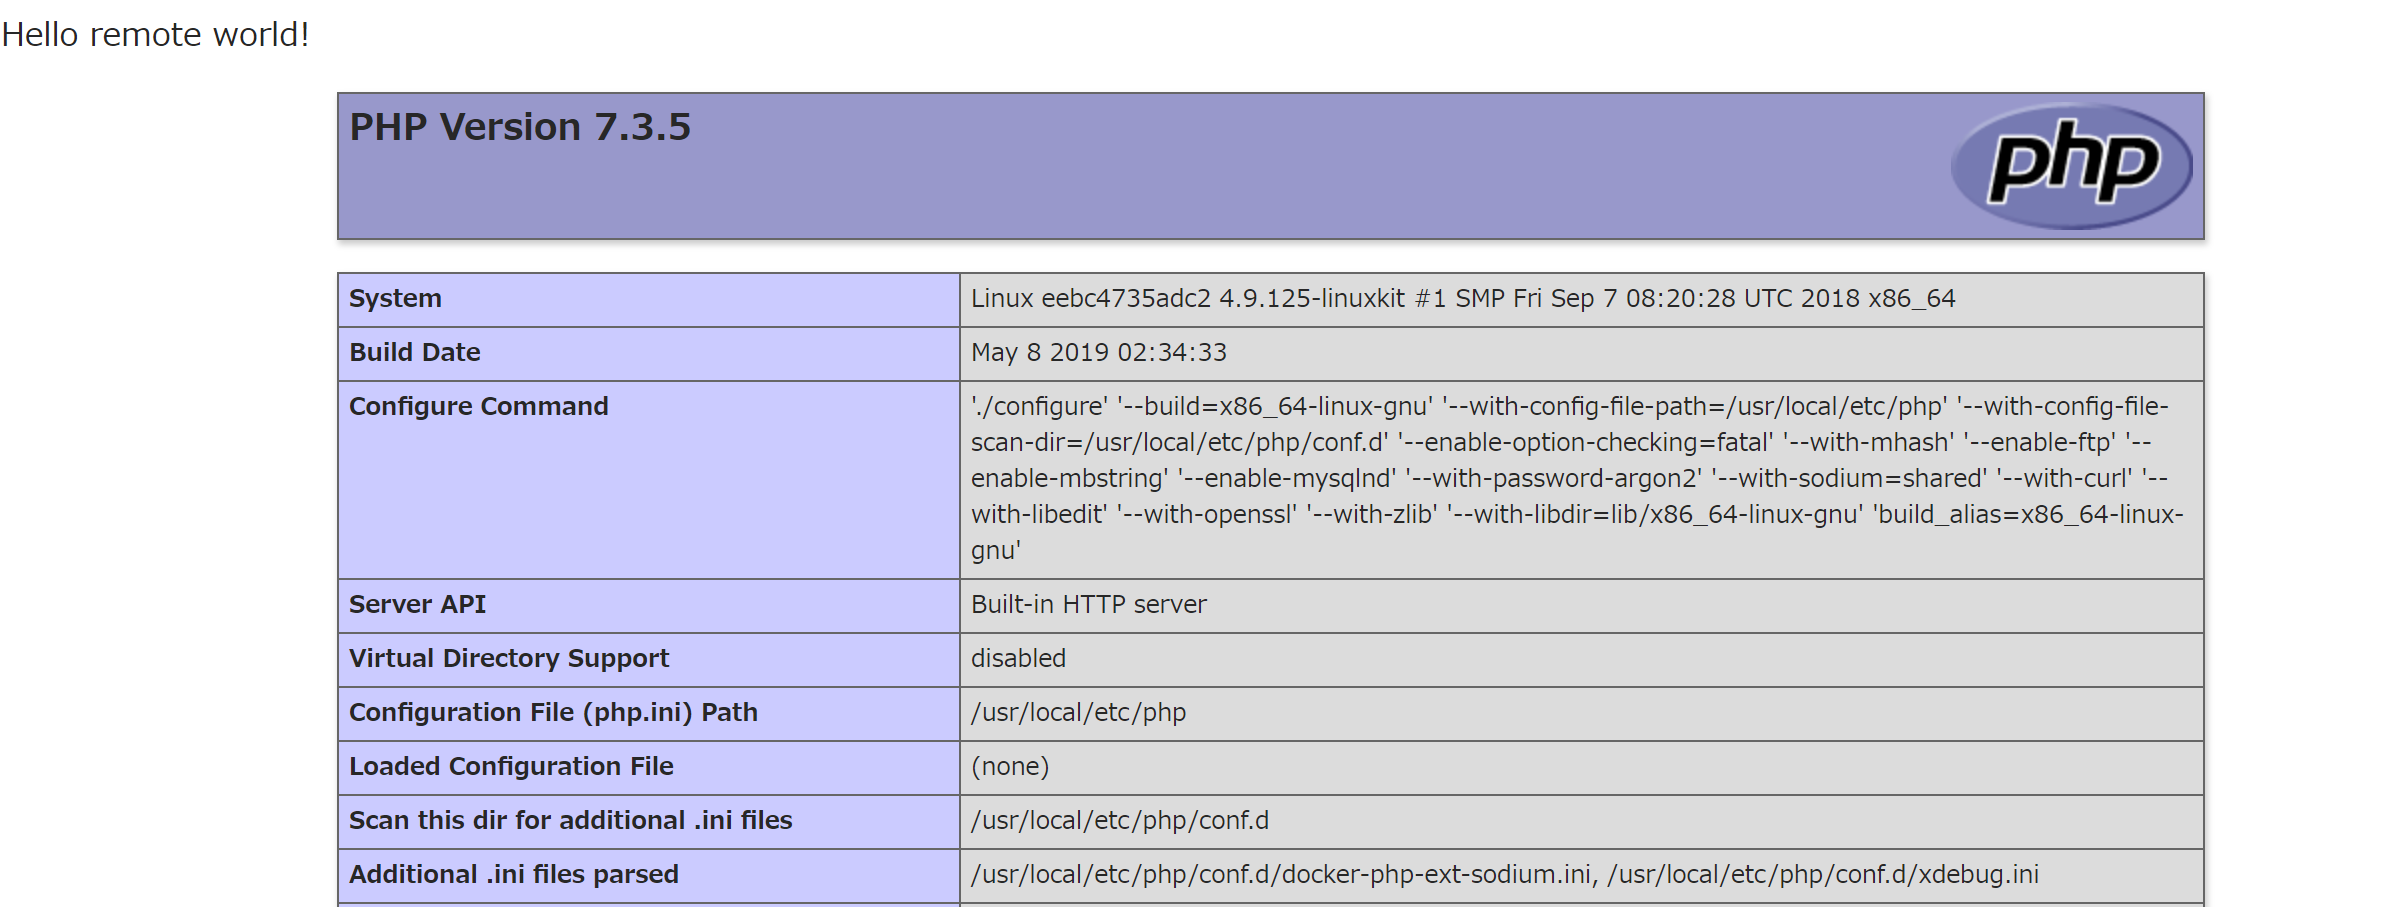
Terminalにもアクセスログが残ります。
[Mon May  6 20:40:40 2019] 127.0.0.1:44454 [200]: /
[Mon May  6 20:40:40 2019] 127.0.0.1:44458 [404]: /favicon.ico - No such file or directory
PHPのデバッグ
適当なところにブレークポイントを設定します。

F5キーを押し、デバッグできることを確認します。

コンテナとのフォルダ共有
Windows上にCloneしたフォルダと、コンテナ内の以下のフォルダが共有されている状態です。
/workspaces/vscode-remote-try-php
root@eebc4735adc2:/workspaces/vscode-remote-try-php# ls -al
total 26
drwxrwxrwx 2 root root 4096 May  8  2019 .
drwxr-xr-x 3 root root 4096 May  6 19:22 ..
drwxrwxrwx 2 root root    0 May  8  2019 .devcontainer
drwxrwxrwx 2 root root    0 May  8  2019 .git
-rwxr-xr-x 1 root root   89 May  8  2019 .gitattributes
-rwxr-xr-x 1 root root 5582 May  8  2019 .gitignore
drwxrwxrwx 2 root root    0 May  8  2019 .vscode
-rwxr-xr-x 1 root root 1183 May  8  2019 LICENSE
-rwxr-xr-x 1 root root 3104 May  8  2019 README.md
-rwxr-xr-x 1 root root  565 May  8  2019 index.php
devcontainer.jsonについて
devcontainer.jsonにはコンテナの設定が記述されていました。
Dockerfileで作成、拡張機能のインストールが記載されていました。
{
	"name": "PHP",
	"dockerFile": "Dockerfile",
	"extensions": [
        "felixfbecker.php-debug",
		"felixfbecker.php-intellisense"
	]
}
DockerfileはPHPとデバッグ環境の構築が記載されていました。
FROM php:7-cli

# Install xdebug
RUN yes | pecl install xdebug \
	&& echo "zend_extension=$(find /usr/local/lib/php/extensions/ -name xdebug.so)" > /usr/local/etc/php/conf.d/xdebug.ini \
	&& echo "xdebug.remote_enable=on" >> /usr/local/etc/php/conf.d/xdebug.ini \
	&& echo "xdebug.remote_autostart=on" >> /usr/local/etc/php/conf.d/xdebug.ini

# Install git, process tools
RUN apt-get update && apt-get -y install git procps

# Clean up
RUN apt-get autoremove -y \
    && apt-get clean -y \
    && rm -rf /var/lib/apt/lists/*
もちろんコンテナイメージを使用することも可能です。
{
    "name": "My Project",
    "image": "microsoft/dotnet:sdk",
    "appPort": 8090,
    "extensions": [
        "ms-vscode.csharp"
    ]
}
最後に
リモート開発は素晴らしいですね!
余談ですが、ラズパイなどのIoTの開発でも非常に強力だと思います。
なぜなら、センサーの制御など、その環境でしか実行できないケースがあり、なかなか開発(デバッグなど)を行うのが効率がよくありませんでした。
試したところ、まだ32bitには対応していないようですが、今後期待ですね!
対応したらまた記事をまとめたいと思います![]()
Can't connect to raspi-zero: unreachable or not Linux x86_64 (Linux armv6l)
