storyboard も使い慣れていなければ、xibでのUI作成もイマイチよくわかっていない。
何度か使用している UITableView だが、何度か調べてみても色々なやり方があって理解できていない。
これを機にちょっとまとめてみようと思ったのがこの記事のキッカケ。
- ViewContoroller
- UIViewController を使う場合
- UITableViewController を使う場合
- UITableViewCell
- xib で UITableViewCell を作る場合
- storyboard 上で UITableViewCell を貼り付ける場合
この辺が自分の中であまり理解できていない
storyboard(UIViewController, UITableView) + xib(UITableViewCell)
(個人的によく利用しているやり方)
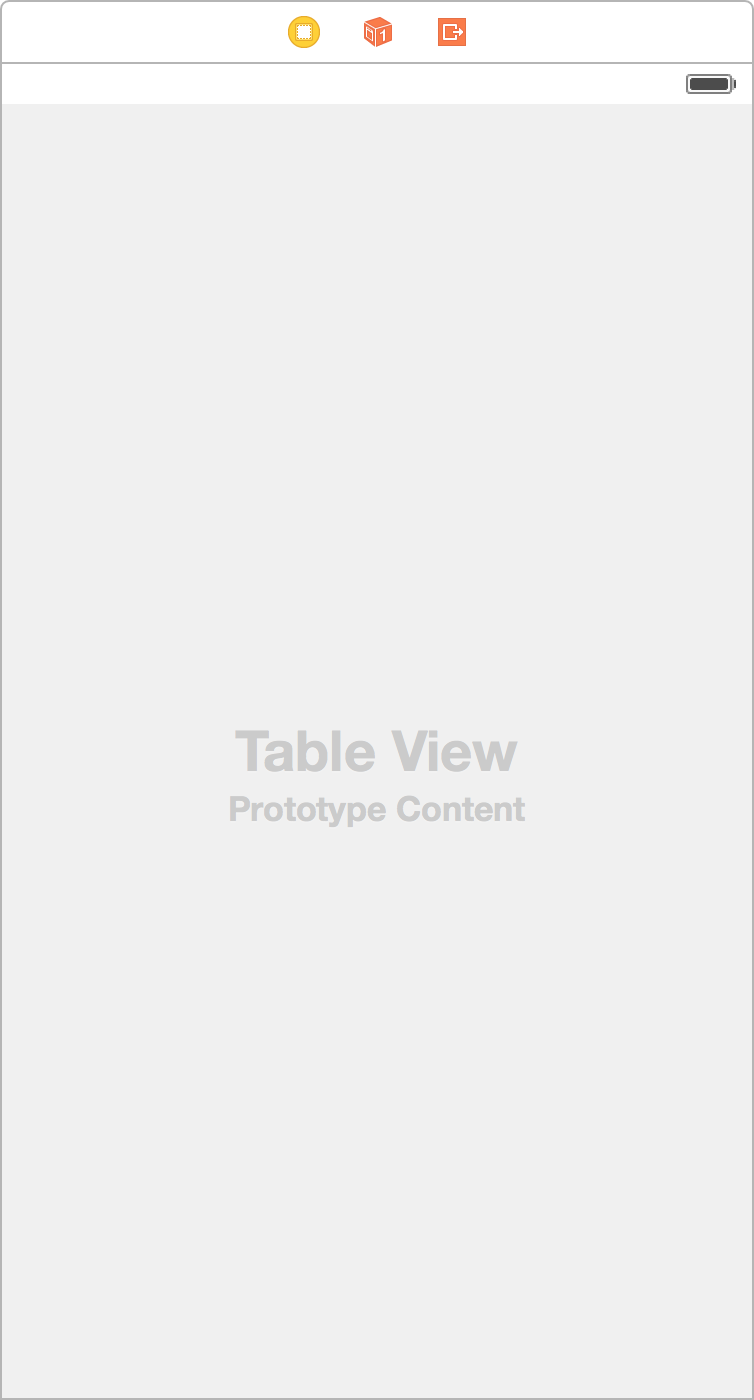
完成イメージ
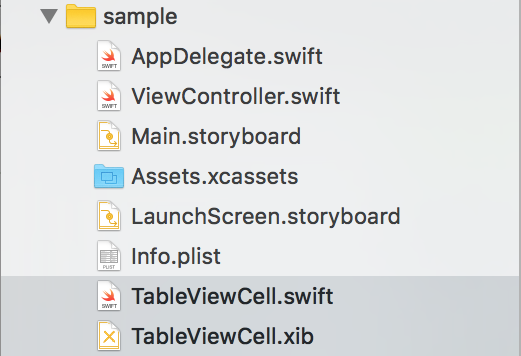
Projectディレクトリ の状態
storyboard の状態
ViewController の準備
-
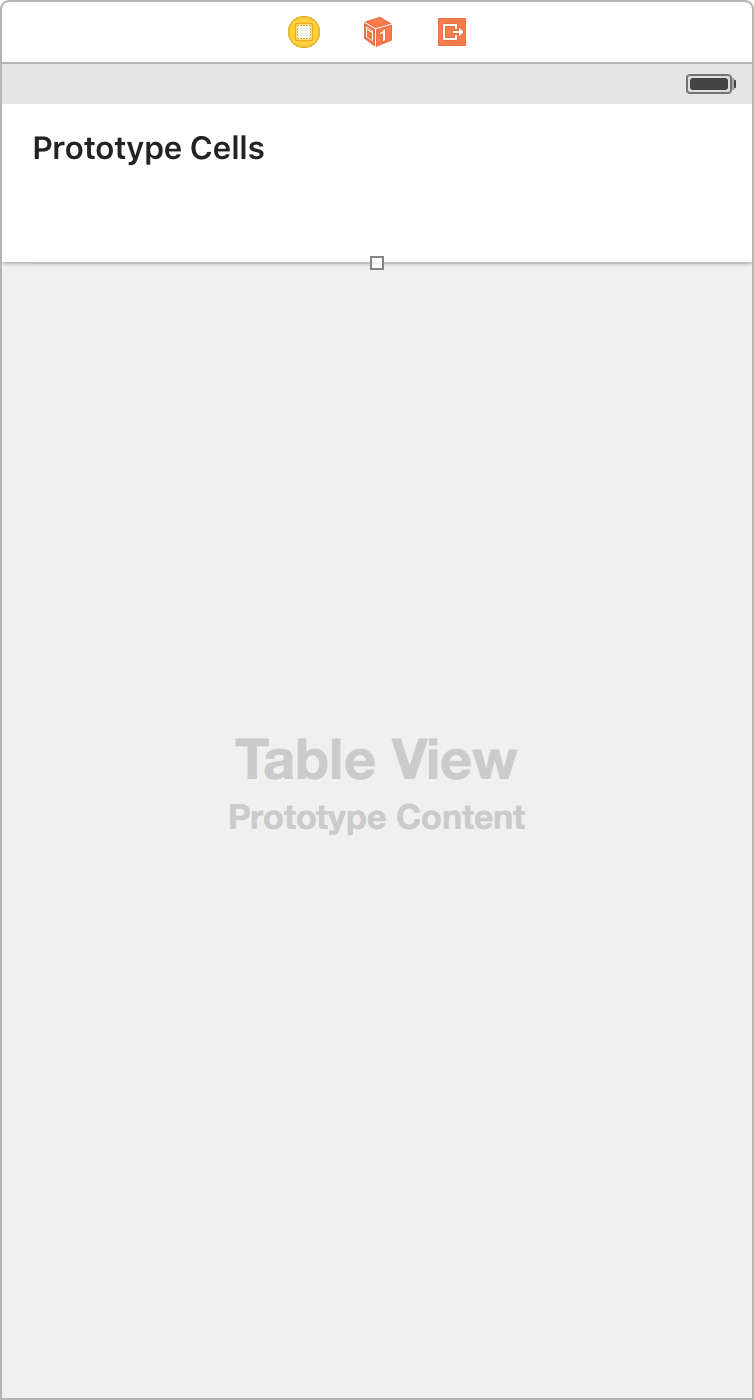
Storyboardを開いてUITableViewをViewControllerに貼り付ける -
UITableViewをViewController.swiftに Outlet で紐付ける
UITableViewCell の準備
- TableViewCell.swift と TableViewCell.xib の作成
-
メニューバー->File->New...->iOS - Source - Cocoa Touch Classを選択 -
Subclass of:でUITableViewCellを選択 -
Also create XIB fileにチェックを入れて作成
-
-
XIBを開いて適当にUILabelでも貼り付ける -
UILabelをTableViewCell.swiftに Outlet で紐付ける -
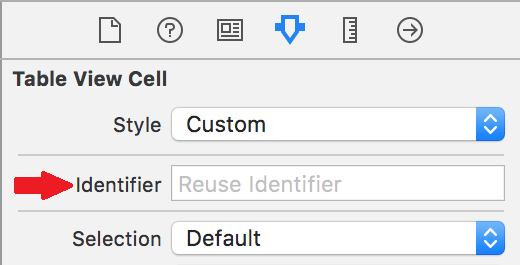
Identifierを設定する
ViewController.swift の実装
ViewController.swift
// UITableViewDataSource と UITableViewDelegate を実装
class ViewController: UIViewController, UITableViewDataSource, UITableViewDelegate {

    @IBOutlet weak var tableView: UITableView!

    override func viewDidLoad() {
        super.viewDidLoad()
        // Do any additional setup after loading the view, typically from a nib.

        // XIBファイルからUINibのインスタンスを生成
        let nib = UINib(nibName: "TableViewCell", bundle: nil)
        // UITableViewにXIBファイルを登録
        tableView.registerNib(nib, forCellReuseIdentifier: "Cell")
        tableView.delegate = self
        tableView.dataSource = self
    }

    override func didReceiveMemoryWarning() {
        super.didReceiveMemoryWarning()
        // Dispose of any resources that can be recreated.
    }

    // MARK : UITableViewDataSource

    func tableView(tableView: UITableView, numberOfRowsInSection section: Int) -> Int {
        // とりあえず適当に10個のセルを用意
        return 10
    }

    func tableView(tableView: UITableView, cellForRowAtIndexPath indexPath: NSIndexPath) -> UITableViewCell {
        let cell = tableView.dequeueReusableCellWithIdentifier("Cell", forIndexPath: indexPath) as! TableViewCell
        cell.label.text = "Cell No." + String(indexPath.row)
        return cell
    }

    // MARK : UITableViewDelegate

    func tableView(tableView: UITableView, didSelectRowAtIndexPath indexPath: NSIndexPath) {
        let cell = self.tableView(tableView, cellForRowAtIndexPath: indexPath) as! TableViewCell
        print(cell.label.text)
    }
}
storyboard(UIViewController, UITableView + UITableViewCell)
(まとめる上で理解しようと思って試してみた)
完成イメージ
Projectディレクトリ の状態
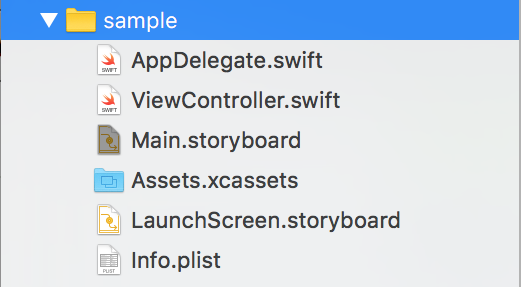
※ storyboard 上で UITableViewCell のUIを扱うので xib が不要になった
storyboard の状態
ViewController の準備
-
Storyboardを開いてUITableViewをViewControllerに貼り付ける -
UITableViewCellをUITableViewに貼り付ける -
UITableViewをViewController.swiftに Outlet で紐付ける
UITableViewCell の準備
-
Identifierを設定する
ViewController.swift の実装
ViewController.swift
// UITableViewDataSource と UITableViewDelegate を実装
class ViewController: UIViewController, UITableViewDataSource, UITableViewDelegate {

    @IBOutlet weak var tableView: UITableView!

    override func viewDidLoad() {
        super.viewDidLoad()
        // Do any additional setup after loading the view, typically from a nib.
        tableView.delegate = self
        tableView.dataSource = self
    }

    override func didReceiveMemoryWarning() {
        super.didReceiveMemoryWarning()
        // Dispose of any resources that can be recreated.
    }

    // MARK : UITableViewDataSource

    func tableView(tableView: UITableView, numberOfRowsInSection section: Int) -> Int {
        // とりあえず適当に10個のセルを用意
        return 10
    }

    func tableView(tableView: UITableView, cellForRowAtIndexPath indexPath: NSIndexPath) -> UITableViewCell {
        let cell = tableView.dequeueReusableCellWithIdentifier("Cell", forIndexPath: indexPath)
        cell.textLabel.text = "Cell No." + String(indexPath.row)
        return cell
    }

    // MARK : UITableViewDelegate

    func tableView(tableView: UITableView, didSelectRowAtIndexPath indexPath: NSIndexPath) {
        let cell = self.tableView(tableView, cellForRowAtIndexPath: indexPath)
        print(cell.textLabel.text)
    }
}
気づいたこと
- UITableViewCellには
textLabelという UILabel がデフォルトで居た・・・ -
storyboard(UIViewController, UITableView) + xib(UITableViewCell)のようにカスタムセルにしたい場合はTableViewCell.xibは不要になるがTableViewCell.swiftは必要でとなってstoryboard上の UITableViewCell に紐付けてあげれば良いのか・・・
UITableViewController で作成
(個人的にイマイチ理解していなかったやり方)
上記2つの方法の後に UITableViewController を storyboard 上に貼り付けて理解した
ただの UIViewController + UITableView + UITableView で2番目の構成と同じだった
ひとつ違うのは UITableViewController 専用のメソッドが切られていること
UIKit/UITableViewController
@available(iOS 2.0, *)
public class UITableViewController : UIViewController, UITableViewDelegate, UITableViewDataSource {

    public init(style: UITableViewStyle)
    public init(nibName nibNameOrNil: String?, bundle nibBundleOrNil: NSBundle?)
    public init?(coder aDecoder: NSCoder)

    public var tableView: UITableView!
    @available(iOS 3.2, *)
    public var clearsSelectionOnViewWillAppear: Bool // defaults to YES. If YES, any selection is cleared in viewWillAppear:

    @available(iOS 6.0, *)
    public var refreshControl: UIRefreshControl?
}
まとめ
storyboard だったり xib だったり、自動で色々付いてる UITableViewController だったり、
なかなか取っ付き難い感はあるけど、Qiitaの場を借りてちゃんとまとめてみたら理解が進んだ。