0
2

Delete article

Deleted articles cannot be recovered.

Draft of this article would be also deleted.

Are you sure you want to delete this article?

More than 3 years have passed since last update.

AppleWatch の Digital Crown を使ってみた

Posted at

概要

AppleWatchのDigital Crownを使うアプリを作ってみようと思い
Digital Crownの機能を簡単に試してみた。

ソースコード

ContentView.swift
import SwiftUI

struct ContentView: View {
    @State var crownValue = 0.0
    
    var body: some View {
        Text("Value: \(crownValue)")
            .focusable()
            .digitalCrownRotation($crownValue, from: 0.0, through: 1.0)
    }
}

struct ContentView_Previews: PreviewProvider {
    static var previews: some View {
        ContentView()
    }
}

##解説

Digital Crownを回すと対応する値を画面に表示します。
表示項目にモディファイアとして
. focusable() に続けて
.digitalCrownRotation($crownValue)
で値を取得できるようでした。

また
.digitalCrownRotation($crownValue, from: 0.0, through: 1.0)
とすることで Min/Max 値を設定できます。

が、この Min/Max 値はDigital Crownを動かすと、設定値を行きすぎて
オーバーシュート、アンダーシュートが発生します。
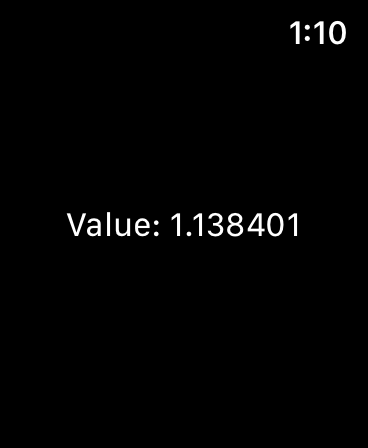
今回の例の場合も以下のようになりました。

Simulator Screen Shot - Apple Watch Series 6 - 44mm - 2021-06-30 at 13.09.54.png

Simulator Screen Shot - Apple Watch Series 6 - 44mm - 2021-06-30 at 13.10.04.png

##感想
入力値を取り出すことは簡単でした。
オーバーシュート、アンダーシュートが発生するところには注意が必要かと思います。

0
2
0

Register as a new user and use Qiita more conveniently

  1. You get articles that match your needs
  2. You can efficiently read back useful information
  3. You can use dark theme
What you can do with signing up
0
2

Delete article

Deleted articles cannot be recovered.

Draft of this article would be also deleted.

Are you sure you want to delete this article?