1. 本記事とは?
Pythonを用いて、Twitterアナリティクスのデータエクスポートを自動化した。
・Twitterアナリティクスのデータエクスポート
- 詳細なツイート情報を取得できる。
- 取得できるのは自分のツイートのみ
- 認証は不要
・twitter api
- どのツイートでも取得可能
- 詳細な情報は取得できない
- 認証が必要
- 自動でツイートする機能がある
- 取得できる情報はツイート本文、いいね、リツイート数など
以下二つの記事の組み合わせに少しの追加を加えたものです。
・ruby版(参考にさせていただきました。)
MechanizeでTwitterアナリティクスのデータエクスポートを自動化する
・python でtwitterにログイン
Python Seleniumでtwitterのログインからリプライするbot
2 コード
import time
from selenium import webdriver

# 各種設定
# twitterアカウント
account = '~~~~~~~@gmail.com' #メールアドレスを推奨(user_id or メールアドレス)
password = '〜password〜'


# Twitterログイン実行する処理

# ログインページを開く
URL="https://analytics.twitter.com/user/[user_id]/tweets"#[user_id]には、自分のユーザーID
driver = webdriver.Chrome("〜chromedriverのPATH〜")
driver.get(URL)
time.sleep(3)  # 動作止める
# accountを入力する
element_account = driver.find_element_by_class_name("js-username-field")
element_account.send_keys(account)
time.sleep(3)  # 動作止める
# パスワードを入力する
element_pass = driver.find_element_by_class_name("js-password-field")
element_pass.send_keys(password)
time.sleep(3)  # 動作止める
# ログインボタンをクリックする
element_login = driver.find_element_by_xpath('//*[@id="page-container"]/div/div[1]/form/div[2]/button')
driver.execute_script("window.scrollTo(0, document.body.scrollHeight);")
element_login.click()
time.sleep(3)  # 動作止め

# 7日version
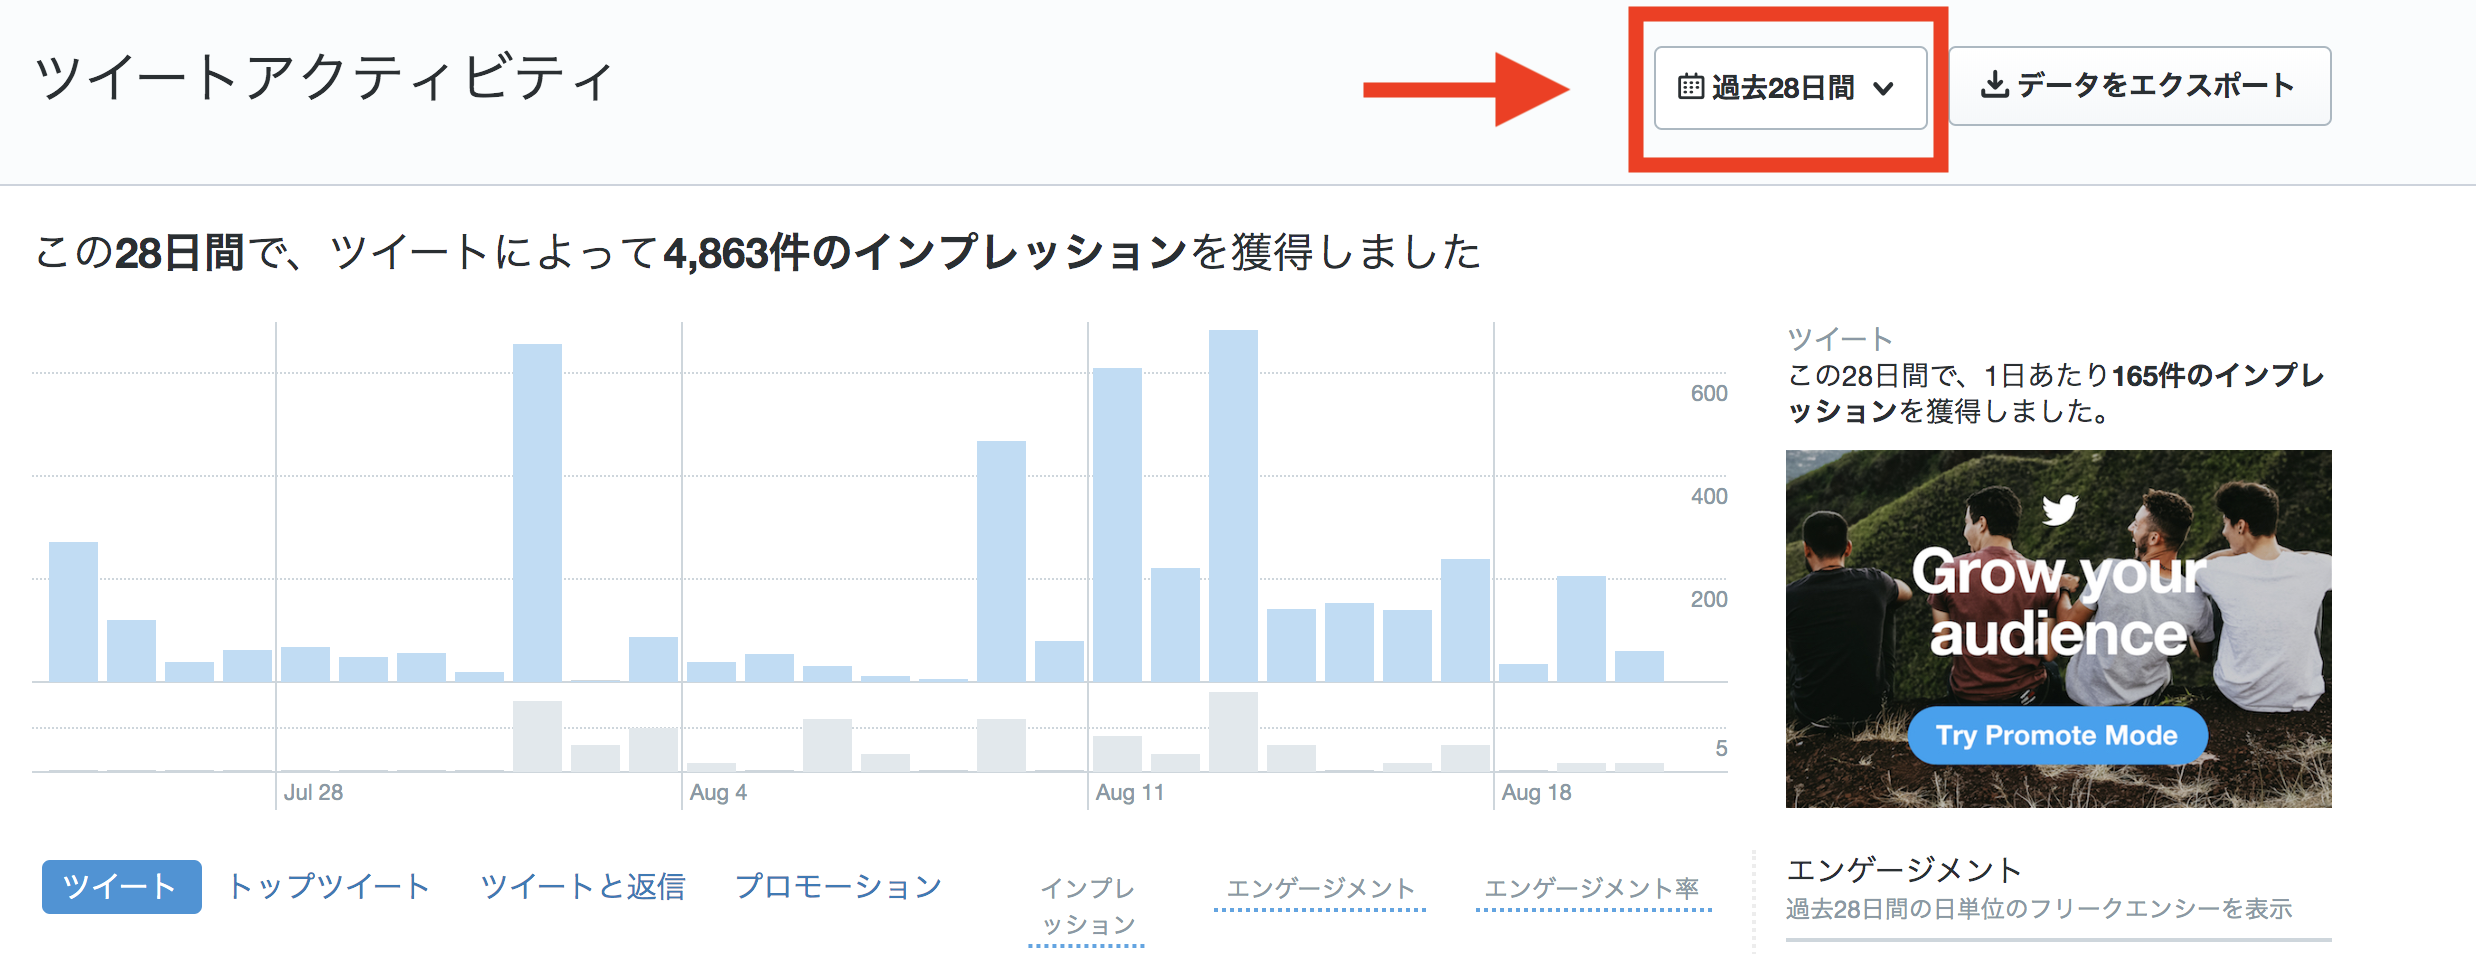
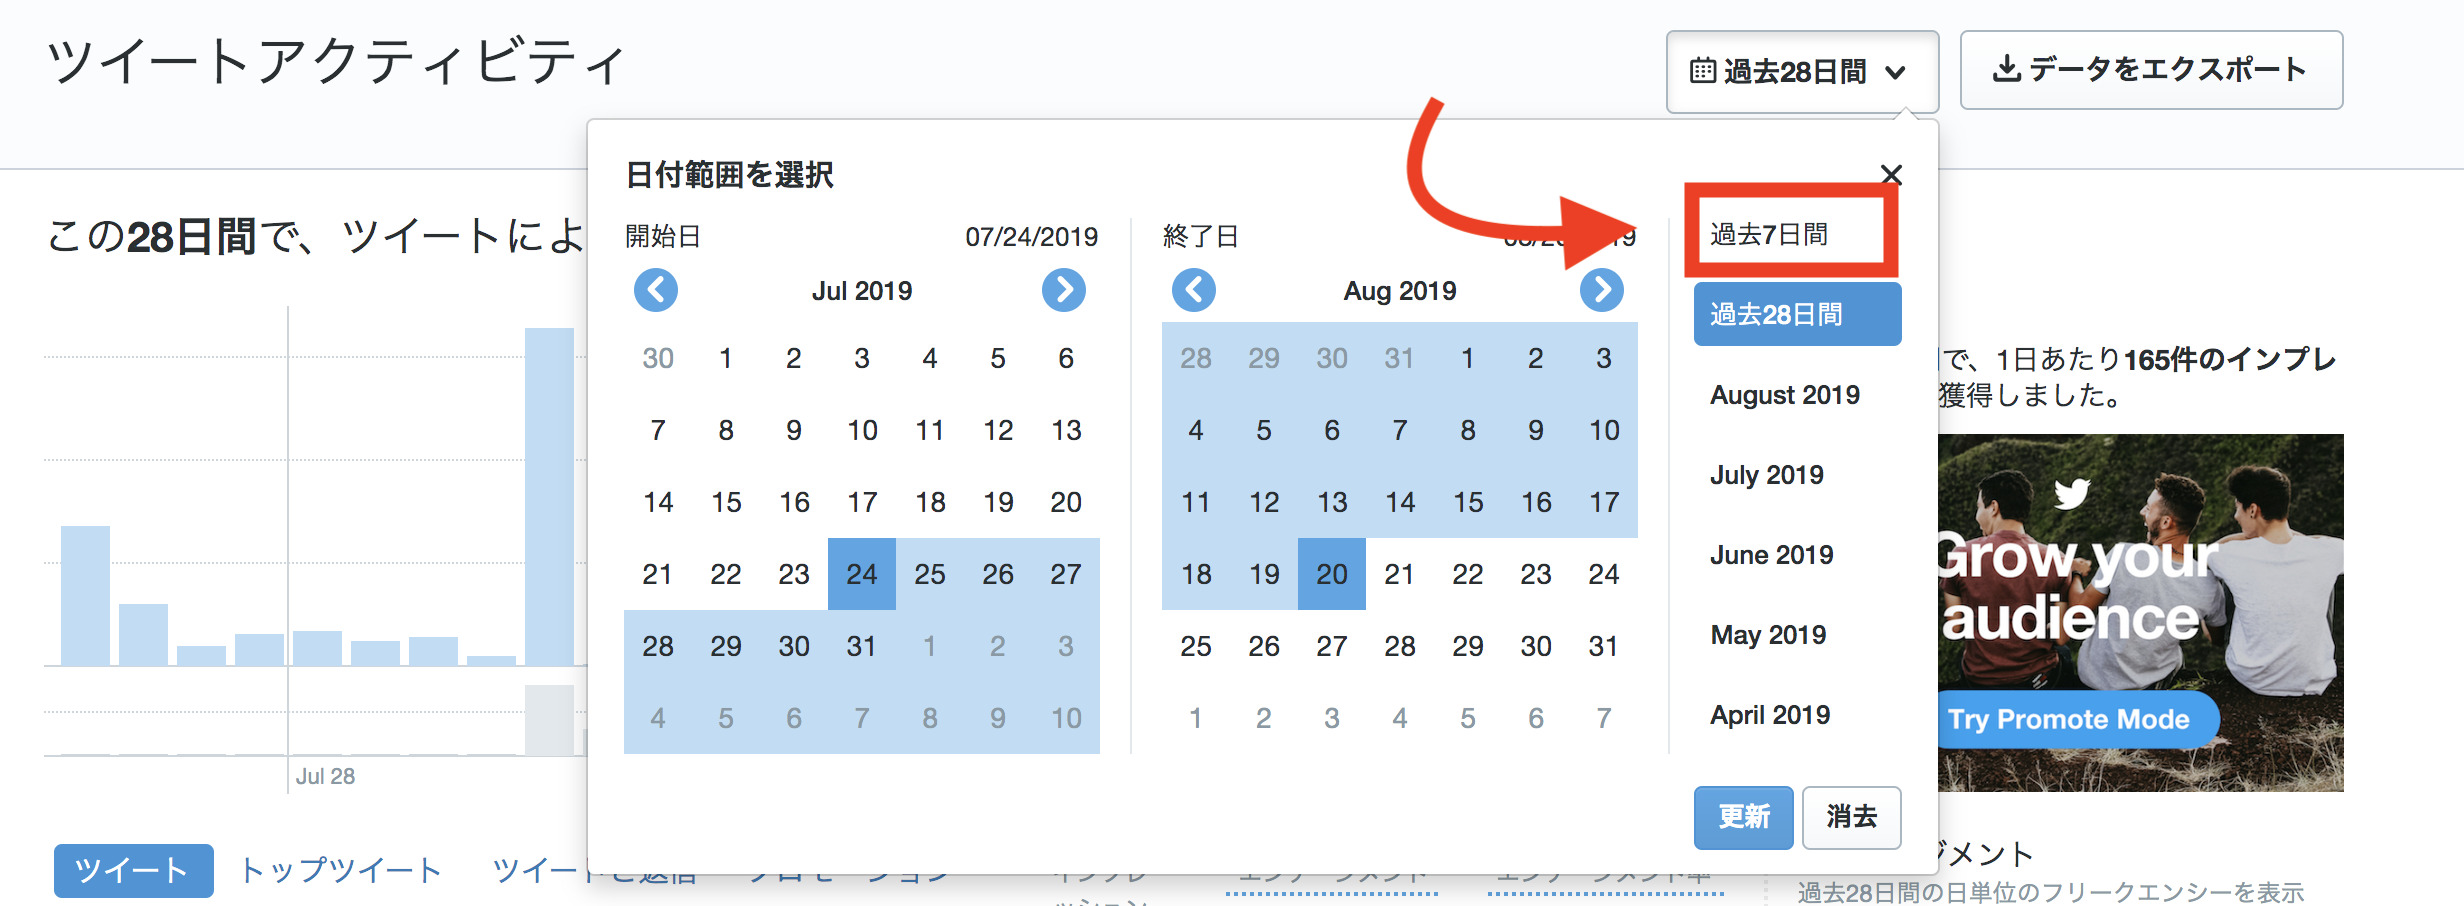
driver.find_element_by_class_name('daterange-selected').click()
time.sleep(3)
element_login=driver.find_element_by_xpath("/html/body/div[4]/div[4]/ul/li[1]")
element_login.click()
time.sleep(3)
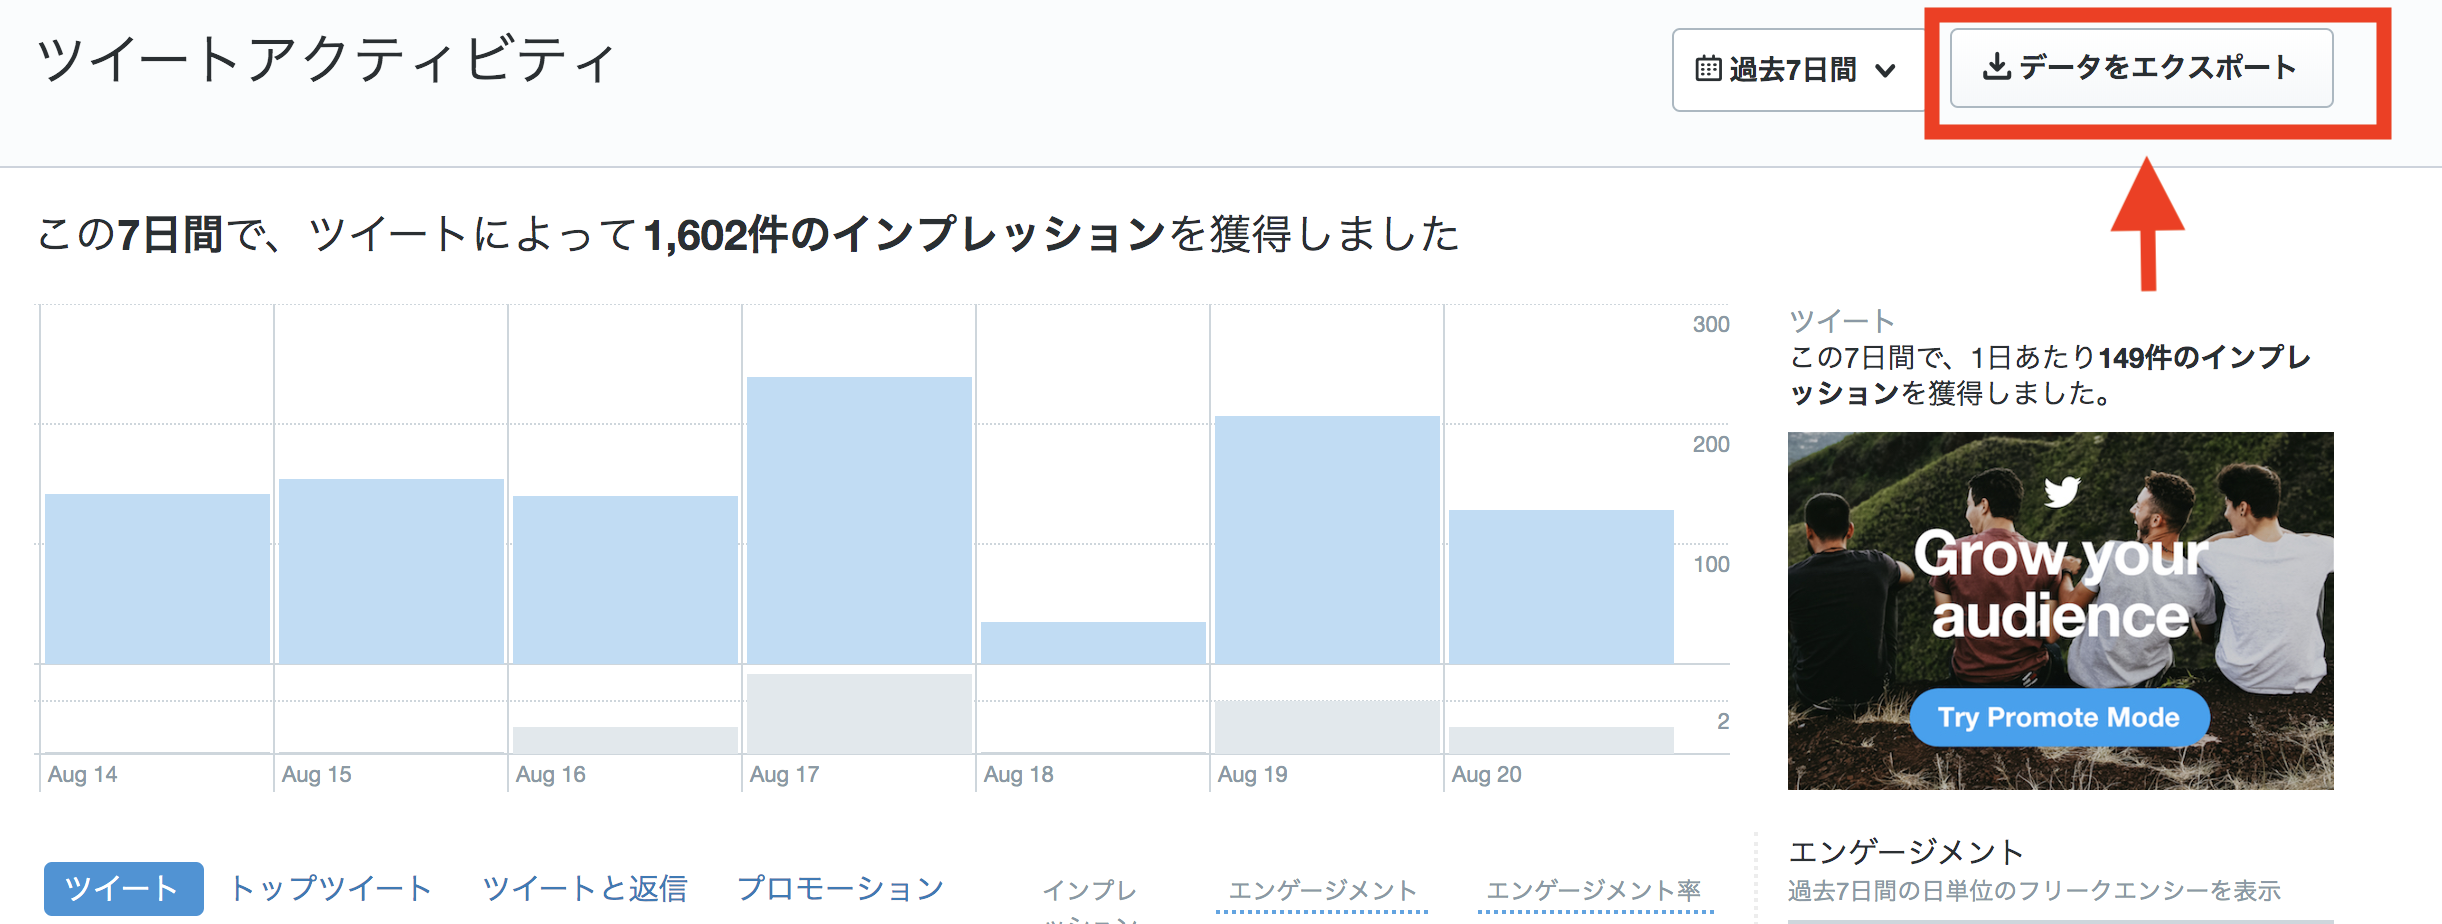
element_login=driver.find_element_by_xpath("//*[@id='export']/button")
element_login.click()
time.sleep(5)

# 28日version
# driver.find_element_by_xpath("//*[@id='export']/button")
# time.sleep(3)
3 補足
driver.find_element_by_class_name('daterange-selected').click()

element_login=driver.find_element_by_xpath("/html/body/div[4]/div[4]/ul/li[1]")

driver.find_element_by_xpath("//*[@id='export']/button")

xpathを利用する際の参考
【超便利】PythonとSeleniumでブラウザを自動操作する方法まとめ
4.AWSで実行しようとした際にはまった点を紹介
上のコード実行した際のエラー
1.
(Session info: headless chrome=76.0.3809.100)
=>account = '~~~~~~~@gmail.com' #メールアドレスを推奨(user_id or メールアドレス)
のところをuser_idで実行していたところ、ログインできない場合がありメールアドレスで実行して解決。
この時のデバックで参考にさせていただいた記事
Seleniumで画面遷移した後の画面で要素が取得できない問題の解消
```を入れ込む。
2.
```selenium.common.exceptions.WebDriverException: Message: unknown error: Chrome failed to start: exited abnormally
  (Driver info: chromedriver=2.34.522913 (36222509aa6e819815938cbf2709b4849735537c),platform=Linux 4.9.20-10.30.amzn1.x86_64 x86_64)```
と
```Message: unknown error: call function result missing 'value'
=>aws にダウンロードしたchromeとchoromdriveのバージョンが違う場合に発生する。
Amazon LinuxでSelenium環境を最短で構築する
Amazon Linux上で、Python + Selenium + Headless Chromeを使用してWEBスクレイピング
を参考にバージョンを合わせることと、
options = webdriver.ChromeOptions()
options.add_argument('--no-sandbox')
options.add_argument("start-maximized")
options.add_argument("--disable-dev-shm-usage")
options.add_argument("disable-infobars")
options.add_argument('--disable-extensions')
options.add_argument('--headless')
options.add_argument('--disable-gpu')
driver = webdriver.Chrome(options=options)
などのオプションを指定することで解決。
AWS Lambda(Python3)でSelenium + Chrome Headless + でwebスクレイピングする
chromedriver インストールメモ
を参考にして解決。
3.
2で、以下のコードを用いたことでcsvデータのダウンロードができない問題が生じる。
options.add_argument('--headless')
[解決策]
def enable_download_in_headless_chrome(browser, download_dir):
    #add missing support for chrome "send_command"  to selenium webdriver
    browser.command_executor._commands["send_command"] = ("POST", '/session/$sessionId/chromium/send_command')

    params = {'cmd': 'Page.setDownloadBehavior', 'params': {'behavior': 'allow', 'downloadPath': download_dir}}
    browser.execute("send_command", params)


enable_download_in_headless_chrome(driver, "〜保存したいフォルダ名〜")
[Selenium] ヘッドレスモードでCSVファイルをダウンロードしたい時の対処法
上の記事で紹介されていた記事
に書いてあるコードを挿入することで解決。
プラスで補足
crontabで自動でコードを実行する。
# crontabで編集可能になる。
# crontab -rはcrontabの内容が消えてしまうので注意する。

$ crontab -e
* * * * * * bash -l -c "python ~/python.py"

# 一つ目の*は「分」
# 二つ目の*は「時」を表す。
# この二つで、毎日~時~分に実行できるようになるため十分だと思います。
# 丁寧に説明すると、上のコードを書いた後、
[esc]を押して、
次は : を押して、
最後に wq を入力して
[enter] で保存完了。
5.まとめ
色々とはまっちゃいましたが、seleniumのお勉強が十分できました。
この後の分析は、
【Pythonによるデータ分析①】Pythonでツイッターのオリジナルデータから、拡散されやすいツイートを分析してみよう!
などでお勉強して分析してみるのもいいですね。