Rocky Linux 8 にLAMP(Linux/Apache/MariaDB/PHP)環境のインストールを行う手順を以下に記します。
タイムゾーンの変更
sudo su -
timedatectl set-timezone Asia/Tokyo
Apache のインストール
dnf -y install httpd
systemctl enable httpd
systemctl start httpd
PHP のインストール
標準でインストールされる PHP 7.2 上での WordPRess 5.8 の利用は非推奨となっていますので,PHP 7.4 をインストールします。
dnf module list php
dnf module enable php:7.4 -y
dnf module list php
dnf -y install php php-mysqlnd php-pecl-json
systemctl restart httpd
MariaDB 10.3 のインストール
CentOS 7 では MariaDB 5.5 とかなり古いバージョンのままでしたが,Rocky Linux 8 では 2018 年に GA になった 10.3 がインストールされます。
dnf -y install mariadb-server
systemctl enable mariadb
systemctl start mariadb
2019-09-26 時点では MariaDB 10.3.28 がインストールされました。
$ dnf list installed | grep mariadb |sort
mariadb-backup.x86_64               3:10.3.28-1.module+el8.4.0+427+adf35707 @appstream
mariadb-common.x86_64               3:10.3.28-1.module+el8.4.0+427+adf35707 @appstream
mariadb-connector-c-config.noarch   3.1.11-2.el8_3                          @appstream
mariadb-connector-c.x86_64          3.1.11-2.el8_3                          @appstream
mariadb-errmsg.x86_64               3:10.3.28-1.module+el8.4.0+427+adf35707 @appstream
mariadb-gssapi-server.x86_64        3:10.3.28-1.module+el8.4.0+427+adf35707 @appstream
mariadb-server-utils.x86_64         3:10.3.28-1.module+el8.4.0+427+adf35707 @appstream
mariadb-server.x86_64               3:10.3.28-1.module+el8.4.0+427+adf35707 @appstream
mariadb.x86_64                      3:10.3.28-1.module+el8.4.0+427+adf35707 @appstream
WordPress のインストール
WordPress ダウンロード/展開
現時点でのWordPress最新版をダウンロードし、DocumentRoot配下に展開します。
dnf -y install wget
cd /var/www/html
wget https://ja.wordpress.org/latest-ja.tar.gz
tar xvf latest-ja.tar.gz
chown -R apache:apache .
WordPress 用データベース作成
文字コードUTF8でデータベース wordpress を作成します。
# mysql
Welcome to the MariaDB monitor.  Commands end with ; or \g.
Your MariaDB connection id is 8
Server version: 10.3.11-MariaDB MariaDB Server

Copyright (c) 2000, 2018, Oracle, MariaDB Corporation Ab and others.

Type 'help;' or '\h' for help. Type '\c' to clear the current input statement.

MariaDB [(none)]> CREATE DATABASE wordpress DEFAULT CHARACTER SET utf8;
Query OK, 1 row affected (0.001 sec)
WordPress 用 MariaDB ユーザの作成
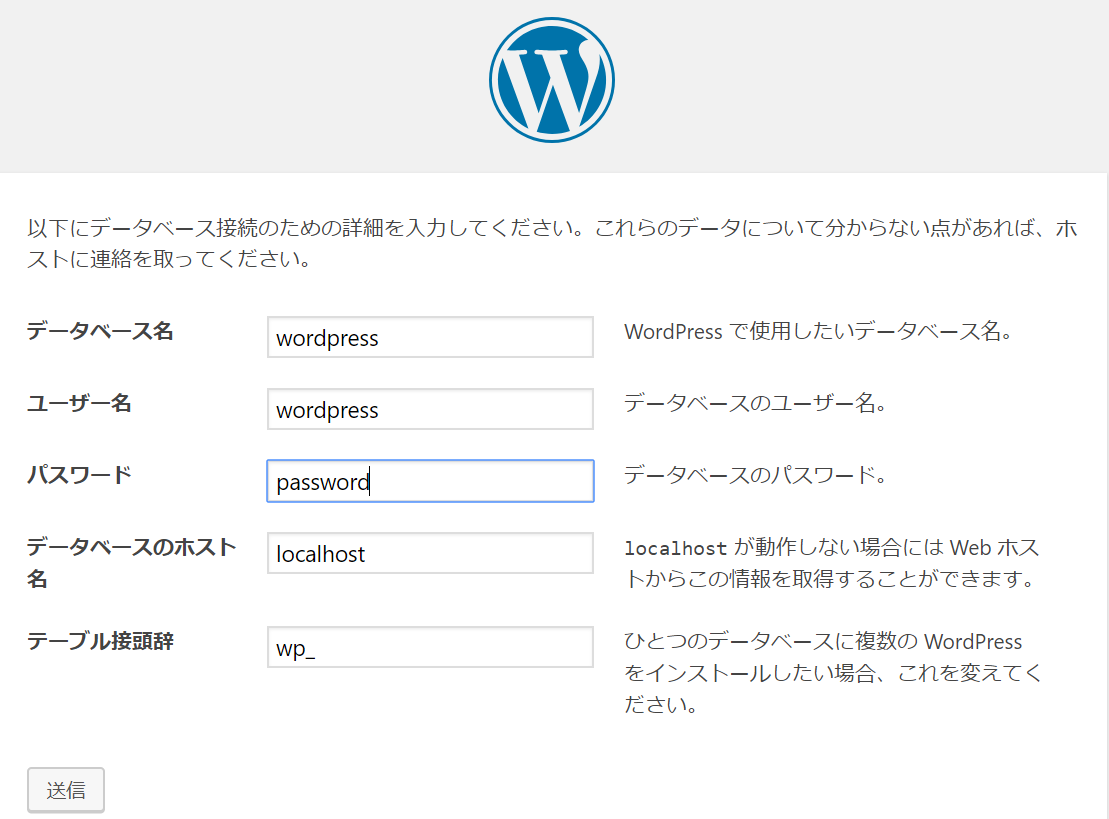
さきほど作成したデータベースのみ全権限を持つ wordpress ユーザを作成します(ユーザ名/パスワードは適宜変更してください)。
GRANT ALL ON wordpress.* TO wordpress@localhost IDENTIFIED BY 'password';
FLUSH PRIVILEGES;
WordPress 初期設定
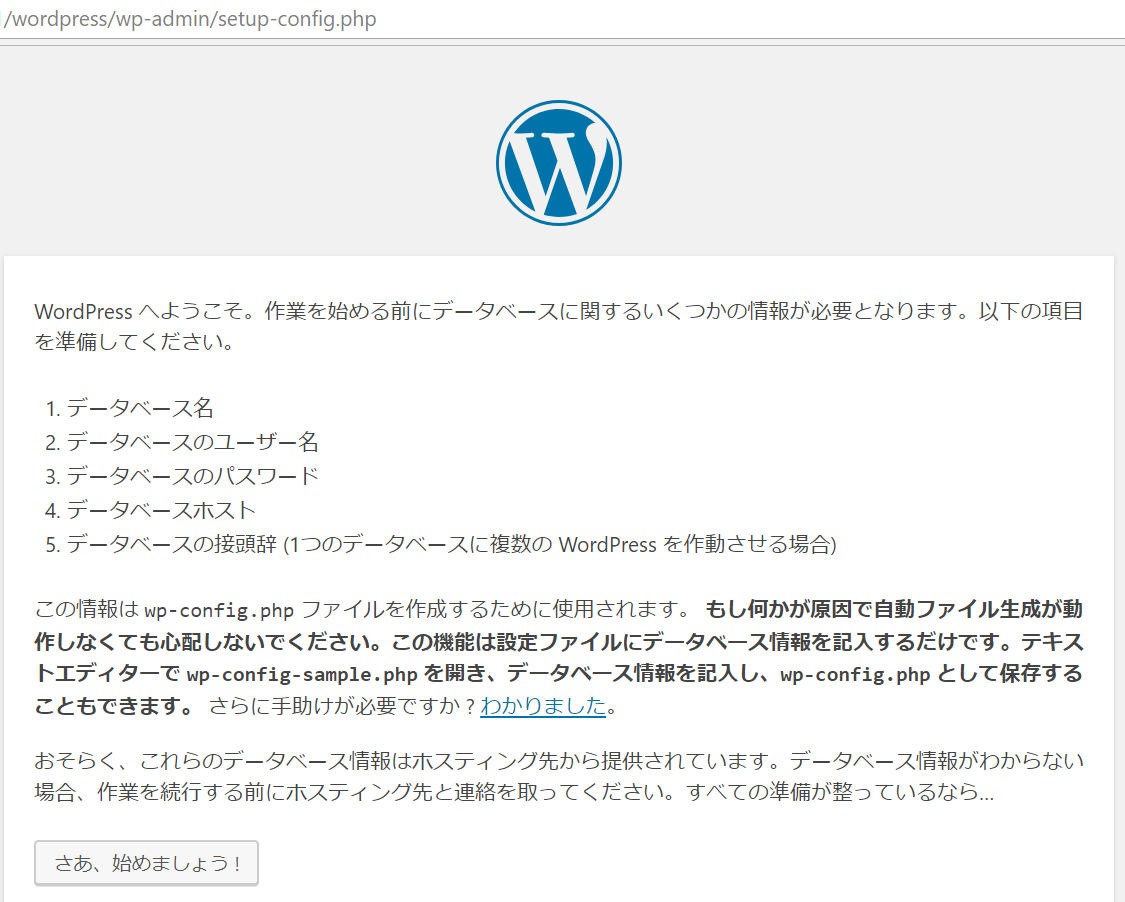
webブラウザで xx.xx.xx.xx/wordpress/ にアクセス、WordPress初期設定を行います。
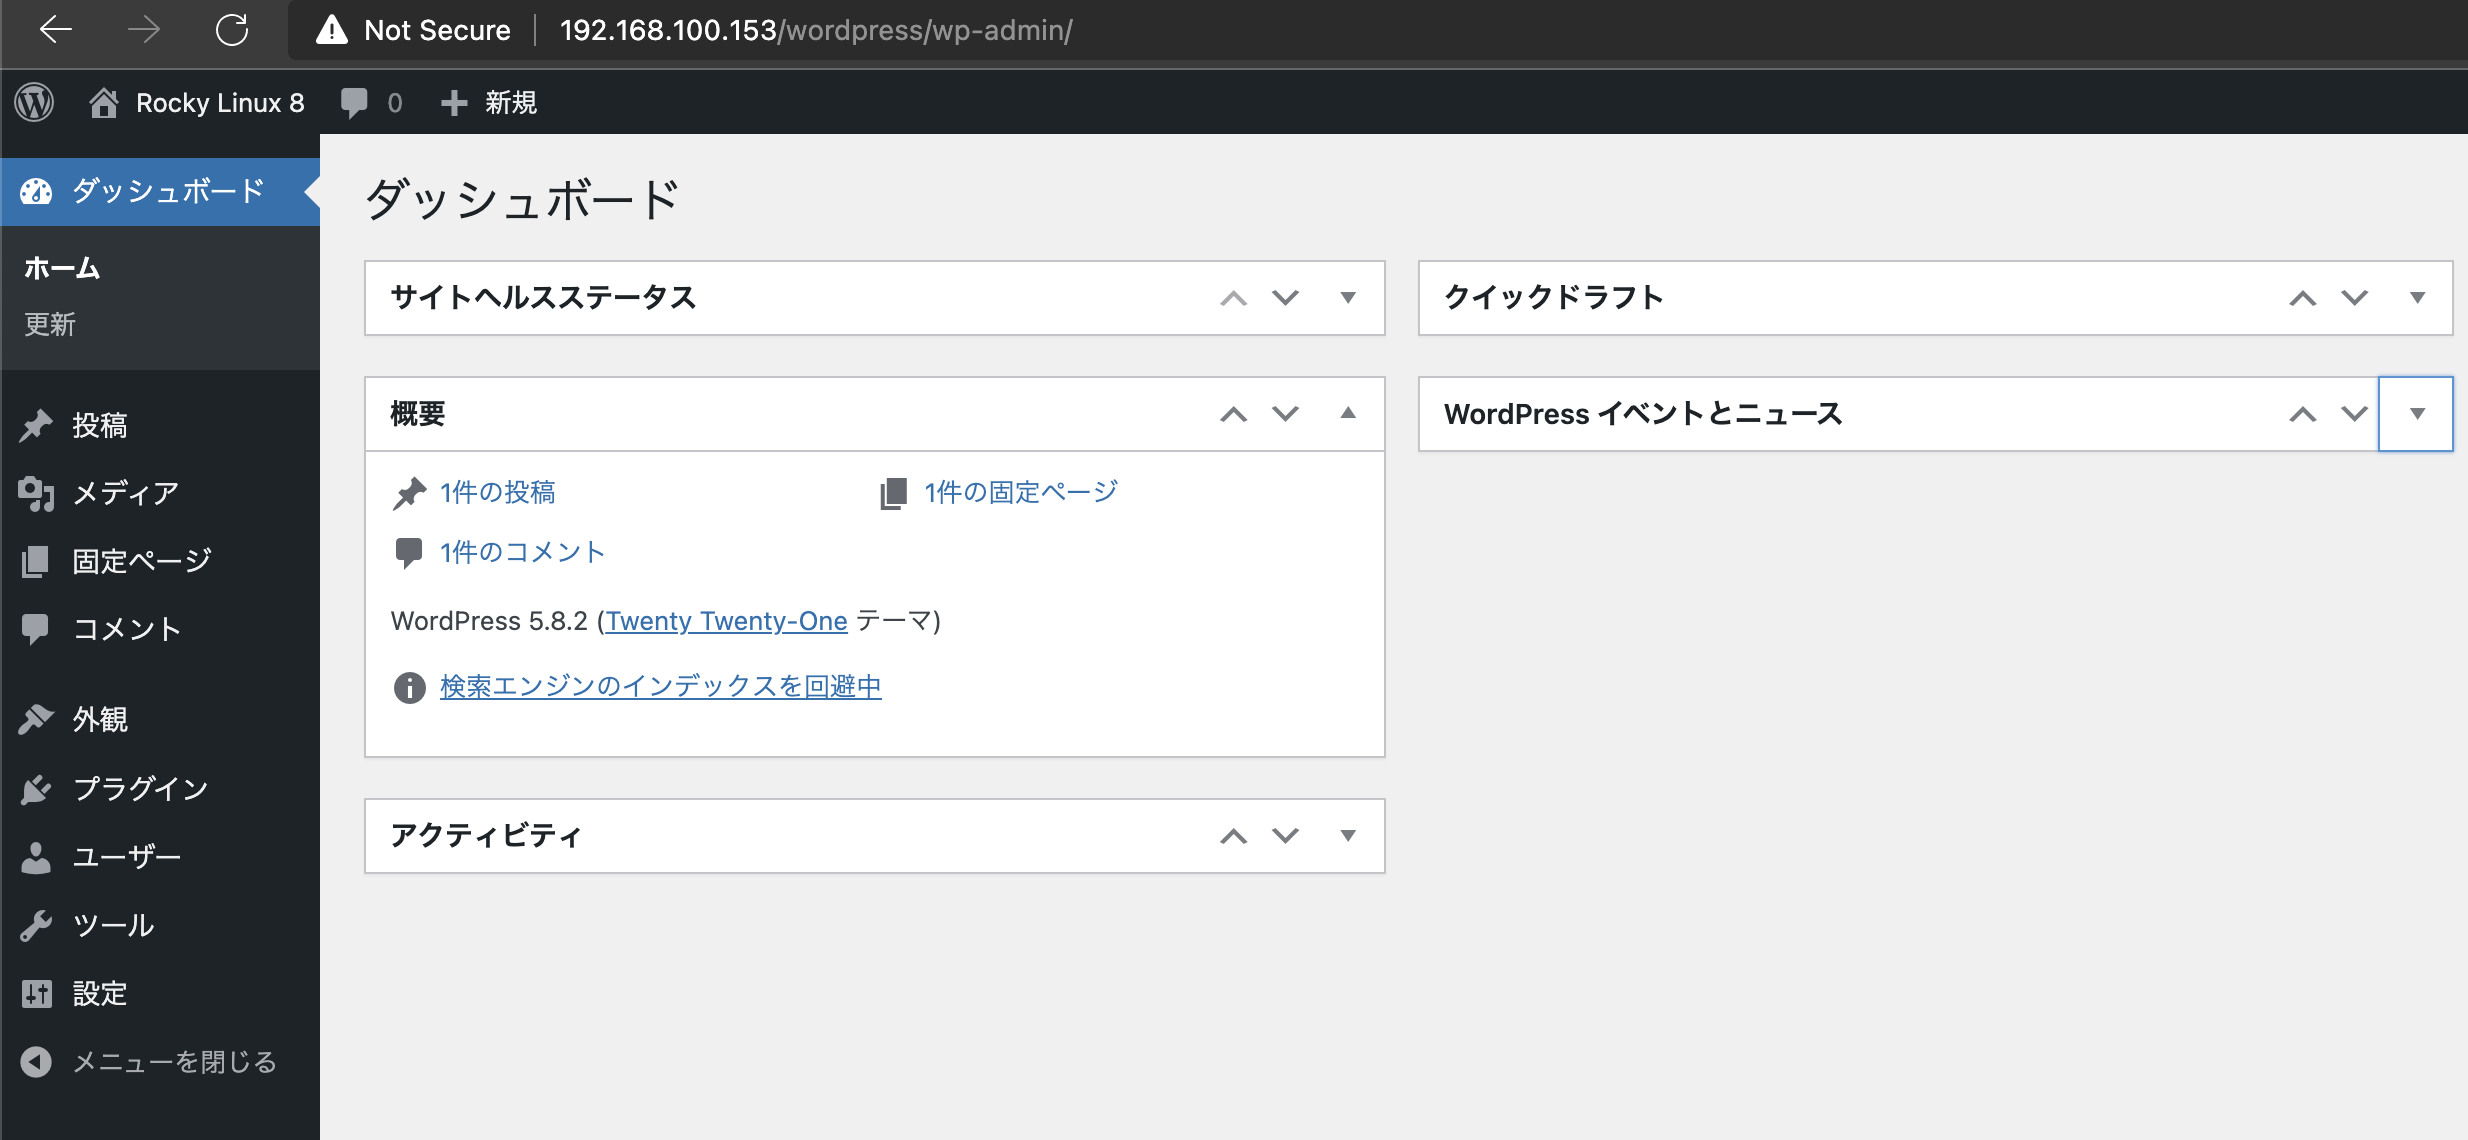
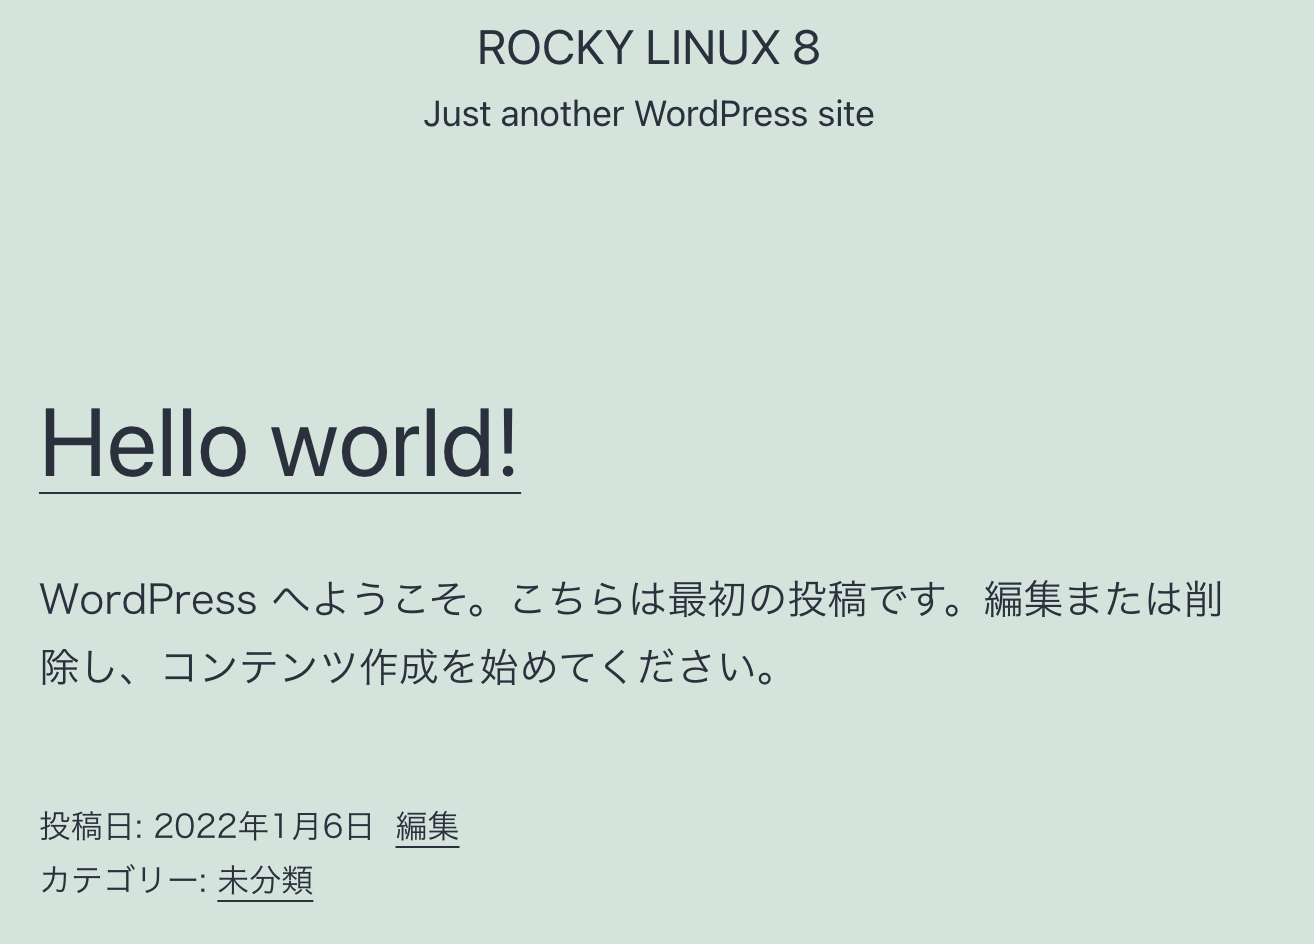
正常にインストールが完了すると、指定したユーザ/パスワードでダッシュボードにログインできます。


