どうも、OthloTechのちーず(@cheez921)です。
OthloTech Advent Calendar 今年2回目の投稿ということで内容をがらりとかえまして、芸工祭webサイト作成時にお世話になったmatter.jsの活用法について話したいと思います。
少し古いライブラリだけど、なかなか優秀です!!
matter.jsとは
matter.jsは、javascript製の物理演算エンジンです。
web上の物体の動きに対して物理演算が必要なとき、プログラムを全部自分で書くのはなかなか面倒ですよね。
matter.jsではそんな面倒なコードを書かずとも、反発係数や密度などを簡単なプログラムで設定でき、理想的な物体の動きが実装できます。
matter.jsをつかってみよう!
1. インストール
公式Githubにてインストールが可能です。
ダウンロードしたzipファイルに入っているmatter.jsもしくはmatter.min.jsを読み込んでください。
2. 使用するメソッドを読み込む
Engine,Render,Worldのメソッドは必ず読み込み、EngineやRenderを準備しましょう。
  // module aliases
  var Engine = Matter.Engine,
      Render = Matter.Render,
      World = Matter.World,
      Bodies = Matter.Bodies;

  // create an engine
  var engine = Engine.create();

  var width =  window.innerWidth;
  var height =  window.innerHeight;

  // create a renderer
  var render = Render.create({
      element: document.getElementById("canvas"),
      options: {
        width: width,
        height: height,
        pixelRatio: 2, //Pixel比; スマホ用に2にする
      },
      engine: engine
  });
2. マテリアルの追加
まずは、床や壁を生成しましょう。
床だけでも良いが今回はシェイクするということで、壁と天井と床を生成します。
  //壁の生成
  bodies.push(Bodies.rectangle(0, 0, width*2, 80,{ isStatic: true}));
  bodies.push(Bodies.rectangle(0, height, width*2 + 10, 30, { isStatic: true }));
  bodies.push(Bodies.rectangle(0, 0, 40, height*2, { isStatic: true }));
  bodies.push(Bodies.rectangle(width, 0, 40, height*2, { isStatic: true }));
コードの説明をちょっとします。
bodies.push(
    //四角のマテリアルを追加
    Bodies.rectangle(
      0, //x座標
      0, //y座標
      width*2, // width
      80, // height
      //option
      {
        isStatic: true //静的かどうか
      }
    )
  );
ざっくりとこんな感じです。
次に中のマテリアルを追加します。
30個の円をばらばらに落下するように準備しました。
for(var i = 0; i < 30; i++) {
  bodies.push(
    Bodies.circle(
      Math.random() * (width - 0) + 0, //x座標
      Math.random() * (height - 440) + 440, //y座標
      20, //半径
      {
        density: 0.0005, //密度
        frictionAir: 0.02, //空気抵抗
        restitution: 0.8, //反発
        friction: 0.1, //摩擦
        }
      }
    )
  )
}
そして生成したマテリアルを用意したマテリアルをレンダーしましょう。
  // add all of the bodies to the world
  World.add(engine.world, bodies);

  // run the engine
  Engine.run(engine);

  // run the renderer
  Render.run(render);
これでmatter.jsで動かしたい物体の準備は完了です。
とっても簡単ですよね!
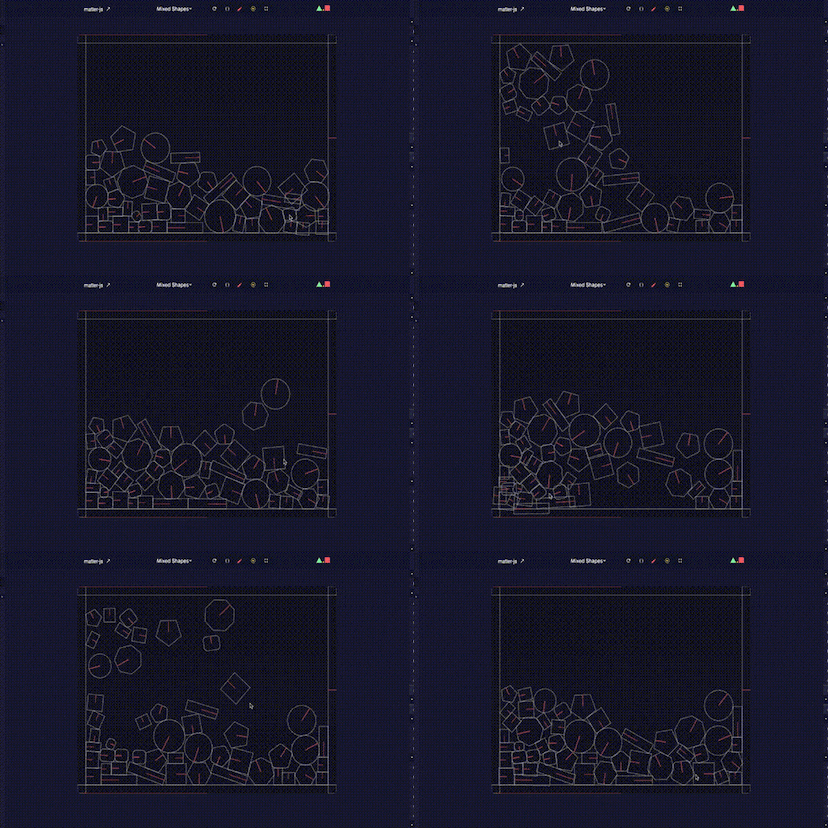
だいたいこんな感じのものが出来上がります。

加速度を取得しよう!
今回はmatter.jsについて話したかったので、この辺の詳細は割愛させていただきます。
もしデバイスの加速度センサーについてもっと詳細が知りたかった場合、こちらの記事を参考にしてください。
DeviceOrientation Eventについて
実際のコードはこちらです。
先ほどのコードより前に書いてください。
var deviceOrientation = window.orientation; //デバイスの傾きを取得

  //デバイスが動くたびに実行 : devicemotion
  window.addEventListener("devicemotion", function devicemotionHandler(event) {


    //重力加速度 (物体の重力を調節)
    var xg = event.accelerationIncludingGravity.x / 10;
    var yg = event.accelerationIncludingGravity.y / 10;

    // 傾きに応じて重力を調節
    switch (deviceOrientation) {
      case 0:
        engine.world.gravity.x = xg + event.acceleration.x;
        engine.world.gravity.y = -yg + event.acceleration.y;
        break;
      case 90:
        engine.world.gravity.x = -yg - event.acceleration.x;
        engine.world.gravity.y = -xg + event.acceleration.x;
        break;
      case -90:
        engine.world.gravity.x = yg + event.acceleration.x;
        engine.world.gravity.y = xg - event.acceleration.x;
        break;
      case 180:
        engine.world.gravity.x = -xg - event.acceleration.x;
        engine.world.gravity.y = yg - event.acceleration.x;
    }

    // androidとiOSは加速度が真逆なのでその対応
    if ( window.navigator.userAgent.indexOf('Android') > 0 ) {
      engine.world.gravity.x = - engine.world.gravity.x;
      engine.world.gravity.y = - engine.world.gravity.y;
    }
  });
以上で完成です!
コードが汚いですね。笑
もっと最適なコードがありましたらコメントをお願いいたします。
完成作
以上のコードに、optionでマテリアルに画像を貼ったり、UIをリッチにしたらこんな感じで導入できました。
芸工祭2017
⚠︎スマホでみてください。
(かなり私情ですが、我ながら芸術工学部らしくて気にっています。)
最後に
matter.jsは割とGithubのstar数もあるし予想以上に重くないのに、日本ではあまり使われていない様子でした。
たまにはこのようなクリエイティブなライブラリでも導入して、webサイトでガンガンに遊べるものをつくってみてはいかがでしょうか!
