紹介する内容
- terraformの
環境別HOMEパス/.aws/credentialsからaws profileを取得する設定を利用します- gitignoreとdockerのvolumesを利用してterraform実行環境を作ります
- 参考:https://www.terraform.io/docs/providers/aws/index.html#shared-credentials-file
- 主にMACにterraformインストールした仲間とdockerでterraform使いたい人(筆者)状況を想定しました
- gitignoreとdockerのvolumesを利用してterraform実行環境を作ります
結論
- 同じaws profile名を設定するルールだけ守ると、MACでterraformインストールした人、dockerでterraformインストールした人はお互いの環境を気にせずにterraform運用できると思います
- dockerコンテナの中で生成したaws profileの情報をdockerのvolumesでマウントしました。
- マウントしたディレクトリを消さない限りaws profileをずっと使用できます
- gitignoreしたから、aws profile情報はgit pushされません
紹介始めます
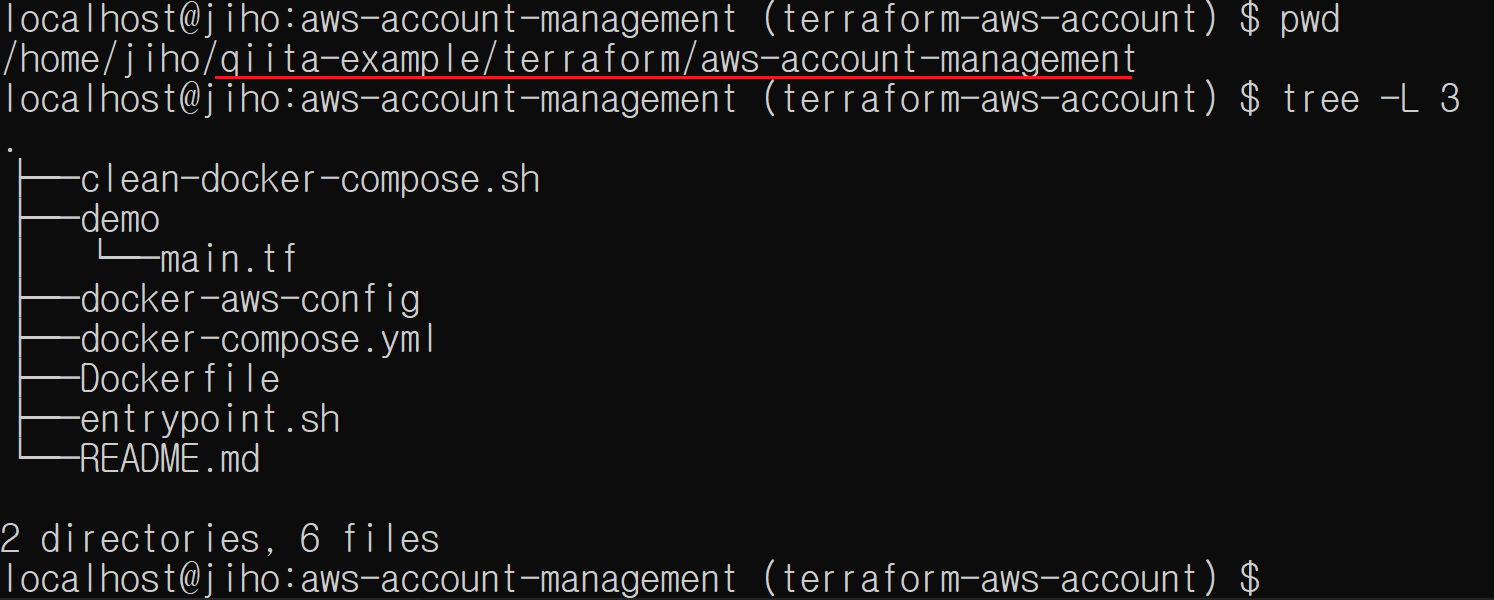
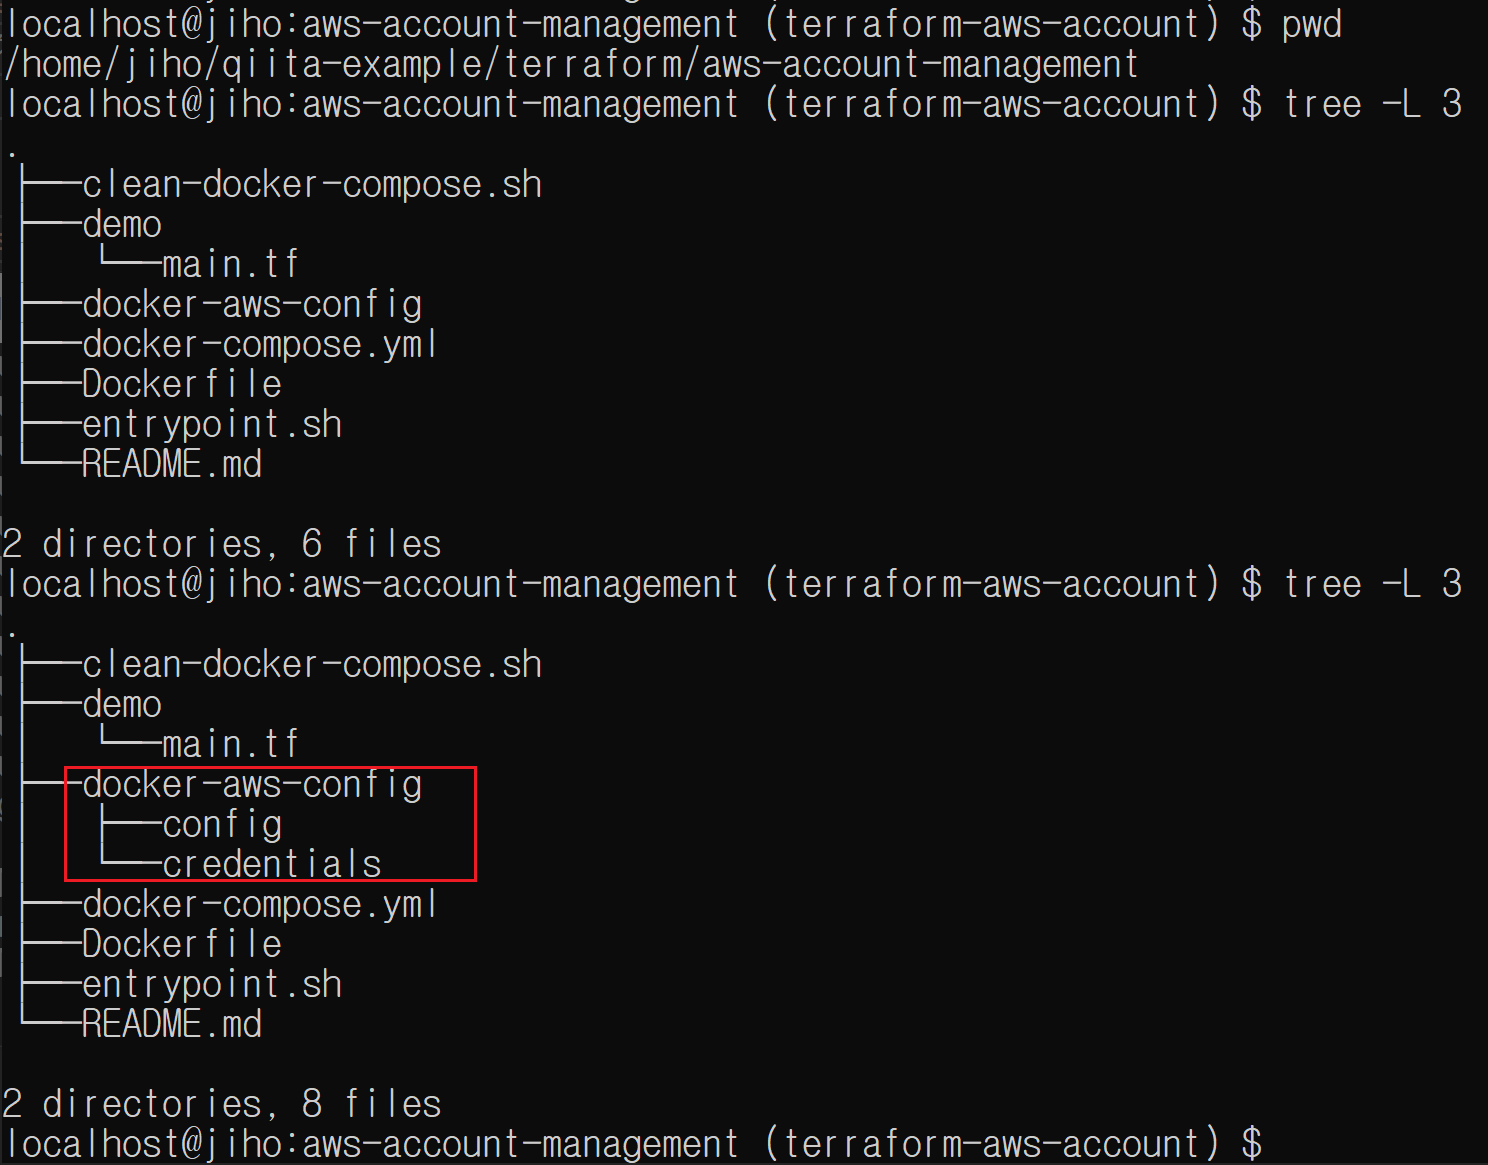
ディレクトリ構成
全体ソースコードは https://github.com/cheekykorkind/qiita-example/tree/master/terraform/aws-account-management で確認できます
-
全体図
-
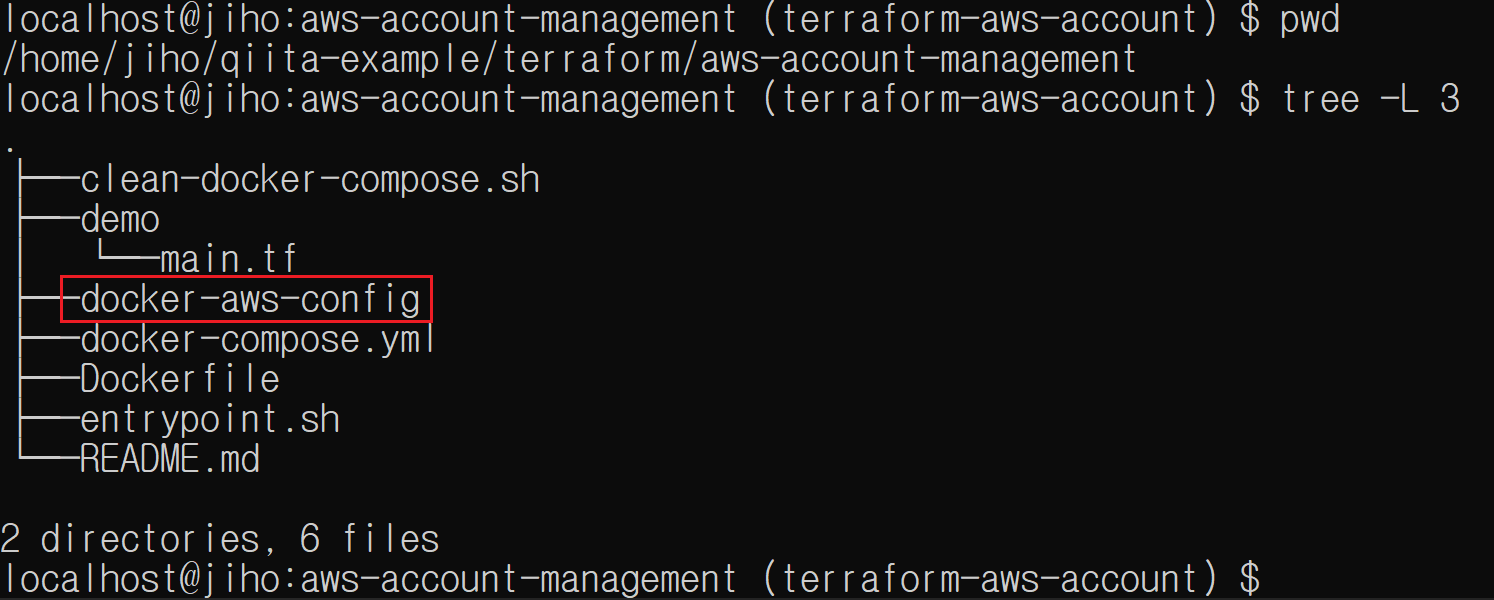
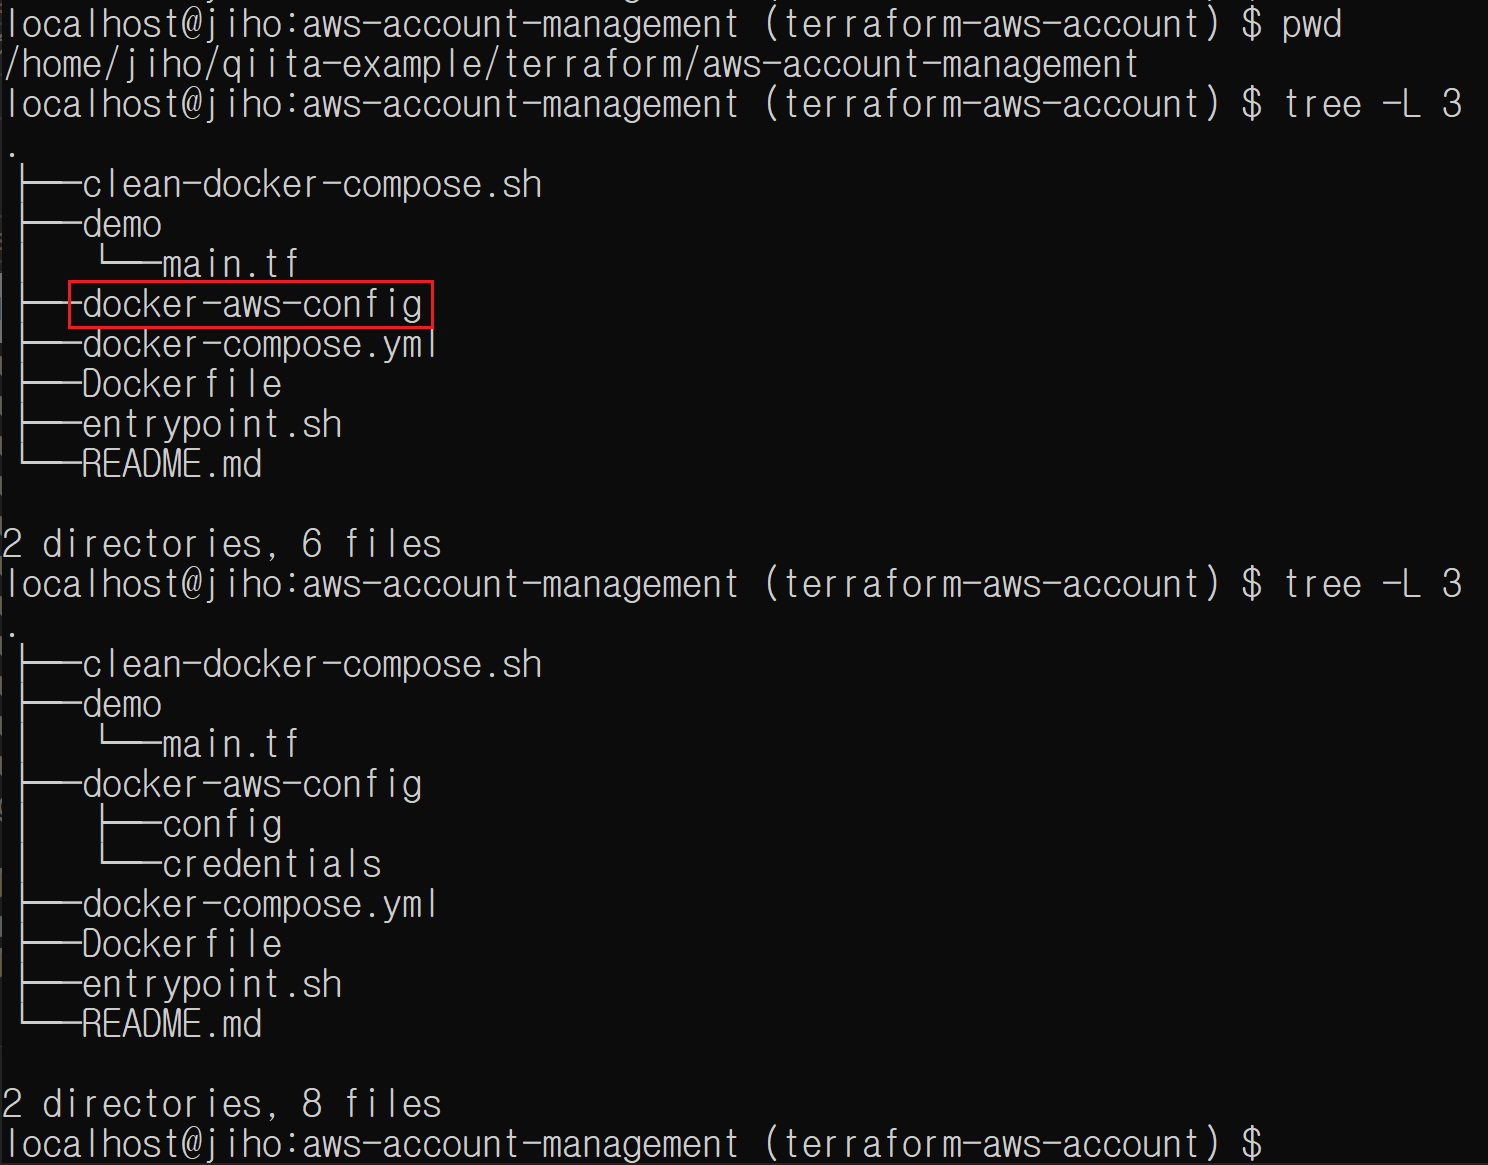
aws profileの情報をマウントするディレクトリ
dockerコンテナの中で生成したaws profileの情報をマウントするところです。
-
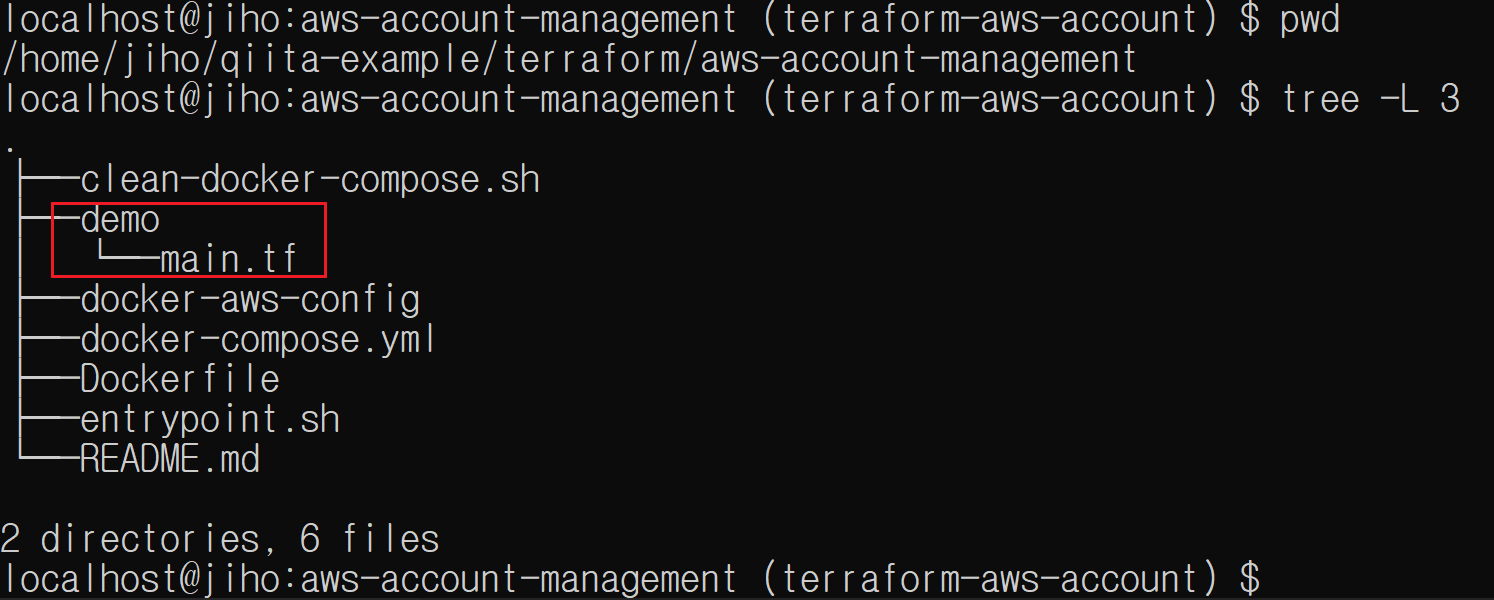
terraformファイルがあるディレクトリ
aws profile名my-demoを参照して、cloudwatch logs groupを一つ作る内容が書かれてます
試し順番です
- docker composeがあるデレクトリー移動に移動します
cd qitta-example/terraform/aws-account-management
- dockerコンテナをバックグラウンドで起動します
DOCKER_UID=$(id -u $USER) DOCKER_GID=$(id -g $USER) docker-compose up -d
- dockerコンテナに入ります
docker exec -it aws-account-management /bin/sh
- aws profile設定します
- 一回で十分です、HOSTマシンに影響与えません
- profile名は
my-demoにしました。terraformで参照してます -
aws configure --profile my-demoの実行前のイメージ
-
aws configure --profile my-demoの実行中のイメージ

-
aws configure --profile my-demoの実行後のイメージ
- terraformデレクトリーに移動します
cd ~/terraform/demo
- terraform initします
terraform init
- terraformを実行します
terraform apply
- terraformのprofile参照名を変えてエラーになるか確認します
- main.tfを一時的に修正します
terraform apply
