JSONExportとは
JSONExportはJSONからモデルのコードを出力してくれるMac用のアプリケーションです。
出力できるもの
- Java for Android.
- Java for Android - to use with Realm.
- Swift Classes.
- Swift Classes - To use with SwiftyJSON library.
- Swift Classes - To use with Realm.
- Swift - CoreData.
- Swift Sturcutres.
- Objective-C - iOS.
- Objective-C - MAC.
- Objective-C - CoreData.
- Objective-C - To use with Realm.
できること
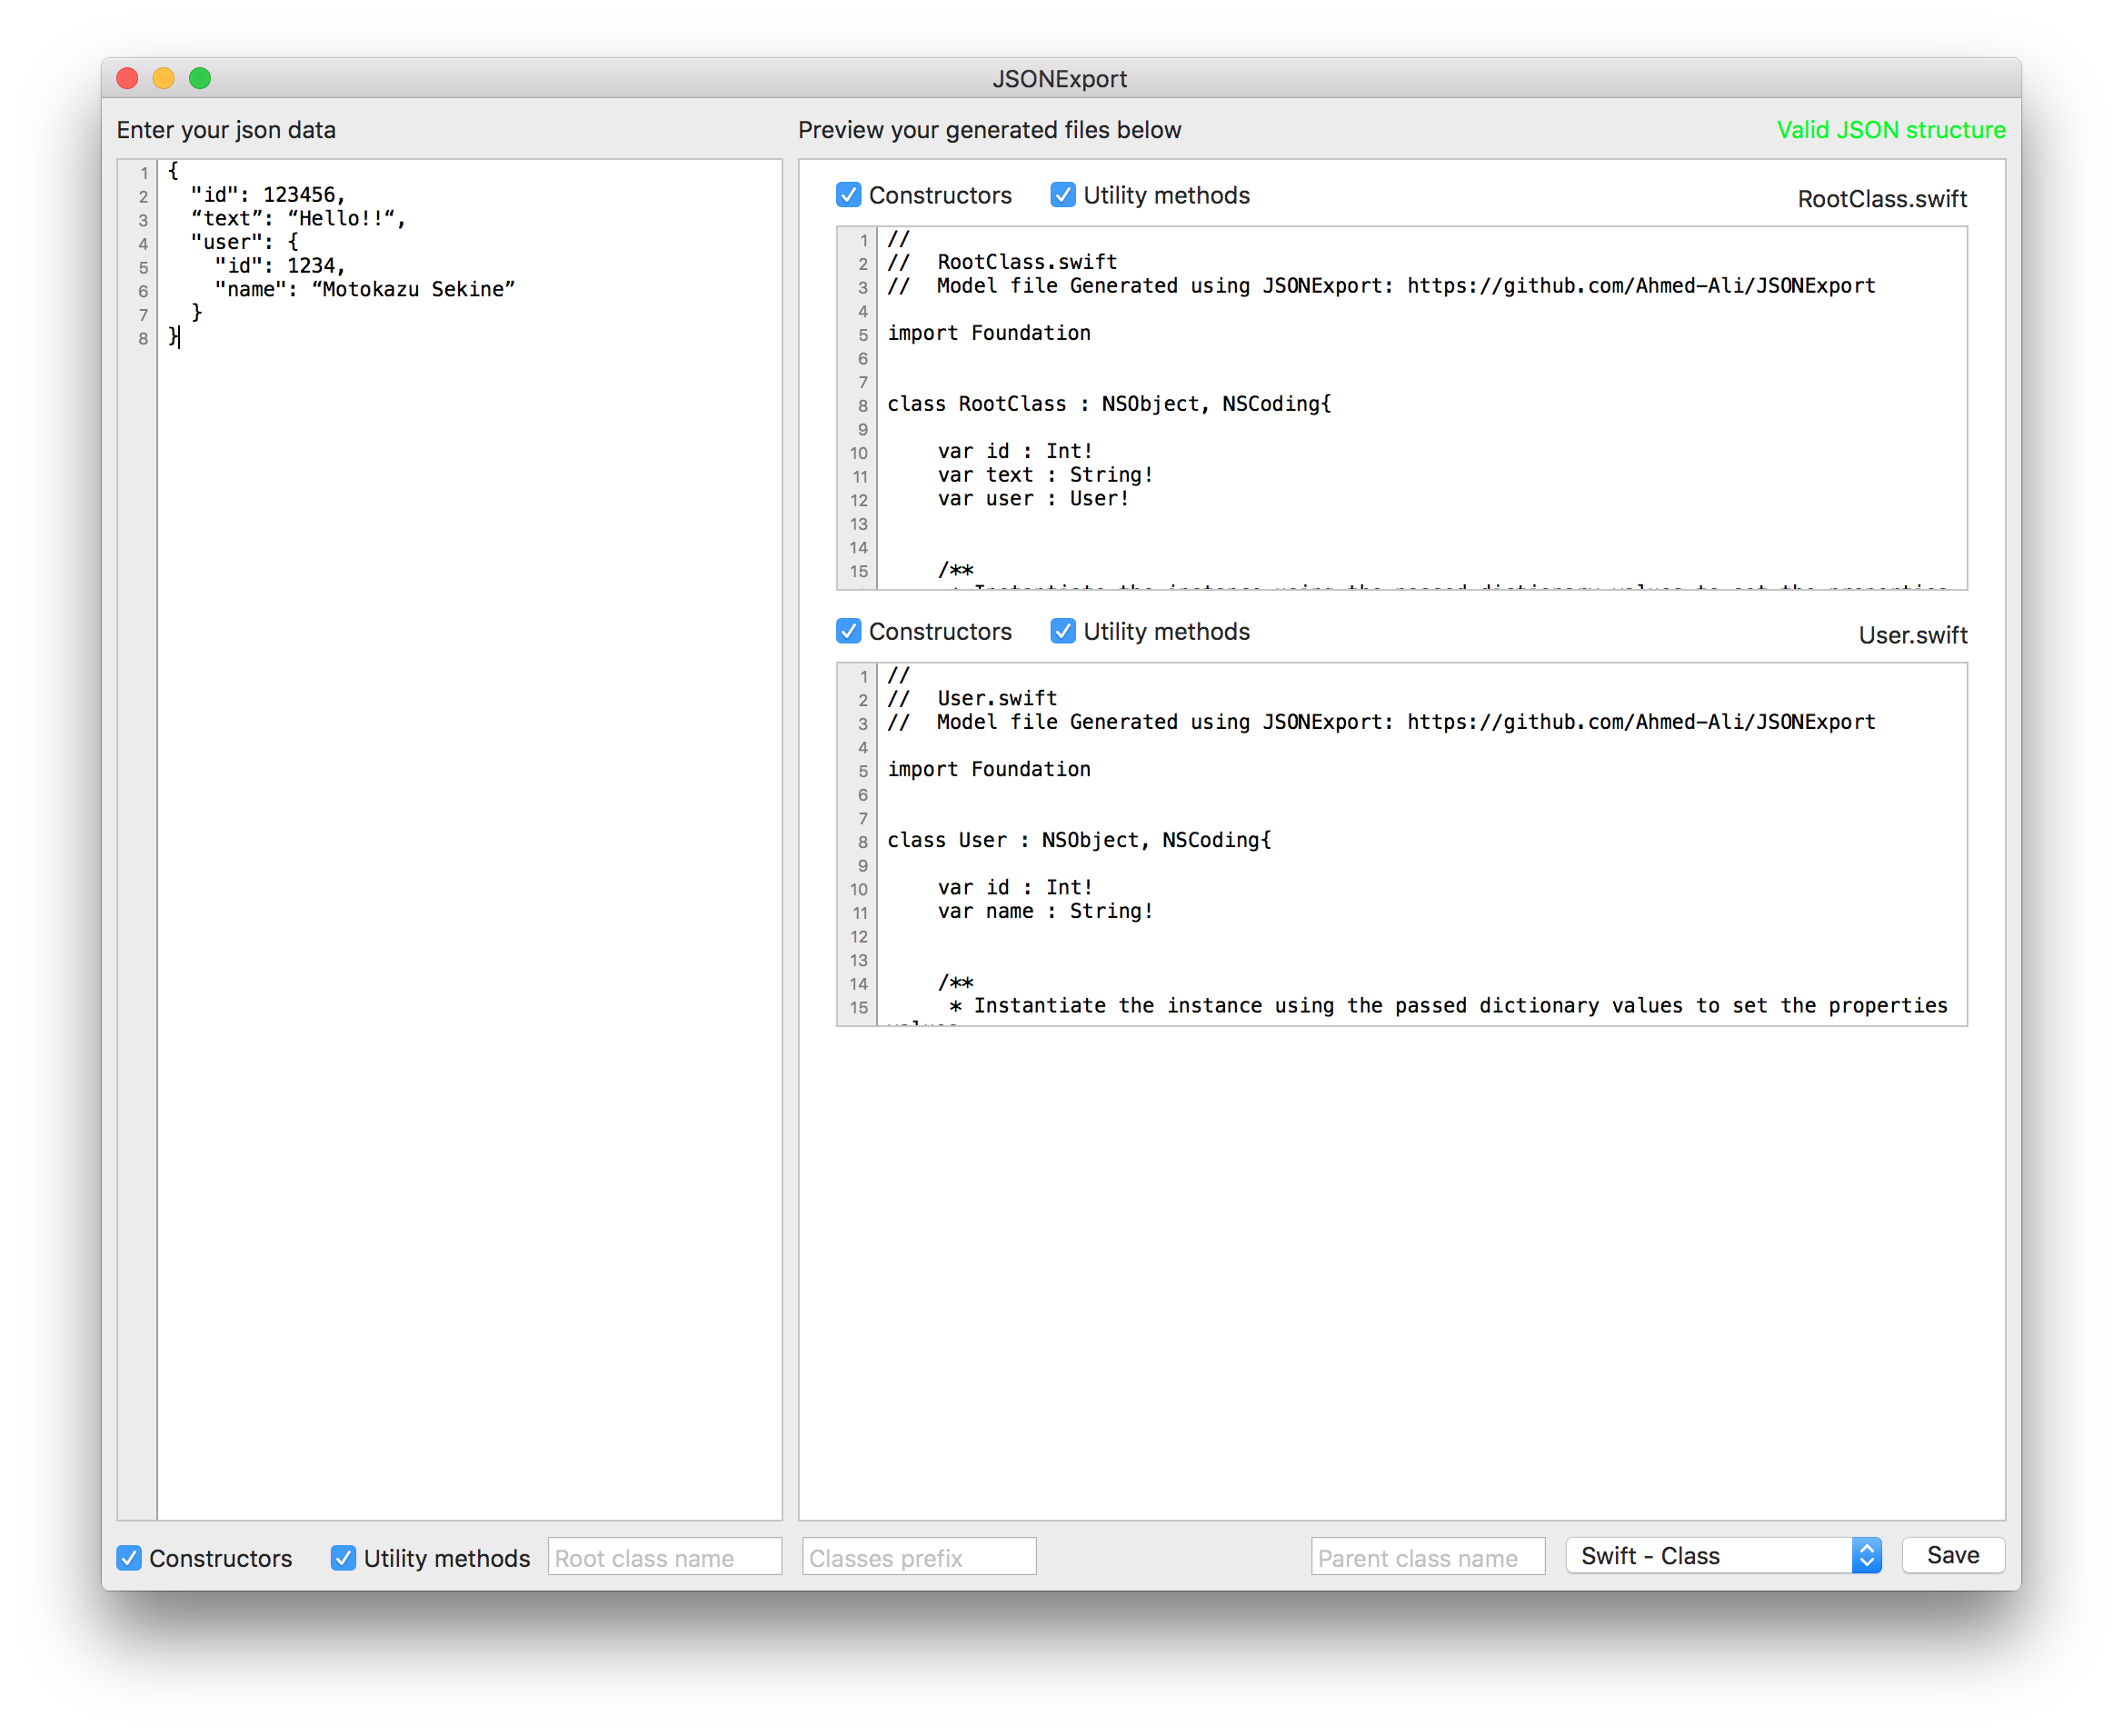
{
  "id": 123456,
  “text”: “Hello!!“,
  "user": {
    "id": 1234,
    "name": “Motokazu Sekine”
  }
}
たとえば、このJSONから、以下のコードが出力されます。
RootClass.swift
//
//	RootClass.swift
//	Model file Generated using JSONExport: https://github.com/Ahmed-Ali/JSONExport

import Foundation


class RootClass : NSObject, NSCoding{

	var id : Int!
	var text : String!
	var user : User!


	/**
	 * Instantiate the instance using the passed dictionary values to set the properties values
	 */
	init(fromDictionary dictionary: NSDictionary){
		id = dictionary["id"] as? Int
		text = dictionary["text"] as? String
		if let userData = dictionary["user"] as? NSDictionary{
			user = User(fromDictionary: userData)
		}
	}

	/**
	 * Returns all the available property values in the form of NSDictionary object where the key is the approperiate json key and the value is the value of the corresponding property
	 */
	func toDictionary() -> NSDictionary
	{
		var dictionary = NSMutableDictionary()
		if id != nil{
			dictionary["id"] = id
		}
		if text != nil{
			dictionary["text"] = text
		}
		if user != nil{
			dictionary["user"] = user.toDictionary()
		}
		return dictionary
	}

    /**
    * NSCoding required initializer.
    * Fills the data from the passed decoder
    */
    @objc required init(coder aDecoder: NSCoder)
	{
         id = aDecoder.decodeObjectForKey("id") as? Int
         text = aDecoder.decodeObjectForKey("text") as? String
         user = aDecoder.decodeObjectForKey("user") as? User

	}

    /**
    * NSCoding required method.
    * Encodes mode properties into the decoder
    */
    @objc func encodeWithCoder(aCoder: NSCoder)
	{
		if id != nil{
			aCoder.encodeObject(id, forKey: "id")
		}
		if text != nil{
			aCoder.encodeObject(text, forKey: "text")
		}
		if user != nil{
			aCoder.encodeObject(user, forKey: "user")
		}

	}

}
User.swift
//
//	User.swift
//	Model file Generated using JSONExport: https://github.com/Ahmed-Ali/JSONExport

import Foundation


class User : NSObject, NSCoding{

	var id : Int!
	var name : String!


	/**
	 * Instantiate the instance using the passed dictionary values to set the properties values
	 */
	init(fromDictionary dictionary: NSDictionary){
		id = dictionary["id"] as? Int
		name = dictionary["name"] as? String
	}

	/**
	 * Returns all the available property values in the form of NSDictionary object where the key is the approperiate json key and the value is the value of the corresponding property
	 */
	func toDictionary() -> NSDictionary
	{
		var dictionary = NSMutableDictionary()
		if id != nil{
			dictionary["id"] = id
		}
		if name != nil{
			dictionary["name"] = name
		}
		return dictionary
	}

    /**
    * NSCoding required initializer.
    * Fills the data from the passed decoder
    */
    @objc required init(coder aDecoder: NSCoder)
	{
         id = aDecoder.decodeObjectForKey("id") as? Int
         name = aDecoder.decodeObjectForKey("name") as? String

	}

    /**
    * NSCoding required method.
    * Encodes mode properties into the decoder
    */
    @objc func encodeWithCoder(aCoder: NSCoder)
	{
		if id != nil{
			aCoder.encodeObject(id, forKey: "id")
		}
		if name != nil{
			aCoder.encodeObject(name, forKey: "name")
		}

	}

}
超絶に便利です!!
使い方
JSONExportはバイナリで提供されていませんので、プロジェクトをダウンロードして自分でビルドする必要があります。
ビルドには、XcodeのインストールされたMacが必要です。
https://github.com/Ahmed-Ali/JSONExport からCloneするなりダウンロードするなりして、プロジェクトをゲットしましょう。
JSONExport.xcodeprojをXcodeで開きます。

メニューから、[Product]->[Archive]を選択します

ビルドが開始されます。
ビルドが終了すると、オーガナイザが開くので[Export]ボタンを押します。
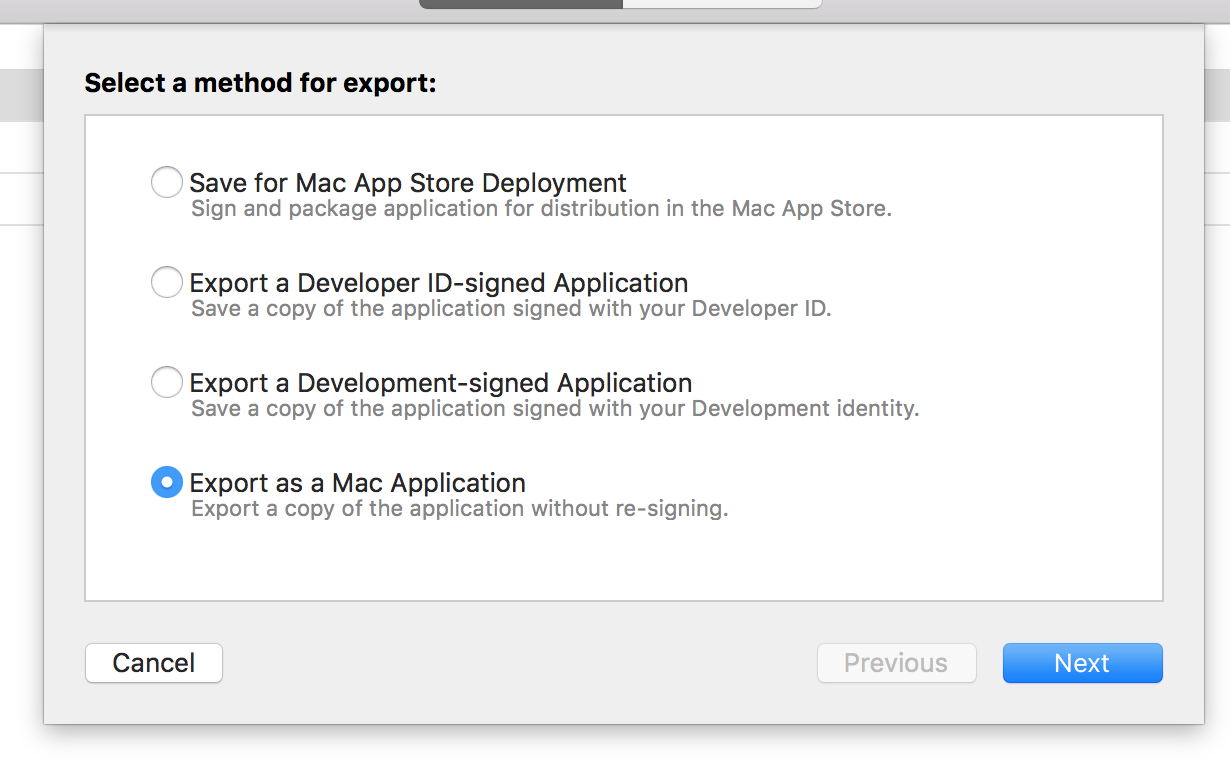
「Export as a Mac Application」を選択して、[Next]ボタンを押します。
出力先を聞かれるので、とりあえずデスクトップを指定しましょう。

[Export]ボタンを押すと、JSONExportの入ったフォルダができます。
このフォルダの中に入っているJSONExportを使うことになります。

あとは、JSONExportを起動して、左ペインにJSONのコードを貼り付けて、右下で出力するコードの種類を指定して、[Save]ボタンを押すだけです!

ファイルに出力せずに、そのままコードをコピーしてもOKです。
おしまい
JSONからコードをちまちま書いていくのはミスの元ですし、結構辛い作業です。
JSONExportを使って、楽しましょう!