What's
CentOS 8に、SonarQubeサーバーの8.6をインストールしてみます。
SonarQubeとは
SonarQubeは、ソースコードのバグ、脆弱性などを検出するツールです。
使い方としては2つあるようです。
- IDEなどでソースコードを書く時に使うSonarLint
- ビルドやテスト実行時に解析を行うSonarQube scanner
- SonarQube scannerはSonarQubeサーバーに結果を送信する
今回は、SonarQubeサーバーをCentOS 8にインストールしてみます。
SonarQubeサーバー
SonarQubeのダウンロードページに行くと、4種類あることが確認できます。
Community Edition、Developer Edition、Enterprise Edition、Data Center Editionがあり、できることがより増えていくようです。
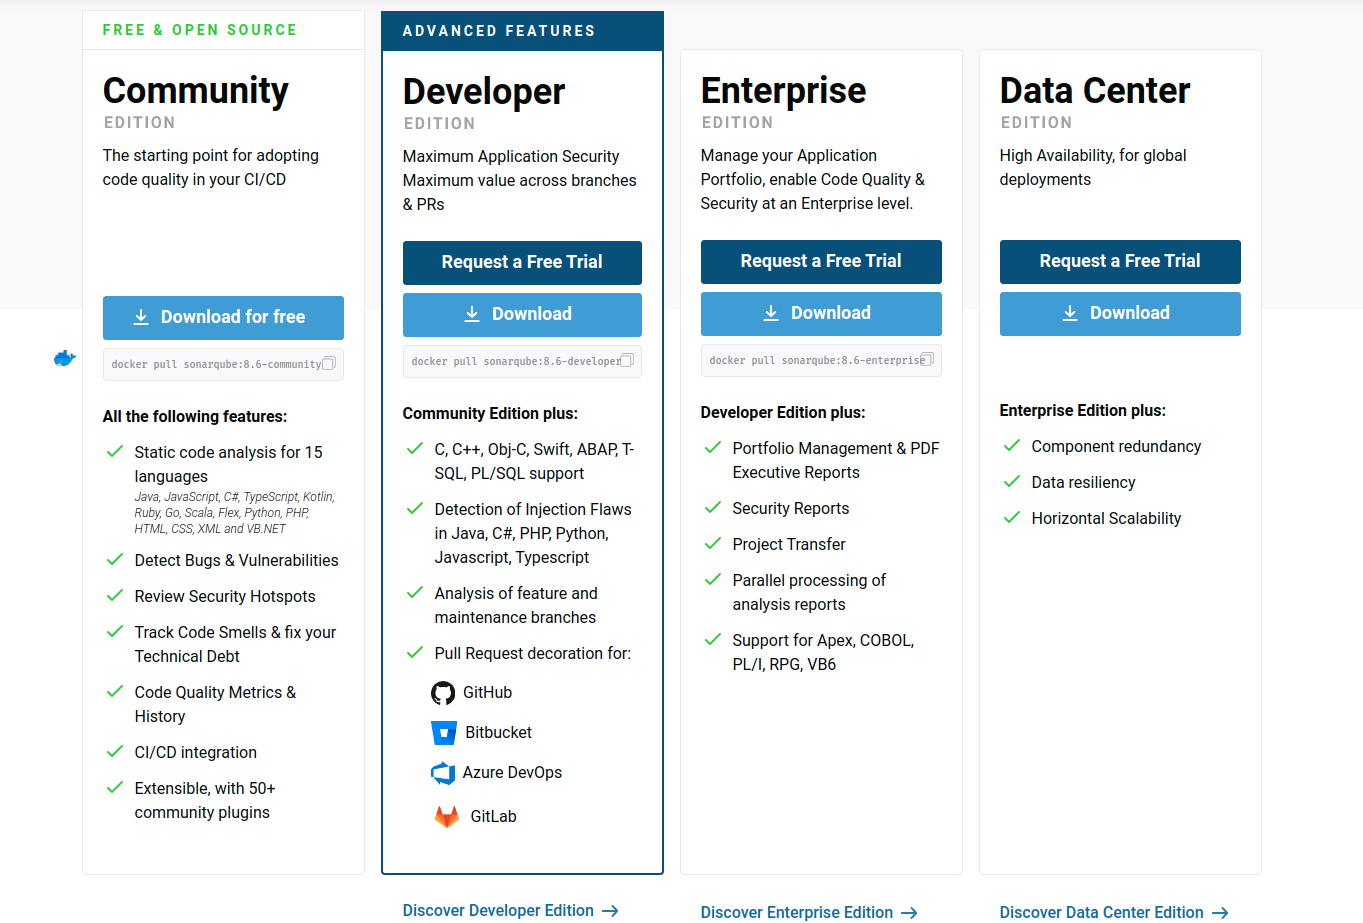
Community Editionでは、以下の15言語に対応しています。
- Java
- JavaScript
- C#
- TypeScript
- Kotlin
- Ruby
- Go
- Scala
- Flex
- Python
- PHP
- HTML
- CSS
- XML
- VB.NET
Developer Editionになると、Community Editionの15言語に加えて以下の7言語が追加されます。
- C
- C++
- Objective-C
- Swift
- ABAP
- T-SQL
- PL/SQL
Enterprise EditionおよびData Center Editionでは、さらに5言語が追加されます。
- Apex
- COBOL
- PLI
- RPG
- VB6
対応している言語とEditionについては、こちらを見るとよいでしょう。
今回はフリーで使えるCommunity Editionをインストールしてみます。
SonarQubeにはLTS(長期サポート)があり、現在のLTSとなっているバージョンは7.9です。
また、LTSの期間は18ヶ月のようです。
SonarQube自体は約2ヶ月で新しいリリースを行っているようで、現時点での最新版は8.6です。
今回は、SonarQubeサーバー8.6をインストールしましょう。
環境
今回の環境は、こちらです。
$ cat /etc/redhat-release
CentOS Linux release 8.3.2011


$ uname -srvmpio
Linux 4.18.0-240.10.1.el8_3.x86_64 #1 SMP Mon Jan 18 17:05:51 UTC 2021 x86_64 x86_64 x86_64 GNU/Linux
SonarQubeのインストールに必要なもの
SonarQube 8.6のドキュメントはこちらです。
インストールに必要な情報を見てみます。
- 2G以上のメモリ、1G以上の空きメモリが必要
- 大規模で使う場合は複数台の構成になる
- 32bit OSはサポートしていない
- Java
- SonarQubeサーバー: Oracle JRE 11またはOpenJDK 11
- SonqrQube scanner: Oracle JRE 8、11またはOpenJDK 8、11
- データベース(バージョンまで明記されています)
- PostgreSQL
- Microsoft SQL Server
- Oracle
今回は、OpenJDK 11、PostgreSQL 12を使って環境を作ります。
必要なソフトウェアのインストール
というわけで、まずはOpenJDK 11とPostgreSQL 12をインストールしましょう。
OpenJDK 11のインストール。CentOS 8のパッケージで入れます。
$ sudo dnf install java-11-openjdk-devel
インストールされたバージョン。
$ java --version
openjdk 11.0.9.1 2020-11-04 LTS
OpenJDK Runtime Environment 18.9 (build 11.0.9.1+1-LTS)
OpenJDK 64-Bit Server VM 18.9 (build 11.0.9.1+1-LTS, mixed mode, sharing)
PostgreSQLは、こちらから。
Linux downloads (Red Hat family)
$ sudo dnf install -y https://download.postgresql.org/pub/repos/yum/reporpms/EL-8-x86_64/pgdg-redhat-repo-latest.noarch.rpm

$ sudo dnf -qy module disable postgresql

$ sudo dnf install -y postgresql12-server
psqlですが、バージョン確認。
$ psql -V
psql (PostgreSQL) 12.5
初期化と起動まで。
$ sudo /usr/pgsql-12/bin/postgresql-12-setup initdb
$ sudo systemctl enable postgresql-12
$ sudo systemctl start postgresql-12
ドキュメントを見ていると、専用のユーザーとかは作った方がよさそうなので作っておきましょう。
Install the Server / Installing the database
sonarqubeというユーザーと、sonarqubedbというデータベースを作成しました。
$ sudo -u postgres psql
psql (12.5)
Type "help" for help.

postgres=# create user sonarqube with password 'password1234';
CREATE ROLE

postgres=# create database sonarqubedb owner sonarqube;
CREATE DATABASE
pg_hba.confを編集して、作成したsonarqubeユーザーをパスワード認証できるようにします。
/var/lib/pgsql/12/data/pg_hba.confに、以下を追加。
host sonarqubedb sonarqube 127.0.0.1/32 md5
全体としてはこんな感じです。
$ sudo grep -Ev '^#|^$' /var/lib/pgsql/12/data/pg_hba.conf
local   all             all                                     peer
host    sonarqubedb     sonarqube       127.0.0.1/32            md5
host    all             all             127.0.0.1/32            ident
host    all             all             ::1/128                 ident
local   replication     all                                     peer
host    replication     all             127.0.0.1/32            ident
host    replication     all             ::1/128                 ident
変更したら、PostgreSQLサーバーを再起動。
$ sudo systemctl restart postgresql-12
これで、準備は完了ですね。
SonarQubeサーバーをインストールする
では、SonarQubeサーバーをインストールしましょう。
今回は、なにも考えずに使っているOSユーザーのホームディレクトリにインストールすることにします。
Install the Server / Installing SonarQube from the ZIP file
SonarQubeサーバー8.6のzipファイルをダウンロードしてきて展開。
$ curl -sLO https://binaries.sonarsource.com/Distribution/sonarqube/sonarqube-8.6.0.39681.zip
$ unzip sonarqube-8.6.0.39681.zip
$ cd sonarqube-8.6.0.39681
設定ファイルは、conf/sonar.propertiesにあります。
また、H2、Microsoft SQL Server、PostgreSQLを使う場合は、JDBCドライバはすでに含まれているようです。
$ find lib/jdbc -type f
lib/jdbc/mssql/mssql-jdbc-7.4.1.jre11.jar
lib/jdbc/postgresql/postgresql-42.2.17.jar
lib/jdbc/h2/h2-1.4.199.jar
Oracleの場合は、JDBCドライバをダウンロードしてきてextensions/jdbc-driver/oracleに格納する必要があります。
最低限の設定も、こちらに書いてあります。
Install the Server / Installing SonarQube from the ZIP file
conf/sonar.propertiesに、データベースの接続先を設定。
$ grep -vE '^#|^$' conf/sonar.properties
sonar.jdbc.username=sonarqube
sonar.jdbc.password=password1234
sonar.jdbc.url=jdbc:postgresql://localhost:5432/sonarqubedb
SonarQubeを起動。
$ bin/linux-x86-64/sonar.sh start
メッセージを見ると、起動が完了したかのように見えます。
Starting SonarQube...
Started SonarQube.
が、どうやら起動できていないようです。
$ bin/linux-x86-64/sonar.sh status
SonarQube is not running.
logsディレクトリ内にsonar-[YYYYmmdd].logという形式でログが出ているので、確認してみます。
2021.01.22 03:12:14 INFO  app[][o.s.a.SchedulerImpl] Waiting for Elasticsearch to be up and running
OpenJDK 64-Bit Server VM warning: Option UseConcMarkSweepGC was deprecated in version 9.0 and will likely be removed in a future release.
ERROR: [1] bootstrap checks failed
[1]: max virtual memory areas vm.max_map_count [65530] is too low, increase to at least [262144]
Elasticsearchを使っているようで、vm.max_map_countが足りないようです。
現在値を確認。
$ sudo sysctl -a | grep vm.max_map_count
vm.max_map_count = 65530
/etc/sysctl.confに以下を追記して
vm.max_map_count = 262144
反映します。
$ sudo sysctl -p
もう1度確認。
$ sudo sysctl -a | grep vm.max_map_count
vm.max_map_count = 262144
今度は起動します。
$ bin/linux-x86-64/sonar.sh start
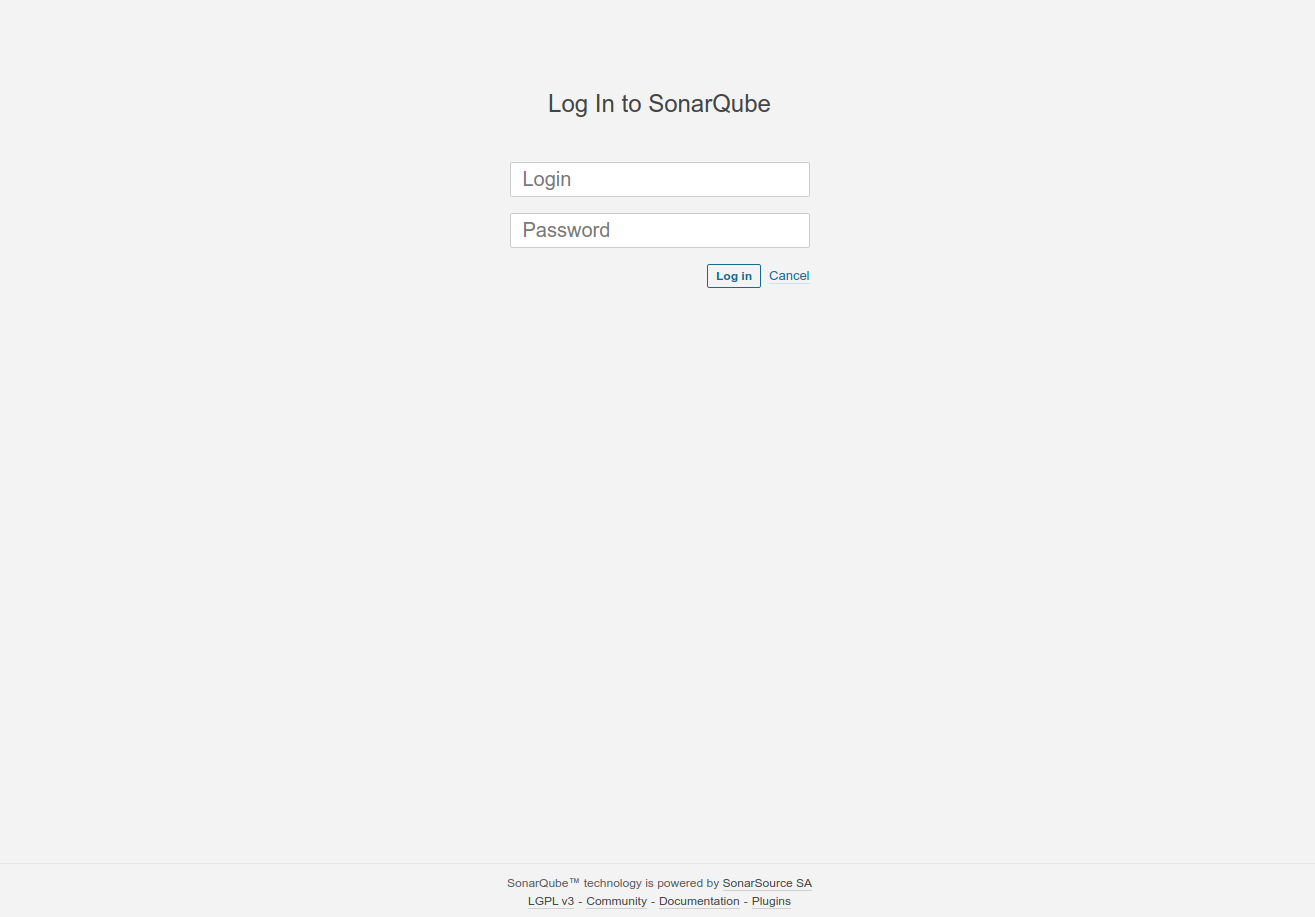
http://[SonarQubeが可動しているホストのIPアドレス]:9000にアクセスすると、こんなページが表示されます。
リモートから接続する場合で、firewalldが有効になっている場合はポート9000を許可してください。
$ sudo firewall-cmd --permanent --zone=public --add-port=9000/tcp
$ sudo firewall-cmd --reload
デフォルトの管理者のユーザー名、パスワードはともにadminです。
初回はパスワードの変更が求められるので、それを完了させると
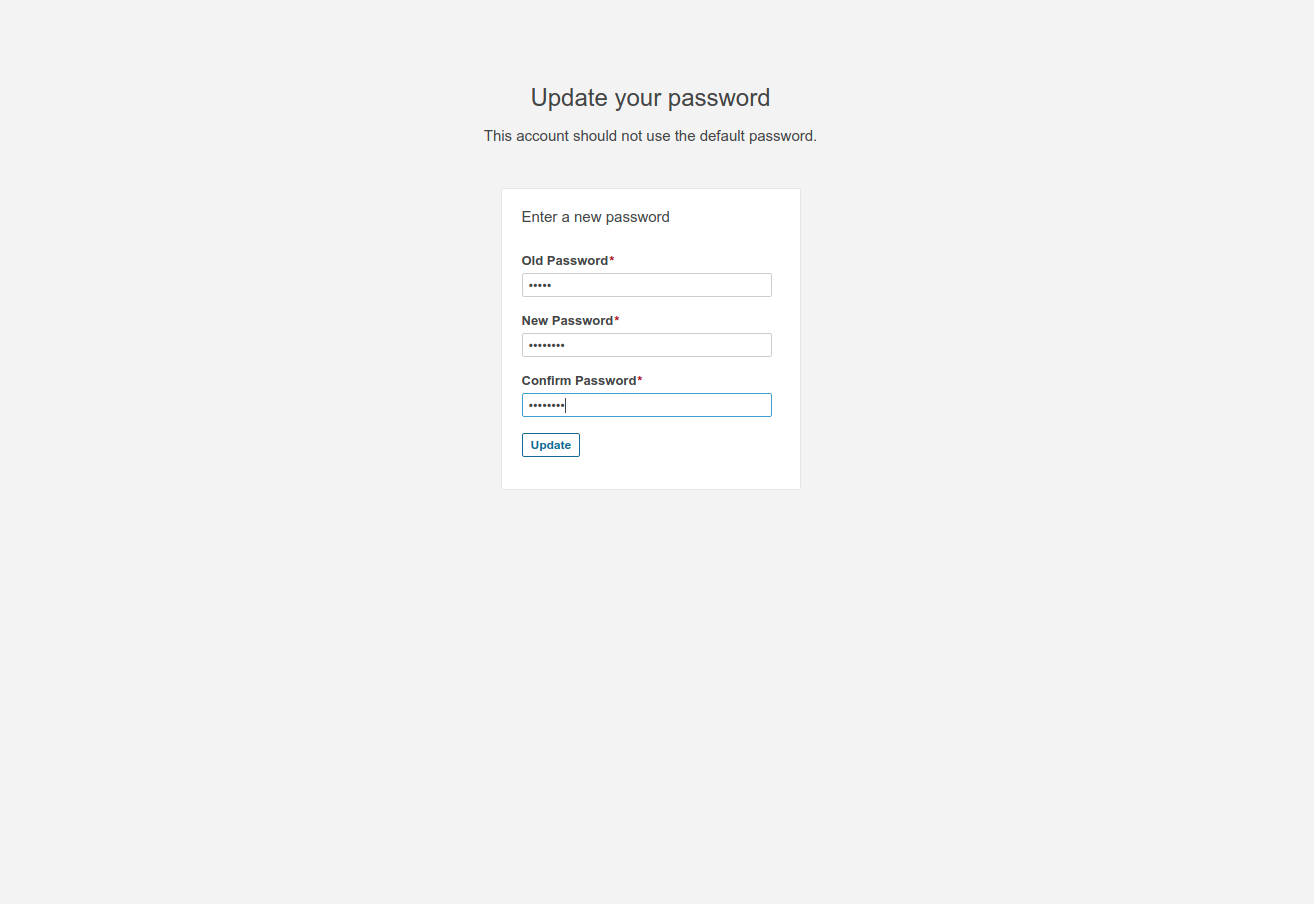
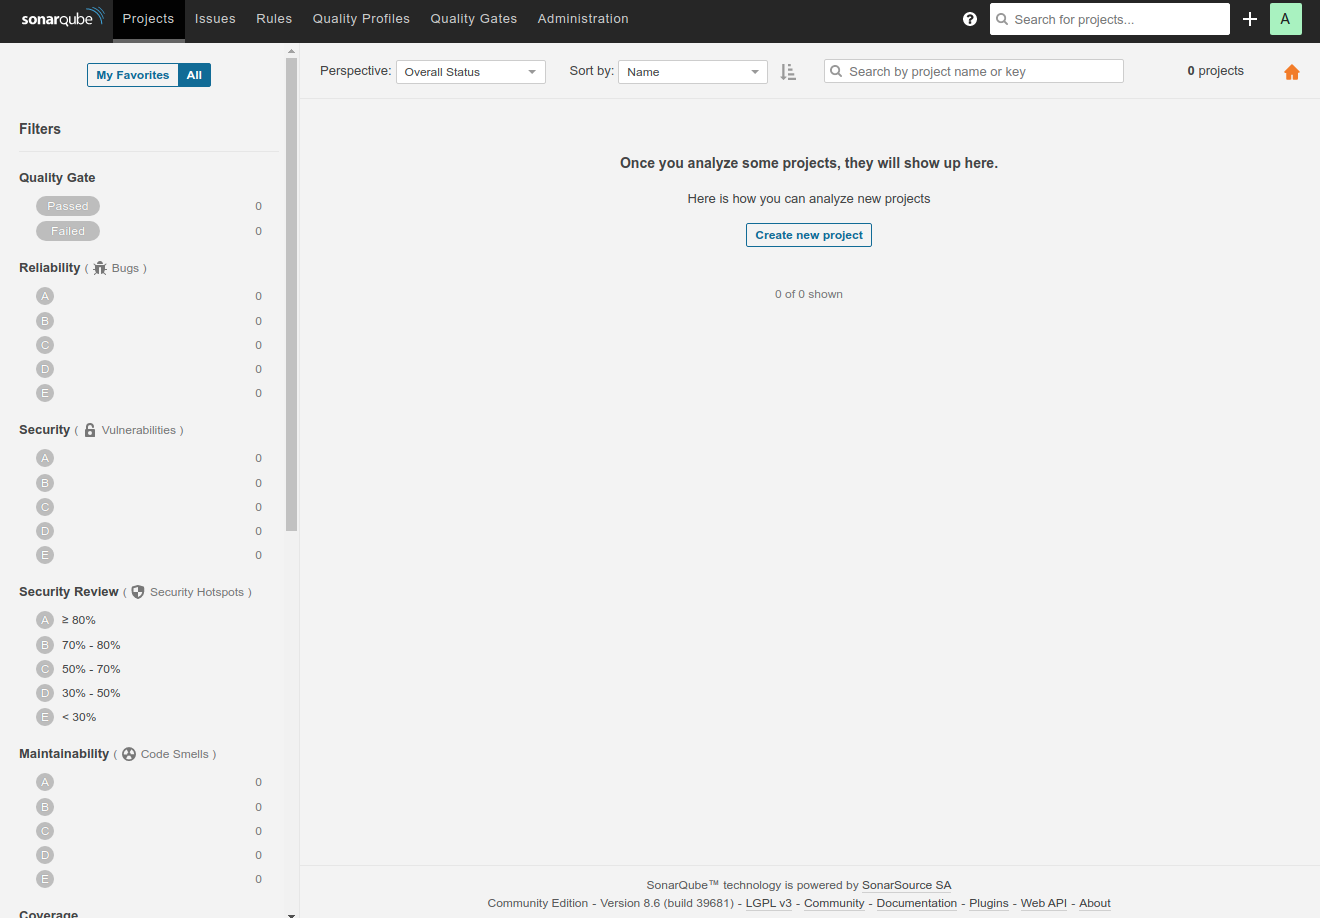
ログイン完了です。
ステータスの確認。
$ bin/linux-x86-64/sonar.sh status
SonarQube is running (1144).
停止は、stopです。
$ bin/linux-x86-64/sonar.sh stop
せっかくなので、Elasticsearchのバージョンも確認してみましょう。
]$ curl localhost:9001
{
  "name" : "sonarqube",
  "cluster_name" : "sonarqube",
  "cluster_uuid" : "p91MRP_4SLKBnreadmMUGQ",
  "version" : {
    "number" : "7.9.3",
    "build_flavor" : "oss",
    "build_type" : "tar",
    "build_hash" : "c4138e51121ef06a6404866cddc601906fe5c868",
    "build_date" : "2020-10-16T10:36:16.141335Z",
    "build_snapshot" : false,
    "lucene_version" : "8.6.2",
    "minimum_wire_compatibility_version" : "6.8.0",
    "minimum_index_compatibility_version" : "6.0.0-beta1"
  },
  "tagline" : "You Know, for Search"
}
というわけで、CentOS 8にSonarQubeサーバー8.6のインストールが完了しました。