What's?
ちょっと、GlassFishを動かしてみたいなと思いまして。
今回はJava EE 8を使いたいので、GlassFish 5を使い、簡単なJAX-RS+CDIを動かすところまでやってみたいと思います。
GlassFish 5
GlassFish 5までのWebサイトはこちらですね。
ドキュメント。
GlassFish 5.1以降はEE4J傘下にいるので、こちらのWebサイトを見ることになります。
Jakarta EE 8以降であれば、こちらを使いましょうということですね。
環境
今回の環境は、こちらです。
$ java -version
openjdk version "1.8.0_292"
OpenJDK Runtime Environment (build 1.8.0_292-8u292-b10-0ubuntu1~20.04-b10)
OpenJDK 64-Bit Server VM (build 25.292-b10, mixed mode)


$ mvn --version
Apache Maven 3.8.3 (ff8e977a158738155dc465c6a97ffaf31982d739)
Maven home: $HOME/.sdkman/candidates/maven/current
Java version: 1.8.0_292, vendor: Private Build, runtime: /usr/lib/jvm/java-8-openjdk-amd64/jre
Default locale: ja_JP, platform encoding: UTF-8
OS name: "linux", version: "5.4.0-89-generic", arch: "amd64", family: "unix"
GlassFish 5.0のインストール
まずは、GlassFish 5をインストールしましょう。
Installation Guideはこちら。
Fulll PlatformとWeb Profileがありますが、今回はWeb Profileにしました。
Fulll PlatformとWeb Profileに含まれているJava EEの機能の差は、Installation Guideのp.20に書かれています。
zipファイルをダウンロードして
$ curl -OL http://download.oracle.com/glassfish/5.0.1/release/glassfish-5.0.1-web.zip
展開。
$ unzip glassfish-5.0.1-web.zip
$ cd glassfish5
あとはQuick Start Guideを見つつ進めていきます。
GlassFishを起動。というか、ドメインを起動、ですね。
$ bin/asadmin start-domain
こんな内容がコンソールに出力されます。ドメインやログの位置がわかりますね。
Waiting for domain1 to start ....
Successfully started the domain : domain1
domain  Location: /path/to/glassfish5/glassfish/domains/domain1
Log File: /path/to/glassfish5/glassfish/domains/domain1/logs/server.log
Admin Port: 4848
Command start-domain executed successfully.
また、GlassFishが使用するポートは、Quick Start Guideのp.11に書いてあります。
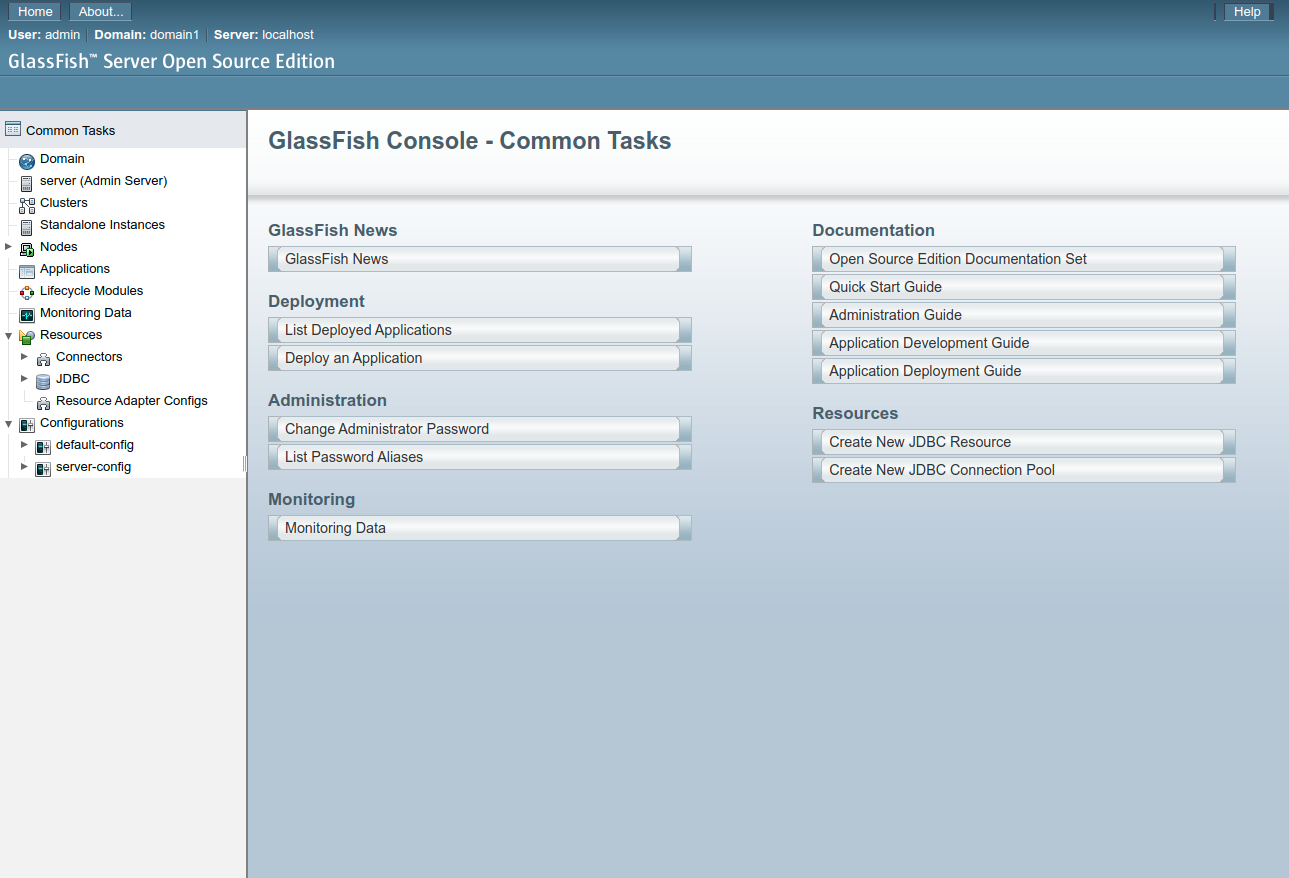
この状態でhttp://localhost:4848/ にアクセスすると、管理UIを見ることができます。
その他、コマンド。
ドメインの一覧表示。
$ bin/asadmin list-domains
domain1 running
Command list-domains executed successfully.
ドメインの停止。
$ bin/asadmin stop-domain
Waiting for the domain to stop .
Command stop-domain executed successfully.
この後、アプリケーションをデプロイするので、再度ドメインを起動。
$ bin/asadmin start-domain
ちなみに、domain1というのはデフォルトのドメインで、start-domainやstop-domainには明示的にドメインを指定することもできます。
NAME
       start-domain - starts the DAS of the specified domain

SYNOPSIS
           start-domain [--help]
           [--debug={true|false}] [--domaindir domain-dir]
           [--dry-run={true|false}] [--upgrade={true|false}]
           [--verbose={true|false}] [--watchdog={true|false}]
           [domain-name]

------------------------------------------------------------------------------------------

NAME
       stop-domain - stops the Domain Administration Server of the specified
       domain

SYNOPSIS
           stop-domain [--help] [--domaindir domaindir]
           [--force={true|false}] [--kill={false|true}]
           [domain-name]
今回は、このままデフォルトのdomain1を使います。
サンプルプログラムを作る
では、GlassFishにデプロイするアプリケーションを作っていきます。
アプリケーションを作る際は、このあたりを参考にするとよいでしょう。
今回は、JAX-RS(JSON)+CDIを使った簡単なサンプルにしましょう。
作成したプログラムは、こちら。
<?xml version="1.0" encoding="UTF-8"?>
<project xmlns="http://maven.apache.org/POM/4.0.0"
         xmlns:xsi="http://www.w3.org/2001/XMLSchema-instance"
         xsi:schemaLocation="http://maven.apache.org/POM/4.0.0 http://maven.apache.org/xsd/maven-4.0.0.xsd">
    <modelVersion>4.0.0</modelVersion>

    <groupId>org.example</groupId>
    <artifactId>glassfish5-demo</artifactId>
    <version>0.0.1-SNAPSHOT</version>
    <packaging>war</packaging>

    <properties>
        <maven.compiler.source>8</maven.compiler.source>
        <maven.compiler.target>8</maven.compiler.target>
        <project.build.sourceEncoding>UTF-8</project.build.sourceEncoding>
        <project.reporting.outputEncoding>UTF-8</project.reporting.outputEncoding>
        <failOnMissingWebXml>false</failOnMissingWebXml>
    </properties>

    <dependencies>
        <dependency>
            <groupId>javax</groupId>
            <artifactId>javaee-web-api</artifactId>
            <version>8.0.1</version>
            <scope>provided</scope>
        </dependency>
    </dependencies>

    <build>
        <finalName>${project.artifactId}</finalName>
    </build>
</project>
web.xmlは不要にしています。
<failOnMissingWebXml>false</failOnMissingWebXml>
JAX-RS有効化。
package org.example;

import javax.ws.rs.ApplicationPath;
import javax.ws.rs.core.Application;

@ApplicationPath("")
public class JaxrsActivator extends Application {
}
JAX-RSリソースクラス。
package org.example;

import javax.enterprise.context.ApplicationScoped;
import javax.inject.Inject;
import javax.ws.rs.POST;
import javax.ws.rs.Path;
import javax.ws.rs.Produces;
import javax.ws.rs.core.MediaType;

@Path("hello")
@ApplicationScoped
public class HelloResource {
    @Inject
    MessageService messageService;

    @POST
    @Produces(MediaType.APPLICATION_JSON)
    public HelloResponse hello(HelloRequest request) {
        return new HelloResponse(messageService.format(request.getMessage()));
    }

    public static class HelloRequest {
        String message;

        public String getMessage() {
            return message;
        }

        public void setMessage(String message) {
            this.message = message;
        }
    }

    public static class HelloResponse {
        String message;

        public HelloResponse(String message) {
            this.message = message;
        }

        public String getMessage() {
            return message;
        }

        public void setMessage(String message) {
            this.message = message;
        }
    }
}
CDI管理Bean。
package org.example;

import javax.enterprise.context.ApplicationScoped;

@ApplicationScoped
public class MessageService {
    public String format(String message) {
        return String.format("★★★ %s ★★★", message);
    }
}
パッケージング。
$ mvn package
target/glassfish5-demo.warというファイルができるので、ここから先はこのファイルをデプロイしていきます。
アプリケーションをGlassFishにデプロイする
デプロイの方法は、Quick Start Guideのp.13に書かれています。
以下のコマンドで、デプロイ。
$ bin/asadmin deploy /path/to/glassfish5-demo/target/glassfish5-demo.war
Application deployed with name glassfish5-demo.
Command deploy executed successfully.
確認。
$ curl -H 'Content-Type: application/json' localhost:8080/glassfish5-demo/hello -d '{"message": "Hello GlassFish!!"}'
{"message":"★★★ Hello GlassFish!! ★★★"}
OKですね。
その他、コマンド。
アプリケーションの一覧。
$ bin/asadmin list-applications
glassfish5-demo  <web>
Command list-applications executed successfully.
再デプロイの場合は、--nameでアプリケーション名を指定してredeployです。
$ bin/asadmin redeploy --name glassfish5-demo /path/to/glassfish5-demo/target/glassfish5-demo.war
Application deployed with name glassfish5-demo.
Command redeploy executed successfully.
アンデプロイ。
$ bin/asadmin undeploy glassfish5-demo
Command undeploy executed successfully.
これが基本的な操作でしょうか。
Maven Cargo Pluginを使ってデプロイする
次に、Mavenでもデプロイしてみようと思い、Maven Cargo Pluginを使ってみることにしました。
ドキュメントを見ていても使い方がよくわからなかったのですが、掲載されている記事を参考にすると良さそうです。
今回は、この記事を参考にしました。
今回はこういう設定に。
    <build>
        <finalName>${project.artifactId}</finalName>
        <plugins>
            <plugin>
                <groupId>org.codehaus.cargo</groupId>
                <artifactId>cargo-maven3-plugin</artifactId>
                <version>1.9.8</version>
                <configuration>
                    <container>
                        <containerId>glassfish5x</containerId>
                        <type>installed</type>
                        <home>/path/to/glassfish5</home>
                    </container>
                    <configuration>
                        <type>existing</type>
                        <home>/path/to/glassfish5/glassfish/domains</home>
                        <properties>
                            <cargo.glassfish.domain.name>domain1</cargo.glassfish.domain.name>
                        </properties>
                    </configuration>
                </configuration>
            </plugin>
        </plugins>
    </build>
Codehaus Cargoでは、実行時にアプリケーションサーバーをダウンロードしてきて使う方法と、既存(インストール済み)のアプリケーションサーバーを使う方法がありますが、今回は先ほどインストールしたものを使います。
よって、typeがinstalledでexistingです。
                <configuration>
                    <container>
                        <containerId>glassfish5x</containerId>
                        <type>installed</type>
                        <home>/path/to/glassfish5</home>
                    </container>
                    <configuration>
                        <type>existing</type>
containerIdは、使うアプリケーションサーバーのバージョンに合ったものを選ぶ必要があります。今回はglassfish5xです。
設定はこれでいいのですが。
ここでだいぶハマったのは、adminユーザーのパスワードを設定していないとこんな感じのエラーになって、延々とハマり続けます。
[INFO] --- cargo-maven3-plugin:1.9.8:deploy (default-cli) @ glassfish5-demo ---
[INFO] [edDeployerDeployMojo] Resolved container artifact org.codehaus.cargo:cargo-core-container-glassfish:jar:1.9.8 for container glassfish5x
[INFO] [talledLocalContainer] Parsed GlassFish version = [5.0.1]
[INFO] [talledLocalContainer] Command deploy failed.
[INFO] [talledLocalContainer] Authentication failed for user: admin
[INFO] [talledLocalContainer] with password from password file: /path/to/glassfish5/glassfish/domains/password.properties
[INFO] [talledLocalContainer] (Usually, this means invalid user name and/or password)
glassfish/domains/domain1/password.propertiesというパスワードファイルを使っているというログが出ているのですが、このファイル内に設定されているパスワードはデフォルトだと設定されていないみたいなんですよね。
つまり、adminユーザーにはパスワードが設定されていない状態です。
AS_ADMIN_PASSWORD=adminadmin
というわけで、管理コンソールからパスワードを設定。


すると、WARファイルをデプロイできるようになります。
$ mvn cargo:deploy
先に、mvn packageでWARファイルを作っておくことが必要です。
再デプロイ。
$ mvn cargo:redeploy
アンデプロイ。
$ mvn cargo:undeploy
ちなみに、このようにMaven Cargo Pluginでデプロイできるように構成すると、通常のコマンドで実行する場合にユーザー名とパスワードを指定する必要がでてきます。
$ bin/asadmin deploy /path/to/glassfish5-demo/target/glassfish5-demo.war
Enter admin user name>  admin
Enter admin password for user "admin">


## もしくは
$ bin/asadmin --user admin --passwordfile glassfish/domains/password.properties deploy /path/to/glassfish5-demo/target/glass
fish5-demo.war
Application deployed with name glassfish5-demo.
Command deploy executed successfully.
ユーザーのパスワードを設定したので、当然といえば当然なのですが。
Maven Cargo Pluginからアプリケーションサーバーの起動や停止も行うことができます。
$ mvn cargo:start
$ mvn cargo:stop
今回は、こんなところでしょうか。