Azure PortalからAzure VMを普通にデプロイすると最新のイメージでデプロイされます。最新のイメージを使うと最新の月例パッチが適用された状態でデプロイされます。最新のパッチを適用しなくて良いメリットはありますが、一方で最新の月例パッチを適用したくないことがあります。
- 最新のパッチに起因して一部の機能で不具合が出る
- デプロイする時期が異なるとVMごとに適用されている月例パッチが違う状態になる
- パッチをアンインストールしたくでもできない
少し手間はかかりますが、イメージバージョンを指定してデプロイすることでパッチの適用状況をコントロールすることができます。
イメージバージョンの確認
Azureで利用可能なイメージのバージョンを確認するにはAzure CLIを利用します。
詳細な手順は Azure CLI を使用して Azure Marketplace イメージ情報を検索する をご参照ください。
Windows ServerのSKUの一覧を取得するには以下のコマンドを実行します。
$ az vm image list-skus --location japaneast --publisher MicrosoftWindowsServer --offer WindowsServer --output table
以下のような結果が返ってきます。
Location    Name
----------  -------------------------------------------------
japaneast   2008-R2-SP1
japaneast   2008-R2-SP1-smalldisk
japaneast   2008-R2-SP1-zhcn
(省略)
japaneast   2022-datacenter
japaneast   2022-datacenter-azure-edition
japaneast   2022-datacenter-azure-edition-core
japaneast   2022-datacenter-azure-edition-core-smalldisk
japaneast   2022-datacenter-azure-edition-smalldisk
japaneast   2022-datacenter-core
japaneast   2022-datacenter-core-g2
japaneast   2022-datacenter-core-smalldisk
japaneast   2022-datacenter-core-smalldisk-g2
japaneast   2022-datacenter-g2
japaneast   2022-datacenter-smalldisk
japaneast   2022-datacenter-smalldisk-g2
(省略)
利用したいSKUが特定できたら、次にイメージのバージョンを取得します。
以下の例では第2世代仮想マシンバージョンのWindows Server 2022を指定しています。
az vm image list \
    --location japaneast \
    --publisher MicrosoftWindowsServer \
    --offer WindowsServer \
    --sku 2022-datacenter-g2 \
    --all --output table
以下のような結果が返ってきます。Version列がイメージのバージョン情報です。
Architecture    Offer          Publisher               Sku                 Urn                                                                        Version
--------------  -------------  ----------------------  ------------------  -------------------------------------------------------------------------  -----------------
x64             WindowsServer  MicrosoftWindowsServer  2022-datacenter-g2  MicrosoftWindowsServer:WindowsServer:2022-datacenter-g2:20348.1006.220908  20348.1006.220908
x64             WindowsServer  MicrosoftWindowsServer  2022-datacenter-g2  MicrosoftWindowsServer:WindowsServer:2022-datacenter-g2:20348.1129.221007  20348.1129.221007
x64             WindowsServer  MicrosoftWindowsServer  2022-datacenter-g2  MicrosoftWindowsServer:WindowsServer:2022-datacenter-g2:20348.1131.221014  20348.1131.221014
x64             WindowsServer  MicrosoftWindowsServer  2022-datacenter-g2  MicrosoftWindowsServer:WindowsServer:2022-datacenter-g2:20348.1249.221105  20348.1249.221105
x64             WindowsServer  MicrosoftWindowsServer  2022-datacenter-g2  MicrosoftWindowsServer:WindowsServer:2022-datacenter-g2:20348.1366.221207  20348.1366.221207
x64             WindowsServer  MicrosoftWindowsServer  2022-datacenter-g2  MicrosoftWindowsServer:WindowsServer:2022-datacenter-g2:20348.1487.230106  20348.1487.230106
x64             WindowsServer  MicrosoftWindowsServer  2022-datacenter-g2  MicrosoftWindowsServer:WindowsServer:2022-datacenter-g2:20348.1547.230207  20348.1547.230207
x64             WindowsServer  MicrosoftWindowsServer  2022-datacenter-g2  MicrosoftWindowsServer:WindowsServer:2022-datacenter-g2:20348.1607.230310  20348.1607.230310
x64             WindowsServer  MicrosoftWindowsServer  2022-datacenter-g2  MicrosoftWindowsServer:WindowsServer:2022-datacenter-g2:20348.587.220303   20348.587.220303
x64             WindowsServer  MicrosoftWindowsServer  2022-datacenter-g2  MicrosoftWindowsServer:WindowsServer:2022-datacenter-g2:20348.643.220403   20348.643.220403
x64             WindowsServer  MicrosoftWindowsServer  2022-datacenter-g2  MicrosoftWindowsServer:WindowsServer:2022-datacenter-g2:20348.707.220505   20348.707.220505
x64             WindowsServer  MicrosoftWindowsServer  2022-datacenter-g2  MicrosoftWindowsServer:WindowsServer:2022-datacenter-g2:20348.768.220609   20348.768.220609
x64             WindowsServer  MicrosoftWindowsServer  2022-datacenter-g2  MicrosoftWindowsServer:WindowsServer:2022-datacenter-g2:20348.825.220704   20348.825.220704
x64             WindowsServer  MicrosoftWindowsServer  2022-datacenter-g2  MicrosoftWindowsServer:WindowsServer:2022-datacenter-g2:20348.887.220806   20348.887.220806
バージョンは以下のように読み解けます。

デプロイしたいイメージのバージョンを控えておきます。
イメージバージョンを指定してデプロイ
Azure CLIやAzure PowerShellでイメージバージョンを指定してデプロイすることもできますが、ここではAzure Portalでイメージバージョンを指定して仮想マシンをデプロイする手順をご紹介します。
-
通常の手順通りにAzure Portalで仮想マシンのデプロイ設定を進めます。

-
「確認および作成」まで進めたら、右下にある「Automationのテンプレートをダウンロードする」をクリックします。

-
テンプレート画面に遷移します。ここでは何も変更せず「デプロイ」をクリックします。

-
カスタムデプロイ画面に遷移します。「テンプレートの編集」ボタンをクリックします。

-
"imageReference"と記載された箇所を探します。ここでイメージが指定されているので、"version"を"latest"からデプロイしたいバージョンに置き換えます。置き換えができたら「保存」ボタンをクリックします。

-
カスタムデプロイ画面に戻ります。一部のパラメータは指定されていない状態に戻っているので、再設定します。再設定箇所は「リソースグループ」、「Admin Password」です。再設定ができたら「次:確認と作成」をクリックします。

-
検証に成功したら、「作成」ボタンをクリックします。
-
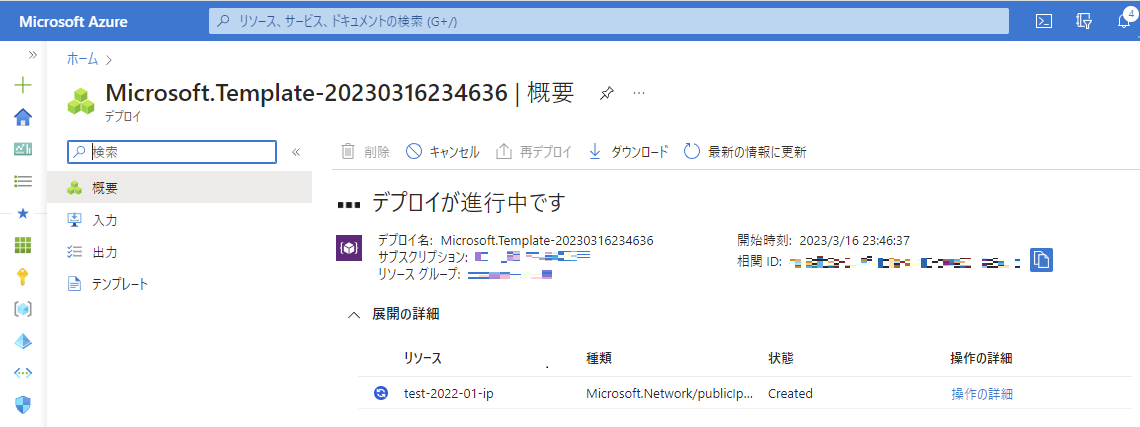
あとは通常通りデプロイが開始されます。「保存されていない編集は破棄されます」というメッセージが表示された場合はOKを押してください。デプロイの進捗画面に遷移します。
これでイメージバージョンを指定してのデプロイは完了です。