SDK48が公開されたので、ちょっと触ってみます。
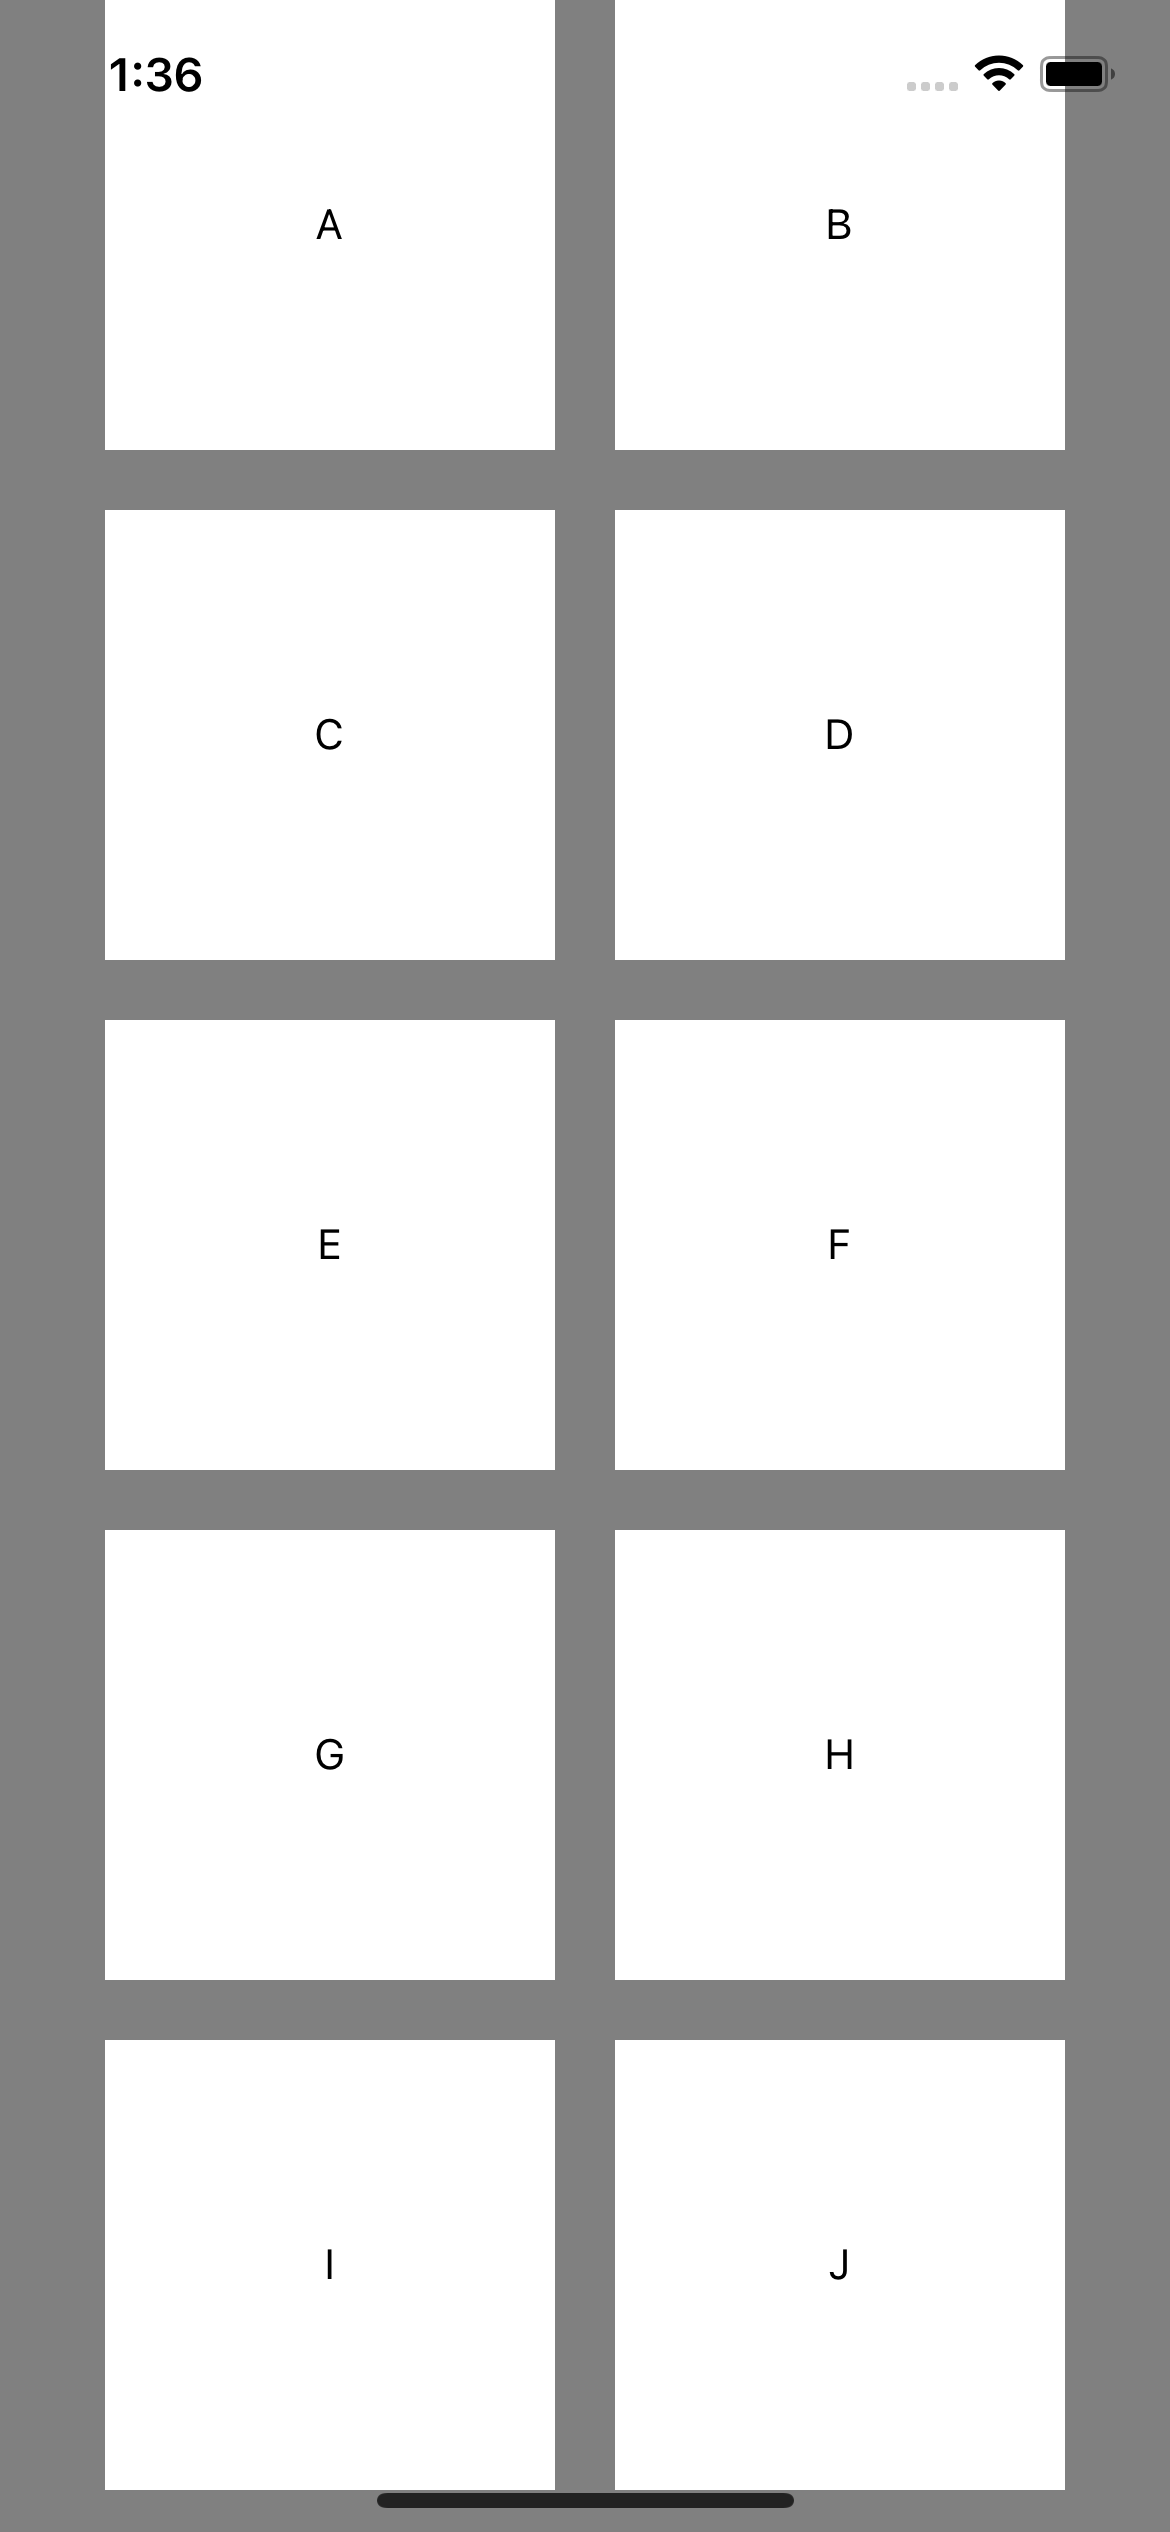
Flexbox gap
React Nativeのバージョンが0.71になったのでgapが使えるようになりました。
import { StatusBar } from "expo-status-bar";
import { StyleSheet, Text, View } from "react-native";

export default function App() {
  return (
    <View style={styles.container}>
      <View style={styles.box}>
        <Text>A</Text>
      </View>
      <View style={styles.box}>
        <Text>B</Text>
      </View>
      <View style={styles.box}>
        <Text>C</Text>
      </View>
      <View style={styles.box}>
        <Text>D</Text>
      </View>
      <View style={styles.box}>
        <Text>E</Text>
      </View>
      <View style={styles.box}>
        <Text>F</Text>
      </View>
      <View style={styles.box}>
        <Text>G</Text>
      </View>
      <View style={styles.box}>
        <Text>H</Text>
      </View>
      <View style={styles.box}>
        <Text>I</Text>
      </View>
      <View style={styles.box}>
        <Text>J</Text>
      </View>
      <StatusBar style='auto' />
    </View>
  );
}

const styles = StyleSheet.create({
  container: {
    flex: 1,
    flexDirection: "row",
    flexWrap: "wrap",
    backgroundColor: "gray",
    alignItems: "center",
    justifyContent: "center",
    gap: 20, // ← ここでgapを指定
  },
  box: {
    backgroundColor: "white",
    width: 150,
    height: 150,
    justifyContent: "center",
    alignItems: "center",
  },
});
ちゃんとgapが効きました
Expo Image
公式ではこのように説明されています(DeepL翻訳)
とにかくパフォーマンスが良さ王です
- スピード重視の設計
- 多くの画像形式をサポート(アニメーションを含む)
- ディスクとメモリのキャッシング
- 画像のプレースホルダーをコンパクトに表現するblurhashをサポートします。
- ソースが変わったときに画像間をトランジションさせる(もうチラつかない!)。
- CSSのobject-fitとobject-positionプロパティを実装しています
- 性能の高いSDWebImageとGlideをアンダーグラウンドで使用する
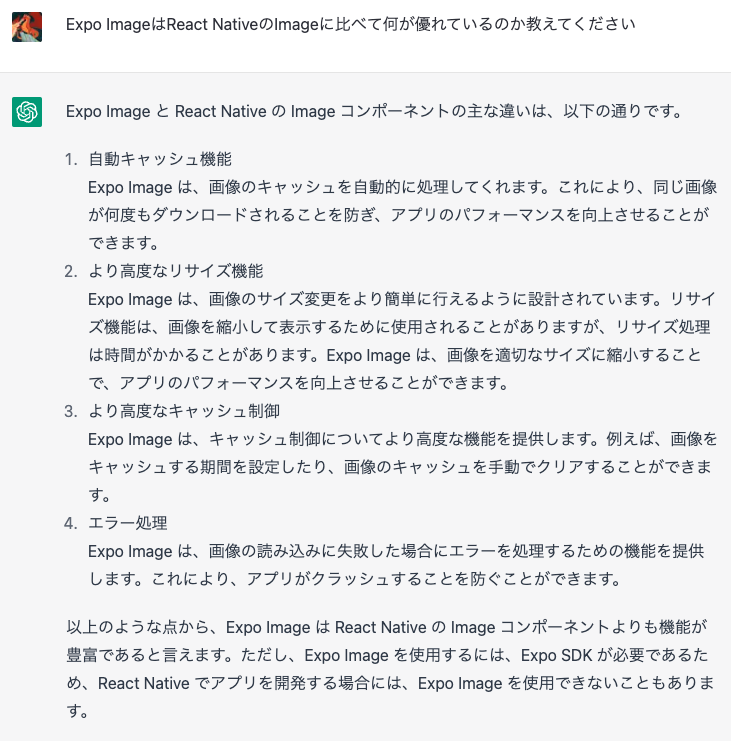
ChatGPTにも聞いてみました。なるほどです
サンプルコードを見る感じ、既存のReact NativeのImageと同じ感覚で使えそうでした
便利そうなpropsがたくさんありますが、特にplaceholderとtransitionの組み合わせは便利そうです
import { Image } from "expo-image";
import { StyleSheet, View } from "react-native";
const blurhash =
"|rF?hV%2WCj[ayj[a|j[az_NaeWBj@ayfRayfQfQM{M|azj[azf6fQfQfQIpWXofj[ayj[j[fQayWCoeoeaya}j[ayfQa{oLj?j[WVj[ayayj[fQoff7azayj[ayj[j[ayofayayayj[fQj[ayayj[ayfjj[j[ayjuayj[";
export default function App() {
return (
<View style={styles.container}>
<Image
style={styles.image}
source='https://picsum.photos/seed/696/3000/2000'
placeholder={blurhash} // イメージの読み込み中に代わりに表示するイメージ
contentFit='cover'
transition={{ // イメージの切り替え時のdurationやアニメーションを指定
duration: 5000,
effect: "curl-up", // この動き面白い
timing: "ease-out",
}}
/>
</View>
);
}

Expo Router
ベータ版は公開されていましたが、SDK48のタイミングでv1リリースとなりました
Next.jsのようなファイルベースのルーティングができるということで、こちらもちょっと触ってみます
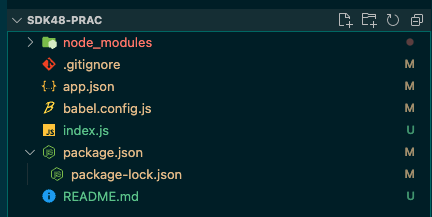
expo-routerのセットアップを行ったプロジェクトを作成します
npx create-expo-app@latest -e with-router
App.jsxが存在しないこのようなプロジェクトが作成されました
index.jsがエントリポイントになるようです
ひとまずこの状態で立ち上げてみます
yarn && yarn start
かっこいいイメージとともにappディレクトリの作成を求められました
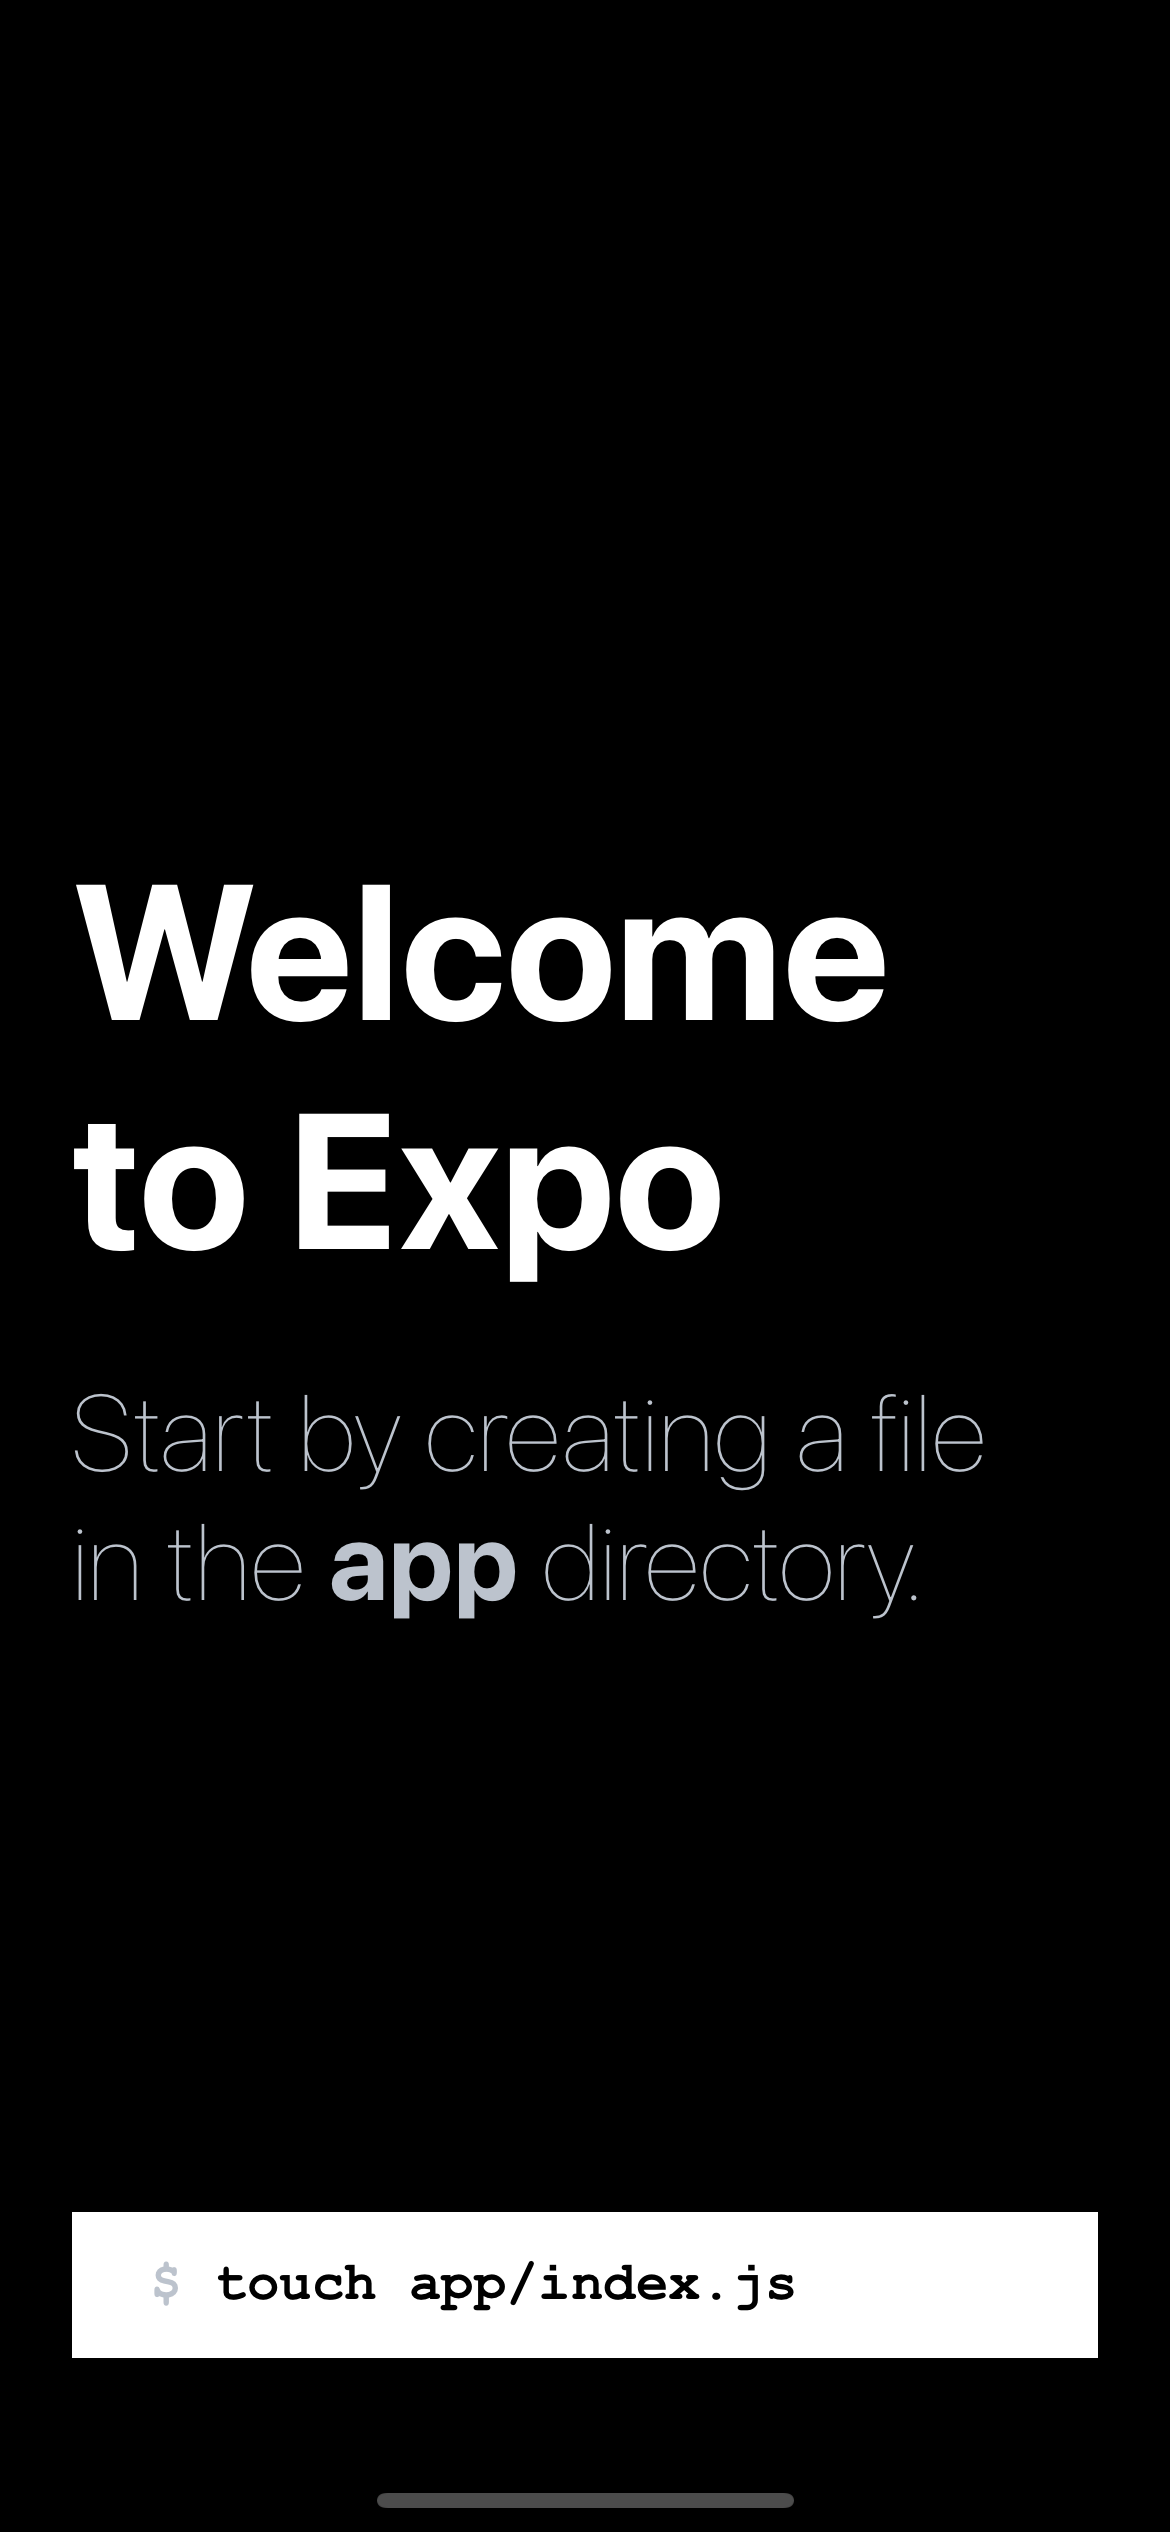
File-based routing enables URLs for every page in your app. All routes must be created within the root app/ directory. Within this directory, you can create routes by defining files using the route name.
↑すべてのルートはappディレクトリに作成する必要があるようです
ということでこのExpo Router Guidesを参考に以下のルーティングを作ってみます。
- タブを2つ作成
- それぞれのタブ内にstackを作成
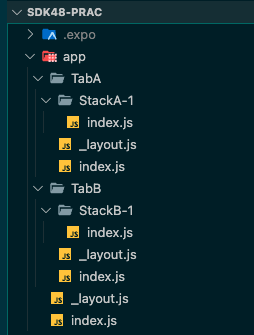
実際に動かすとこんな感じです
ちゃんとナビゲーションできてます
おわりに
ちょっと触ってみてバージョンを上げるモチベが少し上がりました
ちなみにExpo Routerはv2のロードマップも公開されていました。楽しみですね