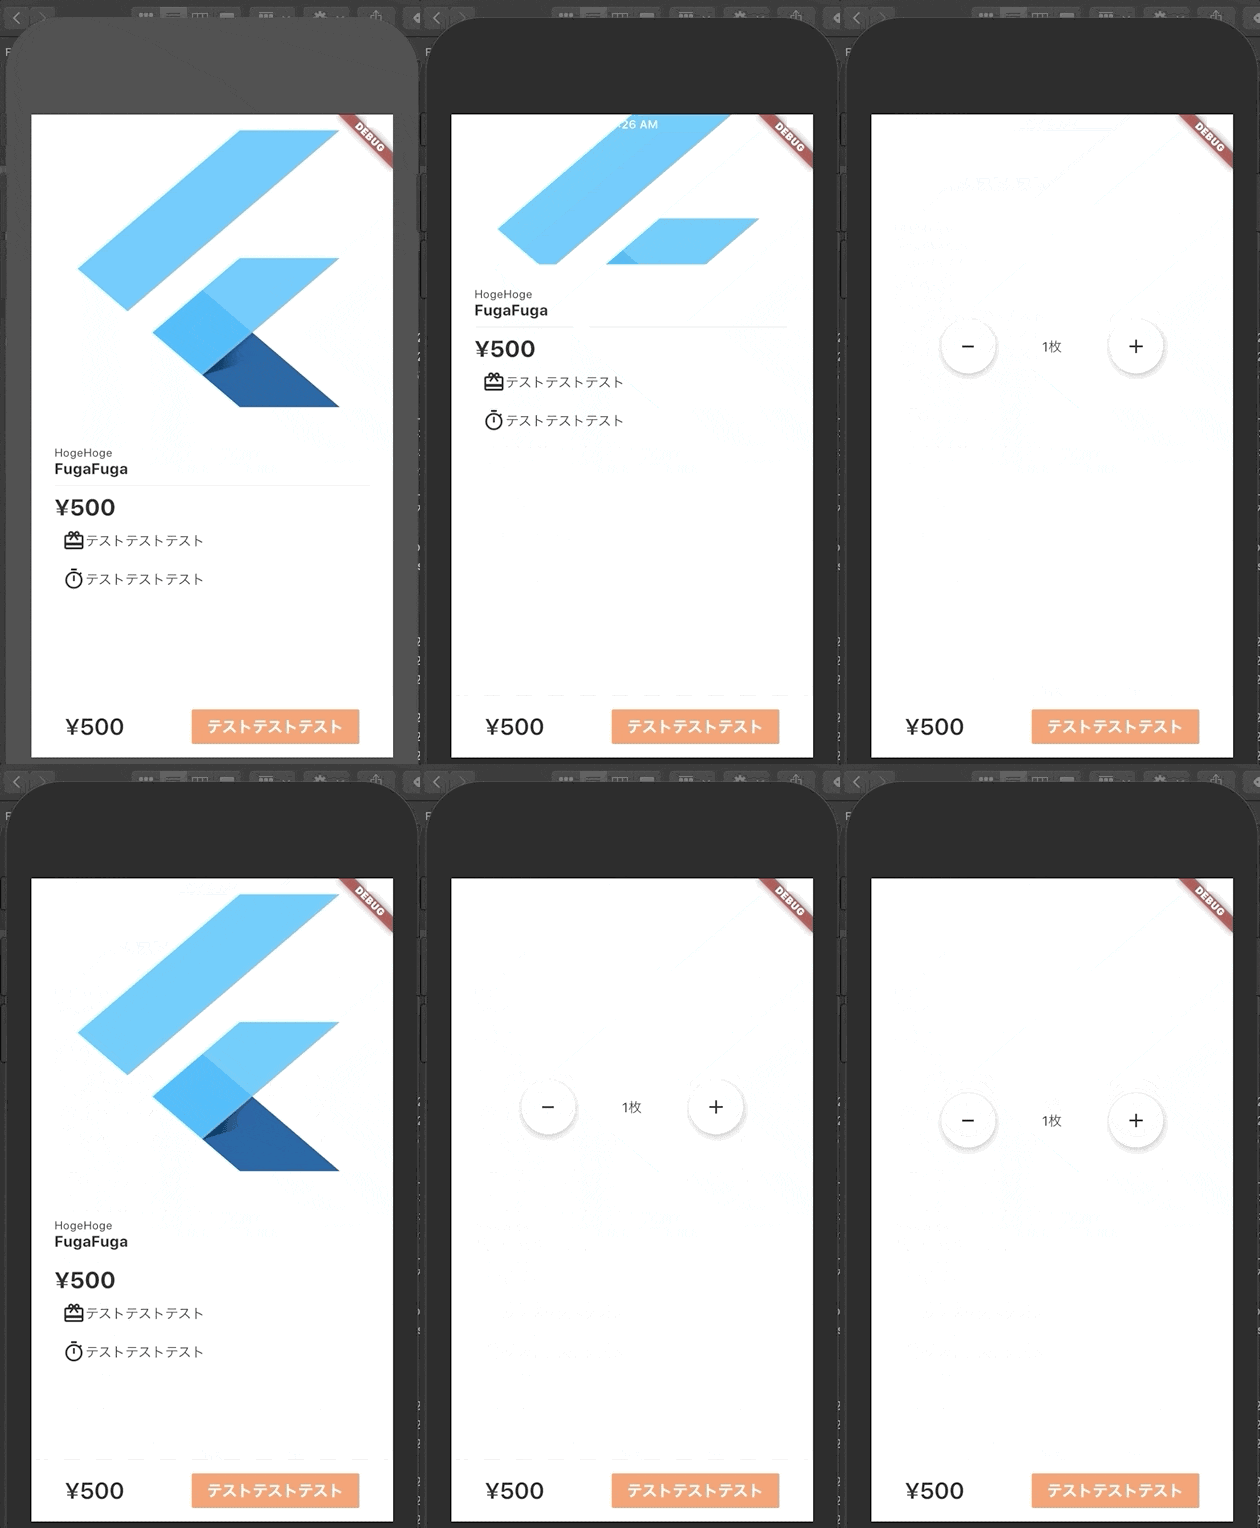
概要
画面をスクロールしたらヘッダーがが出たり消えたりするやつを実装します。
Sliver
上のようなスクロールに伴ってエフェクトが発生するUIはFlutterにおいてSliver(細長い小片)と呼ばれます。
また、Airbnbの例のようにスクロールに伴って出たり消えたりするAppBarはSliverAppBarクラスで実装されます。
基礎から学ぶFlutterにも記述があります。
出来上がるコード/UI
最終的には以下のようなbuildメソッドが出来上がるはず。
  Widget build(BuildContext context) {
    return Scaffold(
      body: CustomScrollView(
        slivers: <Widget>[
          SliverAppBar(
            flexibleSpace: FlexibleSpaceBar(
              background: Image(
                fit: BoxFit.fill,
                image: AssetImage('path/to/asset.jpg'),
              ),
            ),
            expandedHeight: 300,
            backgroundColor: Colors.transparent,
          ),
          SliverList(
            delegate: SliverChildListDelegate(
              <Widget>[...],
            ),
          ),
        ],
      ),
作っていく
なにはともあれScaffold
とりあえずScaffoldを置きましょう。
build(BuildContext context) {
  return Scaffold()
}
基礎になるCustomScrollViewを置く
CustomScrollViewというクラスがあります。
build(BuildContext context) {
  return Scaffold(
    body: CustomScrollView(
      sliver: <Widget>[]
    )
  )
}
ヘッダとしてSliverAppBarを置く
今回のメインです。
SliverAppBarはスクロールに応じて隠れたり出現したりするAppBarです。
通常のAppBarと同じように、leading, title, actionsといった引数を持ちます。
これを置くのですが、CustomScrollViewはappBarをコンストラクタの引数に持たないため、sliversの一番上にSliverAppBarを置きます。ちょっと気持ち悪い。
build(BuildContext context) {
  return Scaffold(
    body: CustomScrollView(
      sliver: <Widget>[
        SliverAppBar(),
      ],
    ),
  ),
}
SliverAppBarの引数を詰める
flexibleSpaceという引数があり、ヘッダのコンテンツとして入れたいウィジェットはこれの中に入れてください。まとめるとだいたい以下のようになると思います。
build(BuildContext context) {
  return Scaffold(
    body: CustomScrollView(
      sliver: <Widget>[
        SliverAppBar(
          flexibleSpace: FlexibleSpaceBar(
            background: Image(
              fit: BoxFit.fill,
              image: AssetImage('assets/gift/item74.jpg'),
            ),
          ),
          expandedHeight: 300,
          backgroundColor: Colors.transparent,),
        )
      ],
    ),
  ),
}
画像をヘッダに表示する場合、FlexibleSpaceBarのbackgroundにImageを指定し、その上でfit: BoxFit.fillを指定してください。
これを指定しないと画像が端まで伸びてくれません。
Most commonly used in in the SliverAppBar.flexibleSpace field,
ぶっちゃけFlexibleSpaceBarはSliver以外ほぼ使わないみたいなのでお作法だと思って覚えたほうが早いです。頑張りましょう。
コンテンツとして表示する部分をsliversの下に詰める
sliversにはSliverListを入れます。
SliverList.delegateに詰めるウィジェットは大きく分けて2種類あります。
1. コンテンツを並べる場合
SliverChildListDelegateコンストラクタにウィジェットの配列を与えてください。以下のような感じです。
SliverList(
  delegate: SliverChildListDelegate(
    <Widget>[
      Container(
        padding: EdgeInsets.all(24),
        child: Column( ...
2. グリッドやリストを並べる場合
SliverChildBuilderDelegateでbuilderを定義できます。以下のような雰囲気です。
SliverList(
  delegate: SliverChildBuilderDelegate(
    (BuildContext context, int index) {
       return Text('...');
     },
     childCount: 2,
     semanticIndexOffset: 2,
   ),
 ),
まとめ
Sliverは用語がよく分からなかったりdelegateがよく分かんなかったりしますが、一回実装すれば割と分かりやすいので頑張りましょう
余談
この記事書くまでSliverのことをSliver(銀)だと思ってました
