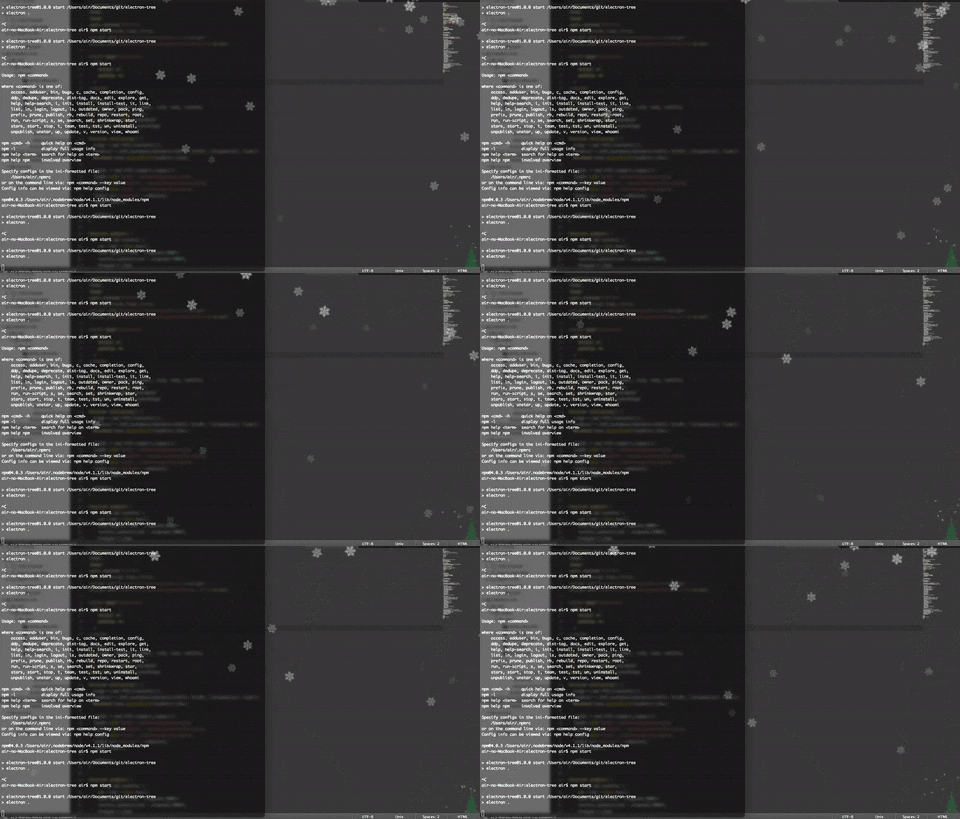
この記事は J2complexed Advent Calendar 2016 の15日目の記事です。
深夜まで見てるこの画面と街中にあふれるイルミネーションの落差に絶望してませんか?
でも、ぼくたちにはエンジニアリングがある!
エンジニアの画面がいつも真っ黒だと思ったら、大間違いなんだ!
クリスマスツリーを飾るためだけのアプリをElectronでさくっと作ってしまいましょう!
Electronの準備
Electronは知ってますよね?JavaScriptでクロスプラットフォームのデスクトップアプリを作れるアレです。おなじみのJavaScriptで簡単に作れたりします。ステキです。
Electronのインストール
以下のコマンドを入力すれば、インストールが完了です。
$ npm -g install electron-prebuilt
制作の説明
これから紹介する順番に作っていけば、みなさんもデスクトップだけはクリスマス気分になれます!
package.json
まず、package.jsonのご紹介です。
{
  "name": "electron-tree",
  "version": "1.0.0",
  "description": "A Christmas tree on desktop",
  "main": "main.js",
  "scripts": {
    "start": "electron ."
  },
  "author": "garakuta",
  "license": "ISC",
  "devDependencies": {
    "electron": "^1.4.12"
  },
  "dependencies": {
    "pixi-particles": "^2.0.0"
  }
}
基本的に公式のクイックスタートのpackage.jsonを真似てます。
今回はパーティクルを使おうと思ったので、pixi-particlesを入れてます。
main.js
このjsでelectronを起動します。
const electron = require('electron')
const app = electron.app
const BrowserWindow = electron.BrowserWindow

const path = require('path')
const url = require('url')

let mainWindow

function createWindow () {
  const electronScreen = electron.screen
  const size = electronScreen.getPrimaryDisplay().workAreaSize
  mainWindow = new BrowserWindow({
      width: size.width,
      height: size.height,
      transparent: true,
      frame: false,
      alwaysOnTop: true,
      resizable: false
    })
  mainWindow.setIgnoreMouseEvents(true)

  mainWindow.loadURL(url.format({
    pathname: path.join(__dirname, 'dist/index.html'),
    protocol: 'file:',
    slashes: true
  }))

  mainWindow.on('closed', function () {
    mainWindow = null
  })
}

app.on('ready', createWindow)

app.on('window-all-closed', function () {
  if (process.platform !== 'darwin') {
    app.quit()
  }
})

app.on('activate', function () {
  if (mainWindow === null) {
    createWindow()
  }
})
やはり基本的に公式のクイックスタートのmain.jsを真似てます。
違う箇所はウィンドウを立ち上げるときのオプションですね。
変更箇所は以下のとおりです。
const electronScreen = electron.screen const size = electronScreen.getPrimaryDisplay().workAreaSize
ディスプレイのサイズを取得してます。
width: size.width, height: size.height,
オプションで、ディスプレイのサイズを渡しておきます。これで、ウィンドウが全画面のサイズになります。
transparent: true,
ウィンドウの背景を透明にしています。
frame: false,
ウィンドウの枠を消しています。
alwaysOnTop: true,
常に全面に出るようにしています。
resizable: false
ウィンドウの大きさを変更できないようにしています。
mainWindow.setIgnoreMouseEvents(true)
これでウィンドウを触ることができません。
index.html
electronで描画するhtmlです。
<!DOCTYPE html>
<html>
<head>
<meta charset="UTF-8">
<title>Electron Tree</title>
<script src="assets/js/libs/pixi.min.js"></script>
<script src="assets/js/libs/pixi-particles.min.js"></script>

<style type="text/css">
  body {
    margin: 0;
    padding: 0;
  }
</style>

<script>
var stage, renderer, loader, view, snow, twinkle;
var elapsed = Date.now();
var WIDTH = window.innerWidth
var HEIGHT = window.innerHeight

function initialize() {
  stage = new PIXI.Container();
  renderer = PIXI.autoDetectRenderer(WIDTH, HEIGHT, {transparent: true});
  document.body.appendChild(renderer.view);

  loader = new PIXI.loaders.Loader();
  loader.add("snow", "assets/img/snow.png");
  loader.add("twinkle", "assets/img/twinkle.png");
  loader.add("tree", "assets/img/tree.png");
  loader.on("complete", complete);
  loader.load();

  update();
}

function update() {
  if (snow && twinkle) {
    var time = Date.now();
    snow.update((time - elapsed)/1000);
    twinkle.update((time - elapsed)/1000);
    elapsed = time;
  }

  renderer.render(stage);
  requestAnimationFrame(update);
}
function complete() {
  view = new PIXI.Container();
  stage.addChild(view);

  var snowTexture = PIXI.Texture.fromImage("assets/img/snow.png");
  var treeTexture = PIXI.Texture.fromImage("assets/img/tree.png");
  var twinkleTexture = PIXI.Texture.fromImage("assets/img/twinkle.png");

  var snowConfig = {
    alpha: { start: 0.6, end: 0.0 },
    scale: { start: 0.5, end: 0.3 },
    color: { start: "FFFFFF", end: "FFFFFF" },
    speed: { start: 75, end: 75 },
    startRotation: { min: 0, max: 360 },
    rotationSpeed: { min: -90, max: 90 },
    lifetime: { min: 2, max: 20 },
    frequency: 0.008,
    emitterLifetime: 0,
    maxParticles: 100,
    pos: { x: 0, y: 0 },
    addAtBack: false,
    spawnType: "rect",
    spawnRect: { x: 0, y: -20, w: 1960, h: 0 }
  };
  var twinkleConfig = {
    alpha: { start: 0.7, end: 0 },
    scale: { start: 0.2, end: 0.3, minimumScaleMultiplier: 1 },
    color: { start: "#e2ff29", end: "#3ff588" },
    speed: { start: 0, end: 0, minimumSpeedMultiplier: 1 },
    acceleration: { x: 0, y: 5 },
    maxSpeed: 0,
    startRotation: { min: 0, max: 0 },
    noRotation: false,
    rotationSpeed: { min: 0, max: 0 },
    lifetime: { min: 1, max: 3 },
    blendMode: "normal",
    frequency: 0.008,
    emitterLifetime: -1,
    maxParticles: 10,
    pos: { x: WIDTH - 350, y: HEIGHT - 100 },
    addAtBack: false,
    spawnType: "circle",
    spawnCircle: { x: 0, y: 0, r: 75 }
  }
  snow = new PIXI.particles.Emitter(view, snowTexture, snowConfig);
  snow.updateOwnerPos(300, 0);
  twinkle = new PIXI.particles.Emitter(view, twinkleTexture, twinkleConfig);
  twinkle.updateOwnerPos(300, 0);
  var tree = new PIXI.Sprite(treeTexture);
  tree.position.x = WIDTH - 51;
  tree.position.y = HEIGHT - 88;
  stage.addChild(tree);
}
</script>
</head>
<body onload="initialize();">
</body>
</html>
pixi.jsを使用しています。particleを作るのにPixi Particles Editorを使いました。
簡単にパーティクルの設定を試せて、その設定をダウンロードまでできてしまいます。便利。
けっこう雑になってしまいましたが、完成です。
素材類について
雪の結晶、クリスマスツリー、サンタはこちらからお借りしました。ありがとうございます。
できたもの
WebGLなので、処理はGPUがやってくれているようで、このままで作業自体には問題がありませんでした。
無事完成したのはいいのですが、予想通りマシンが熱くなります。
クリスマス気分には代償が必要だったようです・・・。
