x 動作確認済み2022/5/17 23:32
目的
サーボ信号を受信してサーボ以外の別の機構を動かす。
仕様
1 9600bps RX
2 VDD
3 GND
4 リセットオンリー
8 9600bps TX
7
6 デバッグ出力 9600bpsソフトウェアシリアル
5 PWM(IN) 400uS=0,2400uS=255
計算式
400, 0 = 0
1400, 1000 = 127
2400, 2000 = 256
(2000*?) / 4096 = 256
2000/256 4096/256
7.825 / 16 = 0
1,048,576 / 4096 = 256
1,044,480 / 4096 = 255
(2000*523)/4096=255
デバッグ出力 127を送信 アナログだから多少の誤差がでる
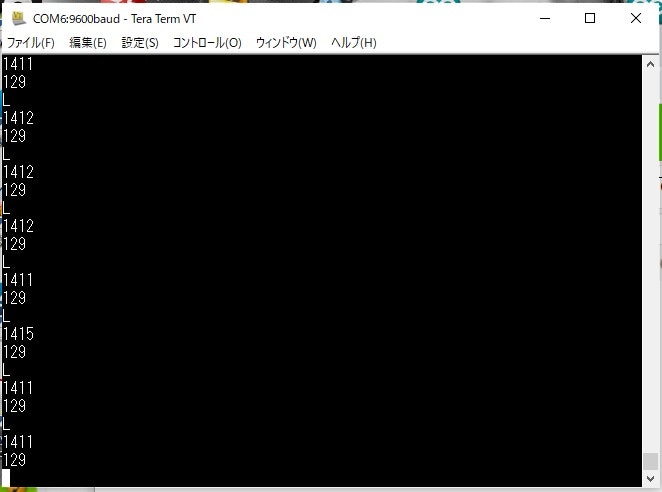
デバッグ出力 64 '@'を送信 アナログだから多少の誤差がでる
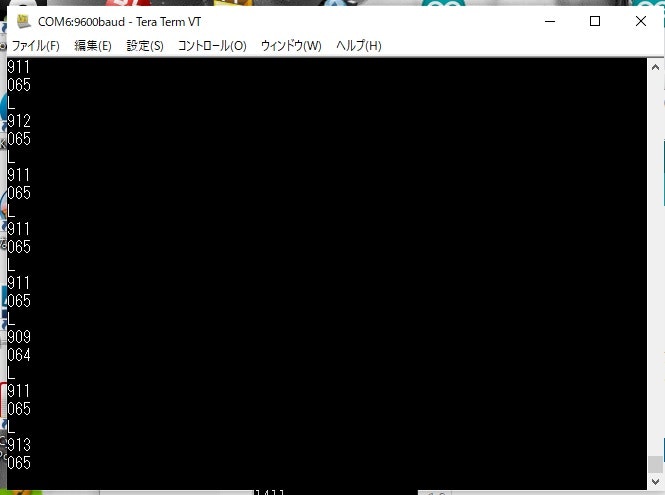
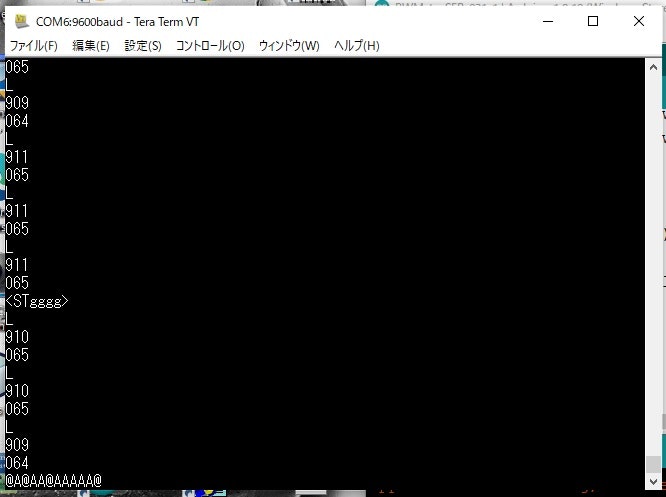
64 で '@'にあたいする、アナログサーボ信号を送っている (成功) 約912mS
元ネタ
プログラム
//PWM_to_SER_031_1


#include <Arduino.h>

#define in_pwm   PA11 // 5pin

//10の割り算 0から1028までは、正しい。主に0から999
#define DIV10(n) ((n*205)>>11)

//1000の割り算 だいたい正しい
#define DIV1000(n) ((n>>10)+(((n>>10)*32)>>10))


#define DW   digitalWrite
#define TX1        PA12   // 6pin
#define UART_DELAY 106  // 002-110 9600bps ok 031

//仮想シリアルへの一文字出力 9600bps
void pc_putc(char ch)
{
  DW(TX1, HIGH);

  DW(TX1, LOW);//START
  delayMicroseconds(UART_DELAY); //START BIT WAIT

  for (int ii = 0; ii < 8; ii++) {
    DW(TX1, (ch >> ii) & 1  );
    delayMicroseconds(UART_DELAY); //DATA 1-8BIT WAIT
  }//for

  DW(TX1, HIGH);//Stop
  delayMicroseconds(UART_DELAY); //StOP BIT WAIT

}//pc_putc


//文字列の表示
int pc_printf(char *str1) {

  //文字の中身がゼロか
  while (*str1) {

    //一文字出力
    pc_putc(*str1 ++);

  } //while

  //戻り値
  return (0);
}//pc_printf


//初期化
void setup() {

  delay(3000); //not Delete

  Serial.begin(9600);

  pinMode(in_pwm, INPUT); //pa11

  //TXポートの初期化
  pinMode(TX1, OUTPUT);
  DW(TX1, HIGH);

  //pc_printf("<STgggg>\r\n"); debug

} //setup


//メインループ
void loop()
{
 pc_printf("L\r\n");

  int pwmco2;

  //PWMでデータ取得
  pwmco2=pulseIn(in_pwm,HIGH,2000000);

/*
  //データの表示 debug
  String thisString9 = String( pwmco2 );
  pc_printf( (char *)thisString9.c_str() );
  pc_printf( "\r\n" );
*/

  //pwmco2=1400000;

  //pwmco2=DIV1000(pwmco2); //1000で割る
  if(pwmco2 <= 400  ) { pwmco2 = 400; }
  if(pwmco2 >= 2400 ) { pwmco2 = 2400; }

  pwmco2 = pwmco2 - 400;

  int vel = (pwmco2 * 523) >> 12;

  Serial.write(  (char)vel   );


/*
  //表示 debug
  //int ii = 200; //debug
  char out_buff[8];
  out_buff[3] = 0;
  out_buff[2] = '0' + (  vel - (DIV10(vel) * 10)  );  // '0'+(b%10)
  vel = DIV10(vel);
  out_buff[1] = '0' + (  vel - (DIV10(vel) * 10)  );  // '0'+(b%10)
  out_buff[0] = '0' +  DIV10(vel);                    // '0'+(s/10)


  //送信処理
  //send 8 byte
  pc_printf(out_buff);
  pc_printf("\r\n");
*/


//  printf("The time taken was %d seconds\r\n", pwmco2  );          //debug
//  printf("The time taken was %d seconds\r\n", DVI1000(pwmco2)  ); //debug

  //0.1秒の待ち
  delay(100); //←ここで送信間隔を調整する

} //loop