1
1

Delete article

Deleted articles cannot be recovered.

Draft of this article would be also deleted.

Are you sure you want to delete this article?

More than 3 years have passed since last update.

STM32G031J6M6のUSARTシリアル通信書き込み

Last updated at Posted at 2020-10-31

2020/10/31現在 STM32G031のシリアル書き込みは、STM32CubeProgrammerのみ

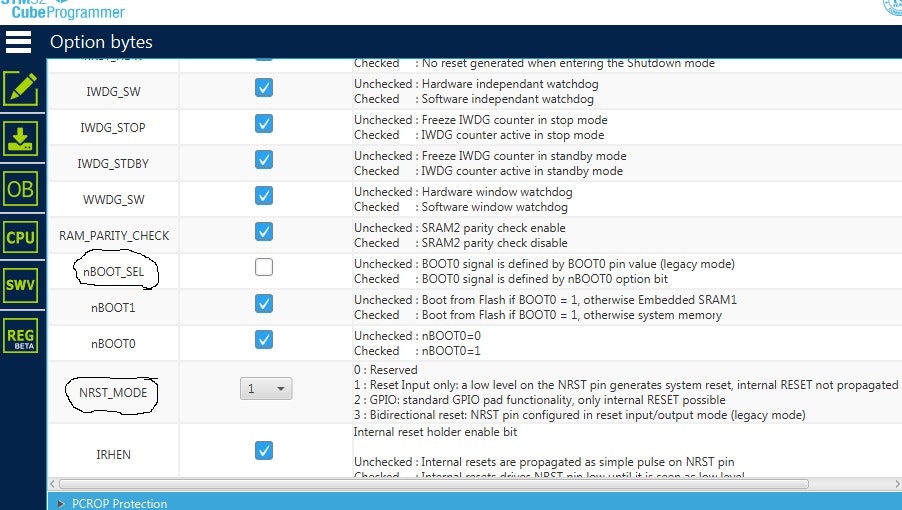
X何らかの方法で「OB」の「User Configuration」の「nBOOT_SEL」をUnchecked
x書き終わったらbootを開放

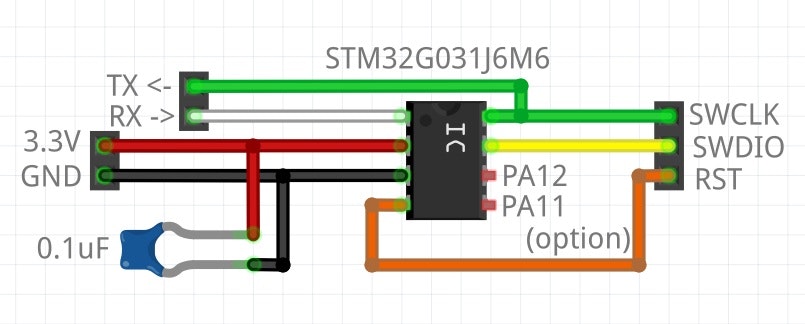
SWCLK(boot) - 3.3V
PA11(PA9)(TX) -> USBシリアル(RX)
PA12(PA10)(RX) <- USBシリアル(TX)

OB - nBOOT_SEL - Unchehecked
OB - NRST_MODE - 1

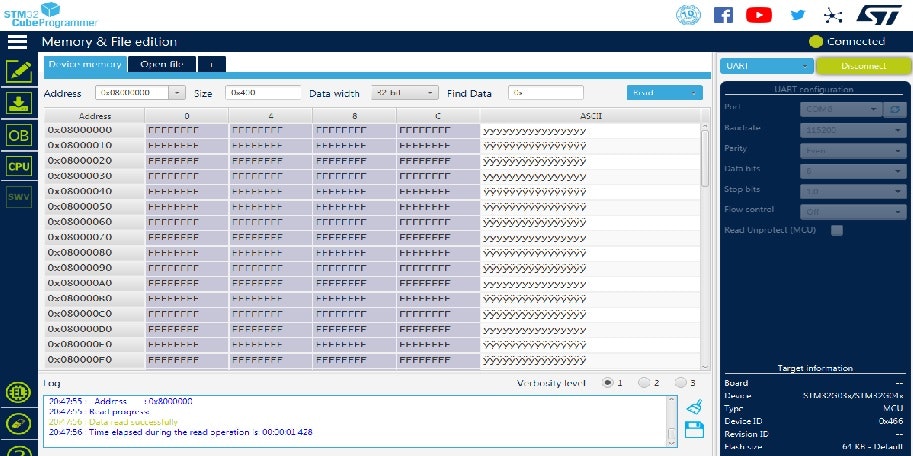
1.書き込み装置を「ST-LINK」から「UART」に変更
2.USARTシリアル通信をUSBに接続
3.Portを再読み込み
4.この場合COM7を選択 各自違う
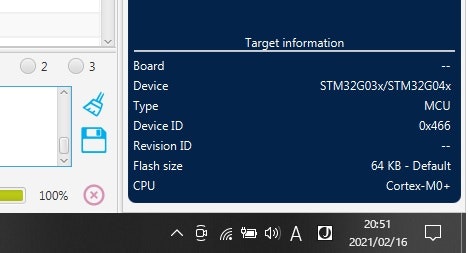
5.Connectボタンを押して接続する
6.Open Fileタブをチェックしファイル選択ボックスを開く
7.firmware.binを選択する 各自違う
8.Downloadボタンをクリックして書き込みを行う
9.終了

忙しい人よう
https://github.com/caa45040/blinky_G031_PA11
firmware.bin を書き込むとブリンクします。
sel_tx_9600_g031_1.jpg

sel_tx_9600_g031_2.jpg

sel_tx_9600_g031_5.jpg

sel_wite_031_1.jpg

sel_wite_031_2.jpg

sel_wite_031_3.jpg

1
1
0

Register as a new user and use Qiita more conveniently

  1. You get articles that match your needs
  2. You can efficiently read back useful information
  3. You can use dark theme
What you can do with signing up
1
1

Delete article

Deleted articles cannot be recovered.

Draft of this article would be also deleted.

Are you sure you want to delete this article?