手順:
- Slack で対象チャネルに Incoming Webhook 設定
- IBM Cloud functions でアクション作成
1. Slack で対象チャネルに Incoming Webhook 設定
Slack のマニュアルを確認して URLを取得します。
- アプリの追加はワークスペースの管理者の承認が必要
・[Slack での Incoming Webhook の利用]
(https://slack.com/intl/ja-jp/help/articles/115005265063-Slack-%E3%81%A7%E3%81%AE-Incoming-Webhook-%E3%81%AE%E5%88%A9%E7%94%A8)
・[Sending messages using Incoming Webhooks]
(https://api.slack.com/messaging/webhooks)
=> ”https://hooks.slack.com/services/xxxxxxxxx/xxxxxxx/0KX1TxxxxxwP1xxxxx61axxxxx”
のようなURLを取得します。
2. IBM Cloud functions でアクション作成
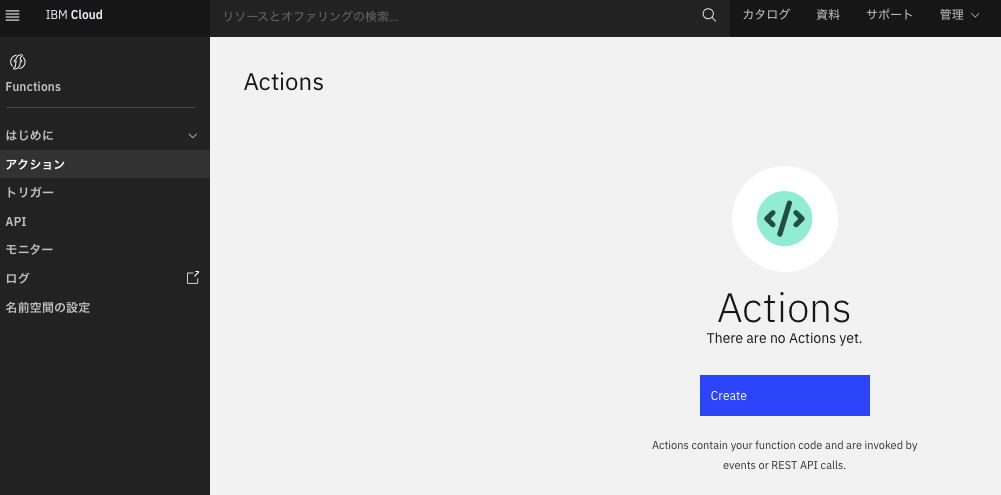
IBM Cloud コンソールにログイン -> Functions に移動
https://cloud.ibm.com/login
・[アクションの作成]
(https://cloud.ibm.com/docs/openwhisk?topic=openwhisk-actions#actions_create_ui)
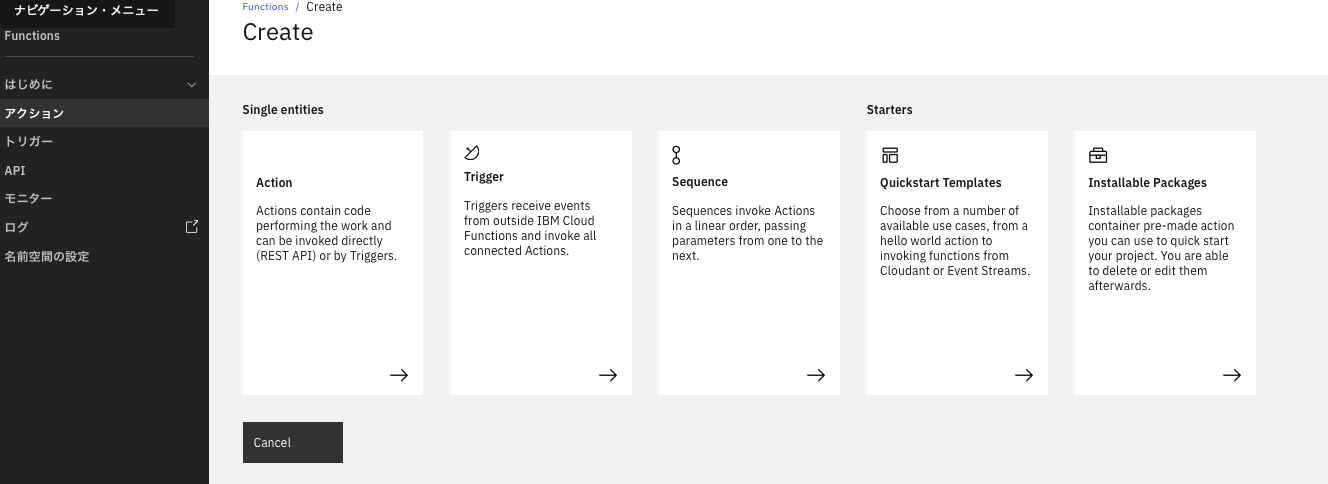
コンソールからのアクションの作成を行います。
**IBM Cloud Functionサービスがすでに作成されている前提です。

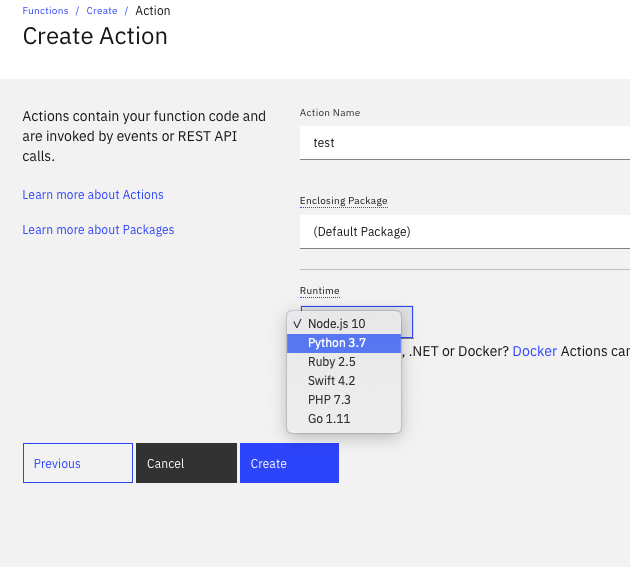
-> アクション名、パッケージを指定し、ランタイムは Python を選択します。
Codeを入力します。
サンプルのcode
import requests
import json

def main(dict):

 body={'username':'Alert','icon_emoji':':star:','text':'IBM Cloud Functions Test'}

 url = "https://hooks.slack.com/services/xxxxxxxxx/xxxxxxx/0KX1TxxxxxwP1xxxxx61axxxxx" #<- Slackで取得したURL
 response = requests.post(url,data=json.dumps(body))
 return {"message" : "IBM Cloud Functions test post to slack"}
body 部分に usename、icom_emoji、text(メッセージ) を入力します。
他のオプションはマニュアルが参考になります。
・chat.postMessage
(https://api.slack.com/methods/chat.postMessage)
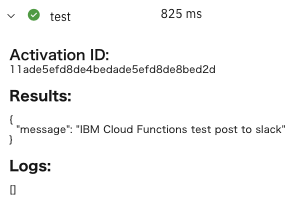
-> SaveボタンがInvokeに変わります。Invoke を実施します。
(URL は対象の内容に置き換えてます)
-> コードの右列に実行結果が出力されます。
サンプルでは、星マークを使用しましたが、変更可能です。
Emoji Cheat Sheet に一般的な一覧があります。(参考:[Emoji Cheat Sheet] (https://www.webfx.com/tools/emoji-cheat-sheet/) )
以上です。
参考:
・IBM Cloud Functions


