はじめに
本記事はWROのRoboSportsに参加される競技者向けに作成しました。
(気になる方はテキストリンクからどうぞ)
準備するもの
・PC (Windows10/Windows11)
・SPIKEプライム 基本セット
・OpenMV(カメラ)
・OpenMV IDE(統合開発環境):バージョン2.9.2
・SPIKE アプリ:バージョン2.0.10
概要
本記事の流れは以下になります。
事前準備
・OpenMVインストール・設定
・SPIKEプライム組立
・SPIKEとOpenMVの接続
接続テスト
・接続テスト用のサンプルプログラム作成
応用・物体認識プログラム
・物体認識サンプルプログラムの実行
事前準備
OpenMVインストール・設定
今回は、OpenMVを使うために統合開発環境ソフト「OpenMV IDE」を用います。
以下のリンクよりダウンロードしてください。
https://openmv.io/pages/download
※本記事ではwindowsにて構築を行います。
また、設定のため以下フォルダとプログラムファイルをOpenMVの中に配置します。
serialtalk
uartremote.py
上記リンクからダウンロード後、PCとOpenMVをUSB接続しOpenMVドライブの中に配置してください。
※USBメモリとして認識されます。
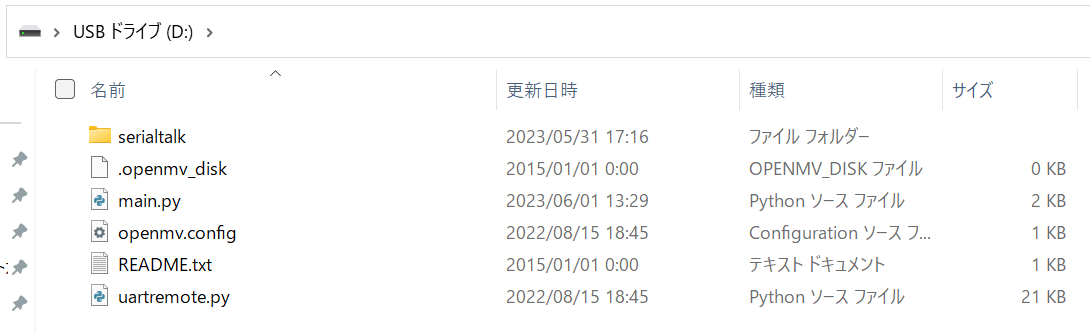
こんな感じになっていれば大丈夫です。
SPIKEプライム組立
こんな感じで組み立てました。実現したいことに合わせて組み立てましょう。
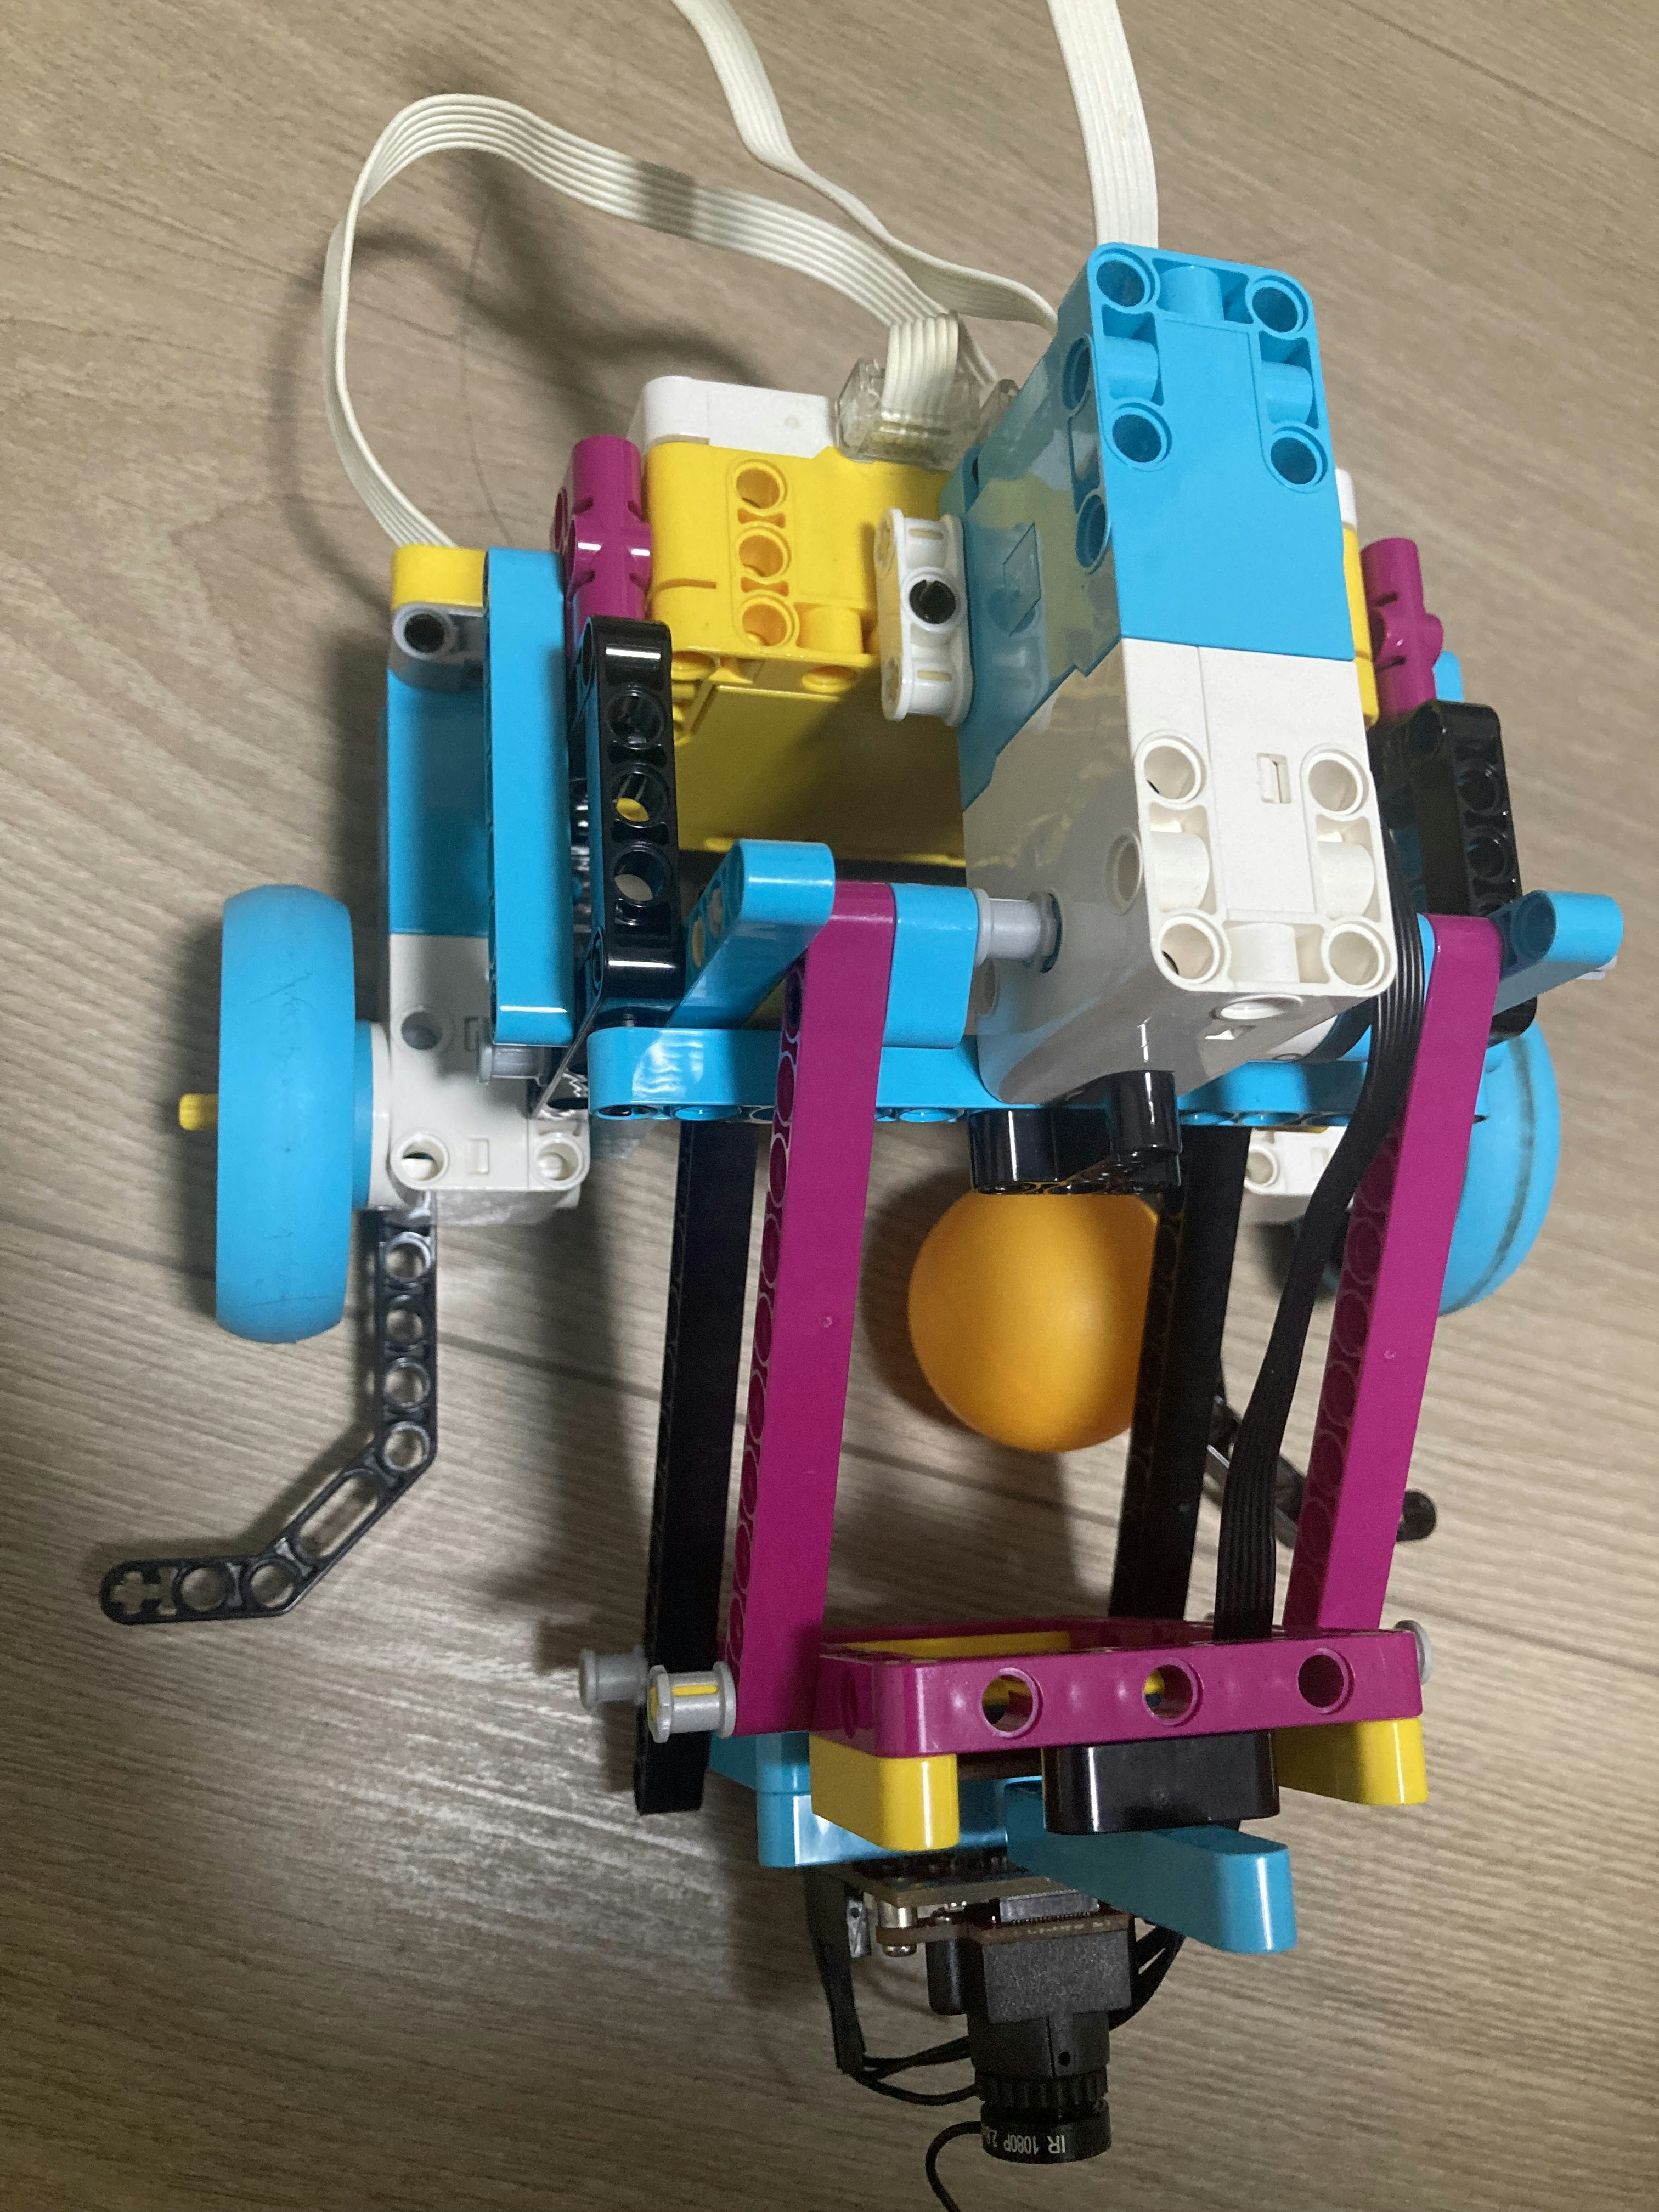
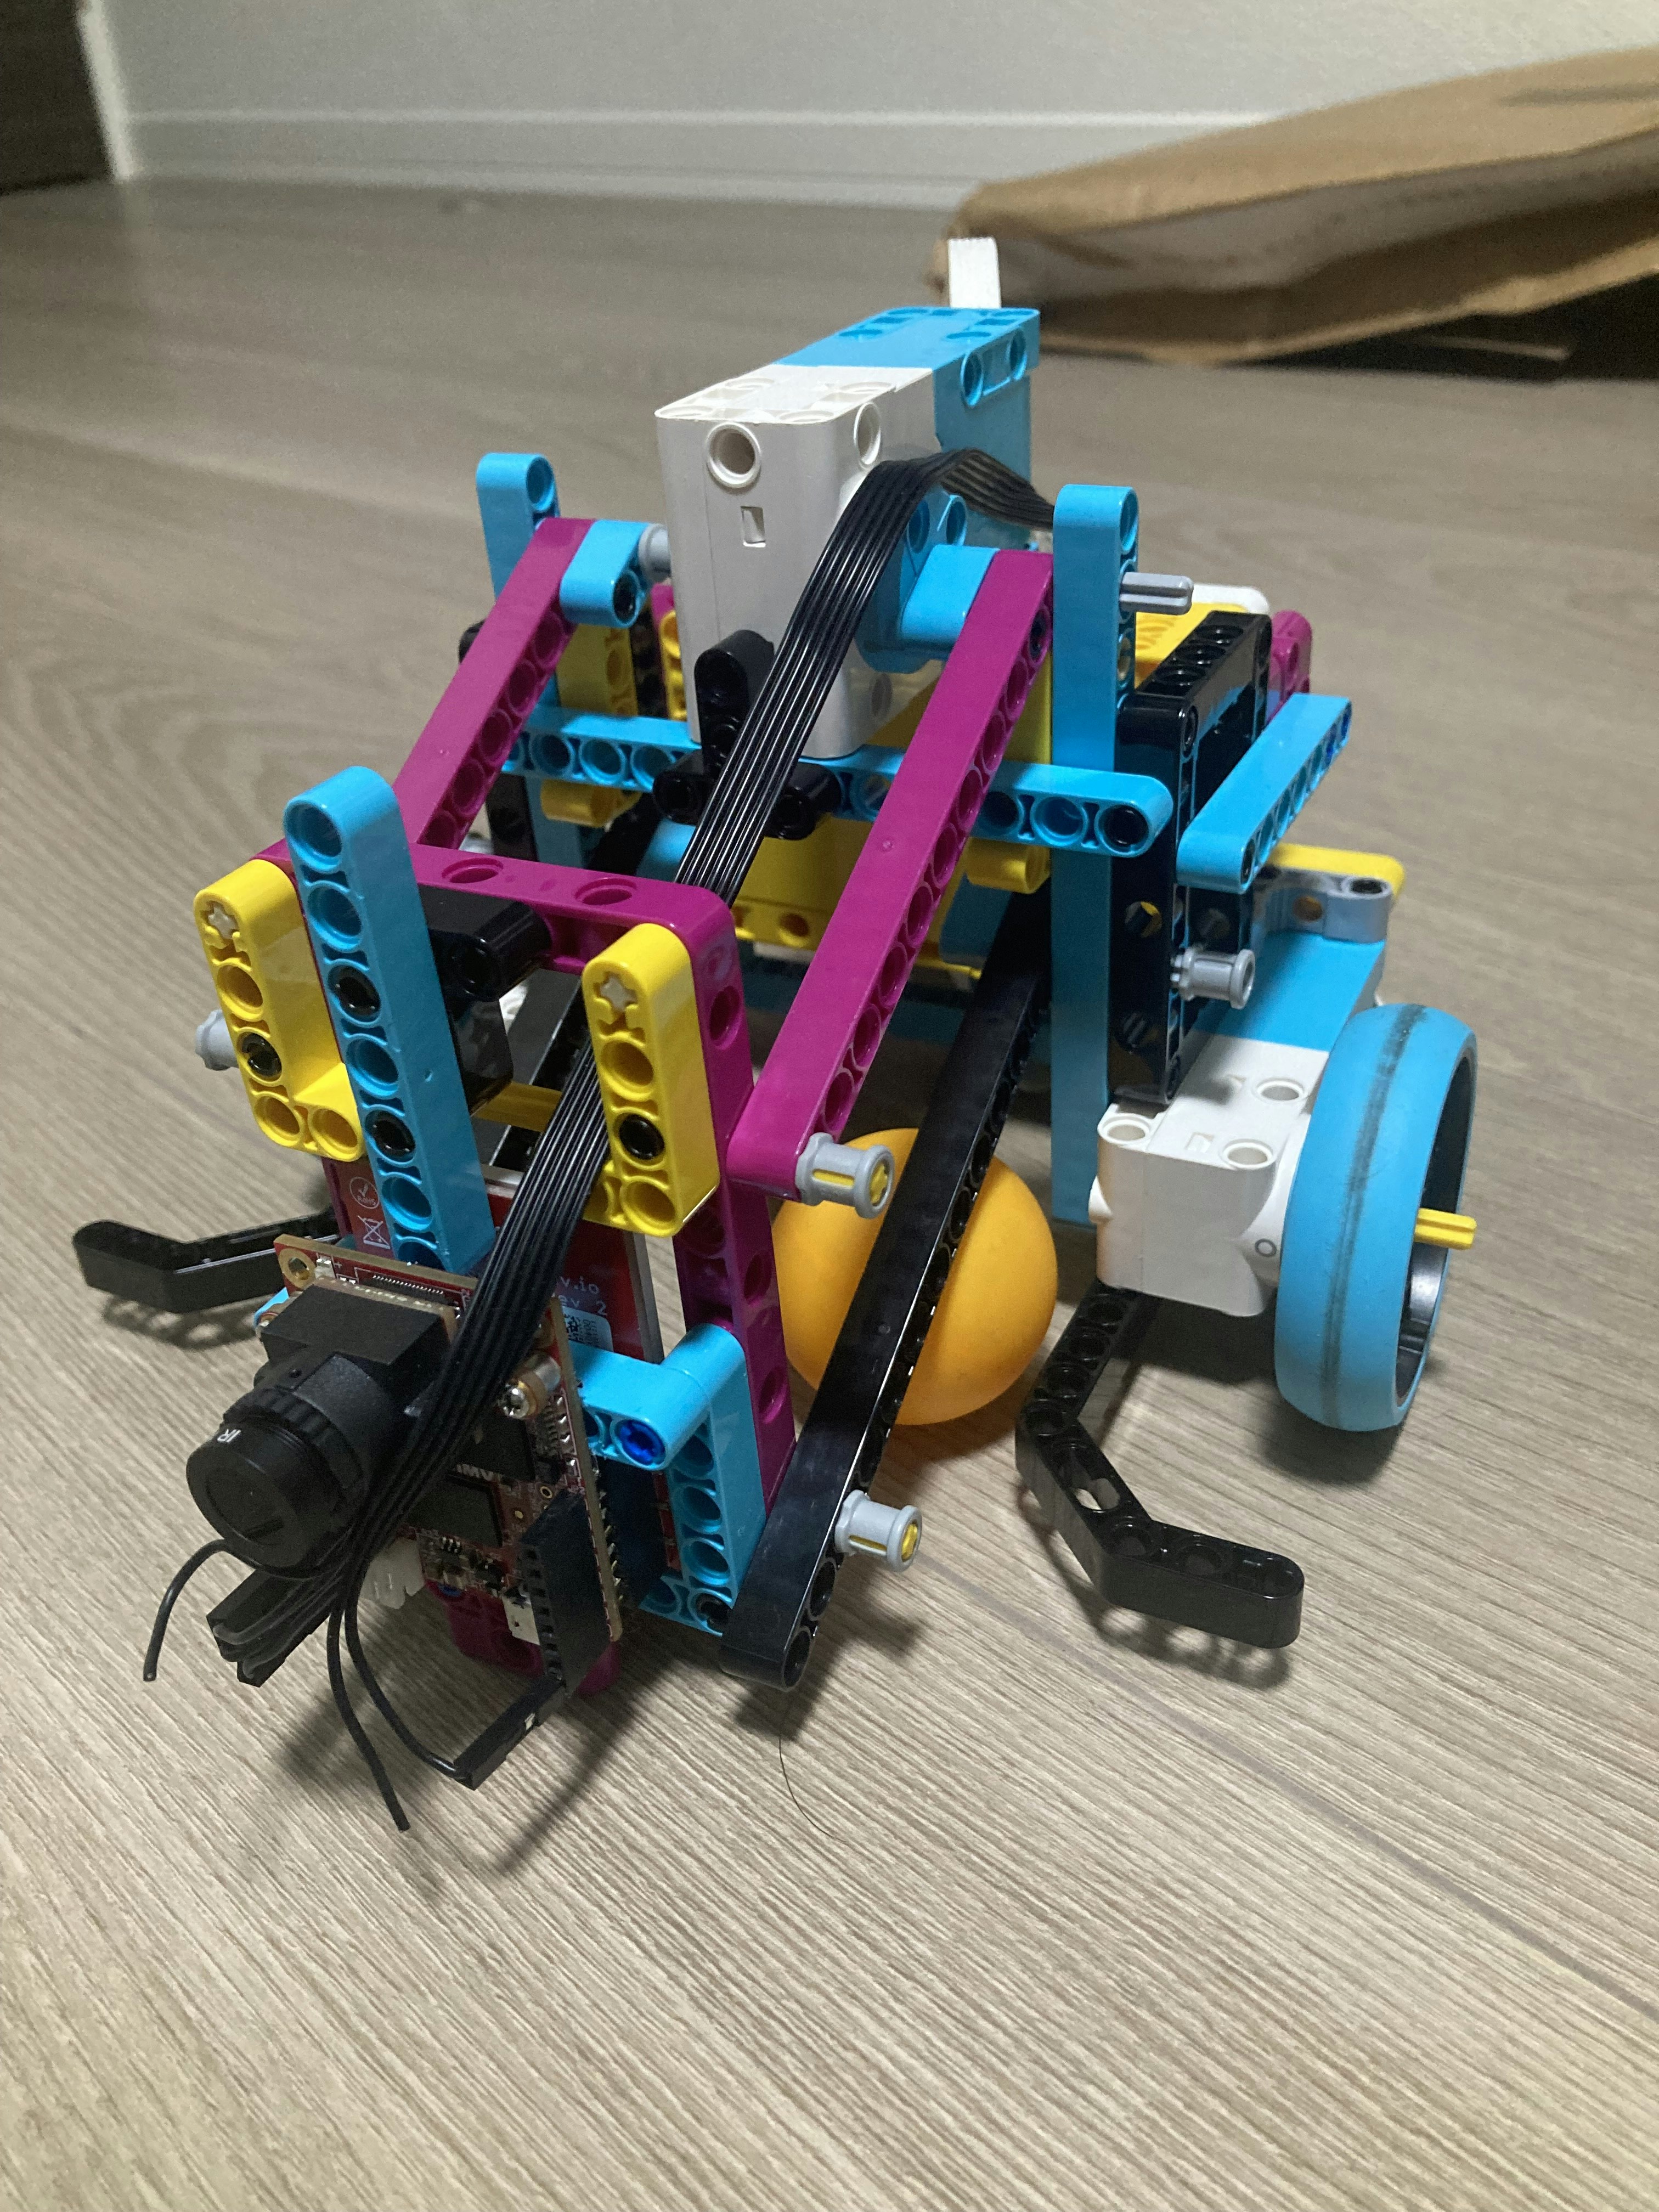
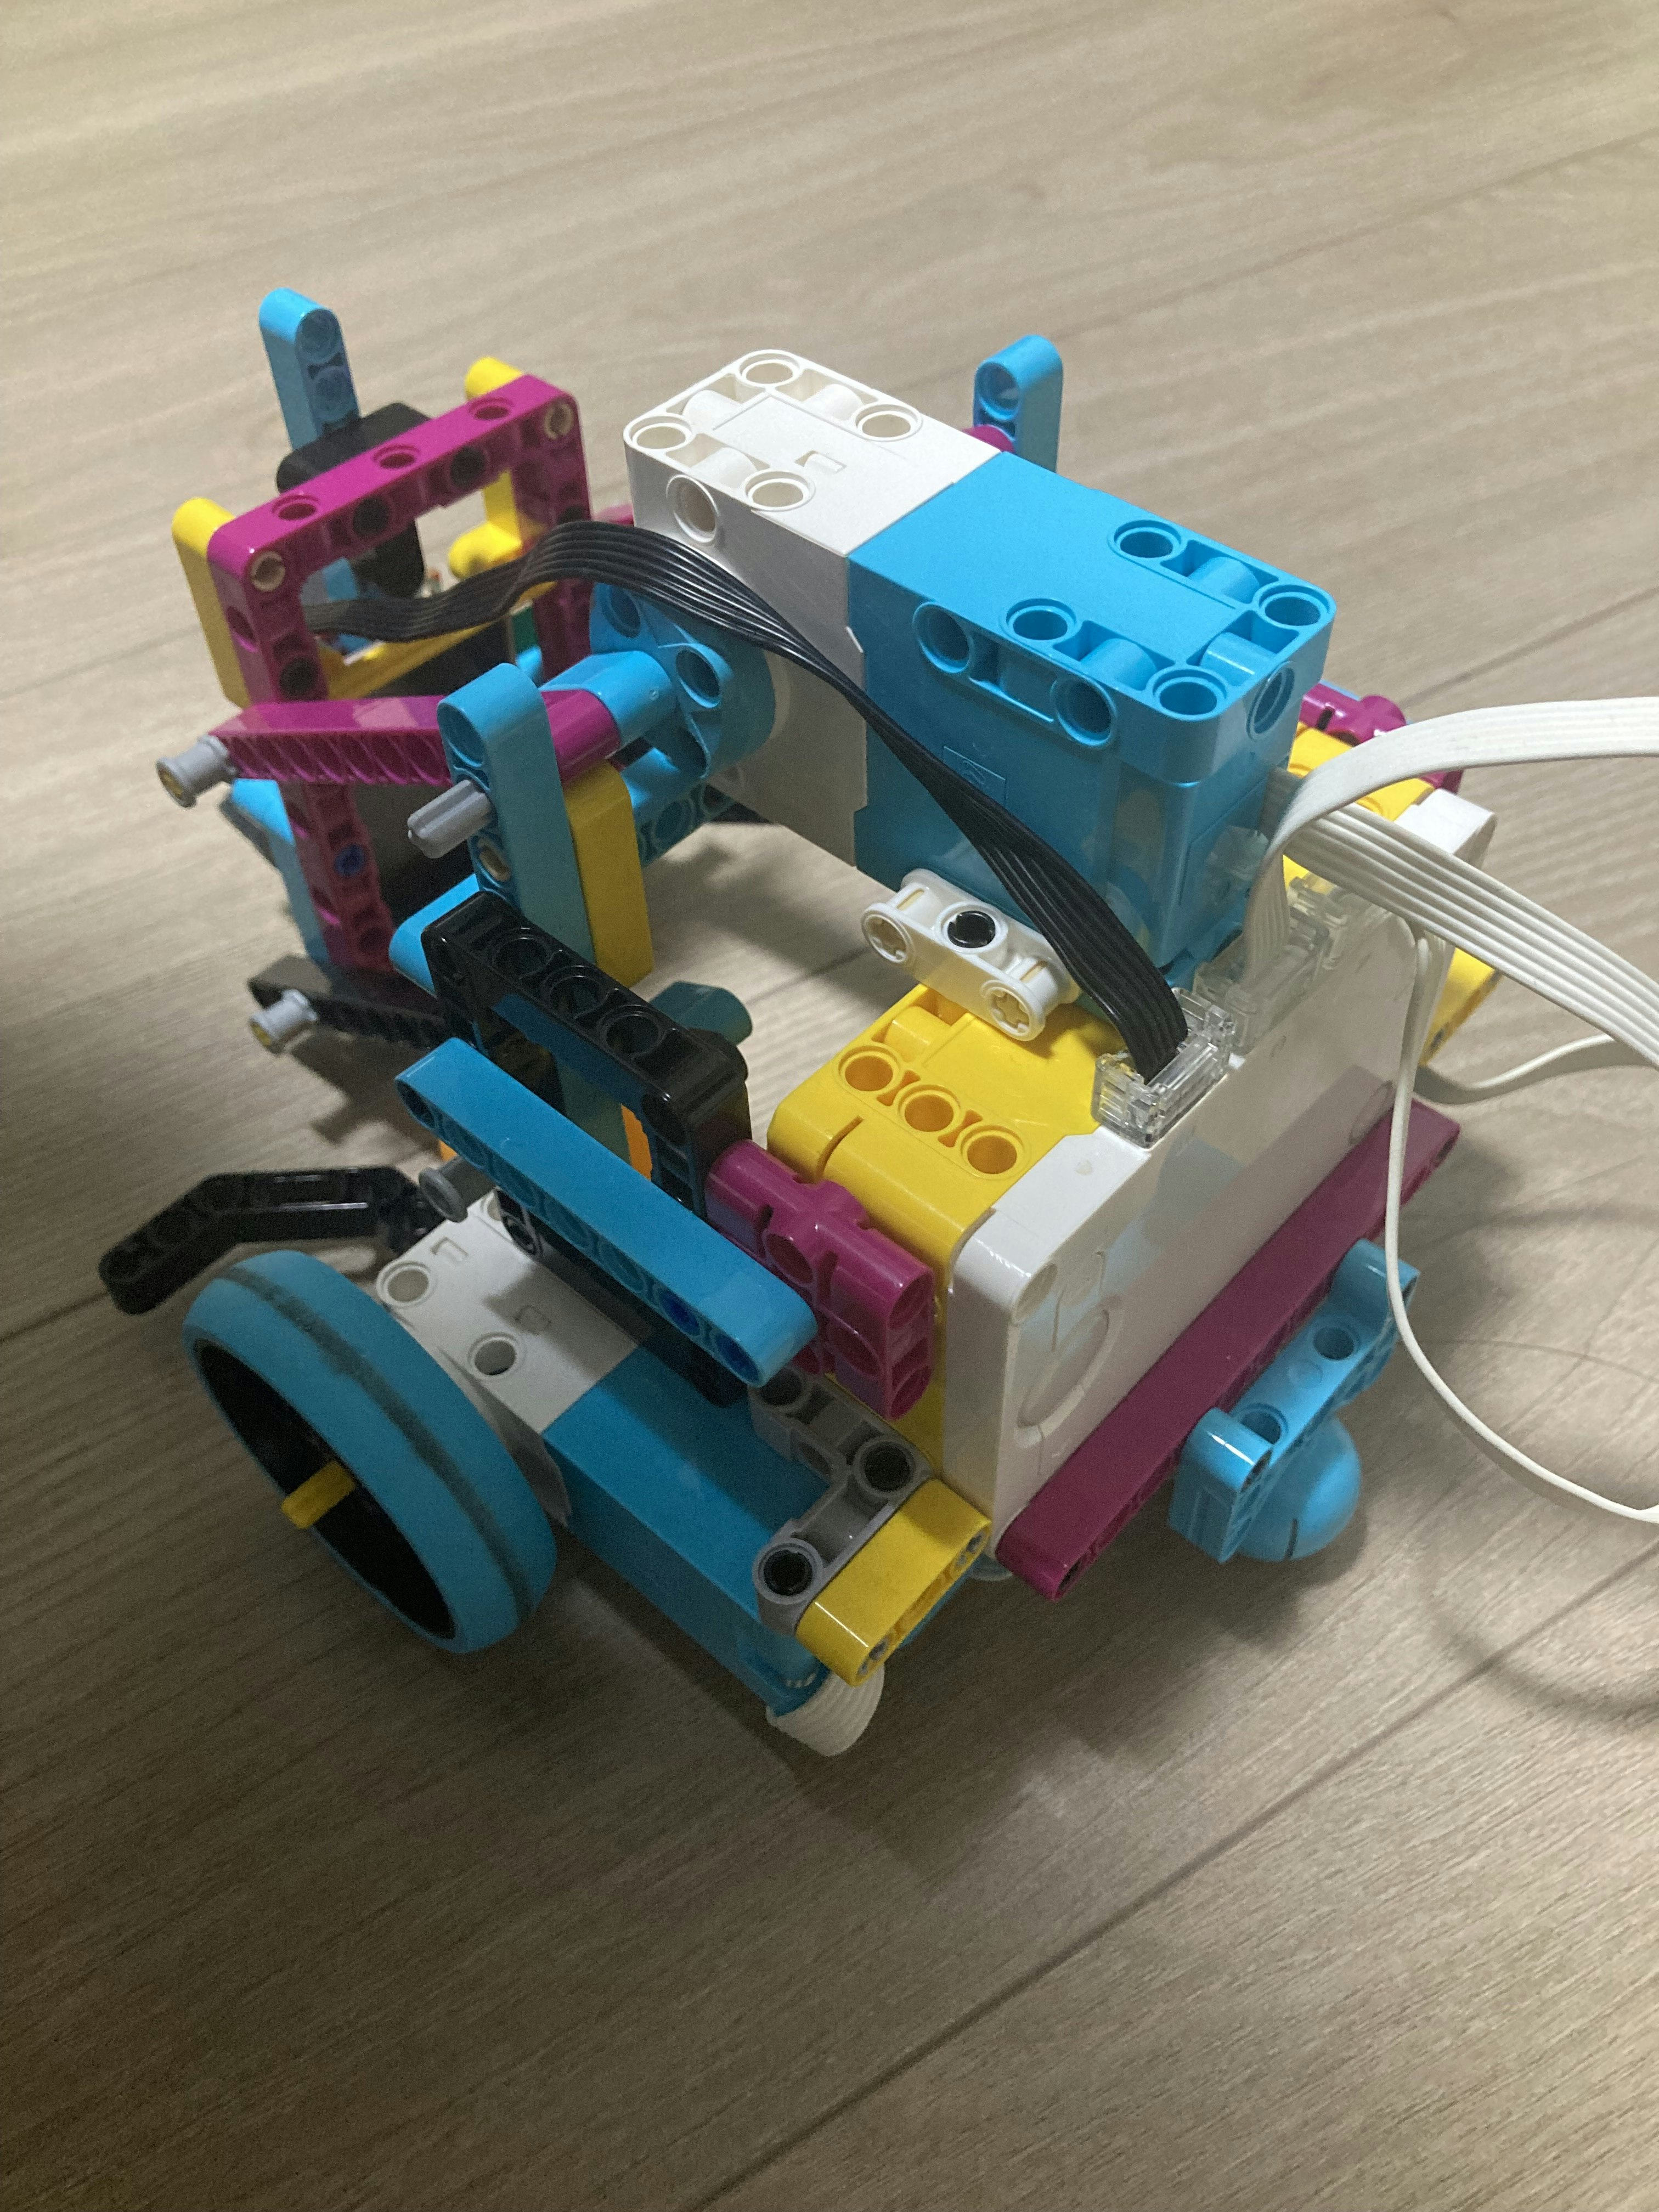
ちなみに画像の組立では、走行体前方にOpenMV固定用マウントを作成しました。
組み立てる際には、OpenMVをどこに取り付けるのかを意識した方がよいです。
SPIKEとOpenMVの接続
ここからは以下の手順で実行します。
1. SPIKE用ケーブルとOpenMVを接続する。
※SPIKE用ケーブルをお求めの方は、下記リンクより問い合わせください。
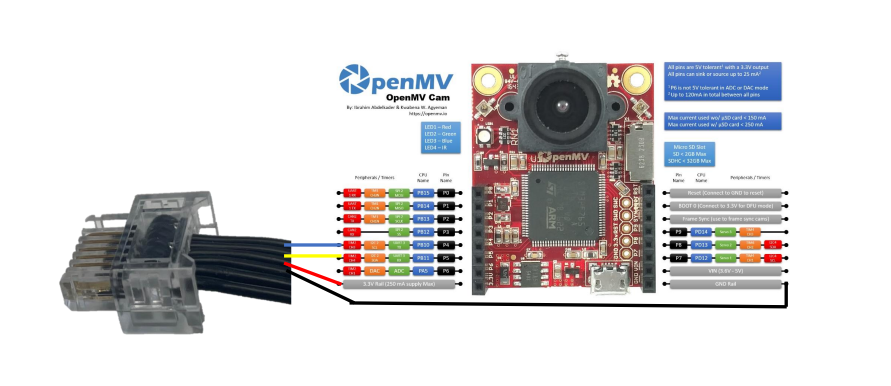
対応した場所にSPIKEケーブルと接続していきます。
以下の画像を参照して接続します。
2. SPIKEとOpenMVを接続する。
今回はEポートに接続します。
接続がうまくできていれば、SPIKEの電源を入れるとOpenMVにも給電され起動します。
起動してみましょう。
3.SPIKEで通信モジュールのインストールを行う。
https://github.com/antonvh/mpy-robot-tools/blob/master/Installer/install_mpy_robot_tools.py
上記コードをSPIKEアプリにコピペし実行する。
「'Library written successfully. Enjoy!'」が表示されれば、無事インストール完了。
4.シリアル通信を用いて接続テストを行う。
ここでは通信のみを行うサンプルプログラムを作成し、接続テストを行います。
コーディング
接続テスト用のサンプルプログラム作成
OpenMV側
OpenMV側のmain.pyはOpenMVに格納するだけで大丈夫です。(実行はしません。)
import sensor, image, time, math,lcd
from uartremote import *

threshold_index = 0 # 0 for red, 1 for green, 2 for blue

#single_color_code_tracking
thresholds = [(30, 100, 15, 127, 15, 127),(30, 100, -64, -8, -32, 32)]

#init
sensor.reset()
sensor.set_pixformat(sensor.RGB565)#RGB
sensor.set_framesize(sensor.QQVGA2)#フレームサイズ
sensor.skip_frames(time = 2000)
sensor.set_auto_gain(True)
sensor.set_auto_whitebal(False)
lcd.init()
clock = time.clock()
ur = UartRemote()#インスタンス生成

while(True):
    clock.tick()
    img = sensor.snapshot()#caputure
    largest_blob = []
    largest_blob_size = 0
    for blob in img.find_blobs([thresholds[threshold_index]], pixels_threshold=100, area_threshold=100, merge=True):
        #物体認識している間
        if blob.elongation() > 0.5:
            img.draw_edges(blob.min_corners(), color=(255,0,0))
            img.draw_line(blob.major_axis_line(), color=(0,255,0))
            img.draw_line(blob.minor_axis_line(), color=(0,0,255))

        img.draw_rectangle(blob.rect())#外側のバウンディングボックス
        img.draw_cross(blob.cx(), blob.cy())#中心座標の表示

        #取得した物体の面積が過去に取得した物体より大きい場合
        if blob.pixels() > largest_blob_size:
            largest_blob_size = blob.pixels()#最大値の更新
            largest_blob = [blob.cx(), blob.cy(),blob.pixels()]
    lcd.display(img)#display
    print(clock.fps())

    #SPIKEとの通信
    if ur.available():#通信可能ならば
        command, value = ur.receive_command()#SPIKEからの通信を受け取る
        print(largest_blob, command, value)
        if command == 'blob':#通信が正常であれば
            ur.ack_ok(command, largest_blob)#面積の最も大きいものを送信
        else:
            ur.reply_command(command, value)#エラー処理
SPIKE側
SPIKE側でも接続テスト用のプログラムを作成します。
from spike import PrimeHub, LightMatrix, Button, StatusLight, ForceSensor, MotionSensor, Speaker, ColorSensor, App, DistanceSensor, Motor, MotorPair
from spike.control import wait_for_seconds, wait_until, Timer
from math import *

hub = PrimeHub()

hub.light_matrix.show_image('HAPPY')

from projects.mpy_robot_tools.serialtalk import SerialTalk
from projects.mpy_robot_tools.mshub import MSHubSerial

st = SerialTalk(MSHubSerial('E'))

print(st.call('echo','hello world!'))
作成後、SPIKEアプリで実行してください。
実行後、コンソール上にて
「('echoack', b'hello world!')」が表示されていれば、接続テスト成功です。
応用・物体認識プログラム
物体認識サンプルプログラムの作成
ここでは、ピンポン玉を認識・追跡しボールを獲得する動きのプログラムをつくります。
OpenMV側のプログラムは接続テストプログラム「main.py」のままで大丈夫です。
SPIKE側のプログラムを作成していきます。
SPIKE側
from mindstorms import MSHub
from hub import port
from spike import Motor
from spike import MotorPair
from spike.control import wait_for_seconds
from projects.mpy_robot_tools.serialtalk import SerialTalk
from projects.mpy_robot_tools.mshub import MSHubSerial

# Create your objects here.
ms_hub = MSHub()
st = SerialTalk(MSHubSerial('E'))
arm = Motor('C')
motor_pair = MotorPair('B','A')

ms_hub.speaker.beep()
print(st.call('echo','repr','Uart command loop tested with echo'))

def get_ball():
    ms_hub.speaker.beep()
    arm.run_to_position(200,'clockwise',40)
    motor_pair.move(3,'cm',0,60)
    arm.run_to_position(153,'counterclockwise',40)

while True:
    # print(ur.call('echo','repr','Uart command loop tested with echo'))
    ack, payload = st.call('blob')
    if ack == 'bloback':
        if len(payload) == 3:#物体がある場合
            print(payload[0],payload[1],payload[2])
            # カメラ縦向き
            direction = int((payload[0]-60)/4) #X:左右
            distance = int(abs(payload[1]-160)/3)+20#Y:距離

            # カメラ横向き
            # direction = int((payload[1]-80)/2) #z:左右
            # distance = int((payload[0]-120))#X:距離

            port.A.motor.pwm((distance-direction))
            port.B.motor.pwm(-1*(distance+direction))

            #物体に近いと
            if int(payload[1]) > 150:
                get_ball()
        else:#物体認識がない場合
            port.A.motor.pwm(30)
            port.B.motor.pwm(30)
    else:
        print(ack, payload)
        port.A.motor.pwm(0)
        port.B.motor.pwm(0)
実行結果
うまくいきました。
実行するときはピンポン玉を走行体の周りに配置してください。
ぜひ、みなさんも活用してください。