前置き
こんにちは Bugfire です。
クラウドワークス Advent Calendar 2020 の5日目になりました。
また GitHub Actions の話題です。
github-script とは?
github-script とは 公式 GitHub Action です。
インラインの JavaScript から、認証済みの GitHub API を呼び出すことができます。
GitHub API は多種多様なことができますが、公式 Actions は全ての機能が定義されているわけではありません。ちょっとした機能を使うために 3rd party の Action を使うのも...という時にこの Action が役立ちます。
もちろん、この環境で書かれたコードで Lint や Test は難しいですし、複雑なことを行うには適していません、ちょっとした条件分岐と API を呼び出す程度にした方がよいでしょう。
注意
Note This action is still a bit of an experiment—the API may change in future versions. 🙂
とあるので、変更の可能性はあります。
使い方 (READMEより)
返値
レポジトリの README から引用します
- uses: actions/github-script@v3
  id: set-result
  with:
    script: return "Hello!"
    result-encoding: string
- name: Get result
  run: echo "${{steps.set-result.outputs.result}}"
簡単ですね。return で返したものを outputs.result で参照できます。
result-encoding の仕様については、 https://github.com/actions/github-script/blob/96374ece582f3d27d61b7def6d0fd209a7058dbc/src/main.ts#L35-L49 をみると、'string' か 'json' とありますね。
object を返す場合は json にしておくと stringify してくれますが、利用するときは、JSON.parse() (or jq コマンドなど)しないといけないので、そこまで便利ではないです。
コメントをつける
on:
  issues:
    types: [opened]

jobs:
  comment:
    runs-on: ubuntu-latest
    steps:
      - uses: actions/github-script@v3
        with:
          github-token: ${{secrets.GITHUB_TOKEN}}
          script: |
            github.issues.createComment({
              issue_number: context.issue.number,
              owner: context.repo.owner,
              repo: context.repo.repo,
              body: '👋 Thanks for reporting!'
            })
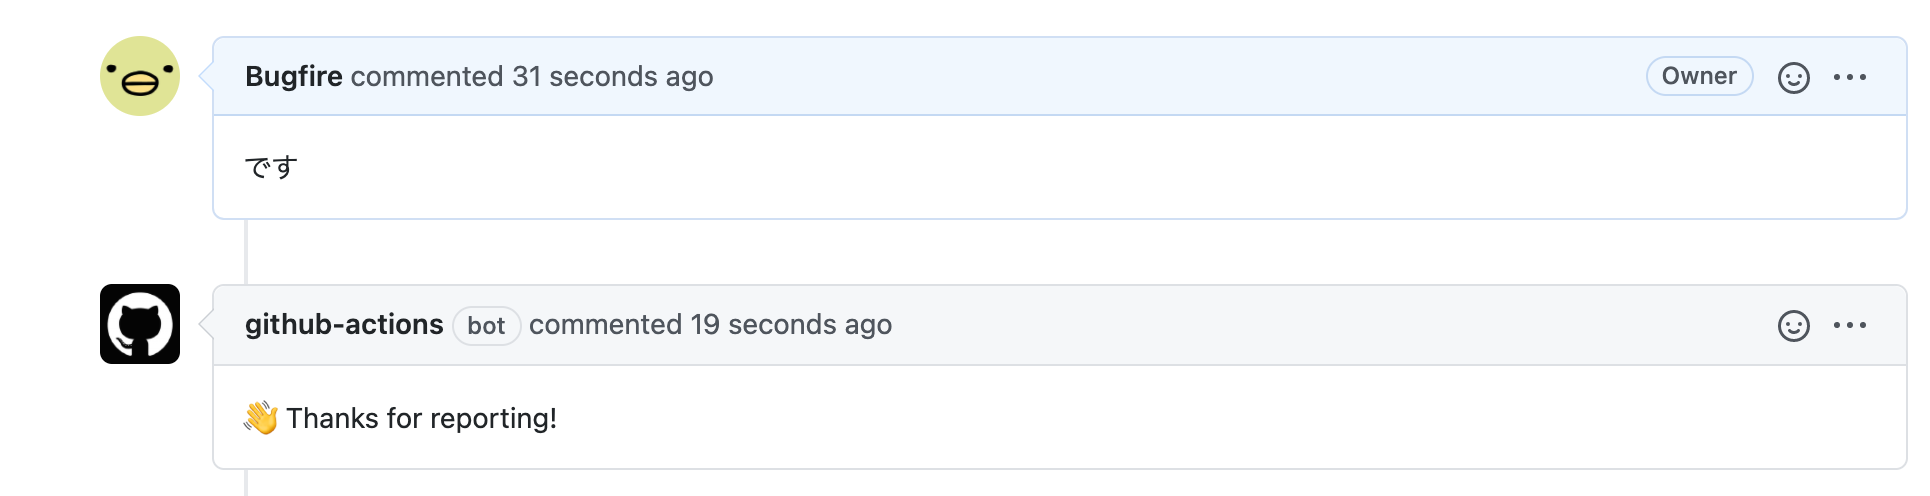
コメントがつきました。
ラベルをつける
on:
  issues:
    types: [opened]

jobs:
  apply-label:
    runs-on: ubuntu-latest
    steps:
      - uses: actions/github-script@v3
        with:
          github-token: ${{secrets.GITHUB_TOKEN}}
          script: |
            github.issues.addLabels({
              issue_number: context.issue.number,
              owner: context.repo.owner,
              repo: context.repo.repo,
              labels: ['Triage']
            })

ラベルがつきました。
その他の README のサンプル
- プルリクエストが作成された時に、そのユーザで最初の Issue に紐づくプルリクエストであれば Welcome コメントを出す。
- プルリクエストの差分を取得する
- 特定のラベルのついた Issue を検索する
- script を別ファイルにする
などがあります。README.md はとても参考になります。
その他使い方
Deployment の作成と Status 更新
on:
  push:

jobs:
  test-for-script:
    runs-on: ubuntu-latest
    steps:
      - uses: actions/github-script@v3
        id: create-deployment
        env:
          # オプショナル
          # DEPLOY_ENVIRONMENT: 'production', 'staging' 等。デフォルトは 'production'。
          # DEPLOY_AUTO_MERGE: 'true' の場合は default branch に自動マージされる。デフォルトは 'false'。
          # DEPLOY_DESCRIPTION: 任意のメッセージ。140文字以内。デフォルトはなし。
          DEPLOY_ENVIRONMENT: staging
        with:
          script: |
            const env = process.env;
            const logUrl = `https://github.com/${context.repo.owner}/${context.repo.repo}/commit/${context.sha}/checks`
            // https://octokit.github.io/rest.js/v18
            // https://developer.github.com/v3/repos/deployments/#create-a-deployment
            // required_contexts がなくても良いと書いてあるが、ないと通らない
            const deployment = await github.repos.createDeployment({
              ref: context.ref,
              owner: context.repo.owner,
              repo: context.repo.repo,
              required_contexts: [],
              environment: env.DEPLOY_ENVIRONMENT || 'production',
              transient_environment: true,
              auto_merge: env.DEPLOY_AUTO_MERGE === 'true',
              description: env.DEPLOY_DESCRIPTION
            });
            // https://developer.github.com/v3/repos/deployments/#create-a-deployment-status
            await github.repos.createDeploymentStatus({
              owner: context.repo.owner,
              repo: context.repo.repo,
              deployment_id: deployment.data.id,
              state: 'in_progress',
              log_url: logUrl,
              mediaType: {
                // state を inactive, in_progress, queued にする場合は必要
                previews: ["flash-preview", "ant-man-preview"]
              }
            });
            return deployment.data.id.toString();
          result-encoding: string
      - uses: actions/github-script@v3
        id: update-deployment
        env:
          # 必須
          # DEPLOY_STATUS: 'error', 'failure', 'inactive', 'in_progress', 'queued', 'pending', 'success'
          # DEPLOY_ID: デプロイメントID
          # オプショナル
          # DEPLOY_TARGET_URL: デプロイ先を指す任意 URL。Deployments ページ上で表示される。デフォルトはなし。
          # DEPLOY_DESCRIPTION: 任意のメッセージ。140文字以内。デフォルトはなし。
          DEPLOY_STATUS: 'success'
          DEPLOY_ID: '${{steps.create-deployment.outputs.result}}'
          DEPLOY_TARGET_URL: https://www.google.com/
          DEPLOY_DESCRIPTION: 'デプロイした'
        with:
          script: |
            const env = process.env;
            const logUrl = `https://github.com/${context.repo.owner}/${context.repo.repo}/commit/${context.sha}/checks`
            // https://developer.github.com/v3/repos/deployments/#create-a-deployment-status
            await github.repos.createDeploymentStatus({
              owner: context.repo.owner,
              repo: context.repo.repo,
              deployment_id: Number(env.DEPLOY_ID),
              state: env.DEPLOY_STATUS,
              log_url: logUrl,
              environment_url: env.DEPLOY_TARGET_URL,
              description: env.DEPLOY_DESCRIPTION,
              mediaType: {
                // state を inactive, in_progress, queued にする場合は必要
                previews: ["flash-preview", "ant-man-preview"]
              }
            });
Deploymentの作成と、Status の作成を行なっています。
デプロイ完了時に 'success' へ変更、if failure() で 'failure' に変更すると良いでしょう。
step のif failure() は同じ job であれば定義された行より上のどこかで失敗すれば必ず呼ばれるので、最後のステップに例外ハンドラ的に書いておくと良いです。job をまたがる場合は面倒です。
(job で if always() or if failure() を指定しておき、他の job の status を取得することで DRY に書くことができるようです)
実行すると、トップに Environments が生成され、

Deployments のページで以下の様に表示されます (View deployment のリンク先が、DEPLOY_TARGET_URL になります)

Label に応じて自動で Issue を閉じる
on:
  issues:
    types: [labeled]

jobs:
  comment:
    runs-on: ubuntu-latest
    steps:
      - uses: actions/github-script@v3
        with:
          github-token: ${{secrets.GITHUB_TOKEN}}
          script: |
            if (context.payload.label.name !== 'invalid') {
              return;
            }
            github.issues.createComment({
              owner: context.repo.owner,
              repo: context.repo.repo,
              issue_number: context.issue.number,
              body: 'Please follow the issue templates.'
            })
            github.issues.update({
              owner: context.repo.owner,
              repo: context.repo.repo,
              issue_number: context.issue.number,
              state: 'closed'
            });
特定のラベル(上では invalid)が付与された場合に、自動的にコメントを行い、Close します。

まとめ
いくつかAPIを呼び出したり、それに条件を少し加える程度なら github-script で API を呼び出すことは見通しもよく、便利ではないでしょうか。