はじめに
ここ最近、メンテナンスやらドキュメント作成やらでソースをゼロから構築する機会がなく、基礎的な部分について忘れがちな状況である。
そんなとき、たまたまみたこの動画をみた。
How to create Docker Image and run Java App (Spring Boot Jar) in a Docker Engine | Tech Primers(2017)
https://www.youtube.com/watch?v=FlSup_eelYE
動画の内容が非常にわかりやすく、そういえばシンプルにゼロから作ったことがないことを思い出しため、勉強用に構築作業を実施。
構築要件
Dockerコンテナ上でSpringbootアプリが動くようにする。
外部からRestAPIでアクセスできるようにする。
DockerDesktop のセットアップ
windows 環境でDockerを動かせるようにする。
インストーラー
こちらの公式からダウンロード可能
https://hub.docker.com/editions/community/docker-ce-desktop-windows
[Docker Desktop Installer.exe]を起動して手順に沿う
Docker起動
インストーラー後の再起動で起動する
ProxySetUp(必要に応じて)
~/.docker/config.json ファイルにproxies 以下を追加する。
{
  "credsStore": "desktop",
  "stackOrchestrator": "swarm",
  "credStore": "desktop",
  "proxies":
	 {
	   "default":
	   {
	     "httpProxy": "http://127.0.0.1:3001",
	     "httpsProxy": "http://127.0.0.1:3001",
	     "noProxy": "*.test.example.com,.example2.com"
	   }
	 }
}
<参考>
https://docs.docker.com/network/proxy/
Springboot 初期構築
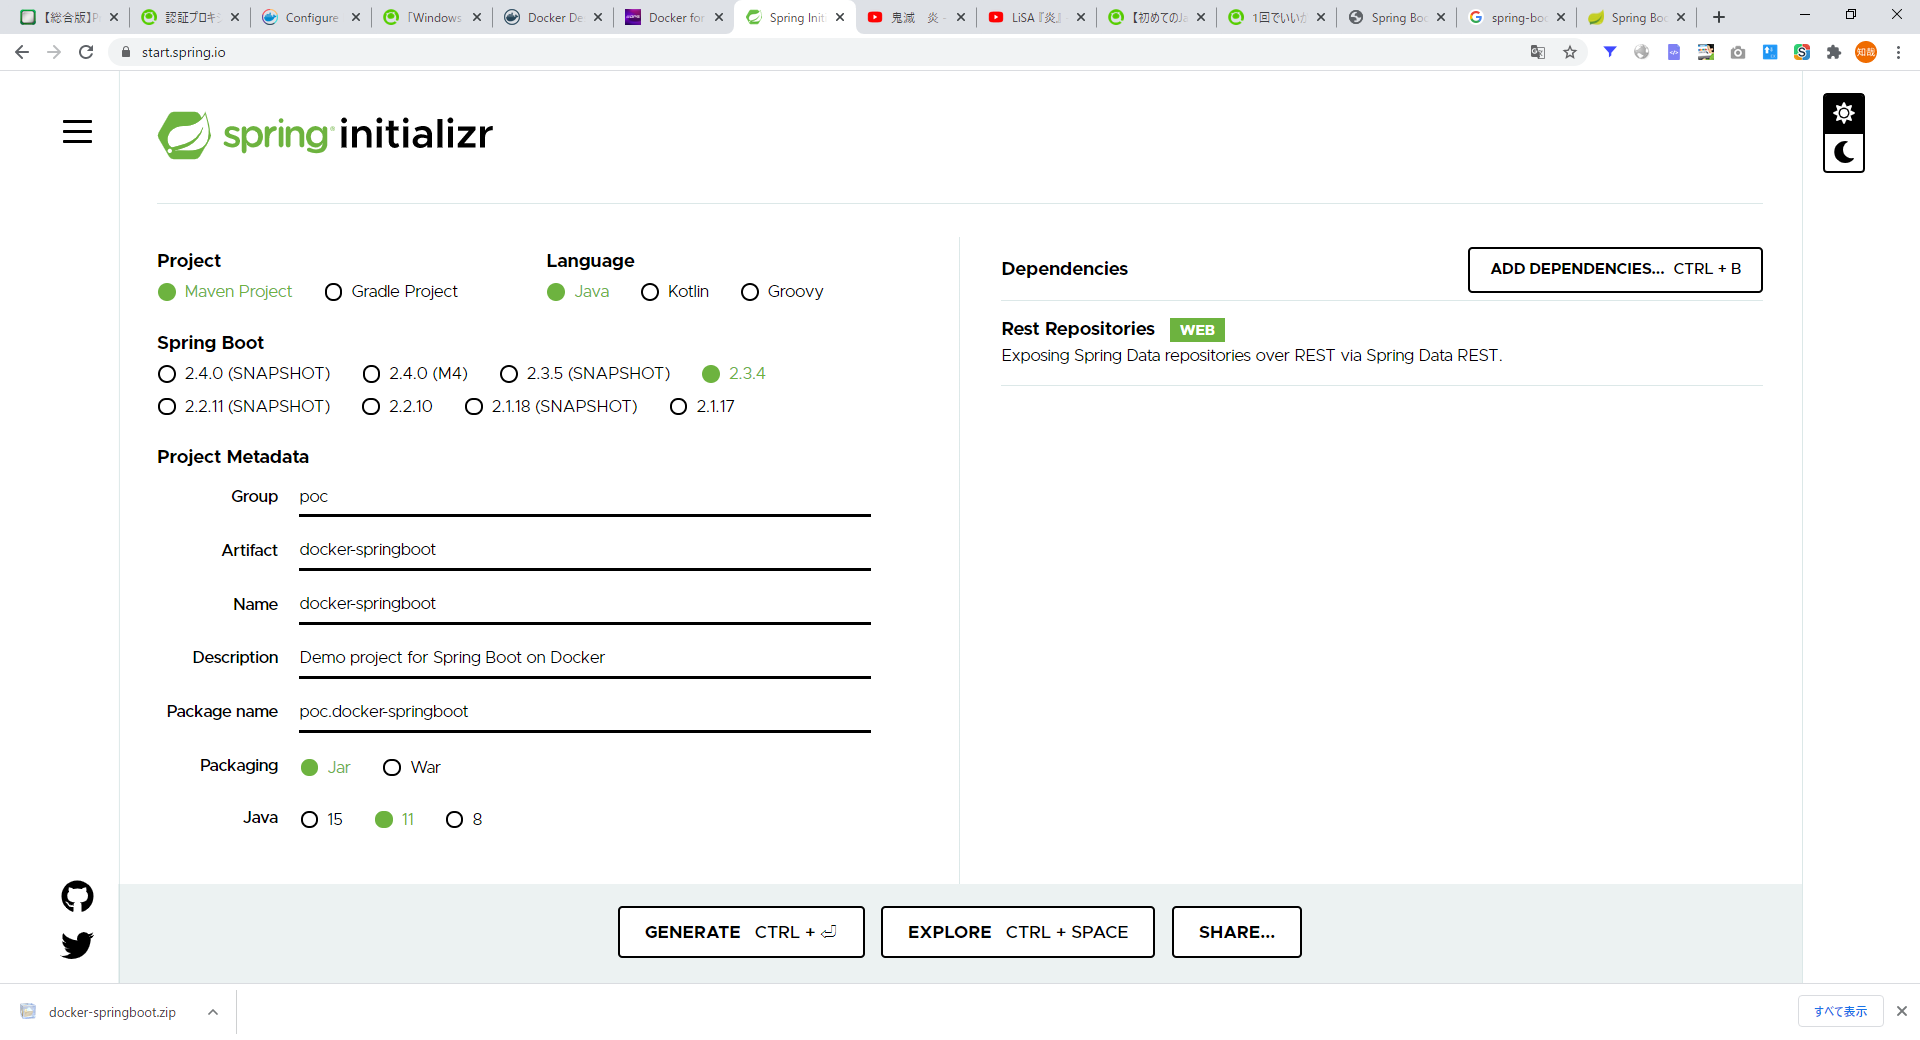
○ SpringbootのProjectを作成
https://start.spring.io/
RestAPI を作りたいために、Dependency にRest Repositoryを追加。
※ 目的にあったライブラリを追加する。
設定をしたあと、GENERATEボタンを押下するとZIPファイルがダウンロードされる
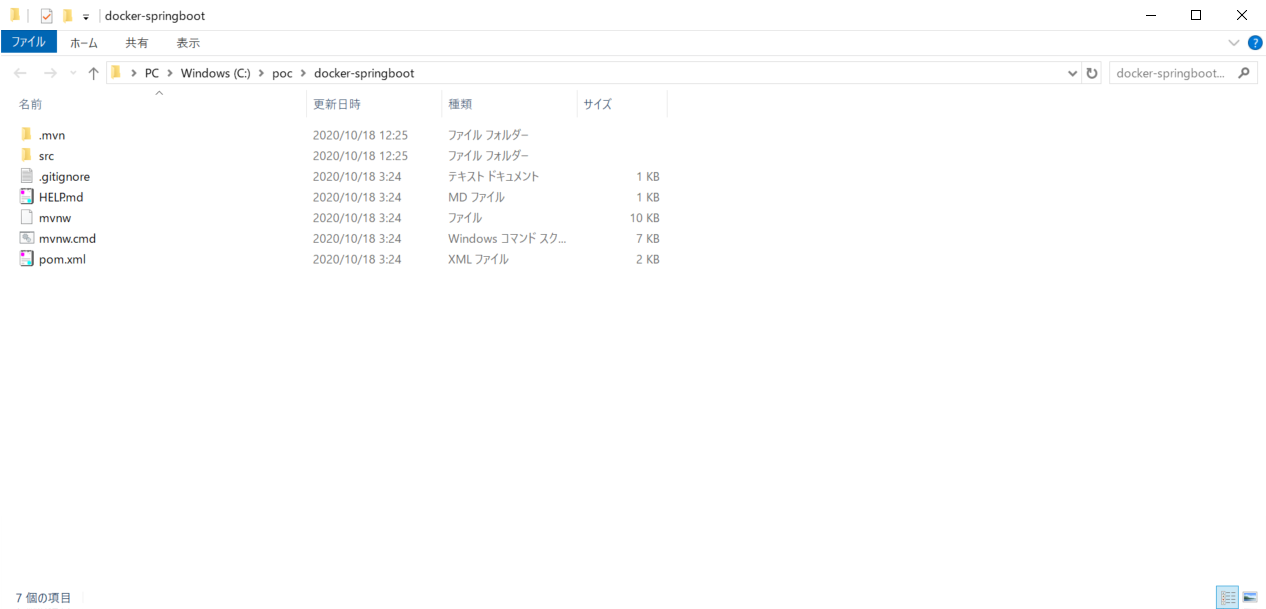
ローカルに配置
Rest用のサンプルモジュールを作成
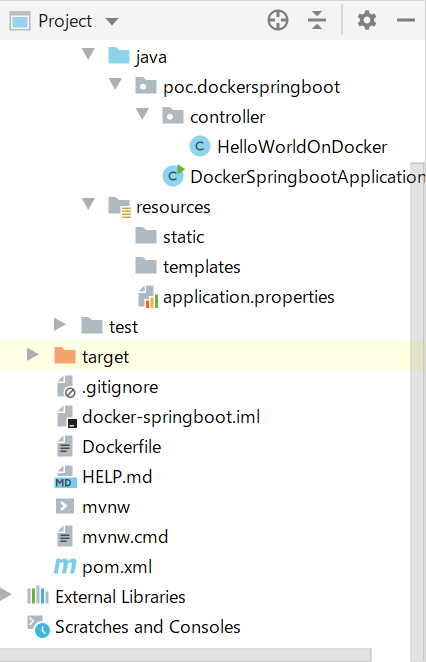
poc.dockerspringboot配下にcontrollerパッケージを作成して、サンプルファイルを作成
package poc.dockerspringboot.controller;

import org.springframework.web.bind.annotation.GetMapping;
import org.springframework.web.bind.annotation.RequestMapping;
import org.springframework.web.bind.annotation.RestController;

@RestController
@RequestMapping("/rest/message/helloWorldOnDocker")
public class HelloWorldOnDocker {

    @GetMapping
    public String hello(){
        return "Hello from Docker Container";
    }
}
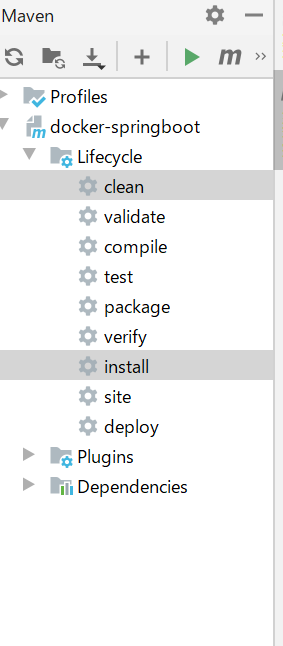
maven ビルドを実施
Docker File のセットアップ
Docker Fileの作成
プロジェクト直下にDockerfile を作成
作成例
FROM adoptopenjdk:11-jre-openj9
ADD target/docker-springboot.jar docker-springboot.jar
EXPOSE 8081
ENTRYPOINT ["java", "-jar", "docker-springboot.jar"]
FROM: ベースイメージの指定(Java)
OpenJDKの中で、商用でも使えるadoptopenjdkを利用する。
https://hub.docker.com/_/adoptopenjdk
ADD:モジュールの追加
生成したモジュールをDockerに追加する。
target配下にモジュールができているが、jar のファイル名が長いためアウトプット名称を[finalName]で指定する。
<build>
	<finalName>docker-springboot</finalName>
	<plugins>
		<plugin>
			<groupId>org.springframework.boot</groupId>
			<artifactId>spring-boot-maven-plugin</artifactId>
		</plugin>
	</plugins>
</build>
参考:spring-boot-maven-pluginの設定情報
https://spring.pleiades.io/spring-boot/docs/current/maven-plugin/reference/html/
EXPOSE: 外部公開用のポート
Dockerコンテナで開放したいポートを指定
コンテナ内部で、spring-boot 起動時のデフォルトポートは8080
この値を変更したい場合は、application.properties に、server.port=8082 などを追加
Docker起動時に、内部で起動しているポートと外部で公開するポートの紐づけを行う。
ENTRYPOINT: 起動ポイント
jar コマンドでモジュールを起動。
このコマンドを実行することで、組み込みサーバー(Tomcat)が起動してアクセスを受け付けるようになる。
コンテナ起動
# イメージ作成
docker build -f Dockerfile -t docker-spring-boot .

# 作成物の確認
docker images

# コンテナ起動
docker run -p 8081:8080 docker-spring-boot
アクセス確認
http://localhost:8081/rest/message/helloWorldOnDocker

さいごに
新しい技術的な発見はないものの、たまにこういった作業を実施すると思考がクリアになる。
あとから振り替えられるように、ガイドライン的に記載。


