はじめに
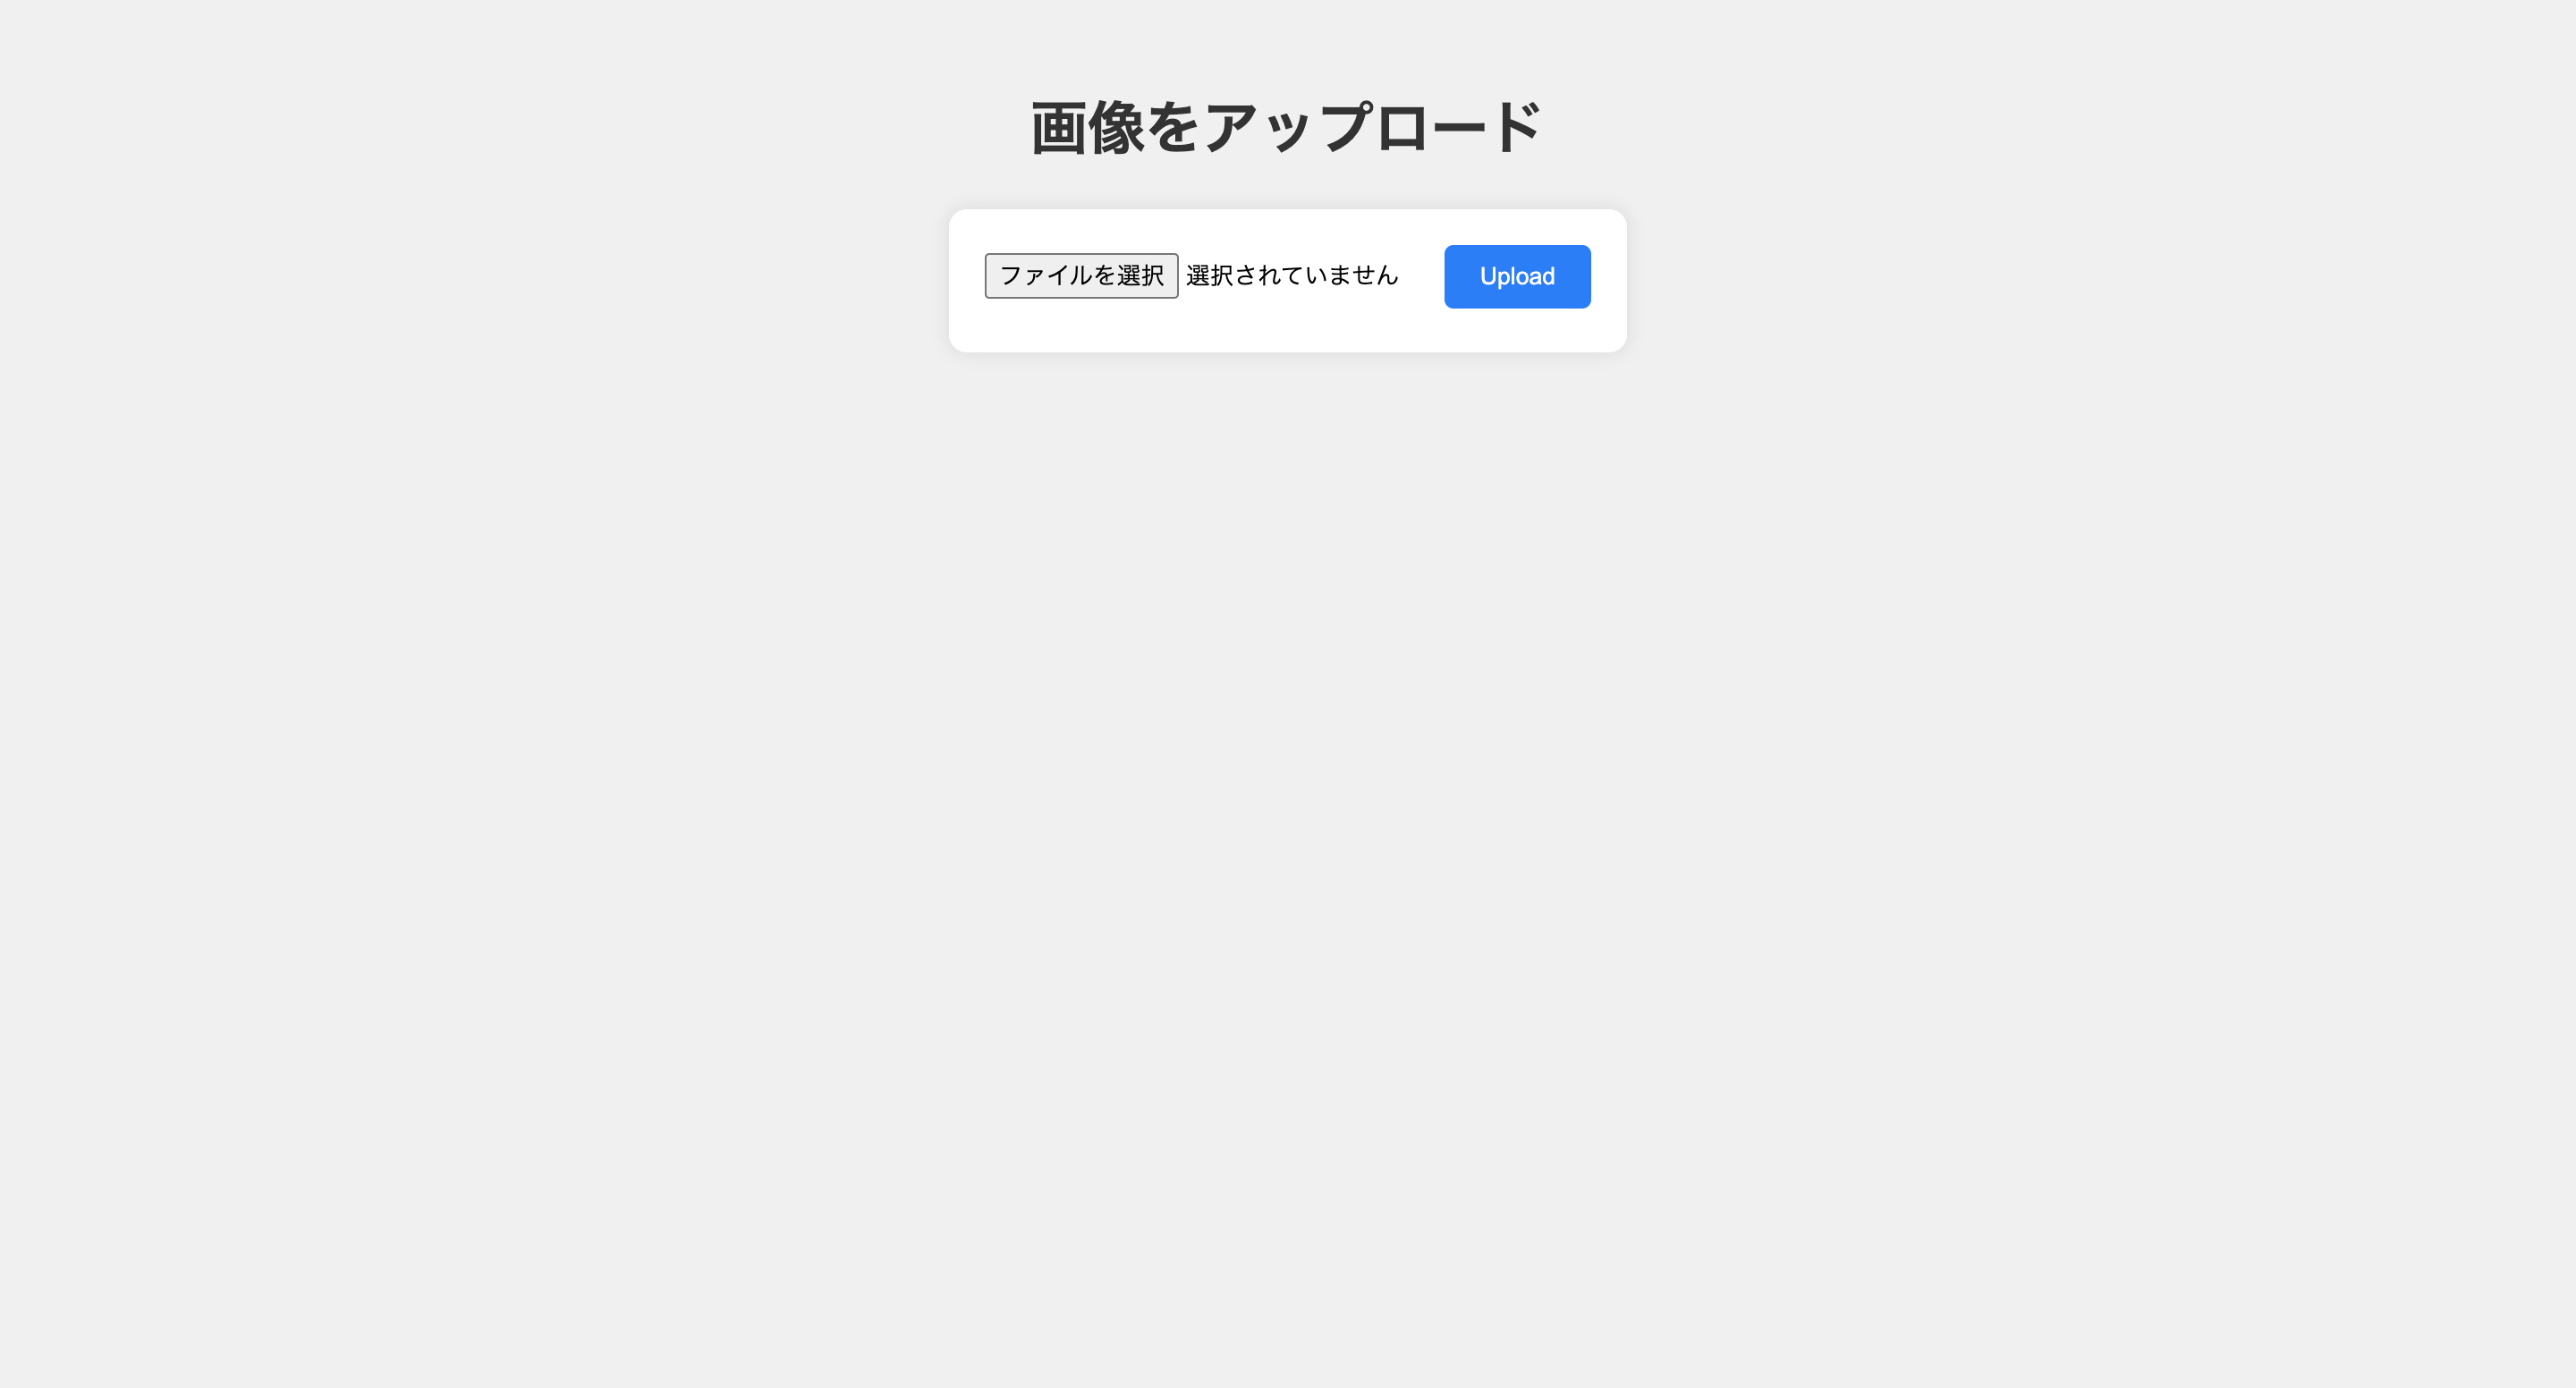
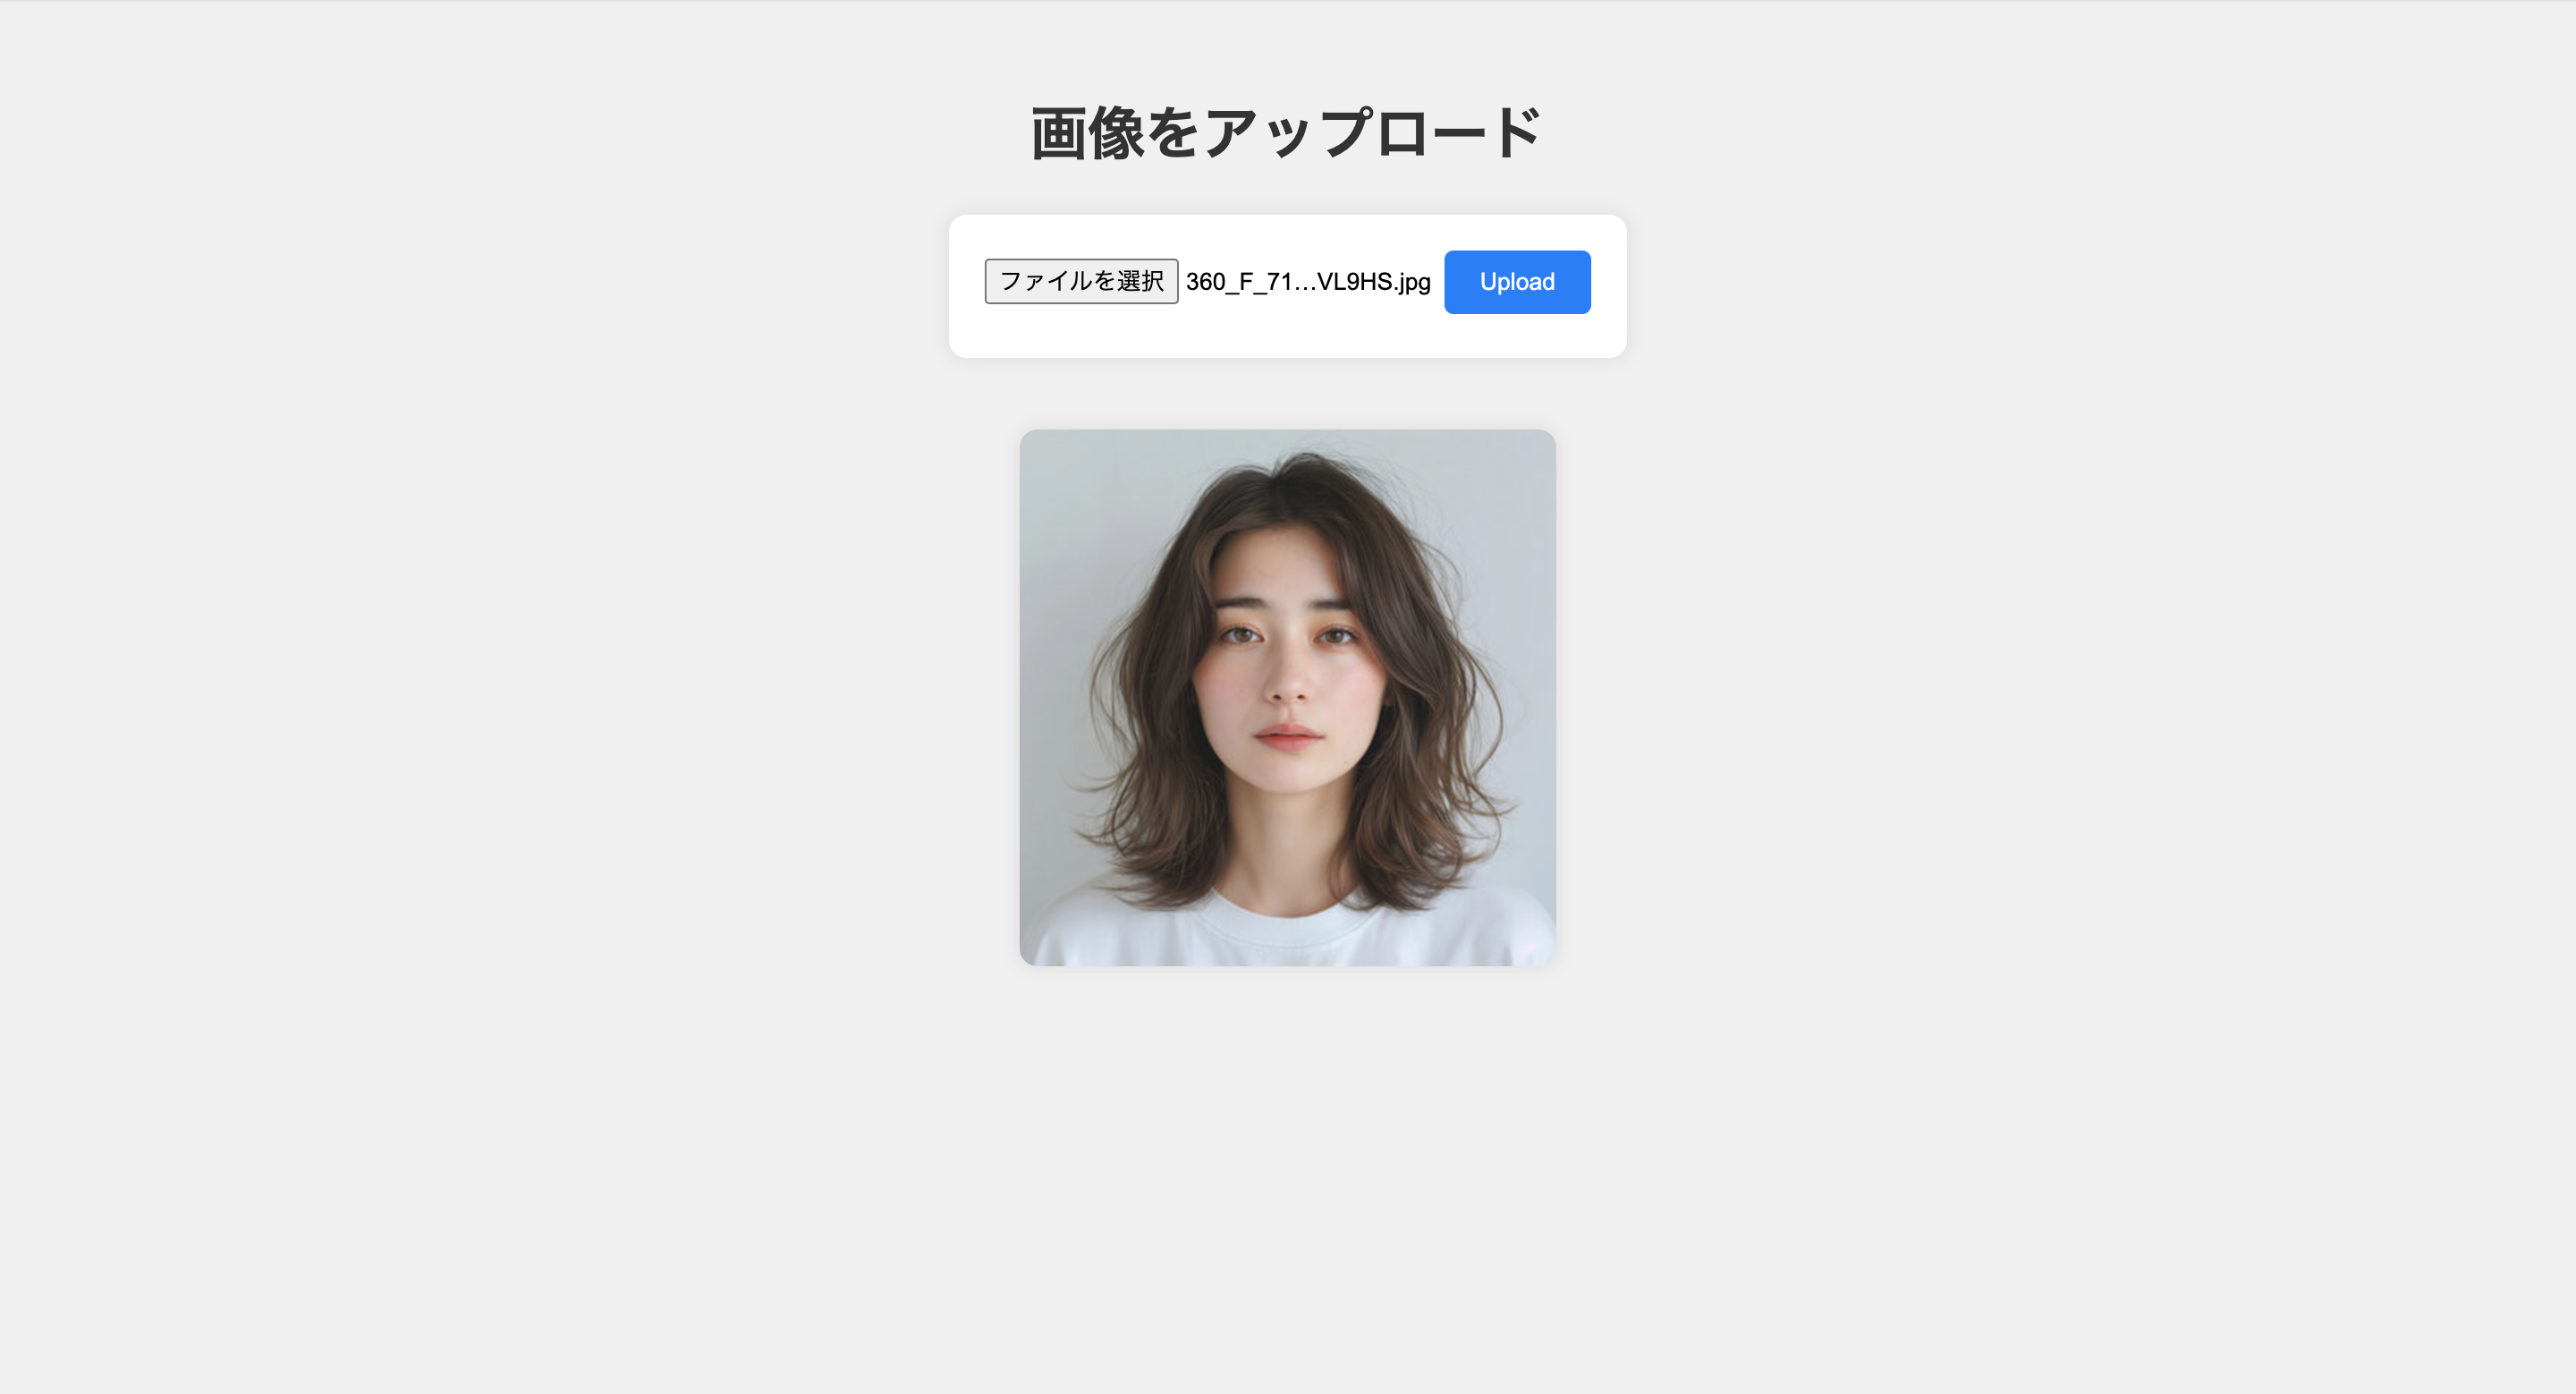
FlaskとOpenCVを使用して、顔認識を活用し画像に加工を施す簡易的なWebアプリを作成しました。今回はアップロードした画像に対して顔認識を行い、トナカイの角をつける加工をします。
今回作成した画面
開発環境
OS: macOS
IDE: Visual Studio Code (VS Code)
- Python3
- Flask
- OpenCV (cv2)
1. プロジェクトディレクトリの作成
最初に、プロジェクトディレクトリを作成します。
mkdir facial_recognition_project
cd facial_recognition_project
プロジェクト全体のディレクトリ構造
facial_recognition_project/
│
├── app.py
├── haarcascade_frontalface_default.xml
├── venv/
├── static/
│   ├── antlers.png
│   ├── uploads/
│   ├── script.js
│   └── style.css
└── templates/
    └── index.html
2. 仮想環境の作成とインタープリターの設定
仮想環境を作成・アクティブ化
python -m venv venv
source venv/bin/activate
Codeでのインタープリター設定
- Cmd + Shift + P を押してコマンドパレットを開きます
- Python: Select Interpreterを選択します
- 「インタープリターパスを入力…」を選択し、仮想環境のPythonインタープリターのパスを入力します
この設定を行うことで、プロジェクトで使うライブラリやパッケージが正しくインストールされ、実行時にモジュールやライブラリが見つからないという問題を防ぎます。
3. 必要なライブラリのインストール
必要なライブラリ(Flask、OpenCV、numpy)をインストールします。
pip3 install Flask opencv-python numpy
4. Flaskアプリケーションの設定
今回は、app.pyというファイルを作成し、Flaskアプリの基本構造を構築します。
from flask import Flask, request, render_template, redirect, url_for
import cv2
import numpy as np
import os

app = Flask(__name__)

# 定数の設定
FACE_CASCADE_PATH = 'haarcascade_frontalface_default.xml'
ANTLERS_IMAGE_PATH = 'static/antlers.png'
UPLOAD_FOLDER = 'static/uploads'
app.config['UPLOAD_FOLDER'] = UPLOAD_FOLDER

# 存在しない場合、アップロードフォルダーを作成
os.makedirs(UPLOAD_FOLDER, exist_ok=True)

def get_face_cascade():
    return cv2.CascadeClassifier(FACE_CASCADE_PATH)

def load_image(image_path, flags=cv2.IMREAD_COLOR):
    return cv2.imread(image_path, flags)

def resize_image(image, width):
    aspect_ratio = width / image.shape[1]
    return cv2.resize(image, (width, int(image.shape[0] * aspect_ratio)))

def overlay_image(background, overlay, x, y):
    alpha_s = overlay[:, :, 3] / 255.0
    alpha_l = 1.0 - alpha_s

    for c in range(0, 3):
        background[y:y+overlay.shape[0], x:x+overlay.shape[1], c] = (
            alpha_s * overlay[:, :, c] +
            alpha_l * background[y:y+overlay.shape[0], x:x+overlay.shape[1], c]
        )

def process_image(image_path):
    # 顔検出器と画像の読み込み
    face_cascade = get_face_cascade()
    image = load_image(image_path)
    antlers = load_image(ANTLERS_IMAGE_PATH, cv2.IMREAD_UNCHANGED)

    if image is None or antlers is None:
        return {"error": "画像の読み込みに失敗しました。"}

    # グレースケール変換と顔検出
    gray = cv2.cvtColor(image, cv2.COLOR_BGR2GRAY)
    faces = face_cascade.detectMultiScale(gray, 1.1, 4)

    if len(faces) == 0:
        return {"error": "顔の認識ができませんでした。"}

    additional_offset = 20  # トナカイの角の配置オフセット

    for (x, y, w, h) in faces:
        antlers_width = int(w * 1.3)
        resized_antlers = resize_image(antlers, antlers_width)
        antlers_x1 = max(0, x - (resized_antlers.shape[1] - w) // 2)
        antlers_y1 = y - resized_antlers.shape[0] + additional_offset

        # 画像の範囲外処理
        antlers_x2 = antlers_x1 + resized_antlers.shape[1]
        antlers_y2 = antlers_y1 + resized_antlers.shape[0]
        if antlers_x2 > image.shape[1]:
            resized_antlers = resized_antlers[:, :(image.shape[1] - antlers_x1)]
        if antlers_y1 < 0:
            resized_antlers = resized_antlers[-antlers_y1:, :]
            antlers_y1 = 0

        # 画像のオーバーレイ処理
        overlay_image(image, resized_antlers, antlers_x1, antlers_y1)

    output_filename = os.path.join(app.config['UPLOAD_FOLDER'], 'processed_' + os.path.basename(image_path))
    cv2.imwrite(output_filename, image)
    return {"image_url": url_for('static', filename='uploads/' + os.path.basename(output_filename))}

@app.route('/')
def index():
    return render_template('index.html')

@app.route('/upload', methods=['POST'])
def upload_image():
    if 'file' not in request.files or request.files['file'].filename == '':
        return redirect(request.url)

    file = request.files['file']
    filename = os.path.join(app.config['UPLOAD_FOLDER'], file.filename)
    file.save(filename)
    result = process_image(filename)
    return render_template('index.html', result=result)

if __name__ == '__main__':
    app.run(debug=True)
コードの説明
Flaskアプリケーションのインスタンスの作成:
-
Flask(__name__)によって、Flaskアプリケーションのインスタンスを作成します
ファイル保存用フォルダの設定と作成:
-
UPLOAD_FOLDERにアップロードされたファイルを保存するディレクトリを設定し、存在しない場合はディレクトリを作成します
ルートエンドポイントの設定:
-
@app.route('/')によって、ルートエンドポイントを定義し、index.htmlテンプレートをレンダリングします
画像アップロードの処理:
-
/uploadエンドポイントでファイルアップロードを処理し、画像を保存後に加工処理を行います
画像処理のメイン関数:
process_image関数で顔認識を行い、認識した顔にトナカイの角を追加します。
- antlers_x1:トナカイの角は顔の中央に位置するようにして、画像の左端を超えないように調整します
- antlers_y1:トナカイの角は顔の上部に配置され、さらに少し上にオフセットします。ただし、画像の上端を超えないようにします
- 範囲外処理(x方向):角が画像の右端をはみ出す場合、超えた部分を削除します
- 範囲外処理(y方向):角が画像の上端をはみ出す場合、超えた部分を削除し、Y座標を0に設定します
5. ヘアカスケードの準備
OpenCVの顔認識には事前に訓練されたカスケード分類器(haarcascade_frontalface_default.xml)が必要です。これをプロジェクトフォルダにダウンロードします。
OpenCVの公式GitHubリポジトリからファイルをダウンロードし、haarcascade_frontalface_default.xmlをプロジェクトディレクトリに保存します。
コマンドでダウンロードする方法
以下のコマンドを使用して、haarcascade_frontalface_default.xmlファイルをダウンロードできます。
curl -o haarcascade_frontalface_default.xml https://raw.githubusercontent.com/opencv/opencv/master/data/haarcascades/haarcascade_frontalface_default.xml
6. 加工時に使う画像の準備
今回はアップロードされた画像に対してトナカイの角をつけたいので、透明な背景を持つトナカイの角の画像(antlers.png)を staticフォルダ内に追加します。
今回は以下の画像を使用しました。
7. HTMLテンプレートの作成
templates/index.html ファイルを作成し、以下のコードを追加します。
<!DOCTYPE html>
<html lang="ja">
    <head>
        <meta charset="UTF-8">
        <title>Upload and Process Image</title>
        <link rel="stylesheet" href="/static/style.css">
    </head>
    <body>
        <h1>画像をアップロード</h1>
        <form id="upload-form" action="/upload" method="post" enctype="multipart/form-data">
            <input type="file" name="file" id="file-input" accept="image/*">
            <button type="submit">Upload</button>
        </form>
        <img id="preview" src="#" alt="Image Preview" style="display: none;">
        {% if result %}
            {% if result.error %}
                <p>{{ result.error }}</p>
            {% else %}
                <img id="processed-image" src="{{ result.image_url }}" alt="Processed Image" style="display: block;">
            {% endif %}
        {% endif %}
        <script src="/static/script.js"></script>
    </body>
</html>
コードの説明
-
<form>と<input>要素を使ってファイル入力フォームを作成します -
{{ result.error }}と{{ result.image_url }}を利用して、テンプレートエンジンJinjaを使用し、画像処理の結果を表示します -
<script src="/static/script.js"></script>を使用して、外部JavaScriptファイルを読み込みます
8. JavaScriptファイルの作成
static/script.jsファイルを作成し、以下のコードを追加します。
document.getElementById('file-input').onchange = function (event) {

    const preview = document.getElementById('preview');
    const file = event.target.files[0];
    const reader = new FileReader();
    const processedImage = document.getElementById('processed-image');

    if (processedImage) {
        processedImage.remove();
    }

    reader.onload = function(e) {
        preview.src = e.target.result;
        preview.style.display = 'block';
    };

    if (file) {
        reader.readAsDataURL(file);
    } else {
        preview.style.display = 'none';
    }
};
コードの説明
-
FileReaderを使用して選択されたファイルの内容を読み込み、その画像をプレビューとして表示します - 処理後の画像が既に表示されている場合は画像を削除します
9. スタイルの追加
static/style.css`を作成し、以下のコードを追加します。
body {
    font-family: Arial, sans-serif;
    background-color: #f0f0f0;
    padding: 20px;
    display: flex;
    flex-direction: column;
    align-items: center;
}
h1 {
    color: #333;
}
#upload-form {
    background: #fff;
    border-radius: 10px;
    padding: 20px;
    box-shadow: 0 0 10px rgba(0, 0, 0, 0.1);
    margin-bottom: 20px;
}
#upload-form input[type="file"] {
    margin-bottom: 10px;
}
#upload-form button {
    background-color: #007bff;
    color: #fff;
    border: none;
    padding: 10px 20px;
    border-radius: 5px;
    cursor: pointer;
}
#upload-form button:hover {
    background-color: #0056b3;
}
#preview, #processed-image {
    margin-top: 20px;
    max-width: 100%;
    max-height: 300px;
    display: none;
    border-radius: 10px;
    box-shadow: 0 0 10px rgba(0, 0, 0, 0.1);
}
反省点
今回作成したアプリは簡易的なため、正面を向いていない顔の場合だとトナカイの角の位置が正確に合わないことがあります。
原因は今回使用したOpenCVが主に正面を向いた顔を検出するように設計されているため、角度のついた顔や斜め向きの顔を認識することが難しいからです。この問題を改善するには、Dlibなどの多視点顔検出器を使用し、より高い精度の顔認識を行う必要があります。


