はじめに
Azure Remote Renderingとは3Dモデルを最高の品質でMixed Realityデバイスに体験できます。Azureのコンピューティング力を利用して、クラウドでレンダリング、そうしてデバイスへストリーミングとは可能です。こんな方法で各ユーザーは3Dモデルと最大の詳細で操作してコラボレーションができます。この記事で、ARRドキュメンテーションからのサンプルに機能を纏めさせていただきます。
デモ
前提条件
Azure Remote Renderingチュートリアルの「チュートリアル:素材、ライト、および効果の調整」まで完成した方。
チュートリアルページ:
https://docs.microsoft.com/ja-jp/azure/remote-rendering/tutorials/unity/tutorial-landing
アプリの使い方
このシステムスキーマはこちらです。ユーザーからポータルサイトにリクエストして、ポータルからファイルのSAS URLをリターンします。このプロダクトで「ナレコムVR」のポータルサイトを使用します。さらに、ARRのSAS URIを返すAPIを独自に作成しました。
プロジェクトで「ARR」シーンを開く。「SasDownloader」で「Endpoint」に自分のポータルサイトを入れます。先ほど説明した通り、「ナレコムVR」のポータルサイトをEndpointとして使用します。「Model ID」にモデルの数を挿入して、「Model ID」を入れてください。「default」IDはAzure Remote Renderingのデフォールトのモデル「builtin:\\Engine」です。「Model List」にモデル選択ボタンを入れてください。

モデル選択ボタンの作成
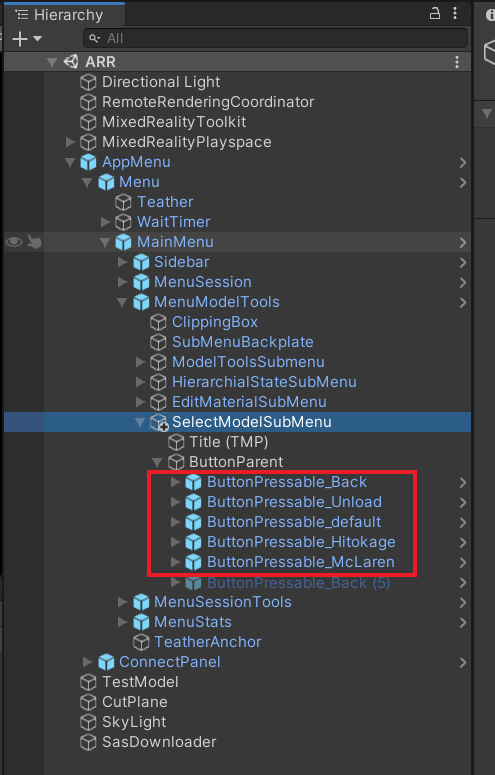
モデル選択ボタンを作成するために「AppMenu」→「Menu」→「MainMenu」→「MainMenuModelTools」→「SelectModelSubMenu」→「ButtonParent」を開きます。新しいボタンを作成したら、そのモデルからコピーして「SasDownloader」に登録してください。

