はじめに
Docker Composeを使って一括でインストールすることもできますが、どういった構成なのか把握したりするためにも一から構築してみました。
公式サイトの手順通り実施しており、その構築手順の備忘録となります。
構築環境
| OS | バージョン |
|---|---|
| Ubuntu | Ubuntu 24.04.2 LTS |
NetBoxの要件(2025/05/19時点)
| ソフトウェア | バージョン |
|---|---|
| Python | 3.10, 3.11, 3.12 |
| PostgreSQL | 14以上 |
| Redis | 4.0以上 |
PostgreSQL
インストール
NetBoxで使用するデータベースをインストールしていく。
sudo apt install update
sudo apt install -y postgresql
インストールできた確認。
ubuntu@NetBox:~$ psql -V
psql (PostgreSQL) 16.8 (Ubuntu 16.8-0ubuntu0.24.04.1)
データベースの作成
データベースを作成して、ユーザとパスワードを設定する。
sudo -u postgres psql
入力するコマンドは下記の通り。
CREATE DATABASE netbox;
CREATE USER netbox WITH PASSWORD 'DB用のパスワードを記載';
ALTER DATABASE netbox OWNER TO netbox;
\connect netbox;
GRANT CREATE ON SCHEMA public TO netbox;
実際の入力画面はこんな感じ。
postgres=# CREATE DATABASE netbox;
CREATE DATABASE
postgres=# CREATE USER netbox WITH PASSWORD 'J5brHrAXFLQSif0K';
CREATE ROLE
postgres=# ALTER DATABASE netbox OWNER TO netbox;
ALTER DATABASE
postgres=# \connect netbox;
You are now connected to database "netbox" as user "postgres".
netbox=# GRANT CREATE ON SCHEMA public TO netbox;
GRANT
netbox=# \q
ubuntu@NetBox:~$ psql --username netbox --password --host localhost netbox
Password:'上記で作成したnetboxユーザのパスワードを入力'
psql (16.8 (Ubuntu 16.8-0ubuntu0.24.04.1))
SSL connection (protocol: TLSv1.3, cipher: TLS_AES_256_GCM_SHA384, compression: off)
Type "help" for help.

netbox=> \conninfo
You are connected to database "netbox" as user "netbox" on host "localhost" (address "127.0.0.1") at port "5432".
SSL connection (protocol: TLSv1.3, cipher: TLS_AES_256_GCM_SHA384, compression: off)
netbox=> \q
Redisのインストール
Redisはメモリ上で動作するインメモリデータベースで高速性が特徴。
sudo apt install -y redis-server
バージョン確認
redis-server -v
Redisが機能しているか確認
redis-cli ping
下記のような応答が来たらOK
ubuntu@NetBox:~$ redis-server -v
Redis server v=7.0.15 sha=00000000:0 malloc=jemalloc-5.3.0 bits=64 build=3ec7bf4ec5bfafb8
ubuntu@NetBox:~$ redis-cli ping
PONG
NetBox
Pytyhonのインストール
NetBoxはPythonで動いていおり、それに関係するパッケージをインストール。
sudo apt install -y python3 python3-pip python3-venv python3-dev \
build-essential libxml2-dev libxslt1-dev libffi-dev libpq-dev \
libssl-dev zlib1g-dev
バージョンの確認
ubuntu@NetBox:~$ python3 -V
Python 3.12.3
NetBoxのインストール
インストール方法は主に二つ
- GitHubからZIPファイルをダウンロードして解凍
- Gitリポジトリのクローンを作成
クローンを作成する場合、最新のリリースタグをチェックアクトするだけでバージョンアップが可能。
一方ZIPをダウンロードする場合はシンボリックリンクで特定のバージョンのフォルダと紐づけているため、違うバージョンを並行インストールして、シンボリック先を変えるだけでバージョンアップが可能。
今回はZIPファイルをダウンロードする方法を採用。
sudo wget https://github.com/netbox-community/netbox/archive/refs/tags/vX.Y.Z.tar.gz
sudo tar -xzf vX.Y.Z.tar.gz -C /opt
sudo ln -s /opt/netbox-X.Y.Z/ /opt/netbox
ubuntu@NetBox:~$ sudo wget https://github.com/netbox-community/netbox/archive/refs/tags/v4.3.1.tar.gz
ubuntu@NetBox:~$ sudo tar -xzf v4.3.1.tar.gz -C /opt
ubuntu@NetBox:~$ sudo ln -s /opt/netbox-4.3.1/ /opt/netbox
NetBoxのシステムユーザを作成
sudo adduser --system --group netbox
sudo chown --recursive netbox /opt/netbox/netbox/media/
sudo chown --recursive netbox /opt/netbox/netbox/reports/
sudo chown --recursive netbox /opt/netbox/netbox/scripts/
NetBox構成設定
configuration_example.pyファイルをコピーする。
cd /opt/netbox/netbox/netbox/
sudo cp configuration_example.py configuration.py
そしてそのファイルの下記項目を編集する
- ALLOWED_HOSTS
- DATABASES (or DATABASE)
- REDIS
- SECRET_KEY
※下記は一部省略。
ALLOWED_HOSTS = ['*']

DATABASES = {
    'default': {
        'ENGINE': 'django.db.backends.postgresql',  # Database engine
        'NAME': 'netbox',         # Database name
        'USER': 'netbox',               # PostgreSQL username
        'PASSWORD': '設定したパスワード',           # PostgreSQL password
        'HOST': 'localhost',      # Database server
        'PORT': '',               # Database port (leave blank for default)
        'CONN_MAX_AGE': 300,      # Max database connection age                                           }
}

REDIS = {
    'tasks': {
        'HOST': 'localhost',
        'PORT': 6379,
        # Comment out `HOST` and `PORT` lines and uncomment the following if using Redis Sentinel
        # 'SENTINELS': [('mysentinel.redis.example.com', 6379)],
        # 'SENTINEL_SERVICE': 'netbox',
        'USERNAME': '',
        'PASSWORD': '',
        'DATABASE': 0,
        'SSL': False,
        # Set this to True to skip TLS certificate verification
        # This can expose the connection to attacks, be careful
        # 'INSECURE_SKIP_TLS_VERIFY': False,
        # Set a path to a certificate authority, typically used with a self signed certificate.
        # 'CA_CERT_PATH': '/etc/ssl/certs/ca.crt',
    },
    'caching': {
        'HOST': 'localhost',
        'PORT': 6379,
        # Comment out `HOST` and `PORT` lines and uncomment the following if using Redis Sentinel
        # 'SENTINELS': [('mysentinel.redis.example.com', 6379)],
        # 'SENTINEL_SERVICE': 'netbox',
        'USERNAME': '',
        'PASSWORD': '',
        'DATABASE': 1,
        'SSL': False,
        # Set this to True to skip TLS certificate verification
        # This can expose the connection to attacks, be careful
        # 'INSECURE_SKIP_TLS_VERIFY': False,
        # Set a path to a certificate authority, typically used with a self signed certificate.
        # 'CA_CERT_PATH': '/etc/ssl/certs/ca.crt',
    }
}

SECRET_KEY = 'generate_secret_key.pyの実行結果'
ALLOWED_HOSTSに関してはHTTPのホストヘッダー検証に使われるみたいで、アクセス可能なホスト名やIPアドレスを指定して使用するためのもの。
今回はすべてのアドレスで接続できるようにしているため本番環境ではセキュリティリスクの関係上アクセス可能なIPやドメインを絞る必要がある。
※IPアドレスやドメインを'netbox.example.com','192.168.1.10','localhost',のように記載していく。
アップグレードスクリプトを実行する。
sudo /opt/netbox/upgrade.sh
スーパーユーザを作成
NetBoxのWeb GUIに入る際にアカウントがないとログインがそもそもできないので、あらかじめ作成する。
まずはPython仮想環境に入る。
source /opt/netbox/venv/bin/activate
その後スーパーユーザアカウントを作成。
cd /opt/netbox/netbox
python3 manage.py createsuperuser
実際に下記の通りなる。
ubuntu@NetBox:/opt/netbox/netbox/netbox$ source /opt/netbox/venv/bin/activate
(venv) ubuntu@NetBox:/opt/netbox/netbox/netbox$ cd /opt/netbox/netbox
(venv) ubuntu@NetBox:/opt/netbox/netbox$ python3 manage.py createsuperuser
Username: admin
Email address:
Password:
Password (again):
Superuser created successfully.
定期的なクリーンアップタスク
古いセッションなどの定期的な削除を実行するコマンドがあり、手動でもできるが、下記コマンドを実施することで、cron上で自動的に実施してくれる。
sudo ln -s /opt/netbox/contrib/netbox-housekeeping.sh /etc/cron.daily/netbox-housekeeping
NetBoxのテスト
python3 manage.py runserver 0.0.0.0:8000 --insecure
(venv) ubuntu@NetBox:/opt/netbox/netbox$ python3 manage.py runserver 0.0.0.0:8000 --insecure
Performing system checks...

System check identified no issues (0 silenced).
May 19, 2025 - 15:18:27
Django version 5.2.1, using settings 'netbox.settings'
Starting development server at http://0.0.0.0:8000/
Quit the server with CONTROL-C.
上記のように出てきたらブラウザにhttp://サーバのIP:8000でアクセスしてみると画面が見える。
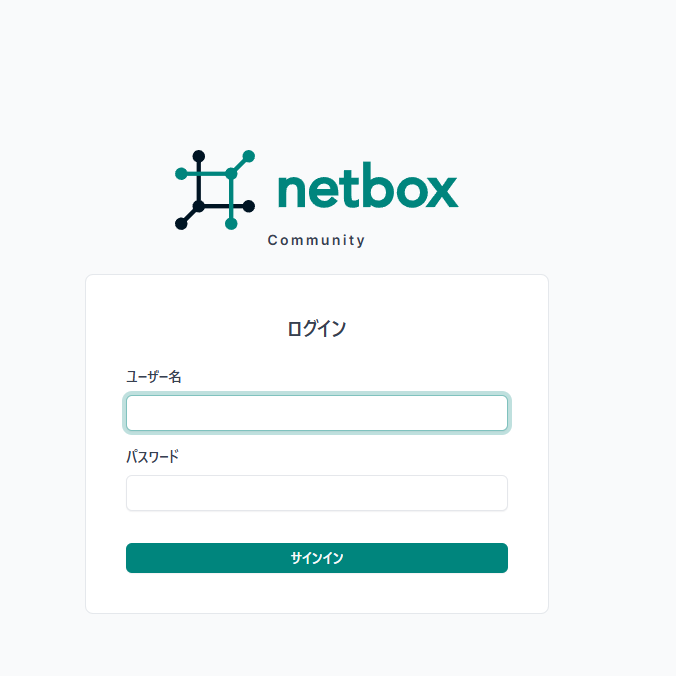
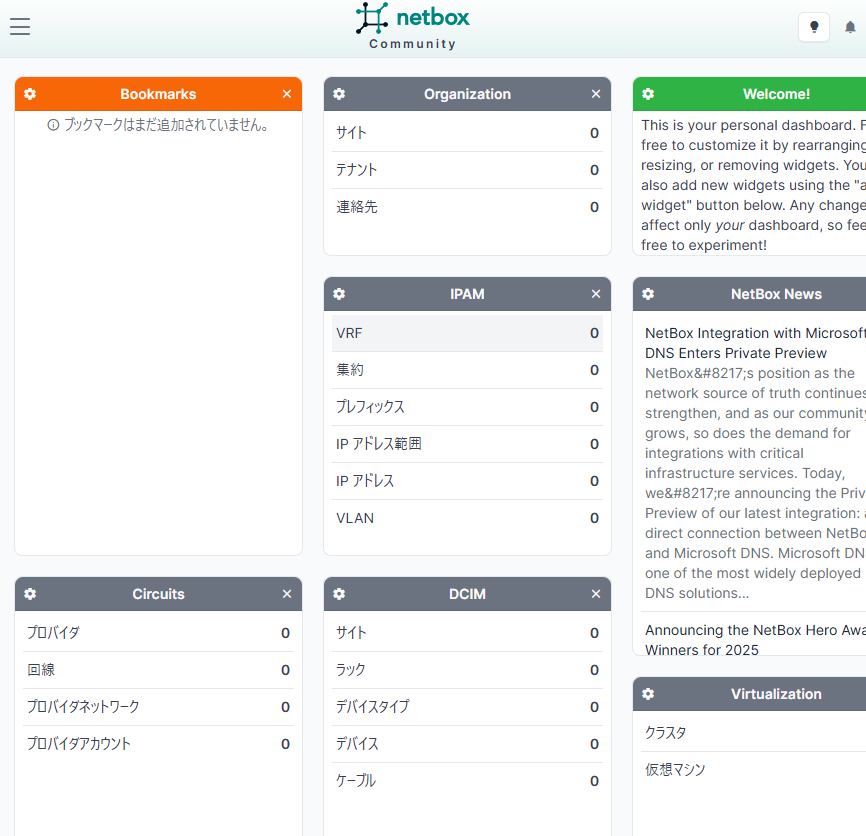
先ほど作成したアカウントでログインしてみると
動作確認が終了したら、Ctl+Cで抜けて、Pythonの仮想環境からも抜ける。
ubuntu@NetBox:/opt/netbox/netbox$ deactivate
Gunicornをインストール
GunicornとはPythonとWebサーバがやり取りするにはお互いの言語が違うため直接通信できないが、こいつを挟んで翻訳してあげることによって双方で通信ができるのだそう。
ただ翻訳といっても双方で通信できるインターフェースの仕様みたい。
GunicornはWSGIと呼ばれるもので、公式サイトにはGunicornではなく、uWSGIを使う場合でも設定できるみたい。
NetBoxにはGunicornのデフォルト設定があるみたいでコピペ。
sudo cp /opt/netbox/contrib/gunicorn.py /opt/netbox/gunicorn.py
systemdの設定
sudo cp -v /opt/netbox/contrib/*.service /etc/systemd/system/
sudo systemctl daemon-reload
netboxとnetbox-rqをシステム起動時に立ち上がるように設定
sudo systemctl enable --now netbox netbox-rq
WSGIサービスが実行されているか確認。
systemctl status netbox.service
ubuntu@NetBox:/opt/netbox/netbox$ systemctl status netbox.service
● netbox.service - NetBox WSGI Service
     Loaded: loaded (/etc/systemd/system/netbox.service; enabled; preset: enabled)
     Active: active (running) since Mon 2025-05-19 15:37:03 UTC; 21s ago
       Docs: https://docs.netbox.dev/
   Main PID: 30161 (gunicorn)
      Tasks: 6 (limit: 2272)
     Memory: 546.1M (peak: 546.4M)
        CPU: 4.252s
     CGroup: /system.slice/netbox.service
             ├─30161 /opt/netbox-4.3.1/venv/bin/python3 /opt/netbox/venv/bin/gunicorn --pid /var/tmp/>
             ├─30162 /opt/netbox-4.3.1/venv/bin/python3 /opt/netbox/venv/bin/gunicorn --pid /var/tmp/>
             ├─30163 /opt/netbox-4.3.1/venv/bin/python3 /opt/netbox/venv/bin/gunicorn --pid /var/tmp/>
             ├─30164 /opt/netbox-4.3.1/venv/bin/python3 /opt/netbox/venv/bin/gunicorn --pid /var/tmp/>
             ├─30165 /opt/netbox-4.3.1/venv/bin/python3 /opt/netbox/venv/bin/gunicorn --pid /var/tmp/>
             └─30166 /opt/netbox-4.3.1/venv/bin/python3 /opt/netbox/venv/bin/gunicorn --pid /var/tmp/>
HTTPサーバのこうちく
SSL証明書を取得。
暗号通信するためにSSL証明書が必要で通常は購入もしくは無料のサイトで入手できるが、検証環境の場合は独自に生成して使用で問題ない。
sudo openssl req -x509 -nodes -days 365 -newkey rsa:2048 \
-keyout /etc/ssl/private/netbox.key \
-out /etc/ssl/certs/netbox.crt
上記コマンドを入力後いろいろ聞かれるが、すべてEnterで問題なし。
nginxのインストール
sudo apt install -y nginx
NetBoxが提供しているnginx設定ファイルをコピーする。
sudo cp /opt/netbox/contrib/nginx.conf /etc/nginx/sites-available/netbox
設定ファイルへのシンボリックリンクを削除して作成する。
sudo rm /etc/nginx/sites-enabled/default
sudo ln -s /etc/nginx/sites-available/netbox /etc/nginx/sites-enabled/netbox
nginxを再起動
sudo systemctl restart nginx
ブラウザでアクセス可能か確認。
https://サーバのIPアドレス