目的
某顧客にPWAのメリットを説明するにあたって、デモをしたかったので作成しました。今後も同様のケースが考えられるので、ノウハウとしてまとめておきます。ついでに途中で詰まったことも記録しておきます。
ざっくりと技術要素説明
Flutter Web
Google社が提供している、iOSやAndroidアプリのクロスプラットフォームフレームワークです。もともとはモバイル向けがメインでしたが、最近はWebにも対応しています。言語はDartを使用します。
ちなみにクロスプラットフォーム開発の競合としてはXamarinやReact Nativeがありますが、GitHubのスター数はFlutterが一番多いですね。私はJavaの経験が最も長いので、個人的にはJavaに近いDartが使えるのも魅力です。
Firebase
現在はGoogle Cloudの一部となっているmBaaS(mobile Backend as a Service)です。認証の仕組みやホスティング、データベースやオブジェクトストレージ等、アプリ開発を行う上では必須なバックエンドを一括で提供してくれます。今回はホスティングサービス目的で使用します。
PWA
Progressive Web Appsの略称です。めちゃくちゃざっくり言うと、「これまでiOS用やAndroid用に別々に作っていたモバイルアプリを、Webアプリにしてしまおう!そしてWebアプリをネイティブアプリかのように見せかけてしまおう!」 という技術です。
以下は通常のWebアプリにSafariを使ってアクセスした例です。
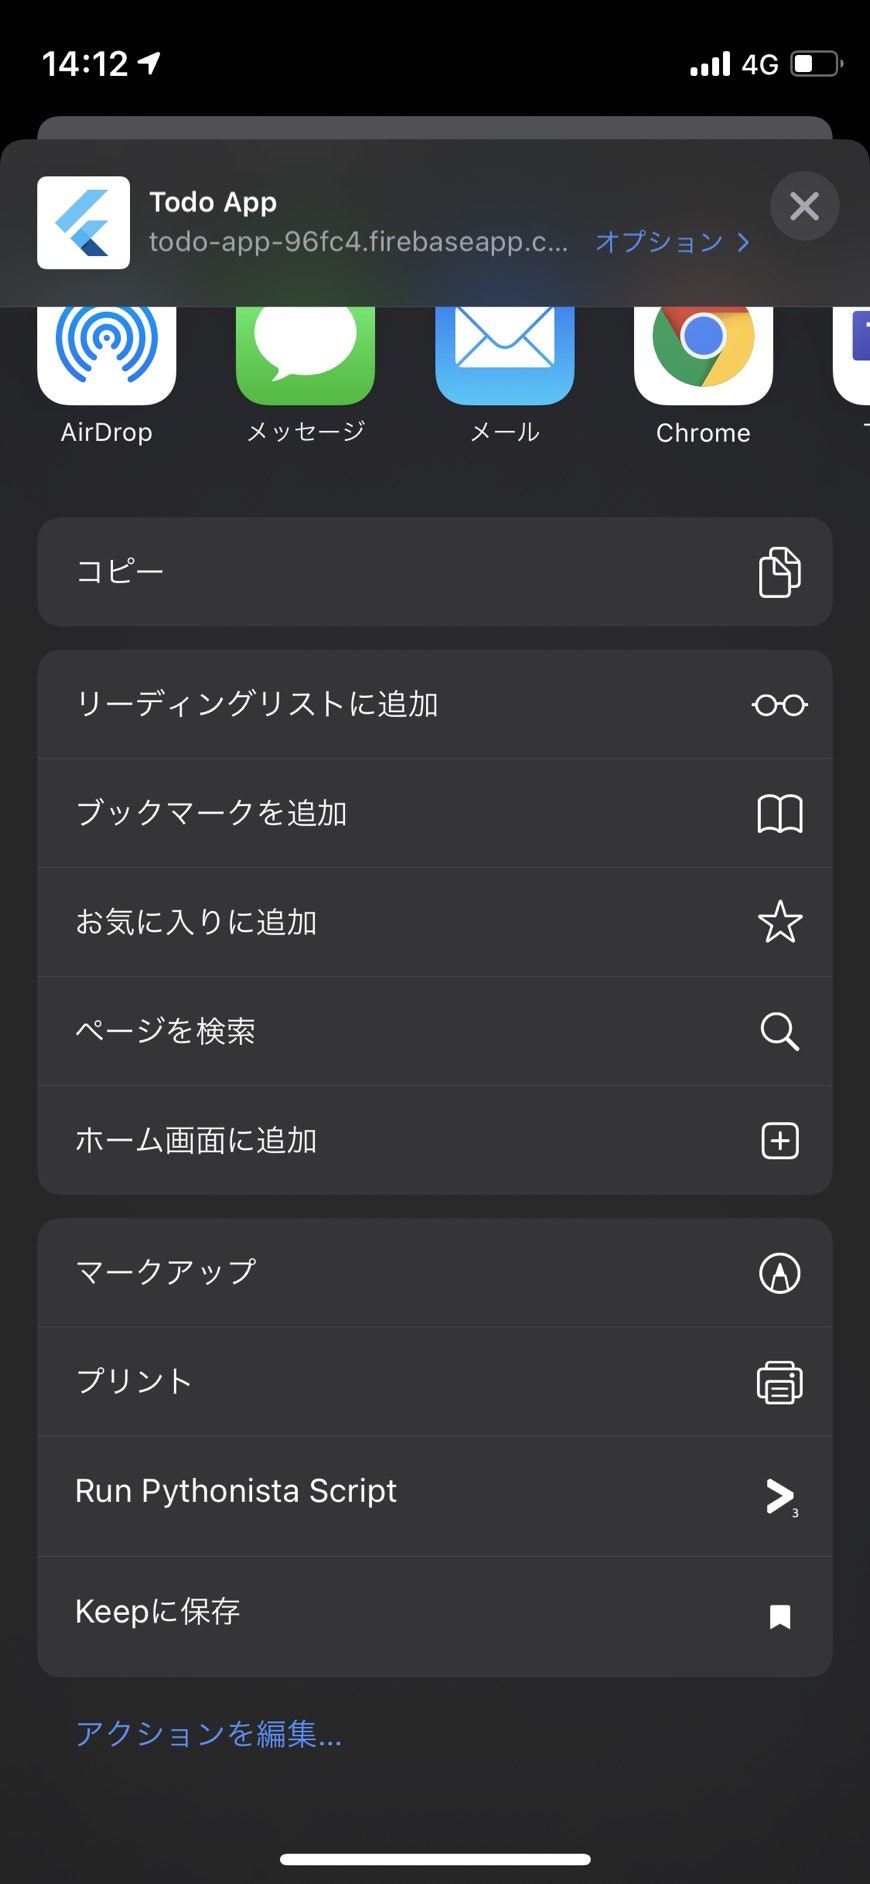
iOSの場合、以下のように「ホーム画面に追加」を行うことができます。
PWA化されているものであれば、以下のようにあたかもネイティブアプリのような表示になります。
PWA化のメリットはいくつかあります。
- ネイティブアプリとして公開する面倒な手続きや審査が不要
- ネイティブアプリではないため、ユーザは「インストール」の手間が不要
- 実態はWebアプリなので、クロスプラットフォームが実現しやすい!
もちろん、プッシュ通知等も実現できます。
そして・・・
Flutterなら、デフォルトでPWA対応してくれます!!! 神。
Flutterアプリの作成
環境構築
まずはFlutterをインストールします。(https://flutter.dev/docs/get-started/install/windows)
インストール後はFlutter Webを有効にしていきます。
 flutter channel beta
 flutter upgrade
 flutter config --enable-web
新規アプリの作成
新しいアプリケーションを作成します。
うまくいけば、大量にファイルが生成されるはずです。
flutter create demoapp
アプリをちょっとだけいじる
初期コードだと面白くないので、ちょっとしたものを作ります。
import 'dart:html';

import 'package:flutter/material.dart';
import 'package:flutter/rendering.dart';

void main() {
  runApp(MyApp());
}

class MyApp extends StatelessWidget {
  // This widget is the root of your application.
  @override
  Widget build(BuildContext context) {
    return MaterialApp(
      title: 'Flutter Demo',
      theme: ThemeData(
        // This is the theme of your application.
        //
        // Try running your application with "flutter run". You'll see the
        // application has a blue toolbar. Then, without quitting the app, try
        // changing the primarySwatch below to Colors.green and then invoke
        // "hot reload" (press "r" in the console where you ran "flutter run",
        // or simply save your changes to "hot reload" in a Flutter IDE).
        // Notice that the counter didn't reset back to zero; the application
        // is not restarted.
        primarySwatch: Colors.blue,
      ),
      home: DemoApp(),
    );
  }
}

//アプリ全体
class DemoApp extends StatelessWidget {
  @override
  Widget build(BuildContext context) {
    return MaterialApp(
      debugShowCheckedModeBanner: false,
      title: "Sample Items",
      theme: ThemeData(
        primarySwatch: Colors.indigo,
        visualDensity: VisualDensity.adaptivePlatformDensity,
      ),
      home: ItemListPage(),
    );
  }
}

class ItemListPage extends StatefulWidget {
  @override
  _ItemListPageState createState() => _ItemListPageState();
}

class _ItemListPageState extends State<ItemListPage> {
  List<String> itemList = [];
  static final String dummyImageURL =
      "https://qiita-image-store.s3.ap-northeast-1.amazonaws.com/0/495652/profile-images/1568357938";

  @override
  Widget build(BuildContext context) {
    return Scaffold(
      appBar: AppBar(
        title: Text("Item List"),
      ),
      body: ListView.builder(
        itemCount: itemList.length,
        itemBuilder: (context, index) {
          return Dismissible(
            key: ObjectKey(itemList[index]),
            direction: DismissDirection.endToStart,
            onDismissed: (direction) {
              setState(() {
                itemList.removeAt(index);
              });
            },
            background: Container(
              alignment: AlignmentDirectional.centerEnd,
              color: Colors.red,
              child: Padding(
                padding: EdgeInsets.fromLTRB(0.0, 0.0, 10.0, 0.0),
                child: Icon(
                  Icons.delete,
                  color: Colors.white,
                ),
              ),
            ),
            child: Card(
              child: ListTile(
                title: Text(itemList[index]),
                leading: Image.network(dummyImageURL),
              ),
            ),
          );
        },
      ),
      floatingActionButton: FloatingActionButton(
        child: Icon(Icons.add),
        onPressed: () async {
          final newListText = await Navigator.of(context).push(
            MaterialPageRoute(
              builder: (context) {
                return ItemAddPage();
              },
            ),
          );

          if (newListText != null) {
            setState(
              () => {
                itemList.add(newListText),
              },
            );
          }
        },
      ),
    );
  }
}

class ItemAddPage extends StatefulWidget {
  @override
  _ItemAddPageState createState() => _ItemAddPageState();
}

class _ItemAddPageState extends State<ItemAddPage> {
  String itemTitle = "";

  @override
  Widget build(BuildContext context) {
    return Scaffold(
      appBar: AppBar(
        title: Text("Add Item"),
      ),
      body: Container(
        padding: EdgeInsets.all(48),
        child: Column(
          mainAxisAlignment: MainAxisAlignment.center,
          children: <Widget>[
            Container(
              child: TextField(
                maxLines: 1,
                decoration: InputDecoration(
                  labelText: "Input your new Item!",
                  border: OutlineInputBorder(),
                ),
                onChanged: (String newItemTitle) {
                  setState(
                    () => {
                      itemTitle = newItemTitle,
                    },
                  );
                },
              ),
              width: double.infinity,
              margin: EdgeInsets.all(1),
            ),
            Container(
              width: double.infinity,
              margin: EdgeInsets.all(1),
              child: RaisedButton(
                color: Colors.indigo,
                onPressed: () {
                  Navigator.of(context).pop(itemTitle);
                },
                child: Text(
                  "Add!",
                  style: TextStyle(color: Colors.white),
                ),
              ),
            ),
            Container(
              width: double.infinity,
              margin: EdgeInsets.all(1),
              child: FlatButton(
                onPressed: () {
                  Navigator.of(context).pop();
                },
                child: Text(
                  "Abort",
                  style: TextStyle(color: Colors.white),
                ),
                color: Colors.redAccent,
              ),
            ),
          ],
        ),
      ),
    );
  }
}
ローカル環境で動作確認してみます。
flutter run -d chrome --web-port=8080 --web-hostname=127.0.0.1
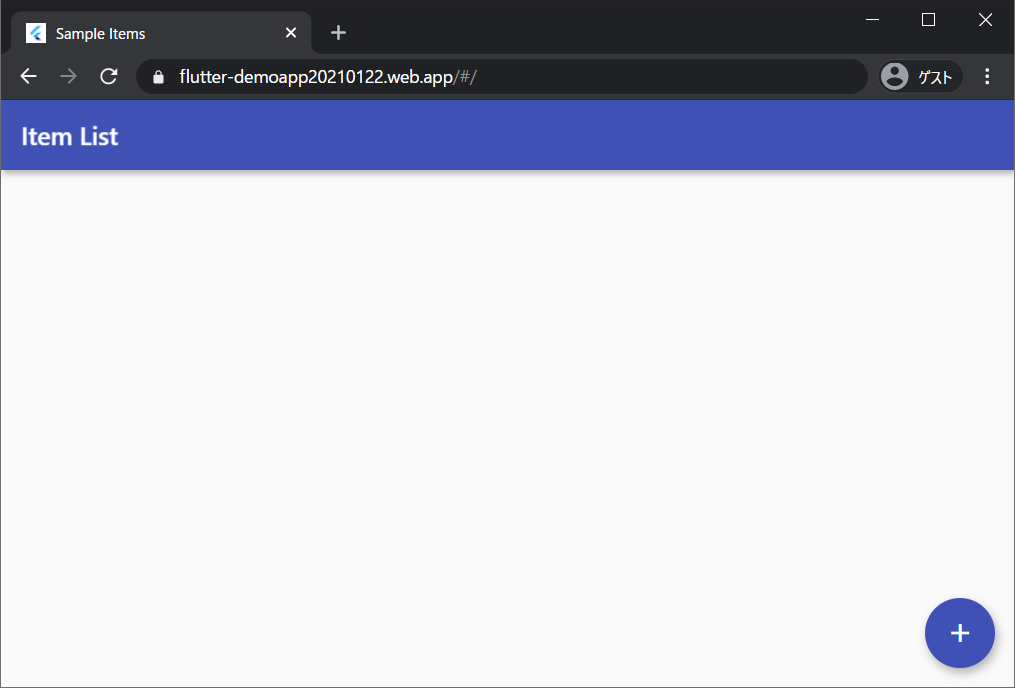
こんな感じのアプリになりました。
出来上がったら、最後にWeb用としてビルドします。FlutterはDart言語で開発していきますが、以下コマンドを実行することでWebアプリとして動くJavaScriptのプログラムへ変換してくれます。
flutter build web
Firebaseでホストする
ローカル環境のままでも良いのですが、どうせならFirebaseでホストして本番環境っぽく見せていきたいと思います。
Firebase CLIをインストール
CLIを使うと楽にデプロイができるので、Firebase CLIをインストールします。
npm install -g firebase-tools
インストールしたら、ログインをします。ブラウザが立ち上がり、Googleアカウント情報の入力が求められます。
firebase login
なお、ここでfirebaseのコマンドが見つからないという状況が発生することがあります。
以下コマンドを叩いて、(not in PATH env variable)と表示されるようならば、表示されているフォルダへのパスが通っていないのでパスを通します。
npm -g bin

/path/to/bin
(not in PATH env variable)
プロジェクトの作成
ログイン後、以下のようにコマンドを叩いて進めていきます。
firebase init

? Are you ready to proceed? (Y/n)  Y
ここはちょっと癖がありますが、カーソルキーで移動してスペースキーで選択です。今回はHosting機能を使いたいので、Hostingを選択します。
? Which Firebase CLI features do you want to set up for this folder? Press Space to select features, then Enter to confirm your choices. (Press <space> to select, <a> to toggle all, <i> to invert selection)
>( ) Database: Configure Firebase Realtime Database and deploy rules
 ( ) Firestore: Deploy rules and create indexes for Firestore
 ( ) Functions: Configure and deploy Cloud Functions
 (*) Hosting: Configure and deploy Firebase Hosting sites
 ( ) Storage: Deploy Cloud Storage security rules
 ( ) Emulators: Set up local emulators for Firebase features
 ( ) Remote Config: Get, deploy, and rollback configurations for Remote Config
プロジェクトをどうするか聞かれるので、新しいプロジェクトを作ります。
? Please select an option:
  Use an existing project
> Create a new project
  Add Firebase to an existing Google Cloud Platform project
  Don't set up a default project
新しいプロジェクト名を入力します。
? Please specify a unique project id (warning: cannot be modified afterward) [6-30 characters]:
 flutter-demoapp20210122
? What would you like to call your project? (defaults to your project ID) flutter-demoapp20210122
公開用のファイル置き場をどこにするか聞かれるので、今回はbuild\webとします。
? What do you want to use as your public directory? (public) build\web
SPAはNoにします。
? Configure as a single-page app (rewrite all urls to /index.html)? (y/N)N
既にindex.htmlが存在する場合は上書きするかどうか聞かれます。今回はYesとします。
? File build\web/index.html already exists. Overwrite? Yes
デプロイする
以下コマンドでデプロイしていきます。Deploy Complete!と表示されれば成功です。
firebase deploy

~略~
+  Deploy complete!
Hosting URL: https://flutter-demoapp20210122.web.app
Hosting URLにアクセスしてみます。
よしよしよし!
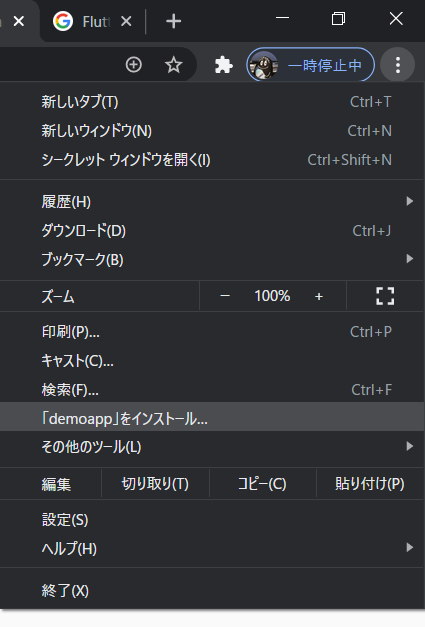
ちなみに、Chromeの場合はPWA化されているWebアプリの場合、設定項目から「インストール」を選ぶことができます。Qiitaさんもこうなっていますね。
そういえばここで、延々とデフォルトページみたいなものが表示されて、全くデプロイが反映されないことがありました。この場合は再度flutter build webを試してみると良いと思います。
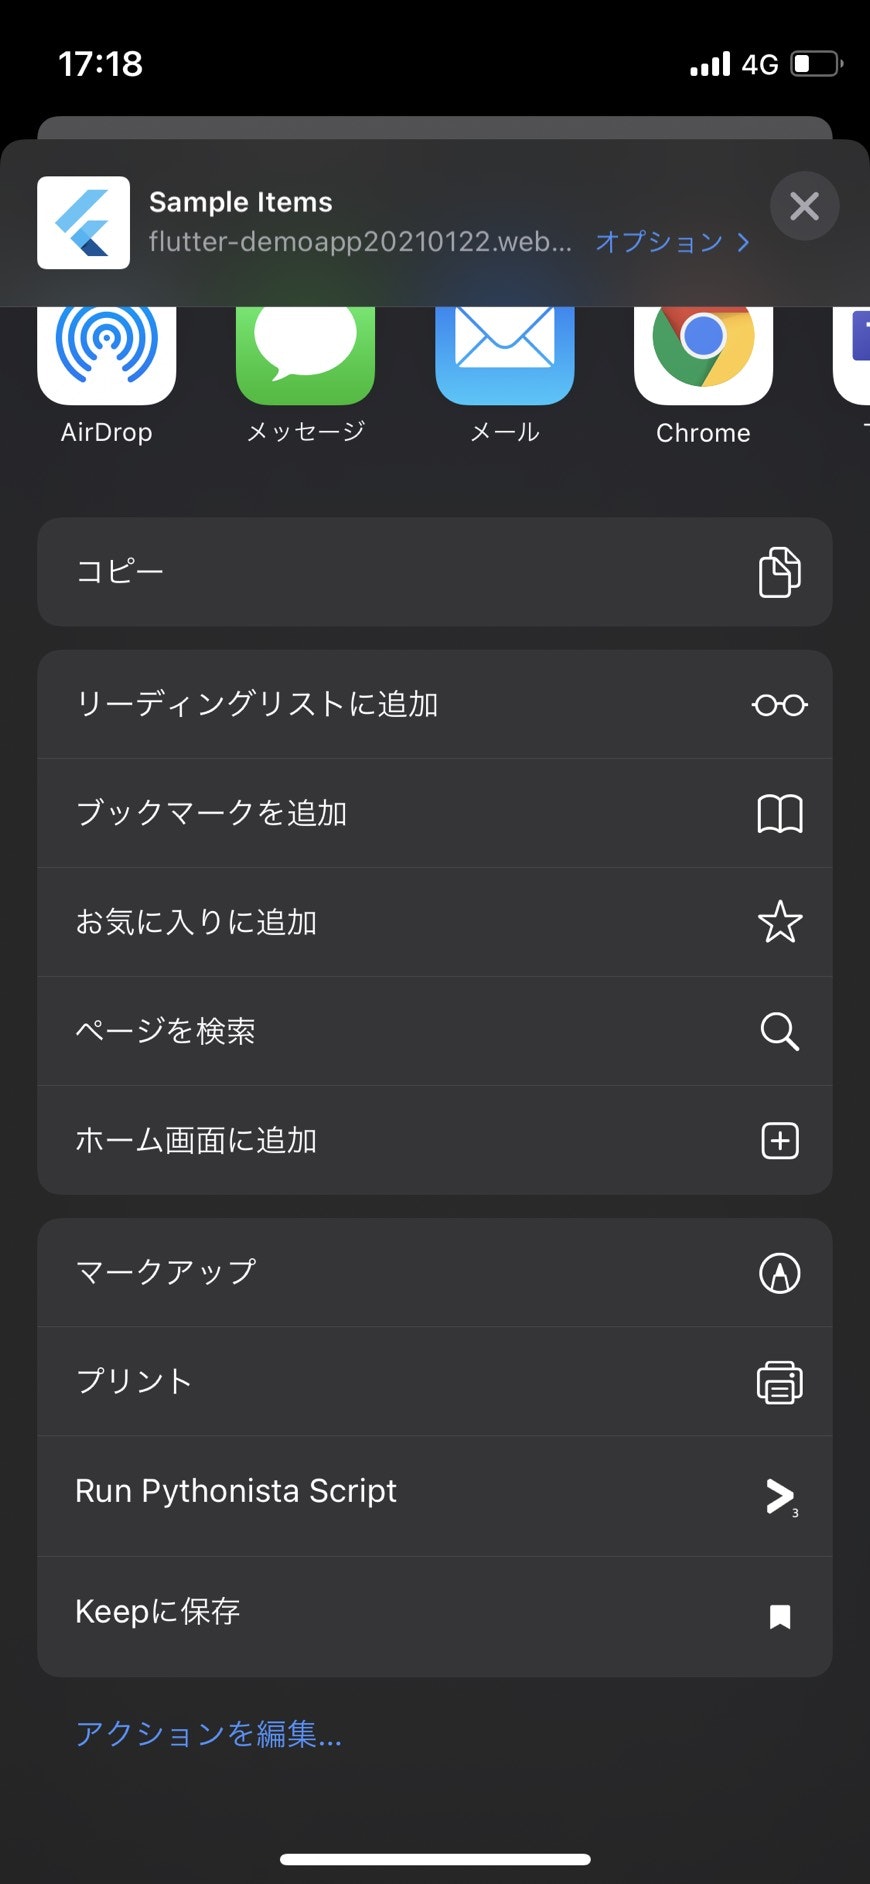
では、私物のiPhoneでアクセスしてみます。
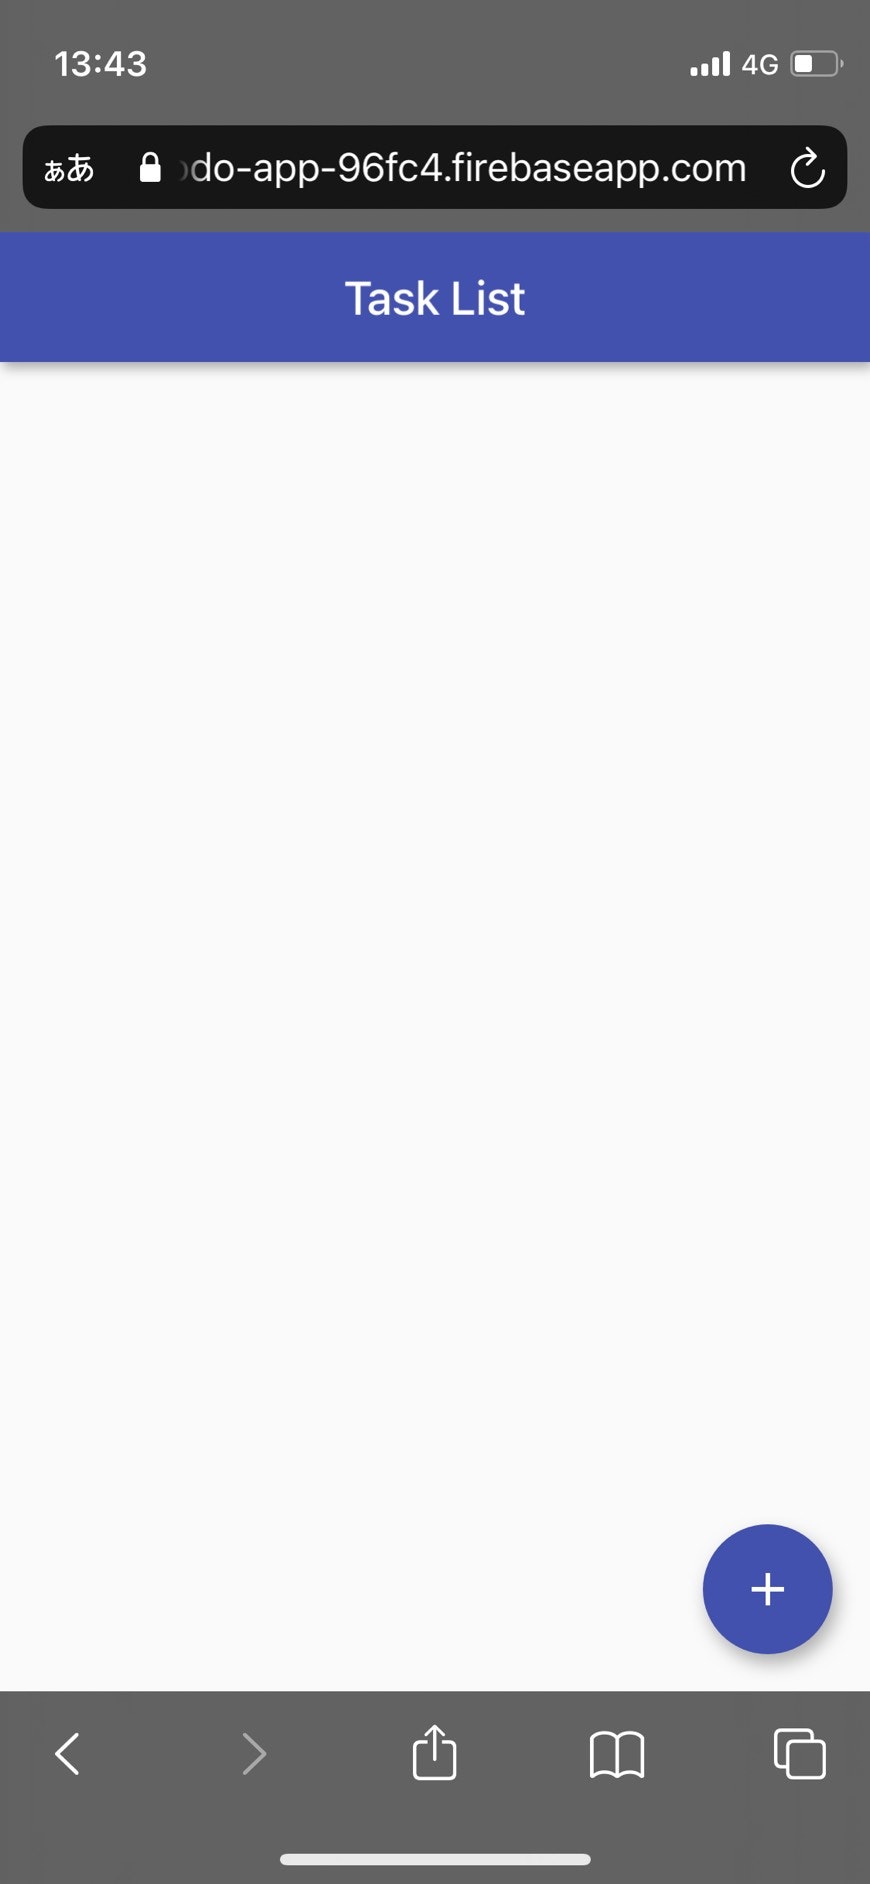
Safariで開くとこんな感じで...

ホーム画面にもちゃんと追加できますね。
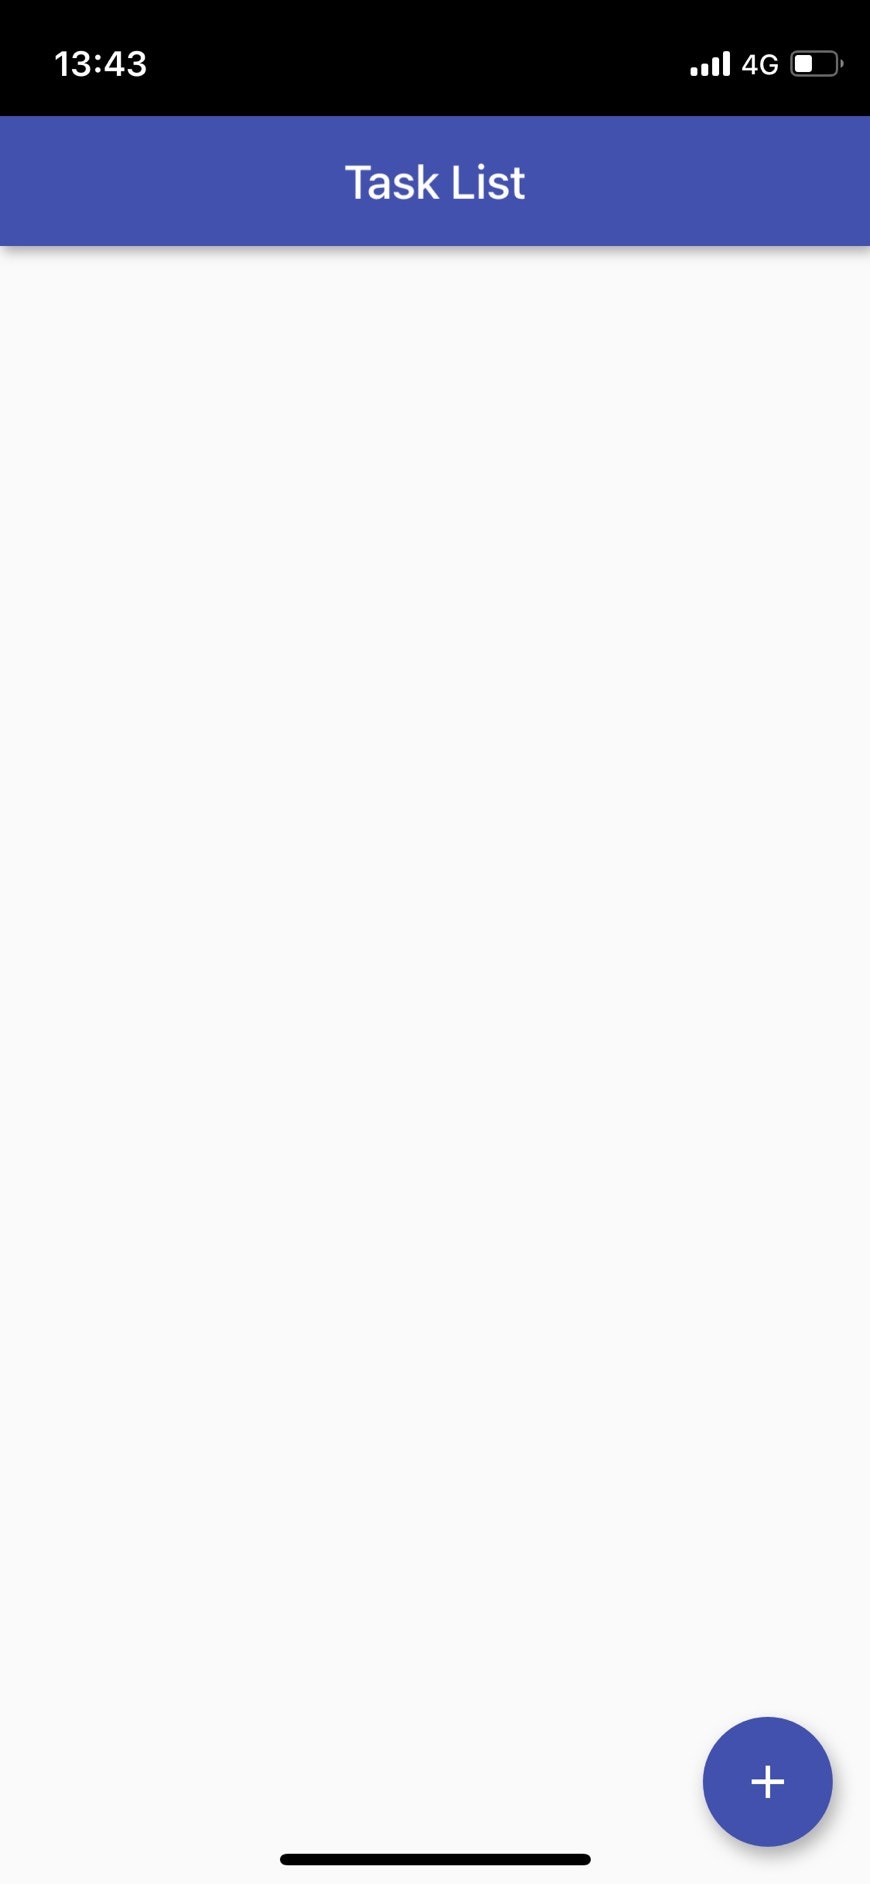
アプリとして開いてみるとこんな感じです。
GIFのせいでカクついて見えますが、実際はすごくサクサクです。
PWAはキャッシュ機能(ServiceWorker)のおかげで、オフライン環境でも正常に動かすように作り込めます。もちろんリアルタイムに外部APIを叩くようなものは難しいですが...。
ちなみに今回のアプリも機内モードで試してみましたが、画像部分以外は正常に動作しました(画像は別サーバに置いてあるので...)。
まとめ
- モバイル向けだったFlutterがWebアプリの開発にも使える!
- PWAはメリットがたくさん!Flutterならデフォルトで対応してくれるよ
- ホスティングはFirebaseが使いやすかった