Nvidia Jetson Xavier NX セットアップについて
使用機器
Jetson Xavier NX
キーボード&マウス(無線)
モニター
microSDカード(64GB)
Windows10 home 使用ノートPC
使用イメージをダウンロードする
NVIDIAのホームページから使用するイメージをダウンロードする。
Jetpackは4.5を選択。

ダウンロード完了したZIPを解凍し、ディスクイメージファイルがある事を確認する。

イメージファイルをmicroSDカードに書き込む。
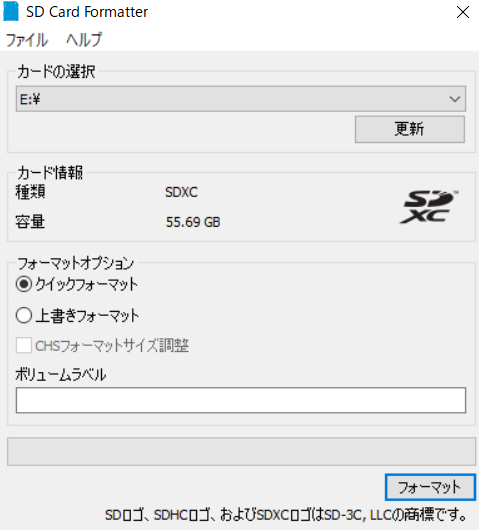
①使用microSDカードのフォーマット
フォーマットにはSD Card Formmatterを使用
SD Card Formmatter

下にスクロールするとダウンロードファイル選択があるので
自身の使用環境に応じた物を選択してダウンロードする。
セットアップが終わったらSD Card Formmatterを立ち上げてイメージを書き込む
microSDカードをフォーマットする。
②イメージをmicroSDカードに書き込む
書き込みにはbalenaEtcherを使用
balenaEtcher

ダウンロードしてセットアップを行う。
セットアップが完了したらbalenaEtcherを立ち上げて設定を行う。
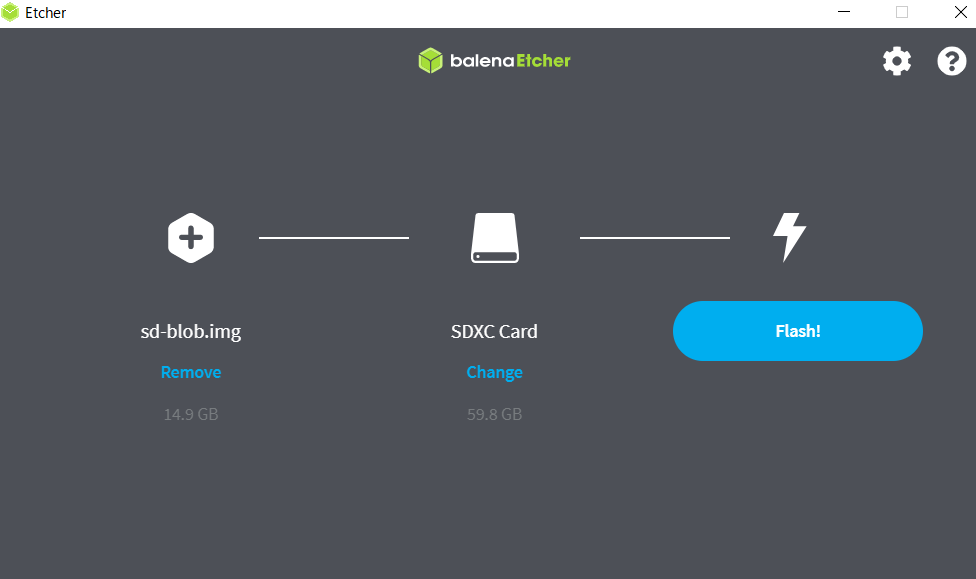
書き込むイメージ・書き込むメディアが設定出来たら【Flash】をクリックしてスタートする。
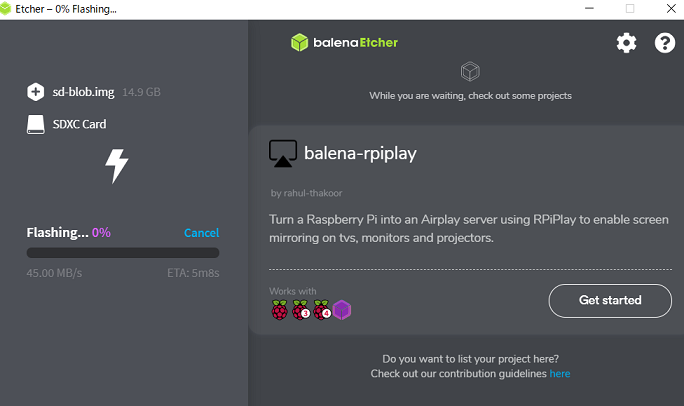
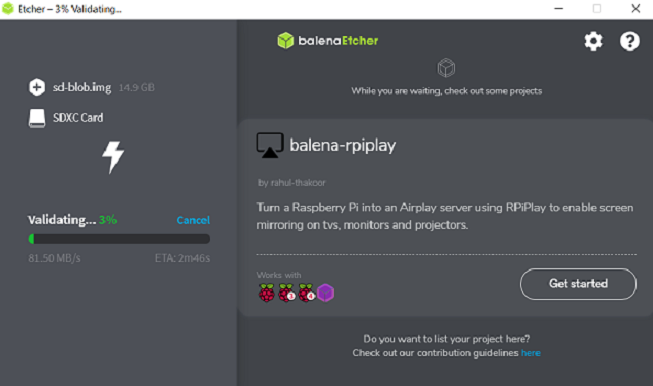


ここまでくれば事前準備完了。
Jetson Xavier NXを立ち上げる。
基本的にはUbuntuを立ち上げる時と同じ
イメージを書き込んだmicroSDカードを本体にセットし、マウス・モニター等を接続し電源を入れる。
イメージが正常に書き込みされていれば順だって進めていけばOK
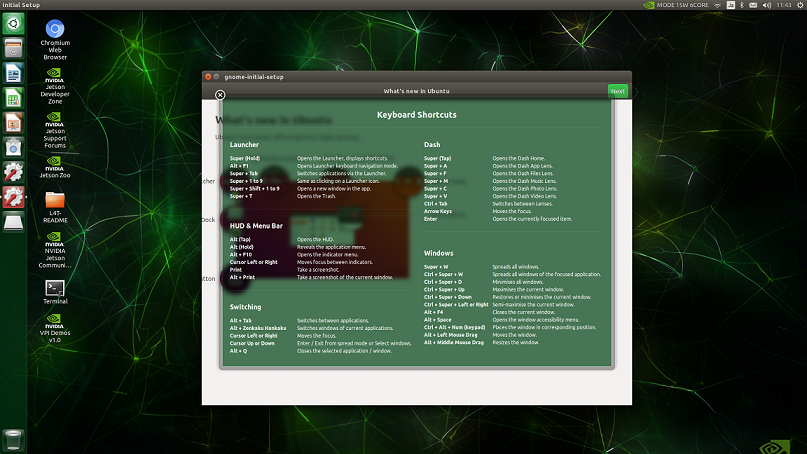
立ち上がるとUbuntuのセットアップ画面が出るので指示に従って操作していく。
ちょっと違うと思ったのがAPP Partition sizeの設定と
起動コア数の設定があるくらい
順序としては
| Step | 内容 | やる事 |
|---|---|---|
| Step1 | ライセンス承諾 | 『I accept the terms of these liceses』にチェック入れて『Continue』 |
| Step2 | Welcome/ 言語選択 |
『English』で『Continue』 |
| Step3 | Keyboard layout/ 使用キーボード選択 |
『Japanese』で『Continue』 |
| Step4 | Wireless/ WiFi選択 |
『Connect to this network』をチェックしてお使いのWiFi選択して『Connect』(要パスワード) 常時有線接続なら選択飛ばしてもOK |
| Step5 | Where are you?/ 地域選択 |
お住いの地域を選択して『Continue』(日本ならTokyoかと) |
| Step6 | Who are you?/ ユーザー設定 |
必要事項入力して『Continue』 『Log in automaticall』 / ログイン時パスワード入力しない 『Require my password to log in』 / ログイン時パスワード入力する` どちらでも可。面倒だからログイン時パスワード入力しないを選択している。 |
| Step7 | APP Partition Size | デフォルトの状態で『Continue』でOK |
| Step8 | Select Nvpmodel Model/ CPU動作状態設定 |
AI系で使用ならMAXかと。 『MODE_15W_6CORE』選択して『Continue』 |
これで初回セットアップが開始されます。
ここまでが立ち上げ作業となります。
①パッケージ更新
# パッケージの更新
$sudo apt update
$sudo apt upgrade -y

# apt-utilsのインストール
$sudo apt install apt-utils -y
お約束
②冷却ファン制御設定
CPUの温度に合わせて制御信号付きの冷却ファンの回転数制御できるようのする。
$sudo apt install -y python3-dev
$git clone https://github.com//Pyrestone/jetson-fan-ctl.git
$cd jetson-fan-ctl/
$sudo ./install.sh
③Jtopのインストール
$sudo apt install -y python-pip
$sudo -H pip install jetson-stats
$sudo reboot
これでCPUやGPUの稼働状況やRAMの使用率等々を確認出来るようになる。
確認するには以下を入力する。
jtop
④SWAPの拡張
初期設定のSWAPサイズは”2 or 4GB”となっており、少ないため拡張します。
実際は、手動にて全て設定が良いのですが、公開してあったプログラムを使用しました。
※AIのモデルを読み込む時など、メモリ( 基本(8GB) + SWAP(10GB))使用します。
(参考サイト丸パクリ)
使っているうちにメモリ容量が逼迫してくるので
物理メモリ側に領域を設定しておいていざって時にそっちに退避させるよ~
ただ元々のSWAP設定の値が小さいので大きくしよう!って認識です。
$free -h ← 作業前の状態確認

$git clone https://github.com/JetsonHacksNano/installSwapfile
$cd installSwapfile
~/installSwapfile$ ./installSwapfile.sh

$free -h ← 作業後の状態確認
swapの設定が変わっていればOK
⑤日本語入力
初めは日本語入力出来ません。
$sudo apt install -y ibus-mozc
$sudo reboot
再起動後、Jaクリック → Text Entry Settingsをクリック
Visual Studio Codeのインストール
コード編集用IDEのセットアップ
# インストールパッケージダウンロード
$cd && wget -O insider.deb https://update.code.visualstudio.com/latest/linux-deb-arm64/insider

# パッケージからVScode Insidersをインストール
$sudo apt install ./insider.deb

# コマンドで『code』のみでVScode Insidersを起動させたい場合は以下を実行
$sudo mv /usr/bin/code-insiders /usr/bin/code
これで使用可能になります。
VScodeの拡張機能については各自ご自由にですが
・Japanese Language Pack(日本人ですから)
・Python(Pylance/MagicPython/Python Extension Pack)
・Jupyter
・Docker
等々、自分が使っている環境を入れてます。
nano セットアップ
エディターとしてnanoをインストールする。
$sudo apt-get install nano
これでnanoが使用可能になります。
sambaセットアップ
ファイル共有する際に使用する。
$sudo apt-get install samba
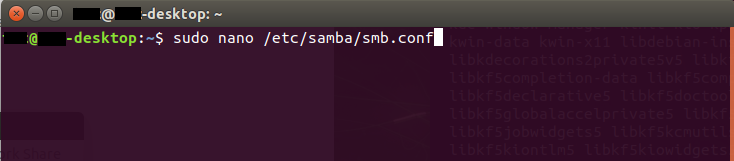
インストールが完了したらsmb.confに共有したいフォルダ設定を記入する。
$sudo nano /etc/samba/smb.conf
ファイルを開いたら設定を追加する
[jetson_nx] ← 接続元に表示される名前
   comment = Jetson Xavier NX Public
   path = / ← 共有したいディレクトリのPath
   browseable = yes
   writable = yes
   guest ok = yes
   force create mode = 0777
   force directory mode = 0777
   read only = no
   create mask =0777
   directory mask = 0777
追加する場所は以下
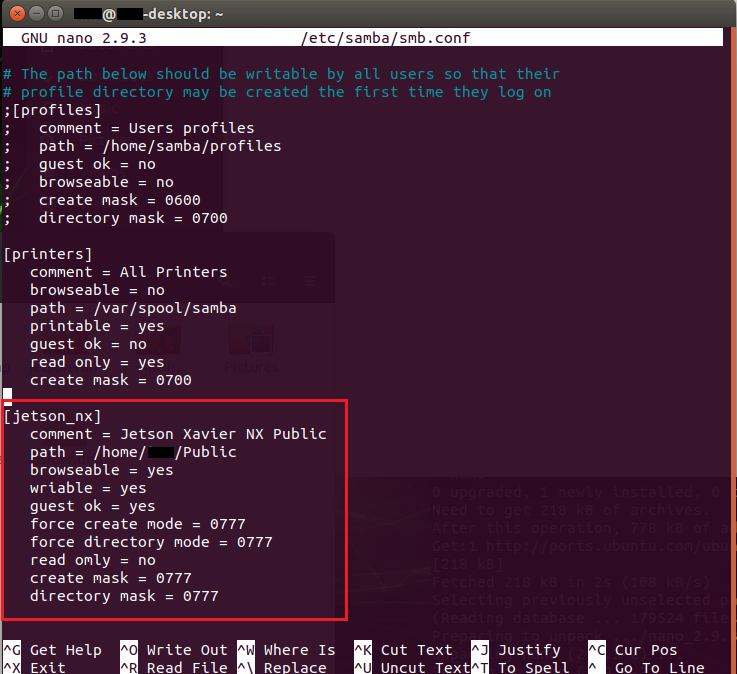
開いたsmb.confを下にスクロールしていくと
# Un-comment the following and create the profiles directory to store
# users profiles (see the "logon path" option above)
# (you need to configure Samba to act as a domain controller too.)
# The path below should be writable by all users so that their
# profile directory may be created the first time they log on
との文言が出てくるので、そこの末尾に追加していく。
追加出来たらCtrl+SでセーブしてCtrl+Xで編集を終了する。
終了したら
$sudo pdbedit -a ユーザー名

$sudo service smbd restart
$sudo service nmbd restart

$testparm /etc/samba/smb.conf
$smbstatus
と入力していき『smbstatus only works as root!』と表示されればOK

これでWindows側でJetsonのIPを入力して見に行くとフォルダが見れる様になります。

リモートデスクトップを使える様にする。
$sudo apt-get install vino
この時点でDesktopShareは表示されてはいるが使用出来ない状態なので
設定出来るようのしていく。
$sudo nano /usr/share/glib-2.0/schemas/org.gnome.Vino.gschema.xml
開いたファイルの一番下に下記を追加する
    <key name='enabled' type='b'>
      <summary>Enable remote access to the desktop</summary>
        <description>
          If true, allows remote access to the desktop via the RFB
          protocol. Users on remote machines may then connect to the
          desktop using a VNC viewer.
        </description>
      <default>false</default>
    </key>

ここに入れる。
知らなかったが<key> ~ </key>で一つらしいので
何にも知らんかったからエラー吐きまくりでめっちゃ苦労した
追記が完了したら
sudo glib-compile-schemas /usr/share/glib-2.0/schemas
上記を実行するとSystem SettingsにあるDesktop Shearingが有効になるので
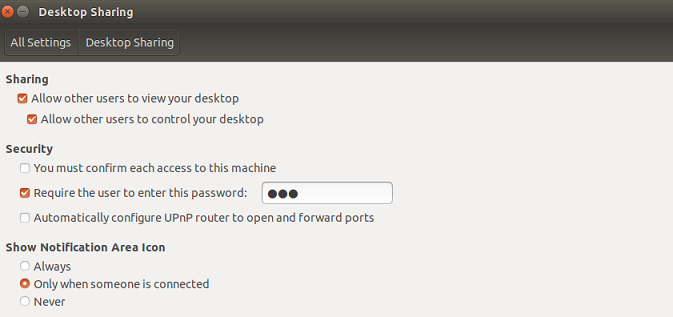
設定する。
VNC接続(VNCserver)
Desktop Shearingだけではリモート接続出来ない。
基本的なやり方はNVDIA Developerをそのまま実施してOKだった。
以下は公式そのままを流用
1.Enable the VNC server to start each time you log in
If you have a Jetson Nano 2GB Developer Kit (running LXDE)
(ログインするたびにVNCサーバーが起動するようにしますJetson Nano 2GB開発者キット(LXDEを実行)をお持ちの場合)
mkdir -p ~/.config/autostart
cp /usr/share/applications/vino-server.desktop ~/.config/autostart/.
For all other Jetson developer kits (running GNOME)
(他のすべてのJetson開発者キット(GNOMEを実行)の場合)
cd /usr/lib/systemd/user/graphical-session.target.wants
sudo ln -s ../vino-server.service ./.
2.Configure the VNC server
(VNCサーバーを構成する)
gsettings set org.gnome.Vino prompt-enabled false
gsettings set org.gnome.Vino require-encryption false
3.Set a password to access the VNC server
(VNCサーバーにアクセスするためのパスワードを設定します)
# Replace thepassword with your desired password
gsettings set org.gnome.Vino authentication-methods "['vnc']"
gsettings set org.gnome.Vino vnc-password $(echo -n 'thepassword'|base64)
4.Reboot the system so that the settings take effect
(設定が有効になるようにシステムを再起動します)
sudo reboot
JetsonNanoとそれ以外でスタートが違うだけで
後の手順はそのままでした。
パスワード入力の無効化
自動起動を行う際に、毎度パスワード入力で止まるので無効化する。
sudo nano /etc/sudoers
開いたファイルの『# Allow members of group sudo to execute any command』の部分に
PC名 ALL=NOPASSWD: ALL
上記を追記して保存する。
注意点
①ALL=NOPASSWDの最初のAのインデントを上に合わせる
②〜NOPASSWD: ALL :とAの間に半角スペースを設ける
これを忘れると、次回ファイルを開こうとしてもindent errorで開けなくなる。
③すべてのパスワードが無効化になりセキュリティ上、怪しいので注意(オフライン推奨)
まとめ
恐らくここまでやれば最低限使用出来ると思います。
DockerやGitに関してはまた別途。