Hadoop クラスタの環境を個人で実サーバで持つのはコストがかかるため、多少低スペックでも構わないので、個人のローカルPC上で出来る範囲で構築したいところです。
今回は以下の記事を元に Dockerfile を書いて Docker コンテナ上で Ambari を起動するところまでやってみます。
Apache Ambari Installation
Dockerfile を書く
- centos7 を使ってみます。
- いくつか使いそうなコマンドをインストールします。
- centos7 で service コマンドを使えるようにするため、initscripts をインストールします。
- Ambari repository をダウンロードしておきます。
- Ambari Server をインストールします。
# 1
FROM centos:centos7
LABEL maintainer "blueskyarea"

USER root

# 2. Install commands
RUN yum install -y curl tar rsync wget

# 3. Install initscripts for service command
RUN yum -y install initscripts && yum clean all

# 4. Download Ambari repository
RUN wget -nv http://public-repo-1.hortonworks.com/ambari/centos7/2.x/updates/2.6.2.0/ambari.repo -O /etc/yum.repos.d/ambari.repo

# 5. Install Ambari server
RUN yum install -y ambari-server
Docker イメージを作る
今回はイメージ名として、"ambari262" と指定しておきます。
$ docker build -t ambari262 .
double free or corruption (out)
SIGABRT: abort
PC=0x7fe1348bde97 m=0 sigcode=18446744073709551610
signal arrived during cgo execution
(中略)
Complete!
Removing intermediate container 7b98ea9a218a
 ---> 7003da2b64b7
Successfully built 7003da2b64b7
Successfully tagged ambari262:latest
Docker イメージが作成されました。
$ docker images
REPOSITORY          TAG                 IMAGE ID            CREATED             SIZE
ambari262           latest              7003da2b64b7        4 minutes ago       1.27GB
コンテナを起動する
Ambari server では、デフォルトで組み込みの postgres を使用するようです。
postgres を起動するためには、systemctl コマンドが必要になりそうですが、centos7では、/sbin/init を実行する必要があるようです。
(追記)クラスタの構築時にホスト名を指定する箇所があるため、ホスト名を定義しておきます。また、Ambari Server がデフォルトで使用するポートを念のためバインドしておきます。
8440 : Handshake Port for Ambari Agents to Ambari Server
8441 : Registration and Heartbeat Port for Ambari Agents to Ambari Server
$ docker run -d -h host01.blueskyarea -p 8440:8440 -p 8441:8441 --privileged ambari262 /sbin/init
84c36c37ff468532962121011002ecb324f3df8edf3f16ae0e7016ac1dcd3033
そして、そのコンテナに対して、bash を起動します。
$ docker exec -it 84c36c37ff46 /bin/bash
Ambari server の setup
マニュアルに沿ってセットアップしていきます。
注意しておきたいのは、"Enter advanced database configuration [y/n] (n)? "の質問に対して、No(n) で回答するところです。
Yes(y) を選択して、使用するDBを手動で選択した場合、自分でDBを起動し、スキーマの作成など行う必要があります。
※私はそれで詰まってしまったため、コンテナの再作成からやり直ししました
[root@84c36c37ff46 /]# ambari-server setup
Using python  /usr/bin/python
Setup ambari-server
Checking SELinux...
WARNING: Could not run /usr/sbin/sestatus: OK
Customize user account for ambari-server daemon [y/n] (n)?
Adjusting ambari-server permissions and ownership...
Checking firewall status...
Checking JDK...
[1] Oracle JDK 1.8 + Java Cryptography Extension (JCE) Policy Files 8
[2] Oracle JDK 1.7 + Java Cryptography Extension (JCE) Policy Files 7
[3] Custom JDK
==============================================================================
Enter choice (1):
To download the Oracle JDK and the Java Cryptography Extension (JCE) Policy Files you must accept the license terms found at http://www.oracle.com/technetwork/java/javase/terms/license/index.html and not accepting will cancel the Ambari Server setup and you must install the JDK and JCE files manually.
Do you accept the Oracle Binary Code License Agreement [y/n] (y)?
Downloading JDK from http://public-repo-1.hortonworks.com/ARTIFACTS/jdk-8u112-linux-x64.tar.gz to /var/lib/ambari-server/resources/jdk-8u112-linux-x64.tar.gz
jdk-8u112-linux-x64.tar.gz... 100% (174.7 MB of 174.7 MB)
Successfully downloaded JDK distribution to /var/lib/ambari-server/resources/jdk-8u112-linux-x64.tar.gz
Installing JDK to /usr/jdk64/
Successfully installed JDK to /usr/jdk64/
Downloading JCE Policy archive from http://public-repo-1.hortonworks.com/ARTIFACTS/jce_policy-8.zip to /var/lib/ambari-server/resources/jce_policy-8.zip

Successfully downloaded JCE Policy archive to /var/lib/ambari-server/resources/jce_policy-8.zip
Installing JCE policy...
Checking GPL software agreement...
GPL License for LZO: https://www.gnu.org/licenses/old-licenses/gpl-2.0.en.html
Enable Ambari Server to download and install GPL Licensed LZO packages [y/n] (n)? y
Completing setup...
Configuring database...
Enter advanced database configuration [y/n] (n)?
Configuring database...
Default properties detected. Using built-in database.
Configuring ambari database...
Checking PostgreSQL...
Running initdb: This may take up to a minute.
Initializing database ... OK

About to start PostgreSQL
Configuring local database...
Configuring PostgreSQL...
Restarting PostgreSQL
Creating schema and user...
done.
Creating tables...
done.
Extracting system views...
.........ambari-admin-2.6.2.0.155.jar
..
Adjusting ambari-server permissions and ownership...
Ambari Server 'setup' completed successfully.
Ambari server の起動
[root@84c36c37ff46 /]# ambari-server start
Using python  /usr/bin/python
Starting ambari-server
Ambari Server running with administrator privileges.
Organizing resource files at /var/lib/ambari-server/resources...
Ambari database consistency check started...
Server PID at: /var/run/ambari-server/ambari-server.pid
Server out at: /var/log/ambari-server/ambari-server.out
Server log at: /var/log/ambari-server/ambari-server.log
(中略)
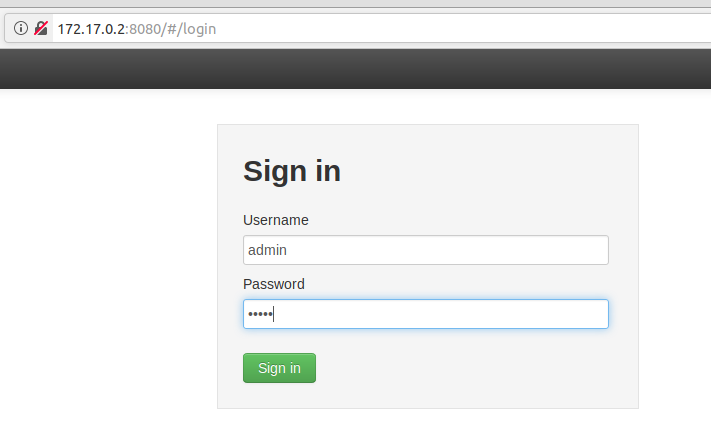
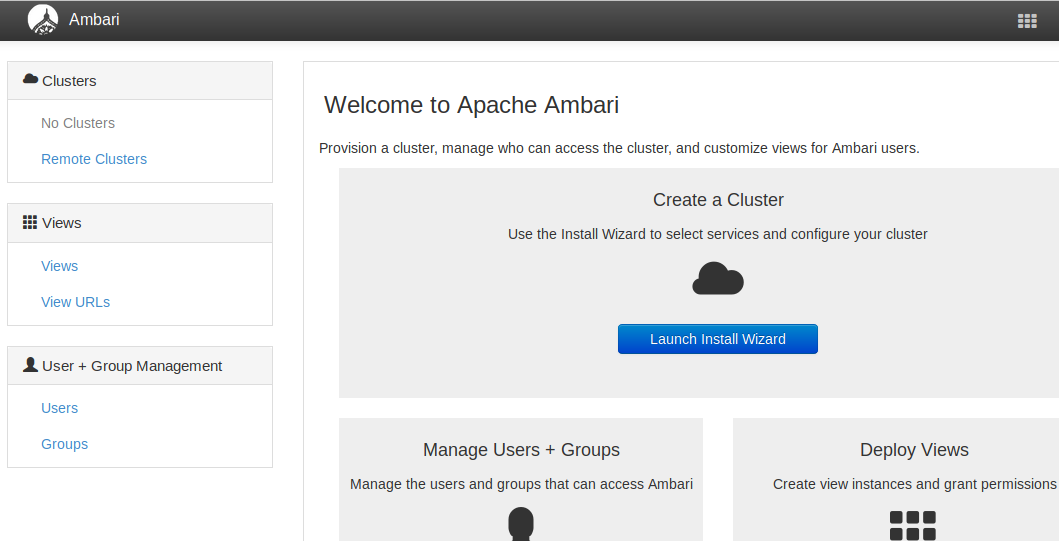
コンテナのIPアドレスを調べて、8080 ポートでアクセスしてみます。
$ docker inspect --format '{{.NetworkSettings.IPAddress}}' 84c36c37ff46
172.17.0.2

