はじめに
【Rails】Twitterクローンを作ってみた 〜ログイン周り編〜の続きです。ログイン周り編を前提に進めていきますので、まだご覧になっていない方はそちらからご覧ください!※こちらはdockerでの環境構築を省きます。
サービス環境
- ruby 3.0.0
- Rails 6.0.4
- docker
- mysql 8.0.2
- Slim, SCSS
ユーザー詳細ページの作成
条件
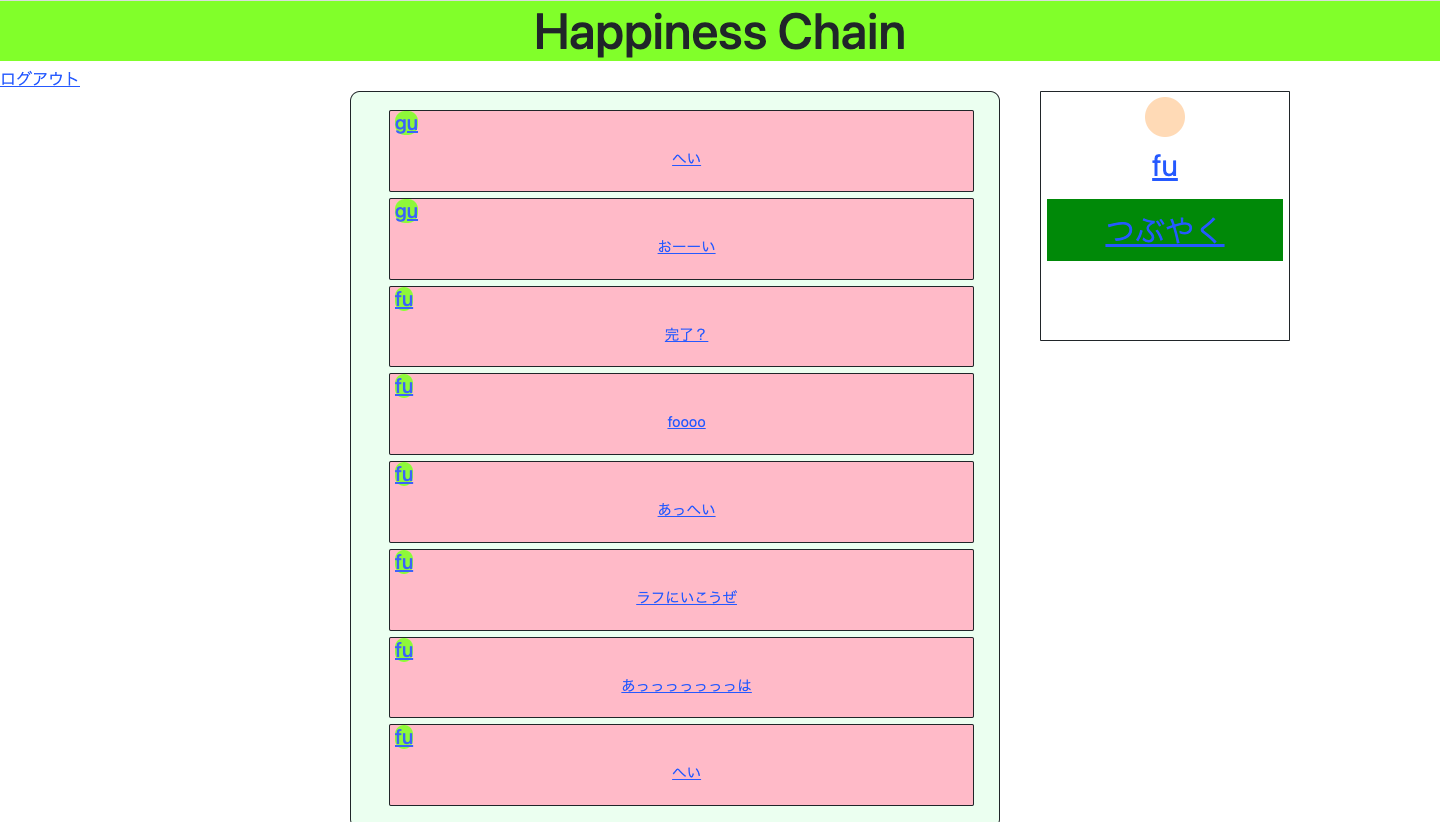
- トップページの「つぶやく」の上にある自分の名前をクリックするとユーザー詳細ページに飛ぶ
- 自分のプロフィールを編集できる
- 退会ボタンから退会することができる
ユーザーのプロフィールの内訳は名前、自己紹介文、プロフィール画像とします。プロフィール画像に関しては後のセクションでやるのでまだこのセクションでは編集できなくて良いです。ユーザー退会はユーザーを実際に削除するのではなく論理削除してください。
実装流れ(簡略)
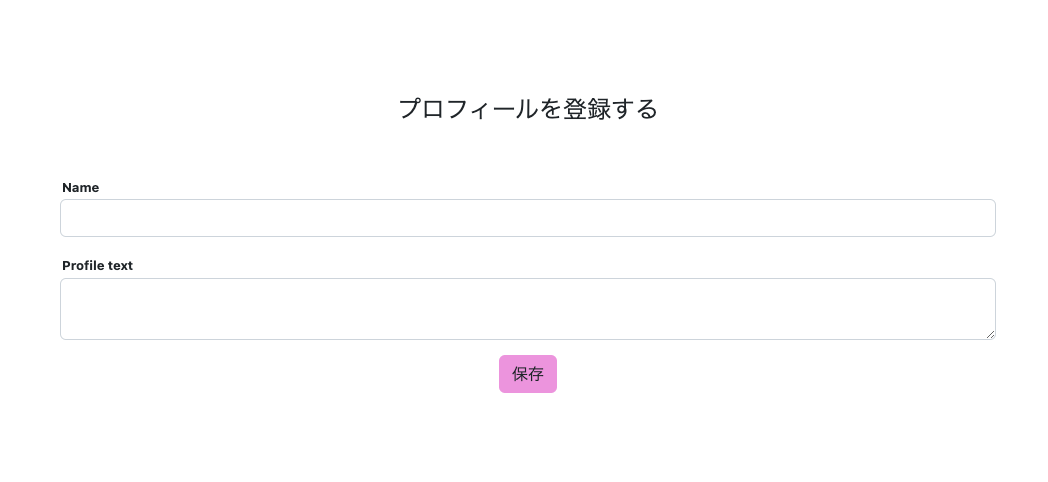
① Userモデルに紐付けたProfileモデル作成(nameカラムとprofile_textカラムを持つ)
② db:migrate、userモデル編集(has_one :profile, dependent: :destroy)
③ profilesコントローラ作成
④ profilesコントローラの中身を書いていく ← 重要!
⑤ profile周りの見た目を作成
⑥ userクラスにdelete_atカラムを追加(rails g migration)
⑦ db:migrate
⑧ registrationsコントローラ内のオーバーライド(+α サインアップ後、プロフィール登録ページに遷移するようにする)
⑨ userモデル編集(論理削除)
サインアップ後のプロフィール登録ページ
プロフィール編集画面
TOPページ
解説
profiles_controller.rb
class ProfilesController < ApplicationController
  before_action :find_profile, only: [:show, :edit]

  def new
    return redirect_to edit_profile_path(current_user) unless current_user.profile.blank?
    @profile = Profile.new
  end

  def edit
    redirect_to root_path unless @user.id == current_user.id
  end

  def show
  end

  def create
    @profile = current_user.build_profile(profile_params)
    if @profile.save
      redirect_to root_path, notice: "プロフィールを作成しました"
    else
      render :new
    end
  end

  def update
    @profile = current_user.profile

    if @profile.update(profile_params)
      redirect_to profile_path(current_user), notice: "プロフィールを更新しました"
    else
      render :edit
    end
  end

  def destroy
  end

  private

  def find_profile
    @user = User.find(params[:id])
    @profile = @user.profile
  end

  def profile_params
    params.require(:profile).permit(
      :name, :profile_text, :image
    )
  end
end
privateでのfind_profileメソッドにかなり時間を取られました。リファクタリングする前は、params[:id]をcurrent_user.idで取得しており、この場合だと他の人のプロフィールが見れないとコードレビューをいただき、たしかになと学びました。さらには、editアクションでログインしているユーザー以外が編集できないように下記のコードを書きました。
redirect_to root_path unless @user.id == current_user.id
updateメソッドでは、取得するidはcurrent_user.idですね。
@profile = current_user.profile
これは
@user = User.find(current_user.id)
@profile = @user.profile
に同じですね。
最後にbuildメソッドの解説です。buildメソッドとは、インスタンスを生成するメソッドです。インスタンスを生成するメソッドは他にnewメソッドがありますが、buildメソッドとの違いはありません。暗黙の了解で、モデルを関連付けした時にはbuildを使うみたいな感じになっています。ここでのモデルのアソシエーションは1対1の関係なので「build_関連付けのメソッド名」として利用できます。1対多、多対多の場合では、「関連付けメソッド名.build」となります。
実装を通して学んだこと
1. idの取得
ログインが絡むidの取得には、ログインしているユーザーだけができる操作と、ログインユーザーを含めた全てのユーザーができる操作というものを分けて考えてコードに反映させることが大事だなと学びました。基本的なことですが、ここがしっかりしていないとログインの意味がないですもんね。
2. モデルへの紐づけ
モデルとのアソシエーションがどういう関係にあるのかということ。modelを作成するときにreferencesを使い、暗黙の了解で、モデルを関連付けした時にはコントローラ内でbuildを使うことを学びました。
3. 論理削除
deviseで作成したUserモデルのregistrations_controller.rbにDevise registrations controllerを継承し、destroyアクションをオーバーライドすることを学びました。routes.rbで削除時のroutingをオーバーライド。論理削除でユーザーモデルを更新し、認証でユーザーがアクティブかどうかを確認することを学びました。
感想
今回の実装はprofilesコントローラの中身を書くことにより、railsでの論理的な考えが学べました!実際にコードを見ると簡単ですが、コードを書いている際は、エラーが出て該当部分を修正してといった感じで一筋縄では行かなかったです。論理削除は過去の論理削除の記事を参考にして、どのコントローラにオーバーライドするのか、modelへの記述の仕方を勉強することができました!よくudemyでモデルへの紐づけのやり方を見ていましたが、初めて実装してみて、やっとアウトプットできたなといった感想です。次回のセクションも紐づけを行うため練習になりました。
次回はツイート機能の作成についてアウトプットしていこうと思います!読んでいただきありがとうございました。


