条件
- docker-compose upでrails serverを起動できるようにすること
- ホストのファイルシステムとコンテナのファイルシステムを同期させること
1. 各種ファイル作成
任意のディレクトリファイル配下に以下のファイルを作成します。
$ mkdir docker-files
$ cd docker-files
- Dockerfile
- docker-compose.yml
- Gemfile
- Gemfile.lock
それぞれのファイルの中身を書いていきます。
Dockerfile
FROM ruby:2.6
RUN curl -sS https://dl.yarnpkg.com/debian/pubkey.gpg | apt-key add - && \
    echo "deb https://dl.yarnpkg.com/debian/ stable main" | tee /etc/apt/sources.list.d/yarn.list && \
    apt-get update -qq && apt-get install -y \
    build-essential \
    nodejs \
    yarn && \
    mkdir /docker-files

WORKDIR /docker-files
COPY Gemfile /docker-files/Gemfile
COPY Gemfile.lock /docker-files/Gemfile.lock
RUN bundle install
COPY . /docker-files

RUN rm -f tmp/pids/server.pid

CMD ["rails", "server", "-b", "0.0.0.0"]
【注意】rails 6.0 からデフォルトJavaScriptコンパイラが webpackerに変更されました。
docker-compose.yml
version: '3'
services:
  db:
    image: mysql:8.0
    environment:
      MYSQL_ROOT_PASSWORD: password
    ports:
      - '3306:3306'
    command: --default-authentication-plugin=mysql_native_password
    volumes:
      - mysql-data:/var/lib/mysql
  web:
    build: .
    volumes:
      - .:/docker-files
    ports:
      - "3000:3000"
    depends_on:
      - db
    stdin_open: true
    tty: true
volumes:
  mysql-data:
    driver: local
デフォルトのドライバーのlocalは、その名の通り、ホストのローカルのファイルシステムに
ボリュームを作成するものです。
Gemfile
source 'https://rubygems.org'
gem 'rails', '~>6'
Gemfile.lock
空ファイルのまま。
2. rails newでフレーム作成
上記4つのファイルが作成できたら、以下のコマンドを実行します。
$ docker-compose run web rails new . --force --no-deps --database=mysql --webpacker
--webpacker オプションで webpacker をインストールします。
3. イメージのbuild
上記コマンドで各種ファイルの作成が完了したら、Gemfile が更新されているので、イメージをビルドします。
$ docker-compose build
4. config/database.ymlの変更
default: &default
  adapter: mysql2
  encoding: utf8mb4
  pool: <%= ENV.fetch("RAILS_MAX_THREADS") { 5 } %>
  username: <%= ENV.fetch("MYSQL_USERNAME", "root") %>
  password: <%= ENV.fetch("MYSQL_PASSWORD", "password") %>
  host: <%= ENV.fetch("MYSQL_HOST", "db") %>

development:
  <<: *default
  database: docker-files_development

test:
  <<: *default
  database: docker-files_test

production:
  <<: *default
  database: docker-files_production
  username: docker-files
  password: <%= ENV['DOCKER-FILES_DATABASE_PASSWORD'] %>
5. データベース作成
$ docker-compose run web rake db:create
6. コンテナ起動
$ docker-compose up
localhost:3000 にアクセスします。
http://localhost:3000/
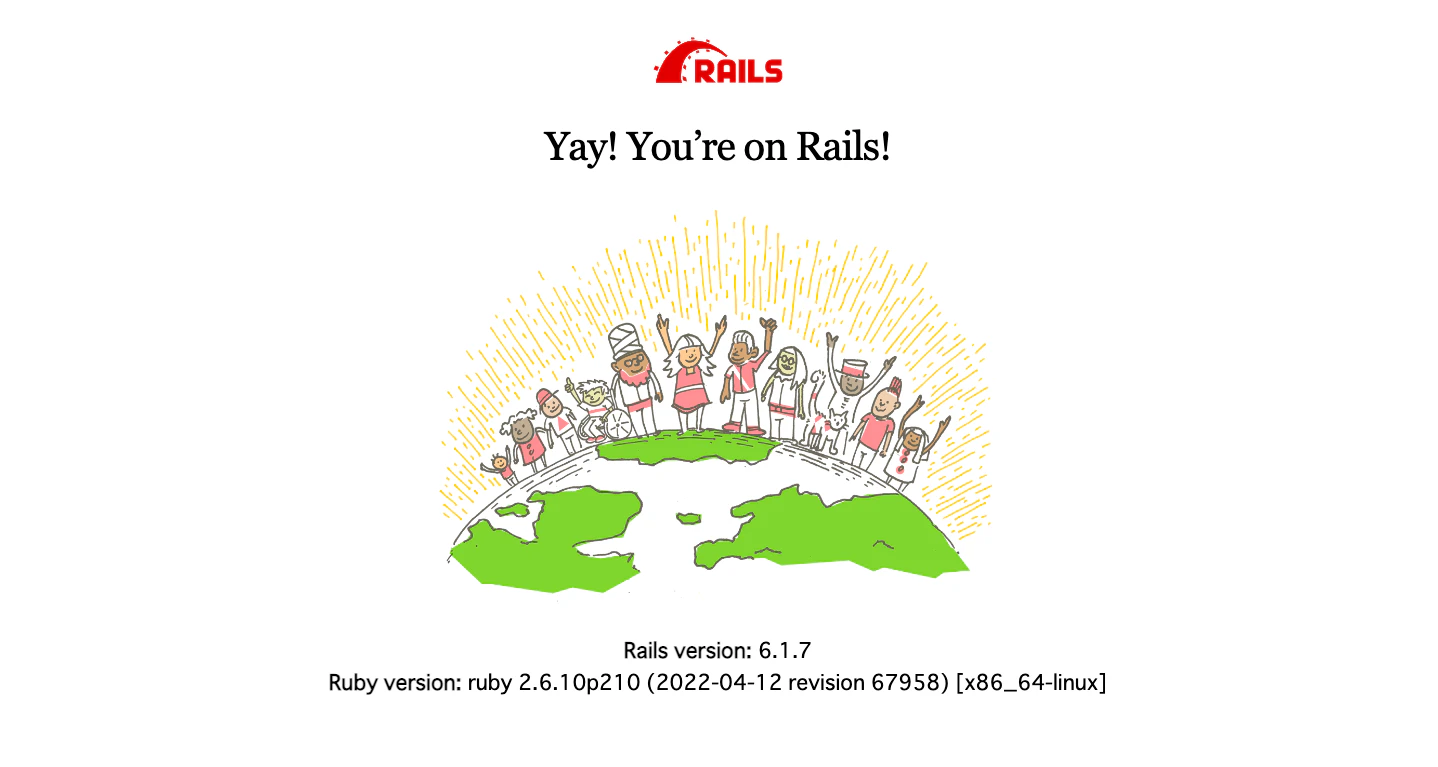
無事環境構築できました🎉🎉
7. githubで共有
こちらはおまけですが、githubにこのようなdockerで構築したディレクトリをpushしておくと、下記のコマンドで誰でも同じ環境を構築できます!
$ git clone https://github.com/[ユーザー名]/[リポジトリ名].git
$ cd [リポジトリ名]
$ docker-compose run web rails db:create
$ docker-compose up
最後に
dockerを学んで、誰でも同じ環境を構築できるという点に非常に感動を覚えました。これまで環境構築にかなりの時間を費やしていたため、非常に助けられることとなりました。とは言っても、まだまだdockerの修行が必要だなと感じます。見ていただきありがとうございました!