Railsでユーザ認証させる
鉄板のDevise + Omniauthの組み合わせですが、意外とomniauth-google-oauth2に関する記事は少なそうだったので、備忘録+写真で解説してみます。
Let's Try!
まずはGoogle Developers Consoleで登録
https://console.developers.google.com/project
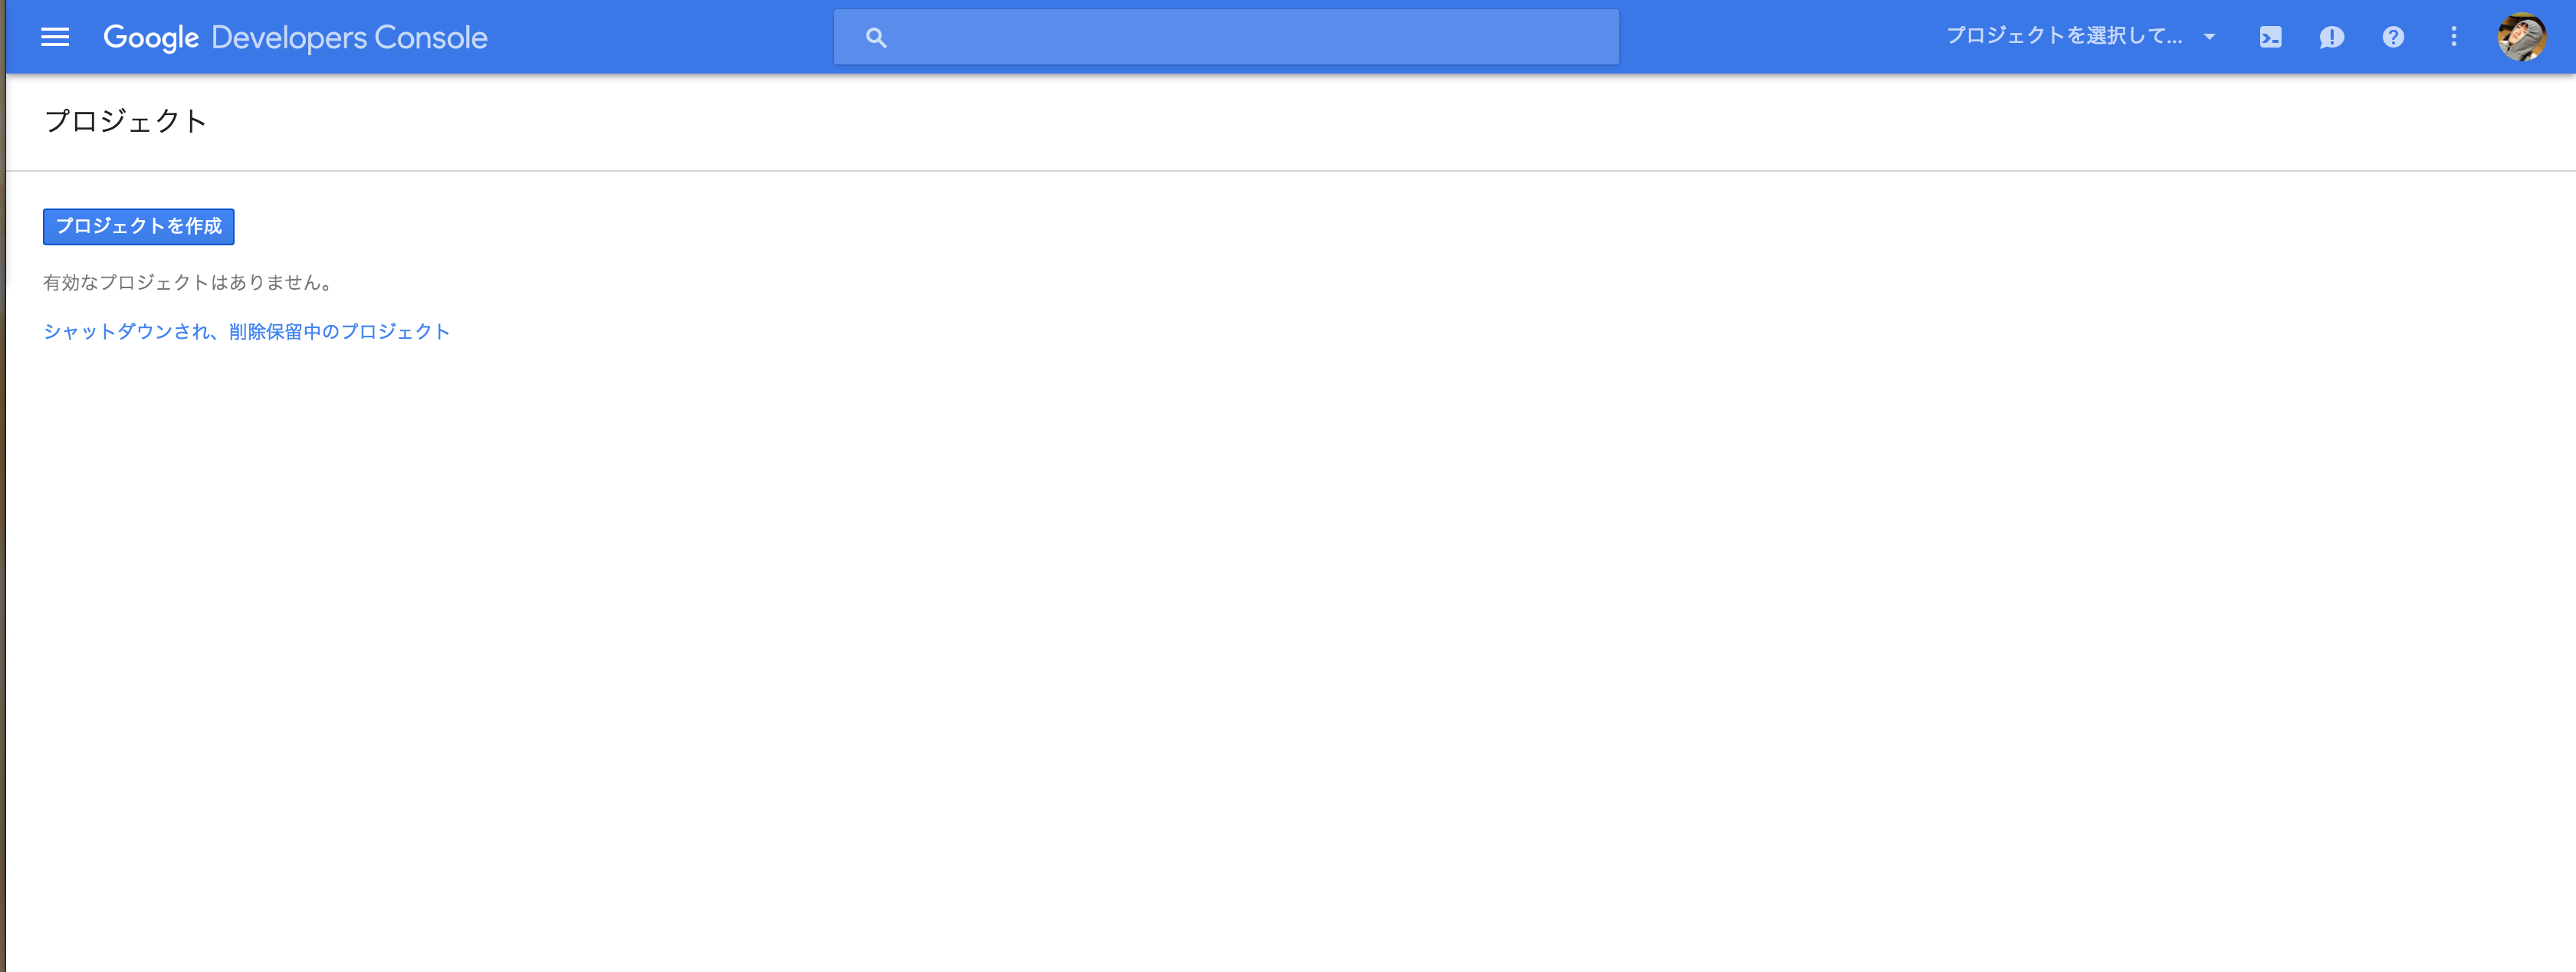
プロジェクトを作成をクリックし、

よしなにプロジェクトを作成します。
使用するAPIの設定
今回はあくまで「ユーザ認証」を行いたいため、不要なAPIの利用は解除していきます。
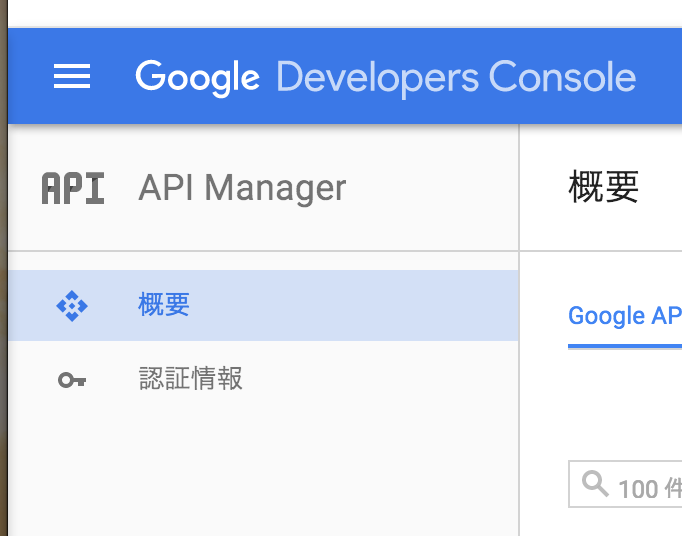
サイドバーから、API Manager > 概要 を選択し、

Enable APIs (7) タブを選択、

Google+ APIを除いて無効にしておきます。(ムダなAPIは無効に!)
認証情報と同意画面の設定
 再びサイドメニューから、今度は認証情報を選び、
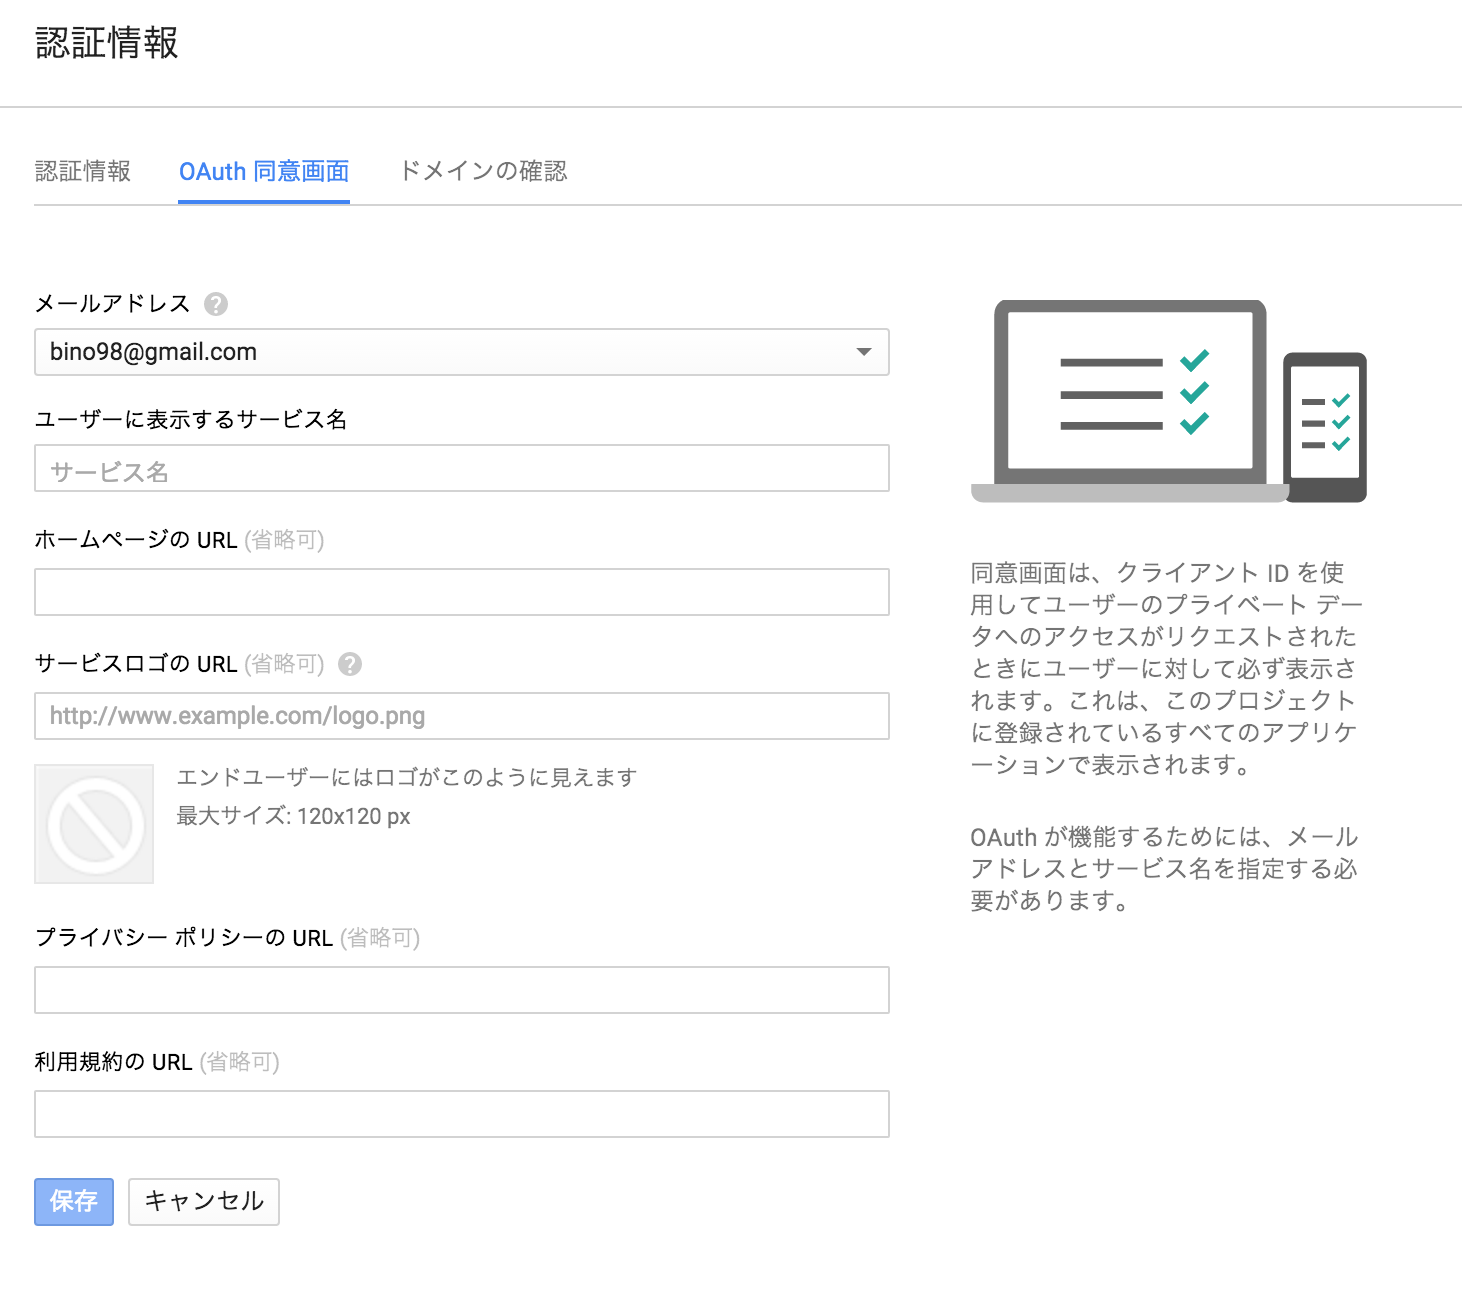
OAuth 同意画面タブへ移動します。
ココで同意画面を作っておこないと、認証情報追加時にケラれます

新しい認証情報を追加する際は、"OAuth クライアントID"を選択。

アプリケーションの種類は、ウェブアプリケーション。名前を入力します。
承認済みのリダイレクトURIに、http://localhost:3000/users/auth/google/callbackと入力しておいてください。

クライアントID、クライアントシークレットが発行されるので、どこかに控えておいてくださいね。
Railsプロジェクト作成
$ rails new openidtest
テスト用のRailsプロジェクトを作成します。
Gemfileに追加
...
gem 'devise'
gem 'omniauth'
gem 'omniauth-google-oauth2'
...
$ bundle install
Deviseの設定
# Deviseの初期化
$ rails g devise:install
すると、以下のメッセージが出てきます。どうしてもうまくいかねぇ...というとき、このメッセージに立ち返ってみるといいですね。
Running via Spring preloader in process 23652
      create  config/initializers/devise.rb
      create  config/locales/devise.en.yml
===============================================================================

Some setup you must do manually if you haven't yet:

  1. Ensure you have defined default url options in your environments files. Here
     is an example of default_url_options appropriate for a development environment
     in config/environments/development.rb:

       config.action_mailer.default_url_options = { host: 'localhost', port: 3000 }

     In production, :host should be set to the actual host of your application.

  2. Ensure you have defined root_url to *something* in your config/routes.rb.
     For example:

       root to: "home#index"

  3. Ensure you have flash messages in app/views/layouts/application.html.erb.
     For example:

       <p class="notice"><%= notice %></p>
       <p class="alert"><%= alert %></p>

  4. If you are deploying on Heroku with Rails 3.2 only, you may want to set:

       config.assets.initialize_on_precompile = false

     On config/application.rb forcing your application to not access the DB
     or load models when precompiling your assets.

  5. You can copy Devise views (for customization) to your app by running:

       rails g devise:views

===============================================================================
ユーザ認証情報を保持するテーブルを作る
作業は続きます。
# ユーザ認証用のテーブル作成
$ rails g devise user
これで、ユーザ認証に関する情報を保持するテーブルが生成されます。
新たに追加されたmigrationファイルに、ユーザ情報を保持しておくカラムを追加しておきましょう。
ユーザ情報をいちいちGoogleに問い合わせるのはナンセンスなので、
アプリケーションで必要になりそうなデータは、例えば初回ログイン時などにデータを取得して保存しておくなどが良いですね。
class DeviseCreateUsers < ActiveRecord::Migration
  def change
    create_table(:users) do |t|
...
      t.string :users, :provider
      t.string :users, :uid
      t.string :users, :token
      t.string :users, :meta
...
    end
  end
end
# migrationファイルに基づいてテーブルを作る
$ rake db:migrate
土台は出来ましたね。
Model修正
class User < ActiveRecord::Base
  devise :trackable, :omniauthable, omniauth_providers: %i(google)

  protected
  def self.find_for_google(auth)
    user = User.find_by(email: auth.info.email)

    unless user
      user = User.create(name:     auth.info.name,
                         provider: auth.provider,
                         uid:      auth.uid,
                         token:    auth.credentials.token,
                         password: Devise.friendly_token[0, 20],
                         meta:     auth.to_yaml)
    end
    user
  end
end
:trackable, :omniauthableだけでOKです。deviseに新たに機能を持たせたいときは、そのとき新たに追記する方がスマートだと思います。今回は、とりあえずログインすることが目的なので、これでよい!
また、def self.find_for_google(auth)は、コールバックを受けた時にユーザが既にアプリケーションの中で認知されているかどうかを判断するメソッドです。後で使います。
config修正
Devise.setup do |config|
  require 'devise/orm/active_record'
  config.omniauth :google_oauth2,
                  ENV['GOOGLE_APP_ID'], # 環境変数に先ほど控えたクライアントIDを入れておく
                  ENV['GOOGLE_APP_SECRET'], # 環境変数に先ほど控えたシークレットを入れておく
                  name: :google,
                  scope: %w(email)
end
It's Simple!!
scopeについて、デフォルト(ここに記述しない状態)だとemailとprofileになります。ユーザ認証のための必須ではないため、emailだけにしちゃいましょう
ログインボタンを設置するページ作る
$ rails g controller home index
<%= link_to 'Signin with Google', user_omniauth_authorize_path(:google) %>
ビューの準備完了しました。
routes.rbの書き換え
Rails.application.routes.draw do
  get 'home/index'

  # devise_for :users <- コメントアウトするか消しちゃいます
  devise_for :users, controllers: {
      omniauth_callbacks: "users/omniauth_callbacks"
  }
...
omniauth_callbacks_controller.rbを作成
app/controllers/usersディレクトリを作成して、omniauth_callbacks_controller.rbというコントローラーを作成します。
class Users::OmniauthCallbacksController < Devise::OmniauthCallbacksController
  def google
    @user = User.find_for_google(request.env['omniauth.auth'])

    if @user.persisted?
      flash[:notice] = I18n.t 'devise.omniauth_callbacks.success', kind: 'Google'
      sign_in_and_redirect @user, event: :authentication
    else
      session['devise.google_data'] = request.env['omniauth.auth']
      redirect_to new_user_registration_url
    end
  end
end
サーバ起動
$ rails s
で、サーバを起動し、
http://localhost:3000/home/index にアクセスすると...

の文字が...!早速押してみましょう!

どきどき...

キタ!

来ましたー!routes.rbでログイン後に遷移する先を記述していないのでrootに行ってますね。ログイン後、viewなどでcurrent_user.emailなどを表示させてみれば、ログインしているユーザのemailアドレスが表示されるかと思います。
動かん!などのコメント、お待ちしております!