環境
- ProxmoxVE 8.2.4 上にある Virtual Machine
- Debian 12.6.0-amd64-netinst.iso
構築予定の環境
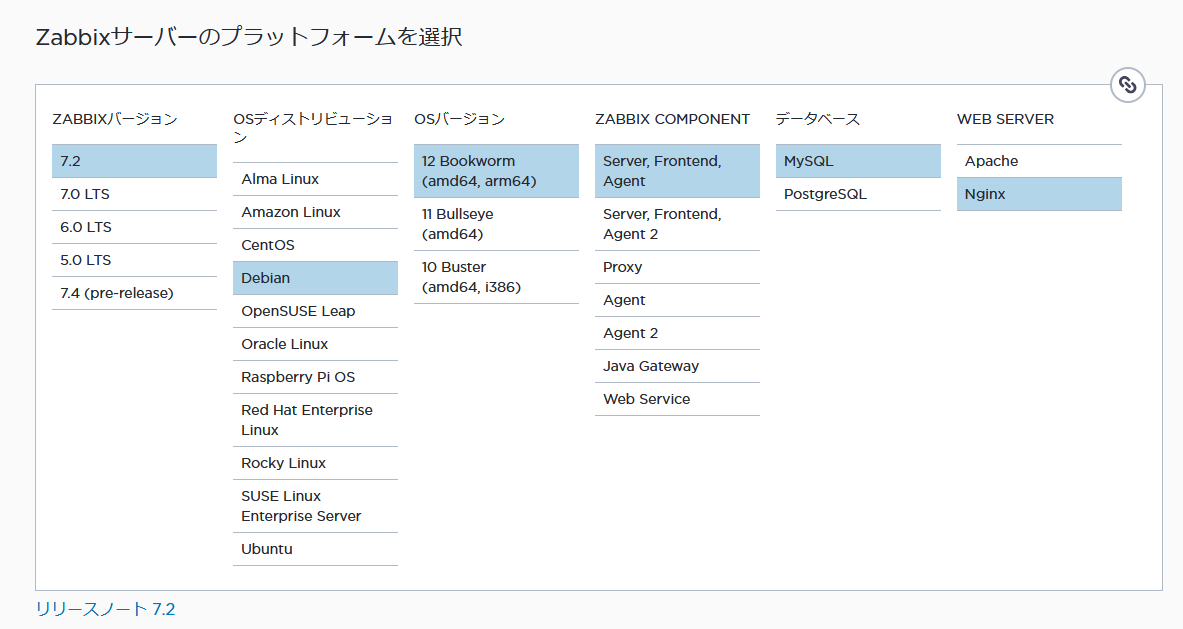
Zabbix 公式サイトより https://www.zabbix.com/jp/download
作業内容
1. 初期設定
2. Zabbix
a.リポジトリ?レポジトリ?をwgetしてくる
manager@debian:~$ wget https://repo.zabbix.com/zabbix/7.2/release/debian/pool/main/z/zabbix-release/zabbix-release_latest_7.2+debian12_all.deb
ここら辺はZabbix公式サイトにも書いてある
dpkg で .deb のインストールを行う
manager@debian:~$ sudo dpkg -i zabbix-release_latest_7.2+debian12_all.deb
b. Zabbix 関連をインストールする
パッケージを更新
manager@debian:~$ sudo apt update
インストール
manager@debian:~$ sudo apt install zabbix-server-mysql zabbix-frontend-php zabbix-nginx-conf zabbix-sql-scripts zabbix-agent
3. MySQL
ここら辺の作業が公式サイトでは省略されていたので手順を書くことにした
a. リポジトリ?レポジトリ?をwgetしてくる
MySQL の公式サイトから .deb のダウンロードリンクをコピーする
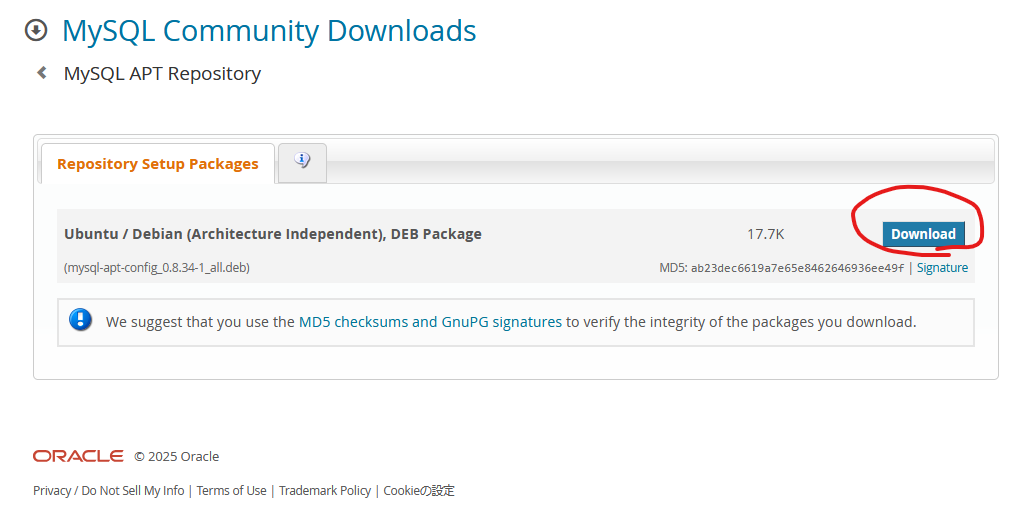

manager@debian:~$ wget https://dev.mysql.com/get/mysql-apt-config_0.8.34-1_all.deb
b. MySQL をインストールする
dpkgでwgetした .deb のインストールを行う
manager@debian:~$ sudo dpkg -i mysql-apt-config_0.8.34-1_all.deb
ところがエラーが出ました
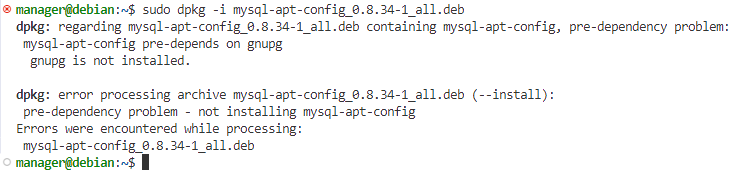
どうやら gnupg に依存してるらしい
gnupgで検索をしてみる
manager@debian:~$ sudo apt search gnupg
発見
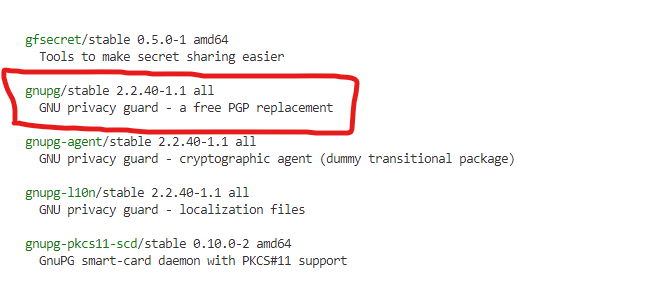
これで安心してインストールできます
gnupgをインストールする
manager@debian:~$ sudo apt install gnupg
再度 sudo dpkg -i mysql-apt-config_0.8.34-1_all.deb を実行
何か出てきました
"OK" を押す

十字キーを操作し"OK" を選択する
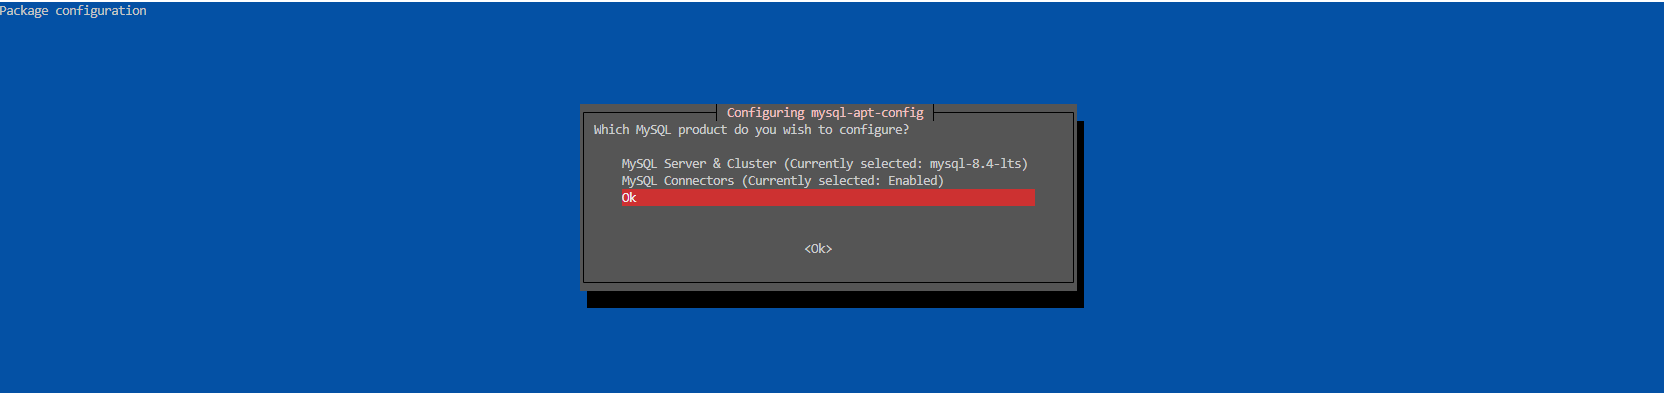
CLIに戻されます
パッケージをインストールしたので apt update を行いパッケージを更新してあげます
manager@debian:~$ sudo apt update
mysql-serverのインストールを行っていきます
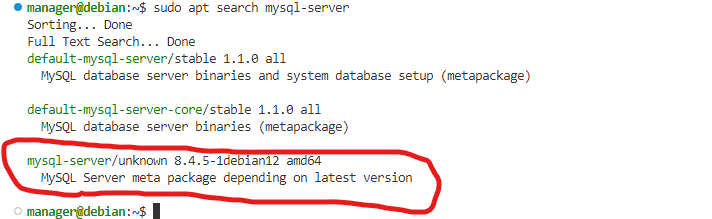
mysql-server を検索してみる
manager@debian:~$ sudo apt search mysql-server
発見
mysql-server をインストール
manager@debian:~$ sudo apt install mysql-server
ところがエラーが出ました
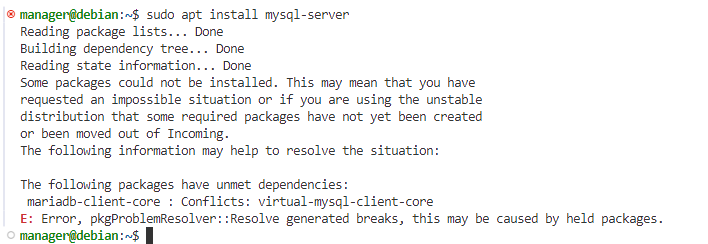
すでに入っているパッケージと競合を起こしているみたい
一応 mariadb-client-core で検索をしてみる
manager@debian:~$ sudo apt list | grep mariadb-client-core
発見

mariadb-client-core を apt remove --purge で消します
manager@debian:~$ sudo apt remove --purge mariadb-client-core
再度 sudo apt install mysql-server を実行
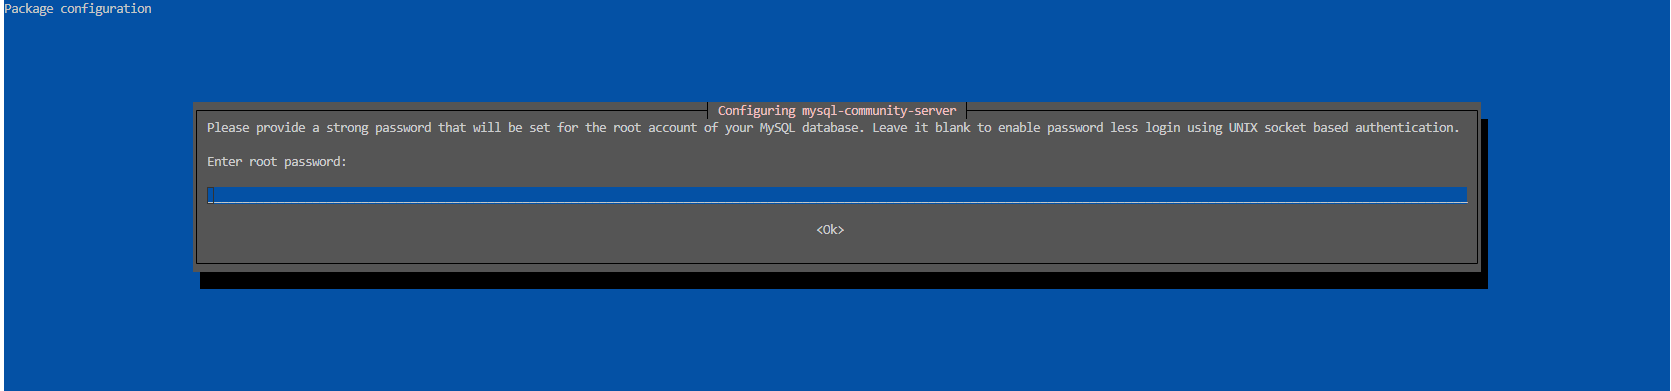
MySQL database で使うパスワードを入力します
ここで決めたパスワードは PASSWORD ということにしておきます
再度入力
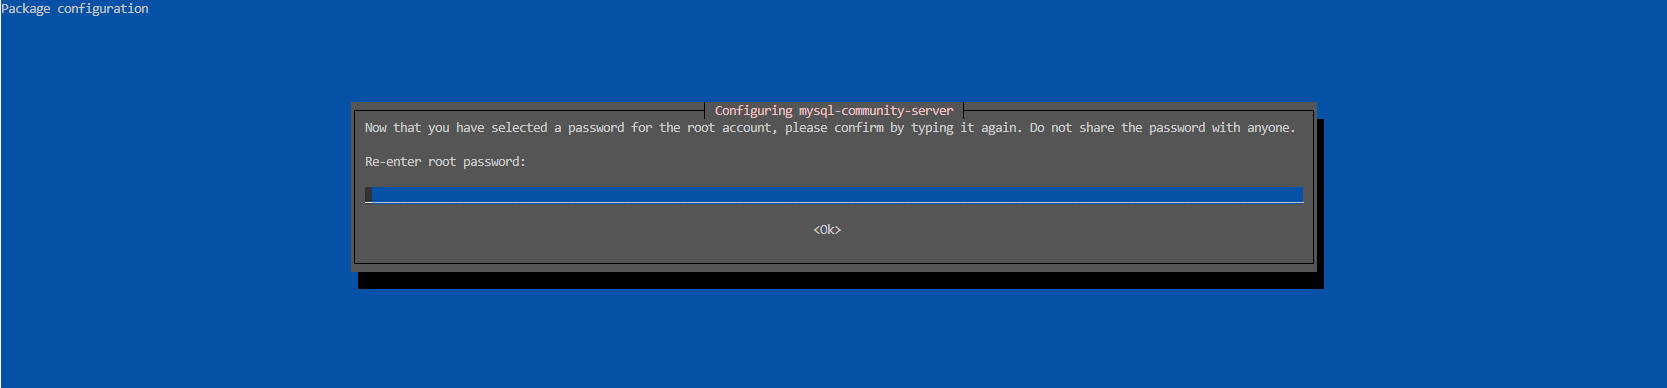
入力がただしく行われればプロセスの続きが始まります
これで MySQL のインストールは終了しました。
c. MySQL の初期データベースを作成する
ここからの作業はZabbix公式サイトにも載っています
https://www.zabbix.com/jp/download
manager@debian:~$ mysql -u root -p
PASSWORD を入力しログイン
成功すればmysqlのコンソール的な画面に切り替わります

これらを実行
mysql> create database zabbix character set utf8mb4 collate utf8mb4_bin;
ここで入力したパスワードはpasswordということにしておきます
mysql> create user zabbix@localhost identified by 'password';
mysql> grant all privileges on zabbix.* to zabbix@localhost;
mysql> set global log_bin_trust_function_creators = 1;
mysql> quit;
mysqlコンソールを閉じたら
Zabbixサーバーホストに初期スキーマとデータをインポートします
manager@debian:~$ zcat /usr/share/zabbix/sql-scripts/mysql/server.sql.gz | mysql --default-character-set=utf8mb4 -uzabbix -p zabbix
パスワードの入力を求めらるので先ほど指定した password を入力
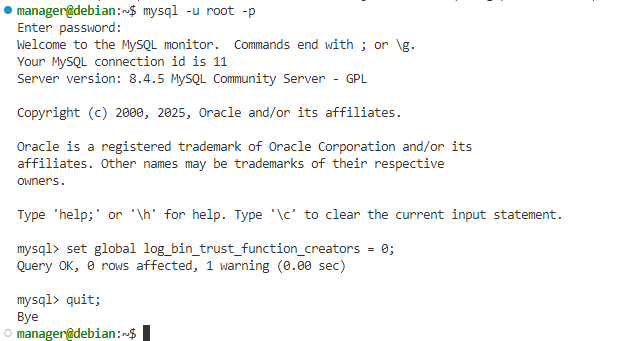
log_bin_trust_function_creators オプションを無効にする
manager@debian:~$ mysql -u root -p
PASSWORD を入力
mysql> set global log_bin_trust_function_creators = 0;
mysql> quit;
4. 各種設定ファイルの編集
zabbix_server.conf を編集する
manager@debian:~$ nano /etc/zabbix/zabbix_server.conf
DBPassword は password を入力
# This is a configuration file for Zabbix server daemon
# To get more information about Zabbix, visit https://www.zabbix.com

############ GENERAL PARAMETERS #################

~~~~~~~省略~~~~~~~

### Option: DBUser
#       Database user.
#
# Mandatory: no
# Default:
# DBUser=

DBUser=zabbix

### Option: DBPassword
#       Database password.
#       Comment this line if no password is used.
#
# Mandatory: no
# Default:
- # DBPassword=
+ DBPassword=password
保存して閉じる
nginx.conf を編集する
manager@debian:~$ sudo nano /etc/zabbix/nginx.conf
listen と server_name をコメント解除する
server {
- #     listen          8080;
- #     server_name     example.com;
+       listen          8080;
+       server_name     example.com;

        root    /usr/share/zabbix/ui;

        index   index.php;

~~~~~~~省略~~~~~~~
保存して閉じる
各サービスの再起動
manager@debian:~$ sudo systemctl restart zabbix-server zabbix-agent nginx php8.2-fpm
各サービスの自動起動を有効化
manager@debian:~$ sudo systemctl enable zabbix-server zabbix-agent nginx php8.2-fpm
5. Webインターフェースにアクセス
まず ufw で接続ポートを許可しておきます
manager@debian:~$ sudo ufw allow 8080/tcp
nginx.conf の listen で指定したポートで鯖のIPにアクセス
うまくいけばこのようなサイトが表示されているはずです。
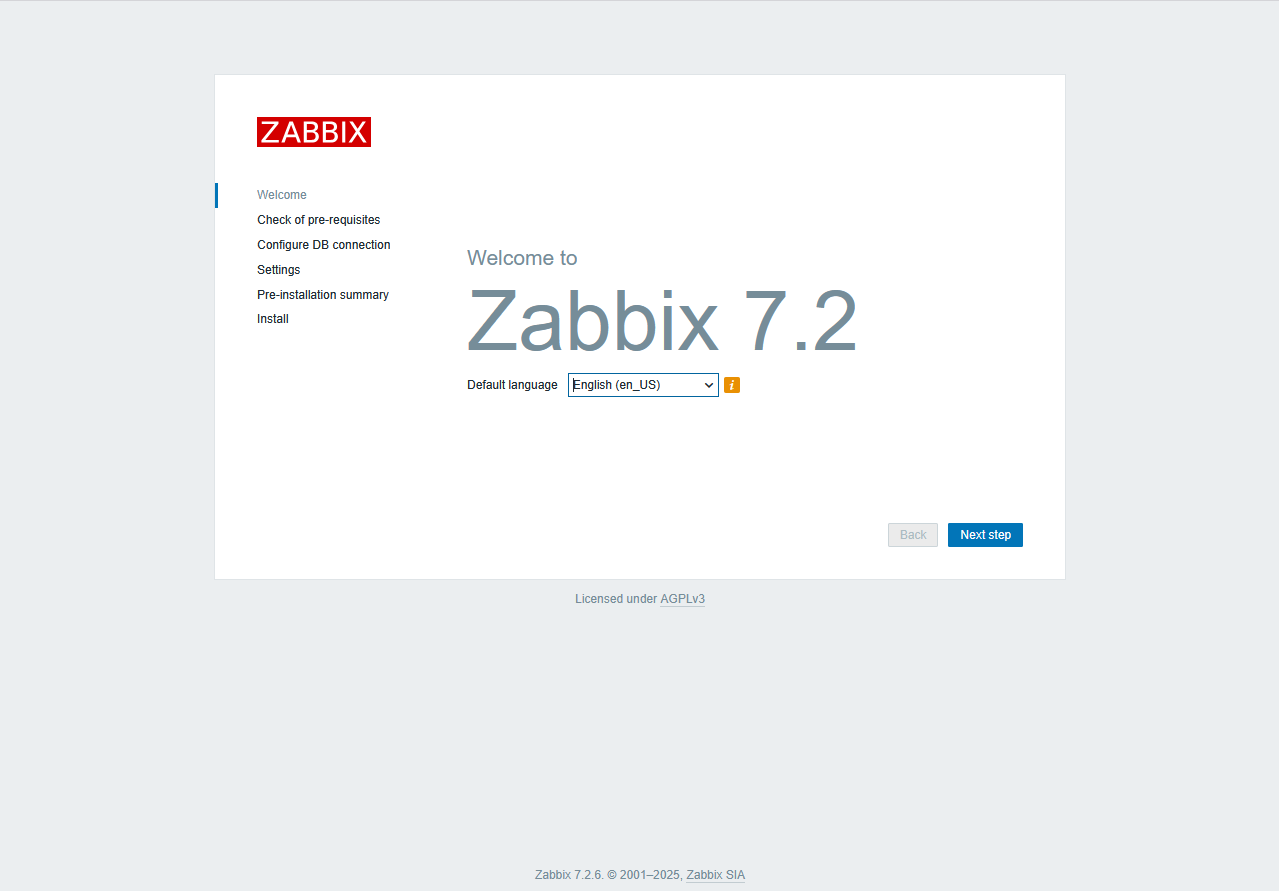
6. Wellcome to Zabbix
a. Wellcome

Next step を押して次へ
b. Check of pre-requisites
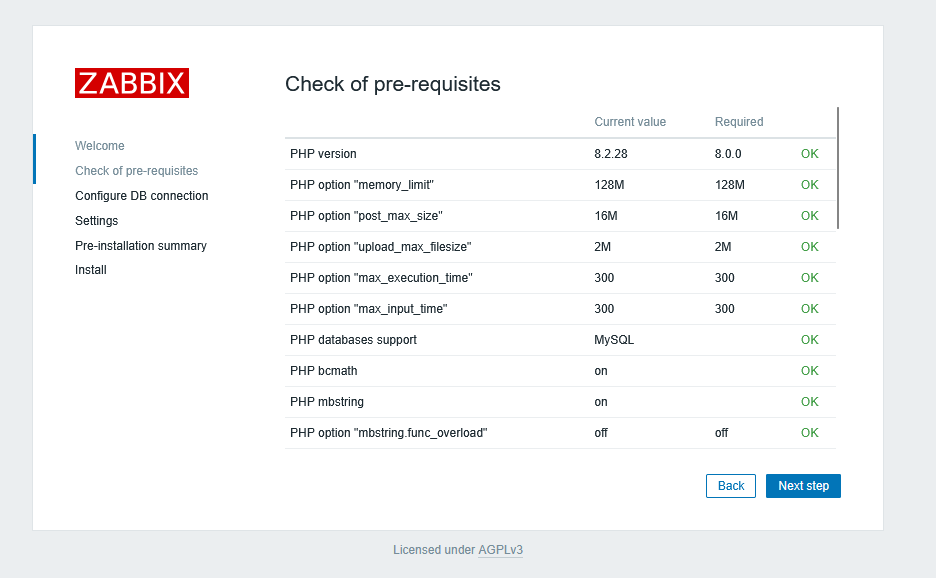
全部 OK になっていることを確認する
Next step を押して次へ
c. Configure DB connection
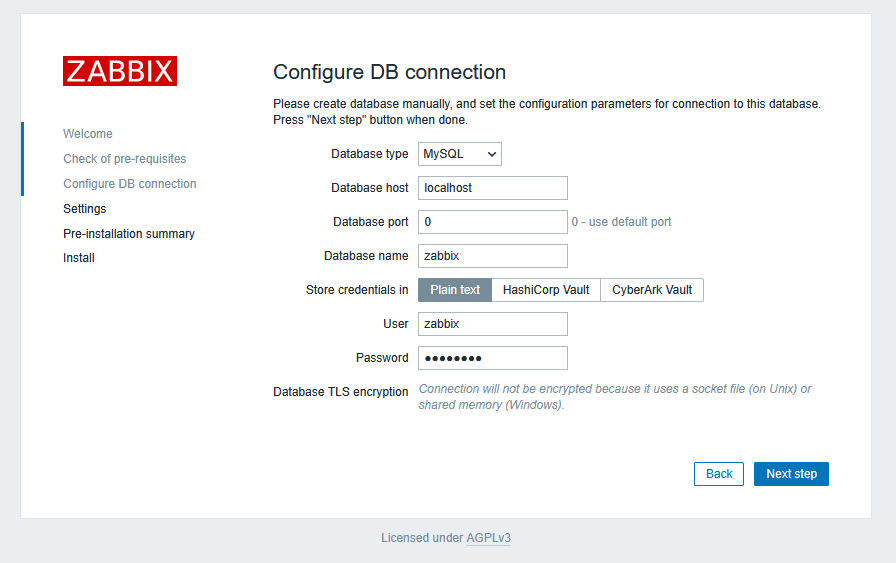
Password = password
Next step を押して次へ
d. Settings
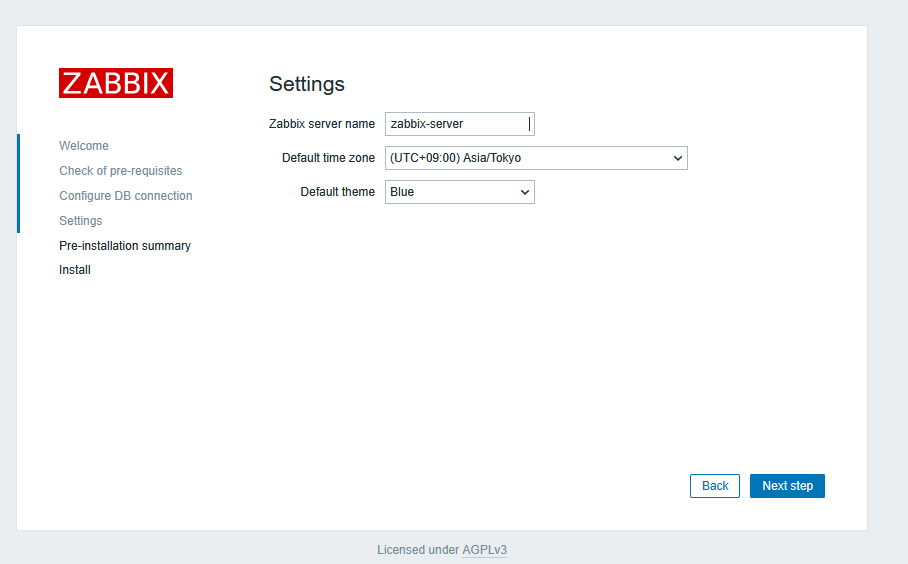
Zabbix server name = 任意の名前を入力する
Default time zone = 日本に住んでいる方はAsia/Tokyoを気合で探して選択してください
Default theme = 任意のテーマを選ぶ
Next step を押して次へ
e. Pre-installation summary
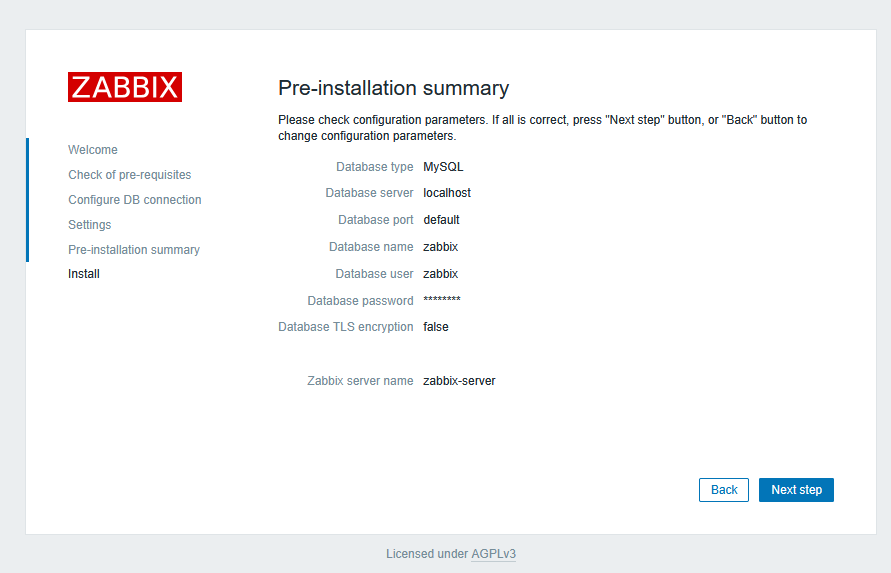
設定に誤りがないか確認してください
Next step を押して次へ
f. Install
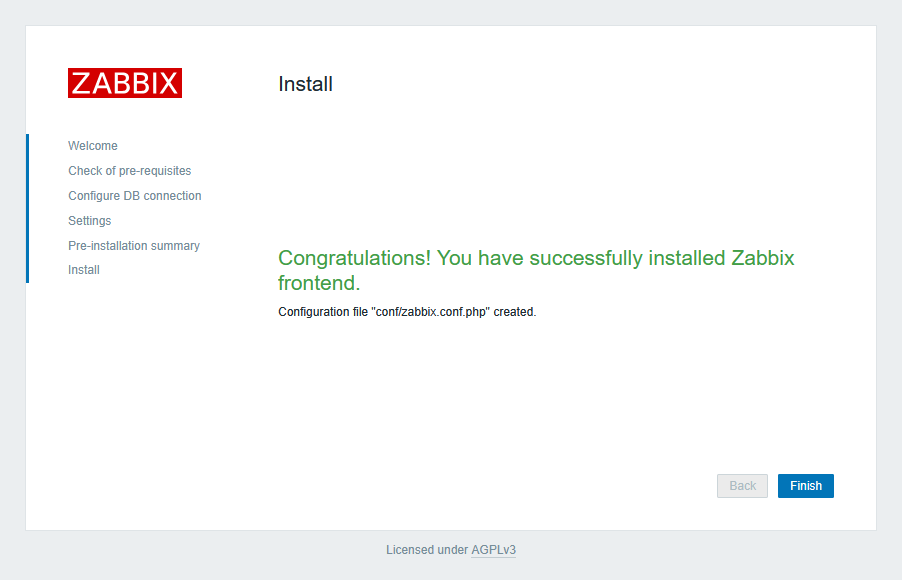
Congratulations! You have successfully installed Zabbix frontend
Finish を押してログイン画面へ
g. ZABBIX
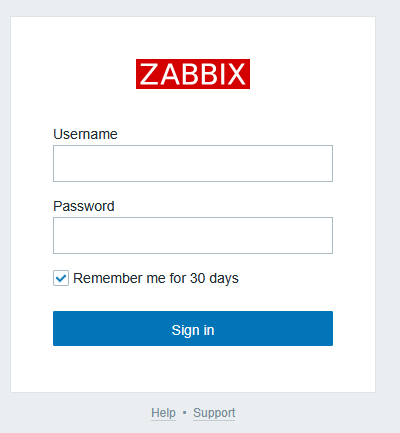
初期パスワードを用いてAdminユーザーでログインします
Username = Admin
Password = zabbix
Sign in を押してサインイン
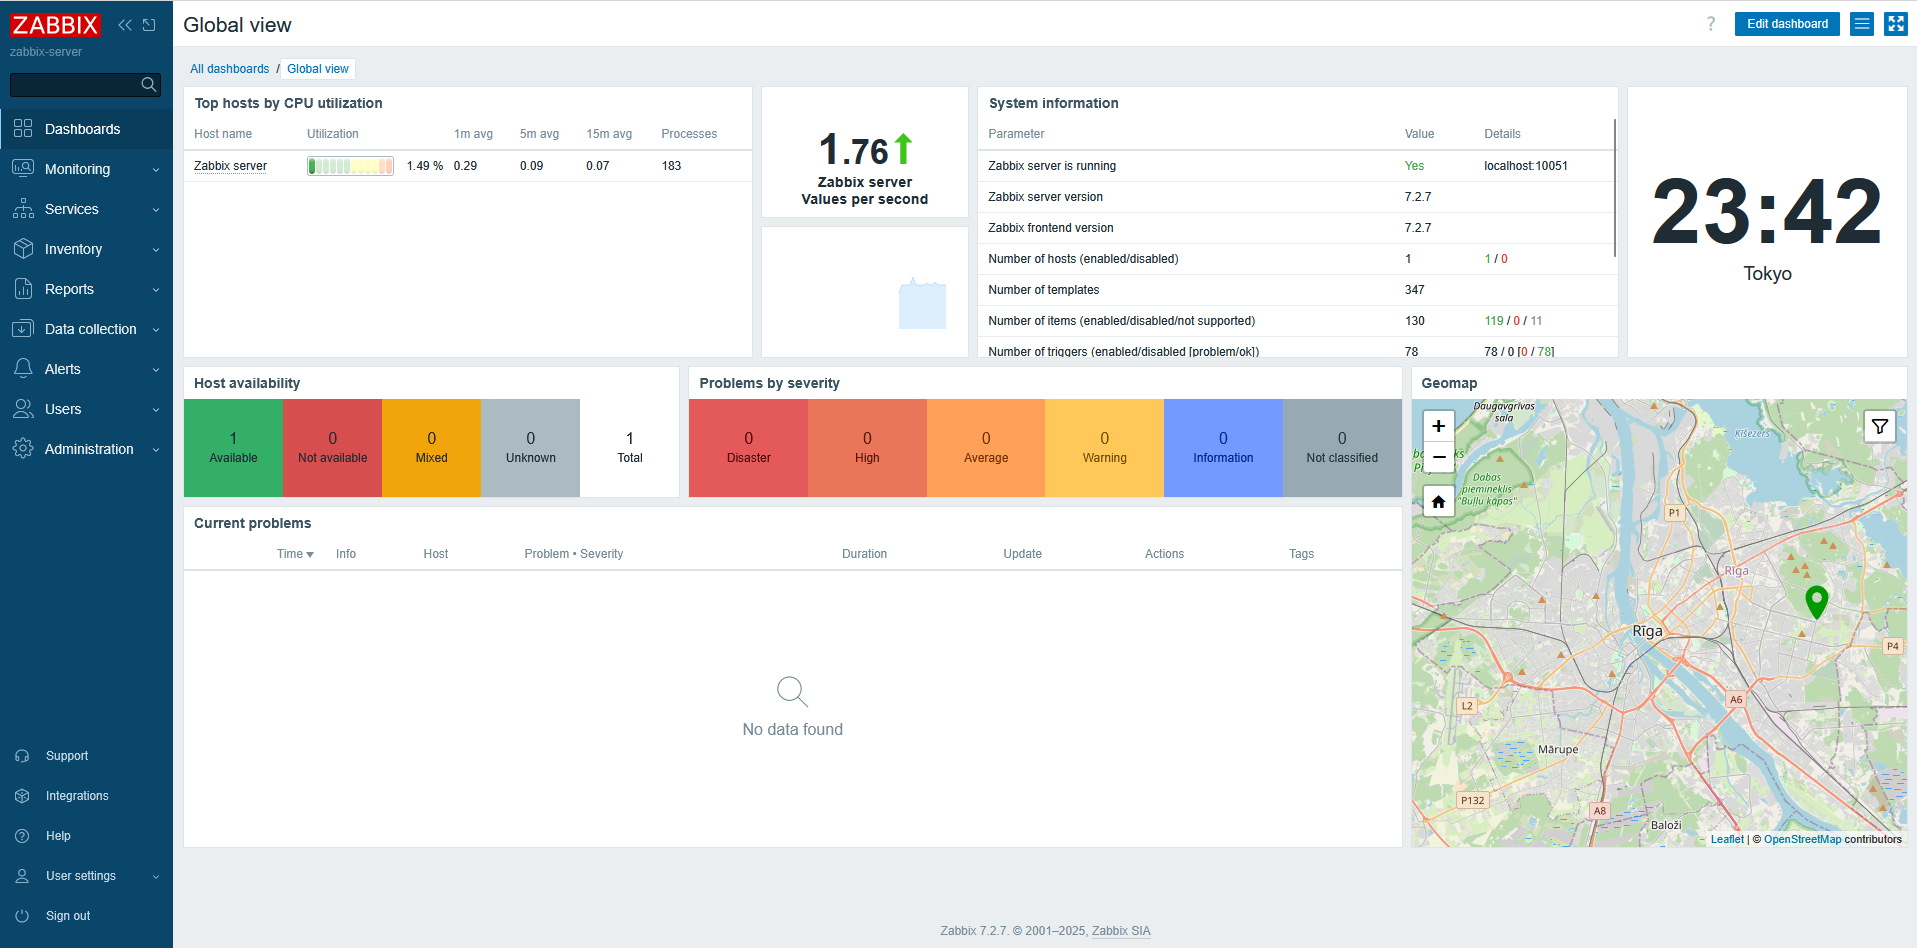
これにて Debian12 に ZabbixServer を構築する のすべての作業が終了しました
お疲れさまでした。
引用