はじめに
前回はRomiを組み立てて、Lチカをやり、モーターを動かしてみました。
ライブラリが用意されているので、結構簡単に操作することができそうです。
今回の記事ではRomiのモータに取り付けたエンコーダを見ていきます。
過去の記事はこちらから:
ロボットアーム付き移動ロボットRomiを動かす①(HelloWorld)
エンコーダとは?
エンコーダは機械的な移動量をセンサーによって検出し、情報を電気信号に変換するものです。
簡単に言えば、モーターがどれだけ回転したかをセンサによってカウントし、そこからどれだけロボットが進んだかを計算することができます。
エンコーダには光学式と磁気式が存在します。
光学式はスリットの入った円盤(ホイール)に対して、光がスリットを通過した回数を受光側のセンサでカウントして回転数を数えます。
ホイールにスリットが入っていないとダメじゃんというハードウェアの制約がありそうですが、フォトカプラ等の光の反射を検知できるセンサを用いることで、例えばホイールに黒い箇所を作っておいて、反射したかしないかで回転数を数えることも可能です(結局、ホイールに黒い箇所作らないといけないという制約ができますが...)。
磁気式は磁気センサーを用いて、磁界の変化を検知することでモーターの回転数を数えます。
光学式は高精度だが環境を選ぶ、磁気式は耐久性に優れているが精度が光学式ほど高くないなどお互いに特徴が存在します。
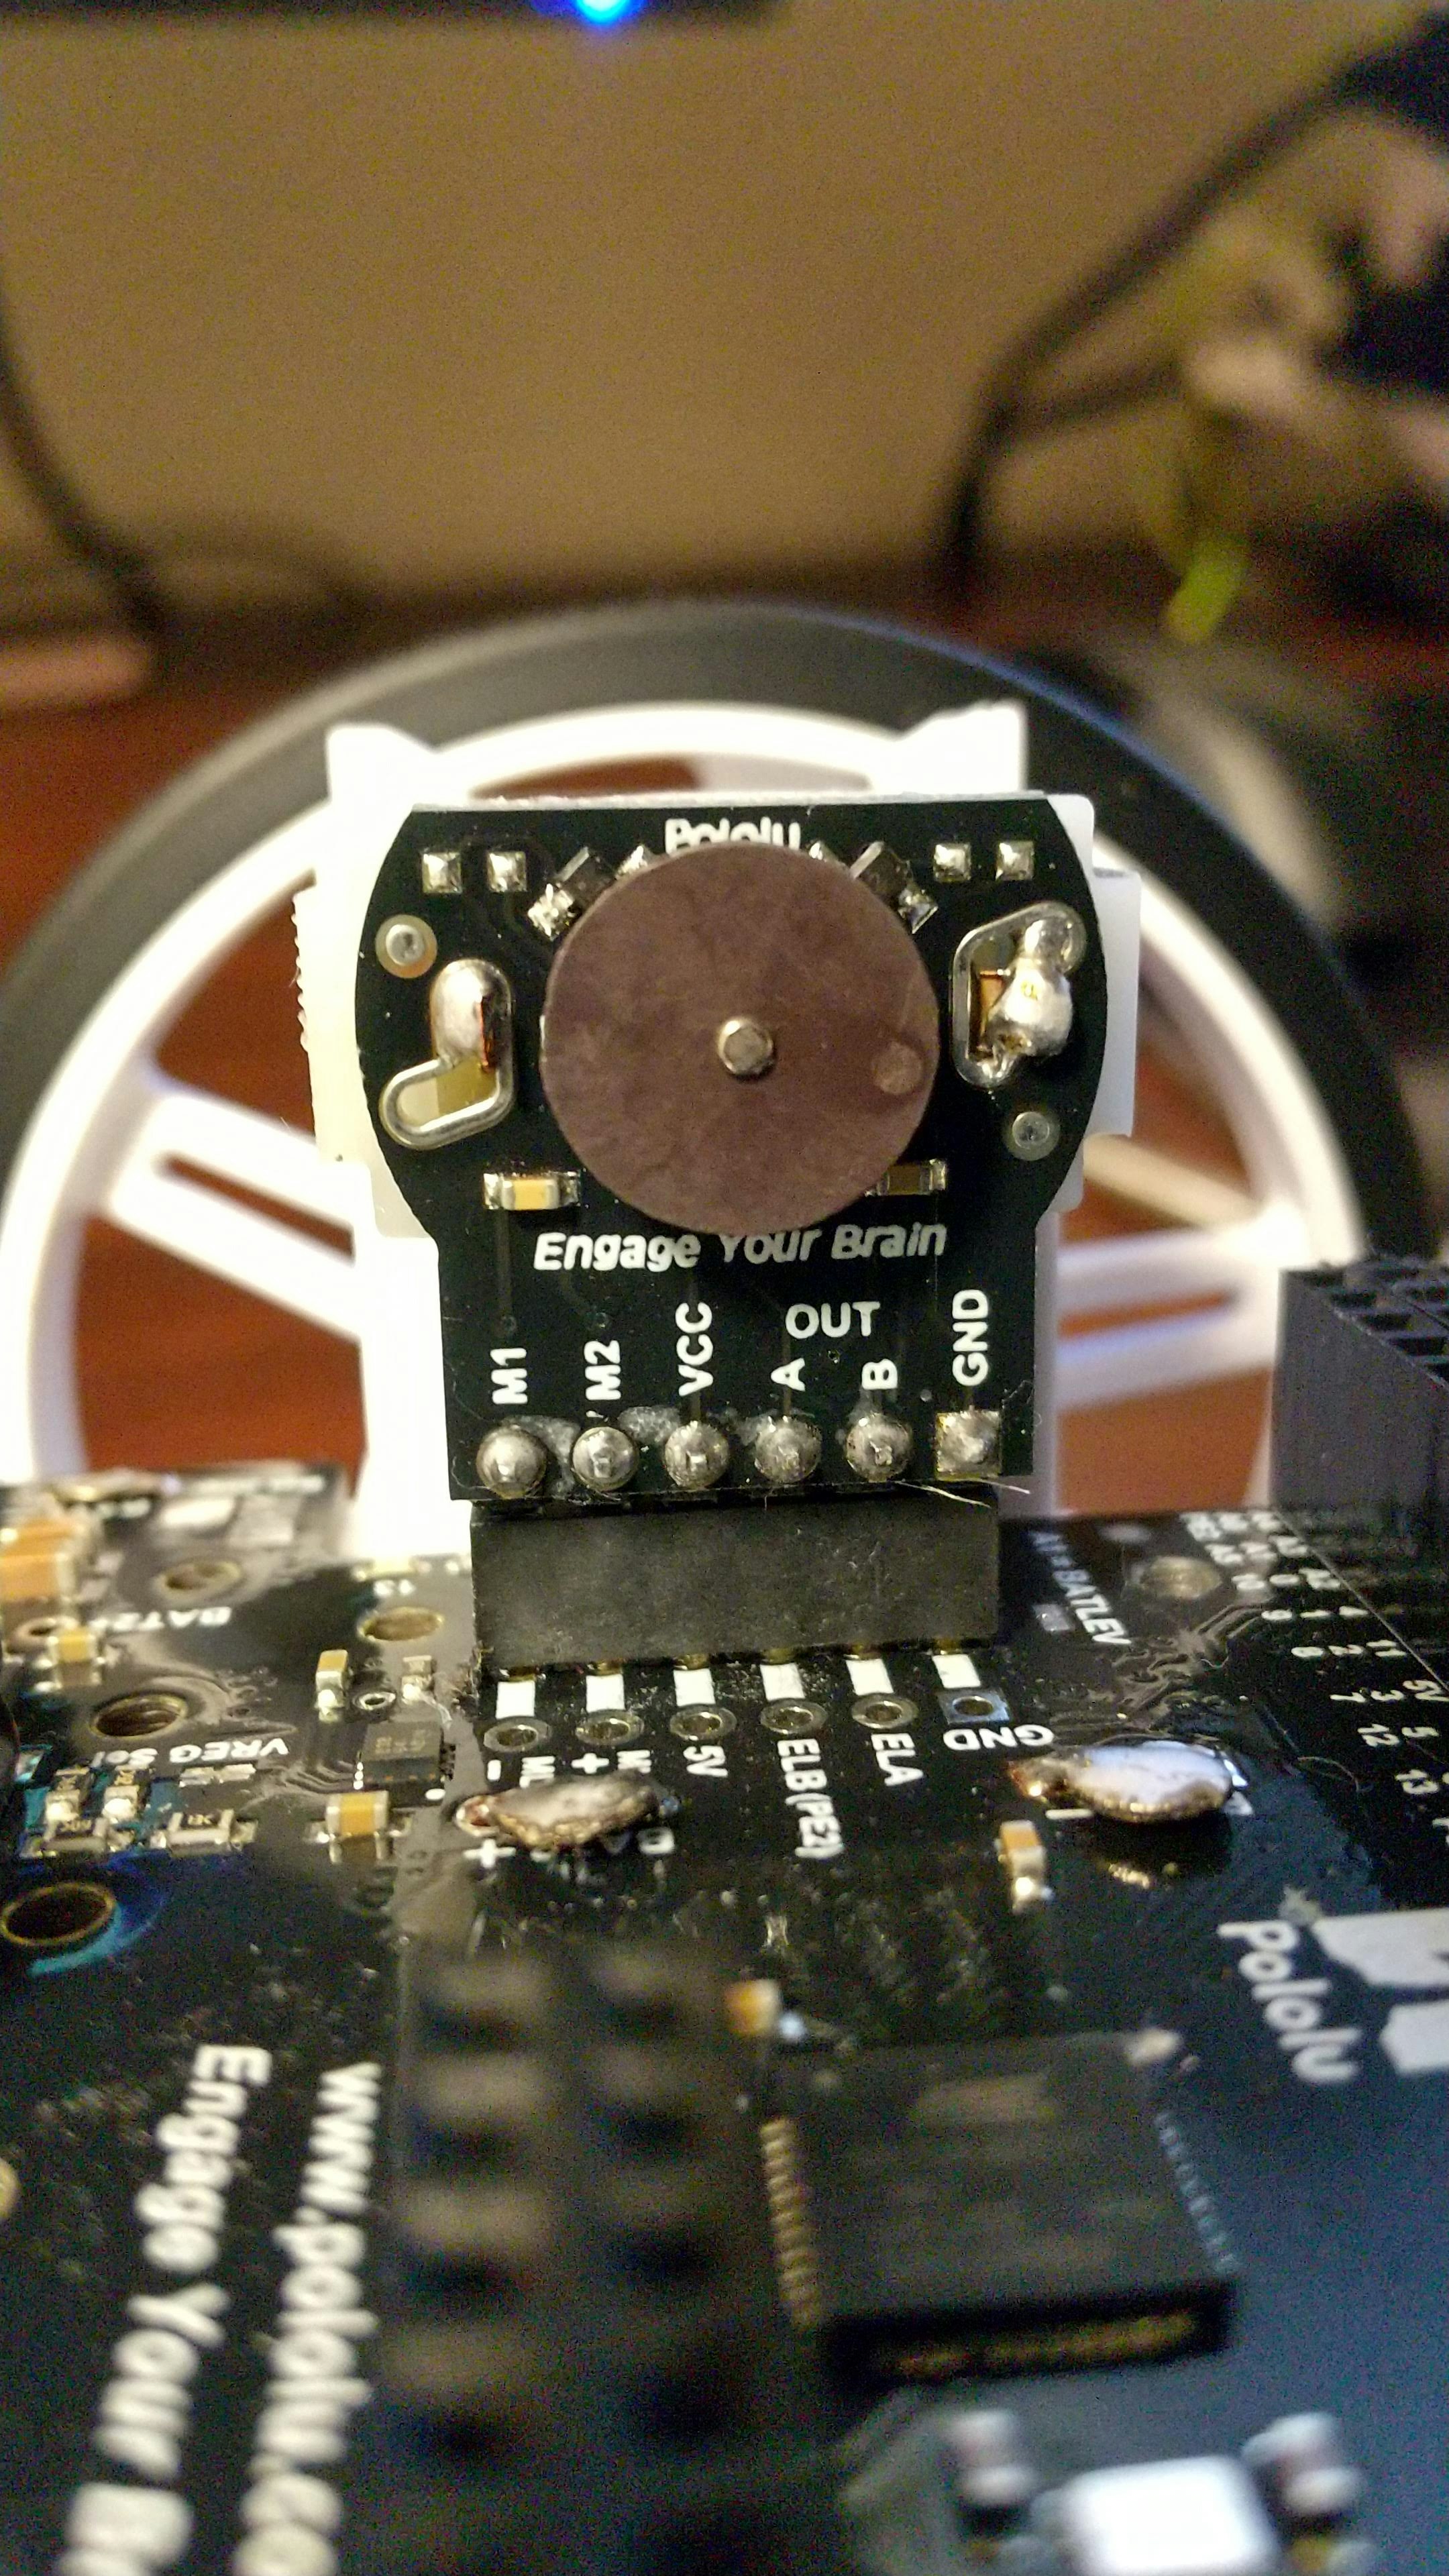
ちなみにRomiは磁気式エンコーダになります。組み立ての際に取り付けた黒い円盤状の部品が磁石です。
参考:
光学式エンコーダーの動作原理と特長(旭化成エレクトロニクス)
磁気式エンコーダーの動作原理と特長(旭化成エレクトロニクス)
エンコーダを使う
既に基盤へエンコーダを差し込み済みだとは思いますが、まだの人は差し込んで下さい。
※エンコーダのピンに記載されているGNDやVCCと差し込み先の文字が一致するように気をつけて下さい。
参考:romi-32u4-arduino-library(サンプル:Encoder)
サンプルを書く
#include <Romi32U4.h>

Romi32U4Encoders encoders;
Romi32U4Buzzer buzzer;
Romi32U4Motors motors;
Romi32U4ButtonA buttonA;
Romi32U4ButtonC buttonC;

const char encoderErrorLeft[] PROGMEM = "!<c2";
const char encoderErrorRight[] PROGMEM = "!<e2";

char report[80];

void setup()
{

}

void loop()
{
  static uint8_t lastDisplayTime;
  static uint8_t displayErrorLeftCountdown = 0;
  static uint8_t displayErrorRightCountdown = 0;

  if ((uint8_t)(millis() - lastDisplayTime) >= 100)
  {
    lastDisplayTime = millis();

    int16_t countsLeft = encoders.getCountsLeft();
    int16_t countsRight = encoders.getCountsRight();

    bool errorLeft = encoders.checkErrorLeft();
    bool errorRight = encoders.checkErrorRight();

    if(encoders.checkErrorLeft())
    {
      // An error occurred on the left encoder channel.
      // Display it on the LCD for the next 10 iterations and
      // also beep.
      displayErrorLeftCountdown = 10;
      buzzer.playFromProgramSpace(encoderErrorLeft);
    }

    if(encoders.checkErrorRight())
    {
      // An error occurred on the left encoder channel.
      // Display it on the LCD for the next 10 iterations and
      // also beep.
      displayErrorRightCountdown = 10;
      buzzer.playFromProgramSpace(encoderErrorRight);
    }

    if (displayErrorLeftCountdown)
    {
      displayErrorLeftCountdown--;
    }

    if (displayErrorRightCountdown)
    {
      displayErrorRightCountdown--;
    }

    // Send the information to the serial monitor also.
    snprintf_P(report, sizeof(report),
        PSTR("%6d %6d %1d %1d"),
        countsLeft, countsRight, errorLeft, errorRight);
    Serial.println(report);
  }

  if (buttonA.isPressed())
  {
    motors.setSpeeds(300, 300);
  }
  else if (buttonC.isPressed())
  {
    motors.setSpeeds(-300, -300);
  }
  else
  {
    motors.setSpeeds(0, 0);
  }
}
(サンプルだとLCDの記載があるのですが、今回は無いので上記では消しています。)
今回のプログラムでは、ボタンAを押している間/ボタンCを押している間のみモーターが回転します。
どうやってモーターの回転数わかるの?ってわけなんですが、シリアルモニターを使って回転数を見ることができます。
上記のプログラムをRomiにUpload後、USBケーブルを繋いだ状態で左下のパネルからコンセントボタンを押して下さい。
(※トグルスイッチがONになっているとUploadできないみたいなので気をつけて下さい)

ターミナルに以下の文字列が表示されると思います。
> Executing task in folder MyFirstRobot: C:\Users\kisis\.platformio\penv\Scripts\platformio.exe device monitor <

--- Available filters and text transformations: colorize, debug, default, direct, hexlify, log2file, nocontrol, printable, send_on_enter, time
--- More details at https://bit.ly/pio-monitor-filters
--- Miniterm on COM4  9600,8,N,1 ---
--- Quit: Ctrl+C | Menu: Ctrl+T | Help: Ctrl+T followed by Ctrl+H ---
     0      0 0 0
     0      0 0 0
     0      0 0 0
     0      0 0 0
     0      0 0 0
     0      0 0 0
     0      0 0 0
     0      0 0 0
     0      0 0 0
     0      0 0 0
...
左から
- 左車輪の回転数
- 右車輪の回転数
- 左車輪の誤差
- 右車輪の誤差
が表示されており、ボタンAを押したり、ボタンCを押したりすると値が変化することが見受けられると思います。
ただこの数値みても?となると思います。
プログラム上部で定義したRomi32U4Motorsのインスタンスの説明文を読むと
The standard Romi motors have a gear ratio of 3952:33 (approximately 120:1).
The standard Romi encoders give 12 counts per revolution.
Therefore, one revolution of a Romi wheel corresponds to 123952/33 (approximately 1437.09) encoder counts as returned by this library.
標準のロミモーターのギア比は3952:33(約120:1)です。
標準的なRomiのエンコーダは1回転あたり12カウントします。
したがって、Romiのホイールの1回転は、このライブラリが返す123952/33(約1437.09)個のエンコーダカウントに相当します。
との記載があり、1回転で約1437.09だそうです。
ちなみに車輪の直径が7cmなので、1回転で7cm * π=約21.98cm進む計算になります。
ではこれを応用して、1回転で行ったり来たりさせてみようと思います。
行ったり来たりさせる
#include <Arduino.h>
#include <Romi32U4.h>

Romi32U4Encoders encoders;
Romi32U4Motors motors;
Romi32U4ButtonA buttonA;

const char encoderErrorLeft[] PROGMEM = "!<c2";
const char encoderErrorRight[] PROGMEM = "!<e2";

char report[80];

void setup() {
  buttonA.waitForButton();
  delay(1000);
  motors.setSpeeds(30, 30);
}

void loop() {
  int16_t countsLeft = encoders.getCountsLeft();
  int16_t countsRight = encoders.getCountsRight();

  if (countsLeft > 1437) {
    motors.setSpeeds(0, 0);
    delay(2);
    motors.setSpeeds(-30, -30);
  }

  if (countsLeft < 0) {
    motors.setSpeeds(0, 0);
    delay(2);
    motors.setSpeeds(30, 30);
  }

  // Send the information to the serial monitor also.
  snprintf_P(report, sizeof(report),
      PSTR("%6d %6d"),
      countsLeft, countsRight);
  Serial.println(report);

  delay(100);
}
このような形でエンコーダを使えば移動距離を制御することができます。
基盤にはIMUも搭載されているので、組み合わせることでSLAM(自己位置推定と環境地図作成)もできるかもしれませんね🤔
次はロボットアームを触ってみようと思います。