新型コロナウィルスへの警戒感で、カンファレンスが中止されたりして、配信を試してみたいとの要望が出てきたため10分でさくっと生配信のためのストリーミングサーバーを作る方法を解説します。
(追記 24/12/4)意外とリクエスト数が多いので、最新環境に書き換えます。
環境
- Ubuntu 24.04LTS
今回はさくっと作るのでAmazon Lightsailを使いました。最低のインスタンスだと月額$5ですが、転送量1TBなので本格的に配信を考えると転送容量制限の緩い他VPSが良い気がします。
通常のUbuntu Server 24.04をインストールした環境でも良いかと思います。
インストール
update & upgradeで最新まで上げておきます。
sudo apt update
sudo apt upgrade
nginxのレポジトリーを追加します。Officalじゃないので確認されるが[Enter]で進みます。
sudo add-apt-repository ppa:nginx/stable
nginxとrtspモジュールを追加するだけです。
sudo apt install -y nginx libnginx-mod-rtmp
インストールはなんとこれで完了です。
設定
- rtmpの設定をnginx.confの末尾に追加します。
sudo nano /etc/nginx/nginx.conf
...
rtmp {
  server {
    listen 1935;
    chunk_size 4096;
    application live {
      live on;
      hls on;
      hls_path /var/www/html;
      hls_fragment 5s;
      hls_type live;
    }
  }
}
- サービスリスタートします。
sudo service nginx restart
- index.htmlにhtml5対応のビューワーのvideo-jsを追加します。
{ip}をサーバーIPに、{key}をストリームキーに置き換えてください。
sudo nano /var/www/html/index.html
<!DOCTYPE html>
<html lang="en" class="">
<head>
  <link href="http://vjs.zencdn.net/7.6.6/video-js.css" rel="stylesheet">
  <script src="http://vjs.zencdn.net/7.6.6/video.js"></script>
</head>
<style type="text/css">
  #live {
    position: absolute;
    left: 0;
    top: 0;
    min-width: 100%;
    min-height: 100%;
    width: 100%;
    height: 100%;
    z-index: 1;
  }
</style>
<body>
  <video id="live" class="video-js vjs-default-skin" controls autoplay fullc preload="auto" data-setup='{}'>
    <source src="{key}.m3u8" type='application/x-mpegURL'>
    <source src="rtmp://{ip}:1935/live/{key}" type='rtmp/mp4'>
    <p class="vjs-no-js">Not Suppoted</p>
  </video>
</body>
</html>
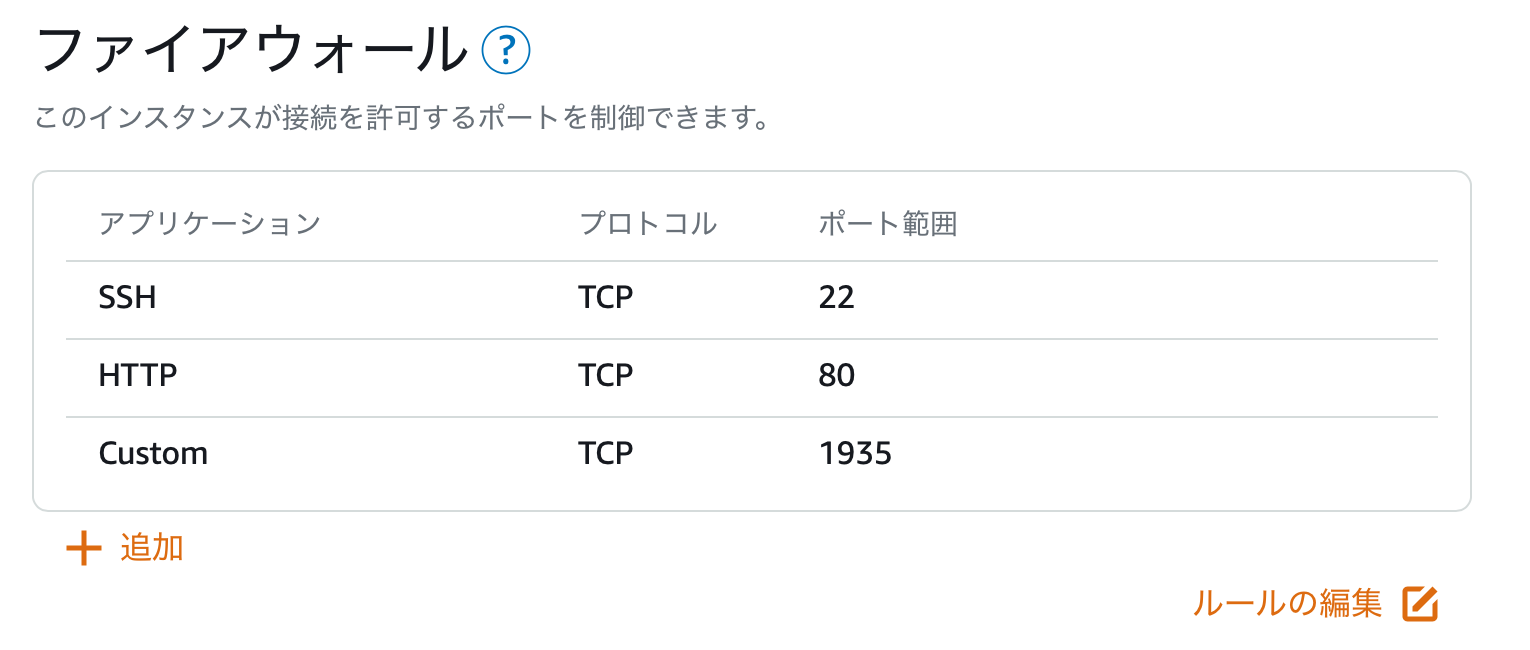
ファイアウォール
サーバーのファイアウォール設定がある場合には1935を開放します

配信設定
配信にはOBSなどを使うと良いでしょう。
配信情報は以下のように設定します。
{ip}をサーバーIPに、{key}をストリームキーに置き換えてください。
配信先: rtmp://{ip}:1935/live
スリームキー: {key}

これで配信サーバー構築完了です。お疲れ様でした。
ぶつぶつ
30〜60秒程度の遅延があります(HLSなので遅い?)
安定性をとるならもちろんZoom Webinerとかを使う方が良い気がしますが、自分でサーバーを構築してしまうのも勉強になるかと思います。どのくらいまで耐えられるかは不明ですが、CPU負荷をみるとそこそこ耐えれる気がします。
構築用スクリプトを使う方法は使っているバージョンが古いのでアップデートしようと思ったところ、バイナリーパッケージが入手できる方法があったので公開する事にしました。