0
0

Delete article

Deleted articles cannot be recovered.

Draft of this article would be also deleted.

Are you sure you want to delete this article?

More than 5 years have passed since last update.

AutomatorでGoogle CloudPrint用のプリントプラグインを作る

Last updated at Posted at 2019-07-09

会社の業務用共有プリンターがどれもmacosに対応していないので、仕方なく毎回PDFにしてGoogle CloudPrintを利用してWindows機から印刷していたのですが、「プリントプラグイン」を作成してみたら便利になったので手順を紹介します。

現在の手順

  • 印刷からPDFを選択
  • デスクトップにPDF書き出し
  • Chromeを開いてPDFをドロップ
  • 印刷
  • PDFファイルを削除

微妙にめんどくさいです。毎回PDFを選んでいたのですが、選択の中に「プリントプラグイン」というものがあったので、調べて作ってみることにしました。

作成

Automatorを開く

  • /Application/Automatorを開きます。
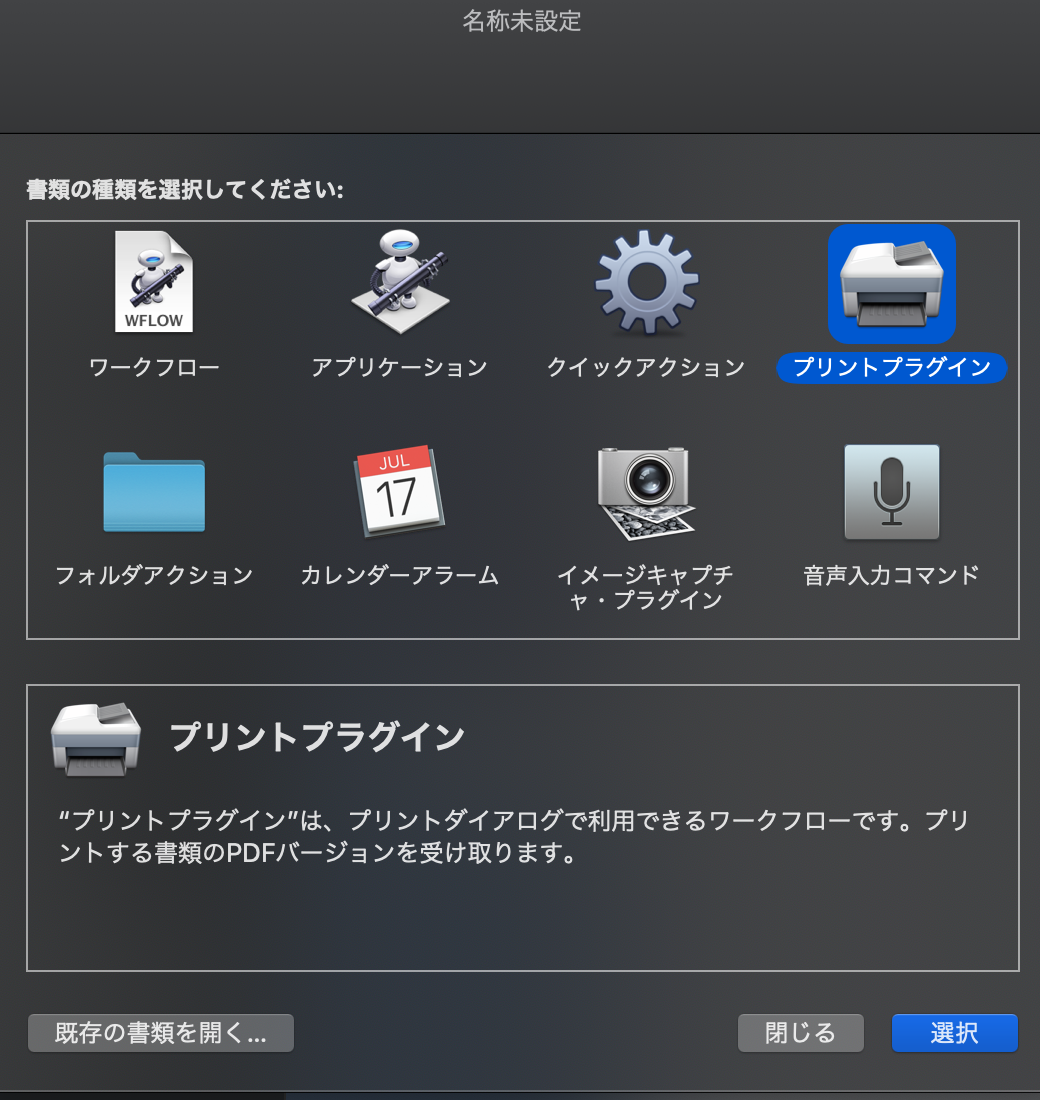
  • 「新規作成」で「プリントプラグイン」を選択
スクリーンショット 2019-07-09 15.55.50.png

ワークフローを作成

  • ライブラリーから「Finder項目を開く」を選択
  • 「このアプリケーションで開く」 で「その他」を選び、Google Chromeを選ぶ
スクリーンショット 2019-07-09 16.04.11.png
  • 保存します
スクリーンショット 2019-07-09 16.05.53.png

実行

  • 印刷メニューから確認します
スクリーンショット 2019-07-09 16.06.52.png

保存パス

以下にありました。
/Users/[ユーザー名]/Library/PDF Services/

あとがき

おもったより簡単にできたので、ぜひ作ってみてください。

0
0
0

Register as a new user and use Qiita more conveniently

  1. You get articles that match your needs
  2. You can efficiently read back useful information
  3. You can use dark theme
What you can do with signing up
0
0

Delete article

Deleted articles cannot be recovered.

Draft of this article would be also deleted.

Are you sure you want to delete this article?