はじめに
境界値分析など、引数を変えて試験をしたいことはよくあるとおもいます。
Javaではspockなどが有名ですが、jestでもパラメータ化テストは可能です!
試験対象
以下の現在時刻が昼間かどうかを判定するモジュールを試験することにします。
isDaytime.js
module.exports = () => {
  const hours = new Date().getHours();
  return ((6 < hours) && (hours <= 18));
}
書き方
書き方には2種類あります。
テストの性質や好みで書き分けられます。
配列を使った書き方
const isDaytime = require('./isDaytime');

beforeEach(() => {
  jest.clearAllMocks();
});
const OriginalDate = Date; // 退避

test.each([
    [0, false],
    [5, false],
    [6, false],
    [7, true],
    [17, true],
    [18, true],
    [19, false],
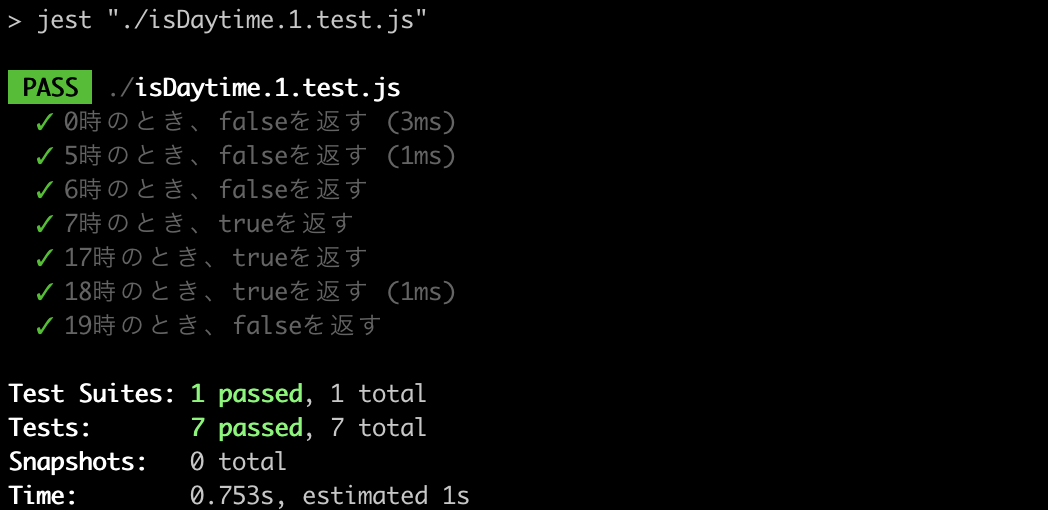
  ])('%i時のとき、%pを返す', (hours, expected) => {

  jest.spyOn(global, 'Date').mockImplementation(() => {
    return new OriginalDate(2019, 8, 20, hours)
  });

  expect(isDaytime()).toBe(expected);
});
test.each([[パラメータ1], [パラメータ2]])(テストケース名, 関数, タイムアウト)
の形式で記載します。
テストケースのタイトルにはprintf書式を使うことができ、パラメータで指定した順に参照されます。
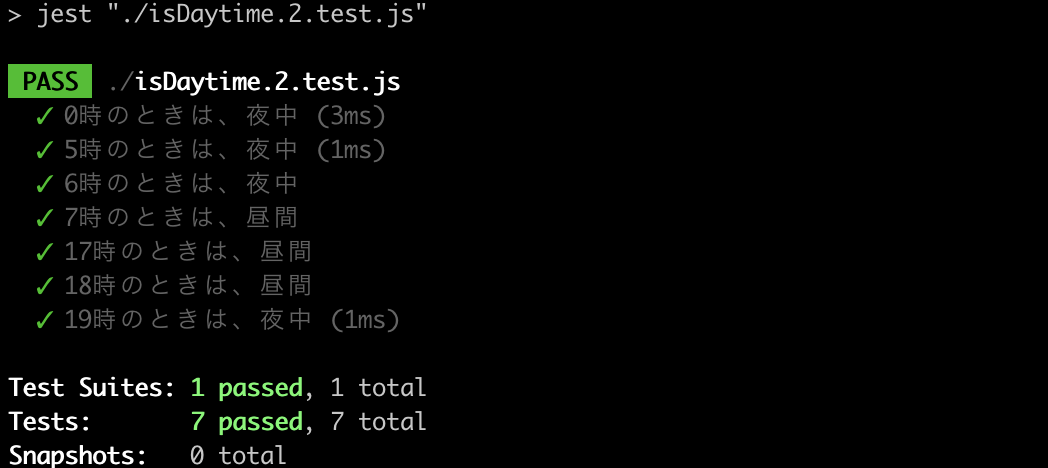
以下のように、書き方を工夫するとタイトルをより読みやすくすることも可能です ![]()
const isDaytime = require('./isDaytime');

beforeEach(() => {
  jest.clearAllMocks();
});
const OriginalDate = Date; // 退避

test.each([
    [0, '夜中', false],
    [5, '夜中', false],
    [6, '夜中', false],
    [7, '昼間', true],
    [17, '昼間', true],
    [18, '昼間', true],
    [19, '夜中', false],
  ])('%i時のときは、%s', (hours, _, expected) => {

  jest.spyOn(global, 'Date').mockImplementation(() => {
    return new OriginalDate(2019, 8, 20, hours)
  });

  expect(isDaytime()).toBe(expected);
});
テンプレートリテラルを使った書き方
const isDaytime = require('./isDaytime');

beforeEach(() => {
  jest.clearAllMocks();
});
const OriginalDate = Date; // 退避

test.each`
    hours | expected
    ${0}  | ${false}
    ${5}  | ${false}
    ${6}  | ${false}
    ${7}  | ${true}
    ${17} | ${true}
    ${18} | ${true}
    ${19} | ${false}
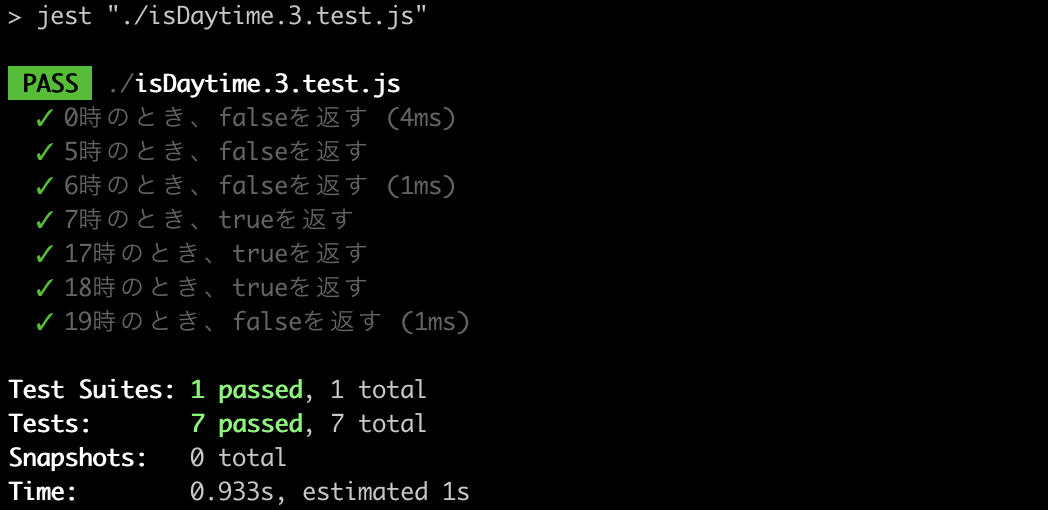
  `('$hours時のとき、$expectedを返す', ({hours, expected}) => {

  jest.spyOn(global, 'Date').mockImplementation(() => {
    return new OriginalDate(2019, 8, 20, hours)
  });

  expect(isDaytime()).toBe(expected);
});
テンプレートリテラルを使用してパラメータを書けます。
変数が多い時などにこの書き方にすると、見やすくなると思います。
文字列をパラメータに使いたい場合、 ${"文字列"} の形式で指定できます。
便利な設定
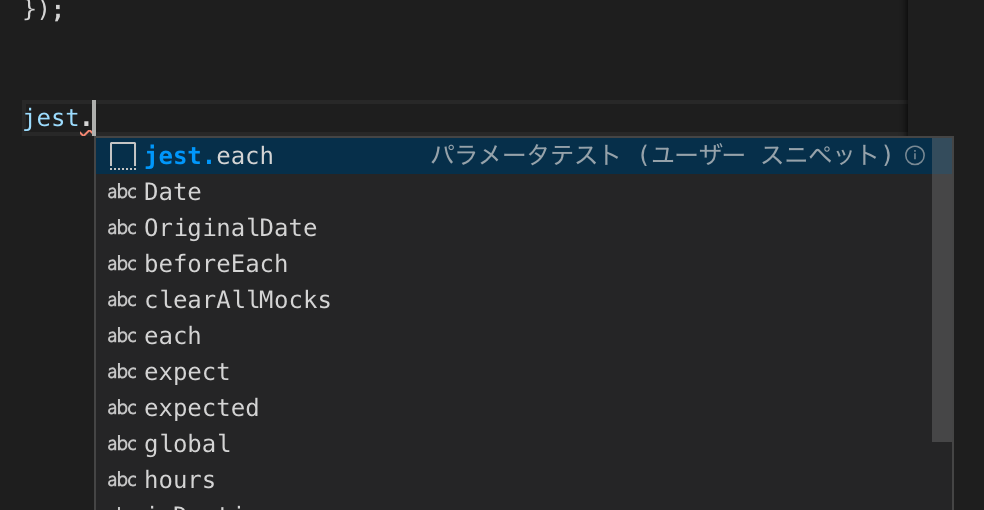
書き方をよく忘れてしまうので、VSCodeのスニペットなどに、パラメータテストを呼び出せるような設定をしておくと便利です ![]()
javascript.json
{
	// Place your snippets for javascript here. Each snippet is defined under a snippet name and has a prefix, body and
	// description. The prefix is what is used to trigger the snippet and the body will be expanded and inserted. Possible variables are:
	// $1, $2 for tab stops, $0 for the final cursor position, and ${1:label}, ${2:another} for placeholders. Placeholders with the
	// same ids are connected.
	// Example:
	// "Print to console": {
	// 	"prefix": "log",
	// 	"body": [
	// 		"console.log('$1');",
	// 		"$2"
	// 	],
	// 	"description": "Log output to console"
	// }
	"jestEach":{
		"prefix": "jest.each",
		"body": [
				"test.each([",
				"  [0, false],",
			  	"])('%iのとき、%pを返す', (hoge, expected) => {",
				"})"
		],
		"description": "パラメータテスト"
	}
}


