はじめに
EC2 Instance ConnectはEC2インスタンスをパブリック公開することなく接続できる便利なサービスである。今回は、既存のプライベートサブネットに新たに立ち上げたEC2インスタンスへの接続方法をまとめる。
前提
- クライアントPCにAWS CLIがインストールされていること
 aws --version
aws-cli/2.15.5 Python/3.11.6 Windows/10 exe/AMD64 prompt/off
- Intance Connectコマンドが通ること
powershell
aws ec2-instance-connect open-tunnel
Step.1 VPCエンドポイントを作成する
EC2を設置したいプライベートVPCサブネットに専用エンドポイントを設置する。「AWSのサービス内」から選択できない専用のエンドポイントサービスである。
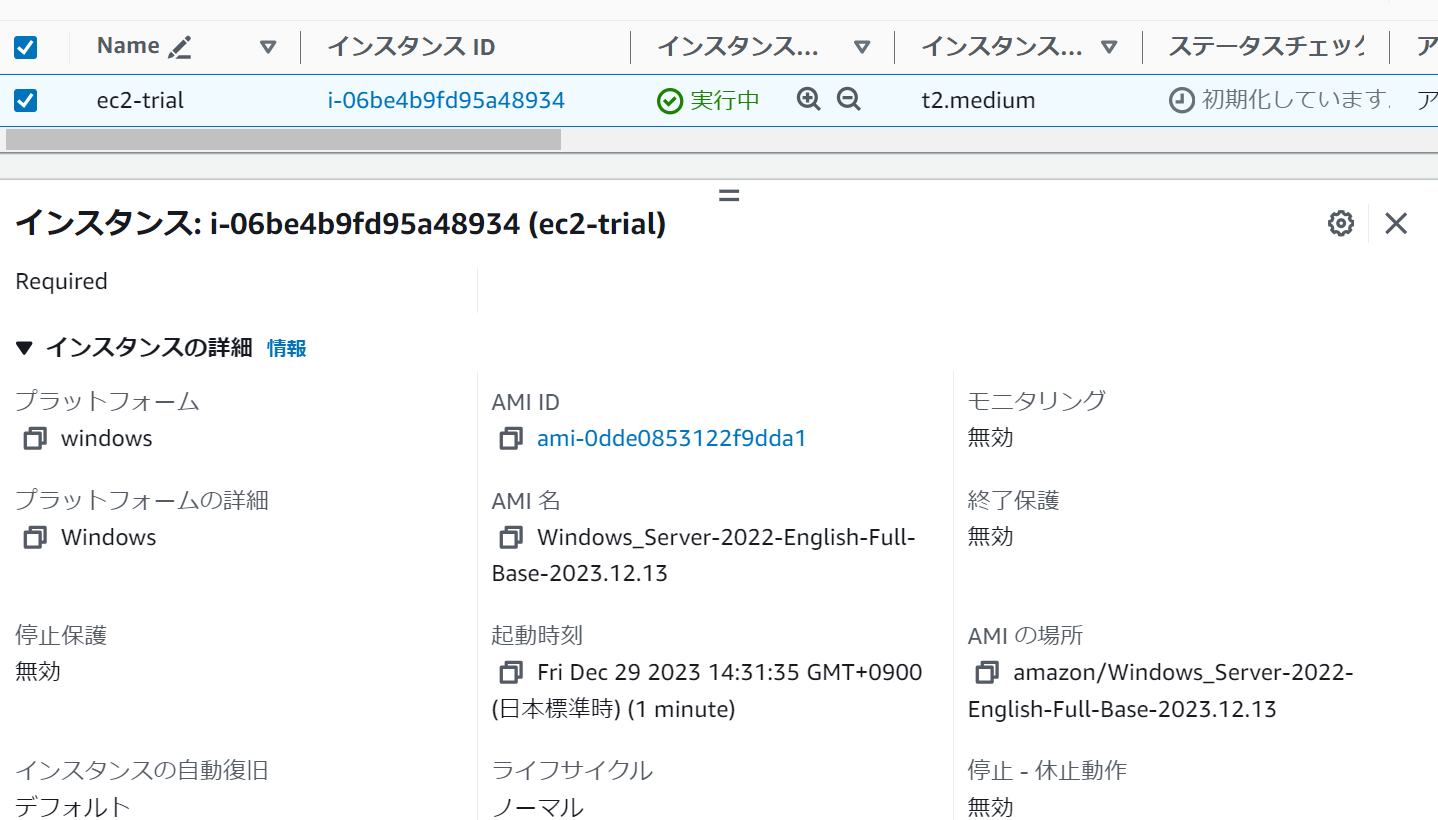
Step.2 EC2を立ち上げる
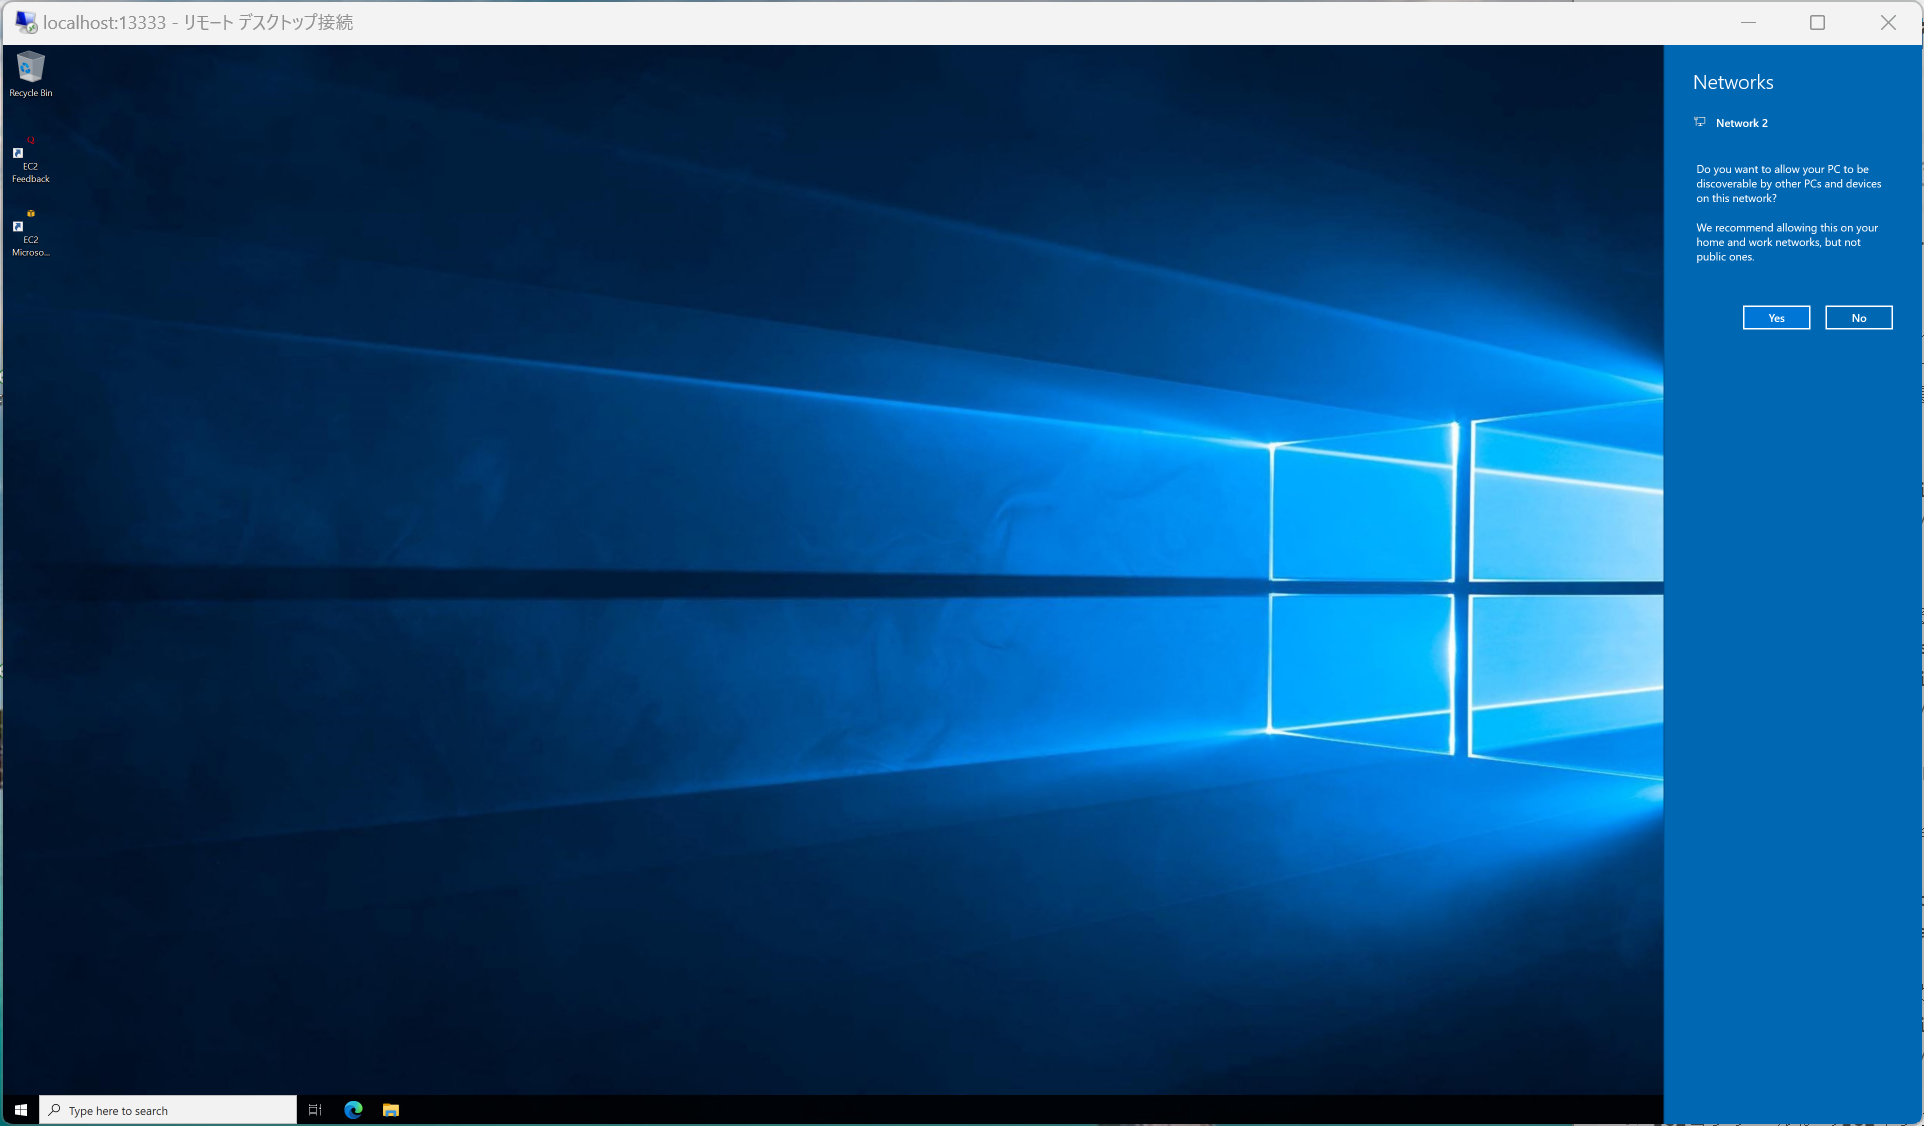
Step.3 ローカル環境からEC2へ接続する
まずはトンネルを確立する。ここで指定するローカルポートがローカルからエンドポイントへの入り口となる。今回は13333とする。
powershell
aws ec2-instance-connect open-tunnel --instance-id i-06be4b9fd95a48934 --remote-port 3389 --local-port 13333
EC2コンソールからEC2インスタンスへの接続資格情報を取得する

最後に
ものすごく簡単に接続できた。EC2 Incetance Conncet自体の利用は無料なので、EC2を置く可能性のあるVPCにとりあえず設定しておけば良いと感じか。
テキトーにポートを指定したが、powershellからポートの空き状況を確認しておくと良いかも。TCPポートが接続できるか確認できる。(既に利用している場合は接続確認OKとなる。)
powershell
PS C:\Users\bridg> Test-NetConnection localhost -Port 13333
TcpTestSucceeded : True

PS C:\Users\bridg> Test-NetConnection localhost -Port 13332
TcpTestSucceeded : False


