はじめに
業務で触るコードは1Activity多Fragmentという構造がほとんどのため、久々にFragmentContainerViewを使ったら書き方を綺麗さっぱり忘れていました。この調子だと次に使う時も一から調べ直しになってしまいそうなので、ゆるっとふわっとまとめてみます。
※この記事ではFragmentContainerViewとnavigationを併用する前提で書き進めていきます。
※navigationの詳細な使い方などはめんどくさい簡潔さを重視するため、この記事では踏み込みません。
実行環境
| 項目 | 情報 |
|---|---|
| PC | MacBook Pro (14-inch,2021) |
| CPU | Apple M1 Pro 10-core |
| GPU | Apple M1 Pro 16-core |
| OS | macOS Monterey (12.0.1) |
| Android Studio | Arctic Fox 2020.3.1 Patch4 |
FragmentContainerViewとは
ActivityでFragmentを表示する際に使うもの。
個人的にはフラグメントを配置するための陣地みたいなイメージで捉えています。
その名の通りFragmentを配置することに特化しているので、Fragment以外を配置することはできないそうです。
Gradle
まずはFragmentContainerViewを使うための依存関係の追加を忘れずに。Fragment | Android Developers
implementation "androidx.fragment:fragment-ktx:{$fragment_version}"
今回はNavigationも扱うのでこちらも。Navigation | Android Developers
implementation "androidx.navigation:navigation-fragment-ktx:$nav_version"
implementation "androidx.navigation:navigation-ui-ktx:$nav_version"
※記事執筆時のバージョンは以下の通り
・ $fragment_version = 1.4.0
・ $nav_version = 2.3.5
書き方
<?xml version="1.0" encoding="utf-8"?>
<androidx.fragment.app.FragmentContainerView
xmlns:android="http://schemas.android.com/apk/res/android"
xmlns:app="http://schemas.android.com/apk/res-auto"
xmlns:tools="http://schemas.android.com/tools"
android:id="@+id/hogehoge_container_view"
android:name="androidx.navigation.fragment.NavHostFragment"
android:layout_width="match_parent"
android:layout_height="match_parent"
app:defaultNavHost="true"
app:navGraph="@navigation/hoge" />
1行ずつ以下のセクションで見ていきます。
※xmlnsは省略
説明
android:id
android:id="@+id/hogehoge_container_view"
このコンテナ自体のIDです。命名はご自由にといった感じですが、コンテナであることを示すためにrootとかcontainerとか含むとわかりやすいかも?
普通のレイアウトxmlファイルだと他の箇所で参照しない限りidは省略できますが、FragmentContainerViewに関しては他で参照していなくてもidは必須です。
idを忘れると以下のようなエラーが出てクラッシュします。
E/AndroidRuntime: FATAL EXCEPTION: main
    Process: com.example.firstapplication, PID: 28888
    java.lang.RuntimeException: Unable to start activity ComponentInfo{com.example.firstapplication/com.example.firstapplication.MainActivity}: android.view.InflateException: Binary XML file line #10 in com.example.firstapplication:layout/activity_main: Binary XML file line #10 in com.example.firstapplication:layout/activity_main: Error inflating class androidx.fragment.app.FragmentContainerView
    (中略)
Caused by: android.view.InflateException: Binary XML file line #10 in com.example.firstapplication:layout/activity_main: Error inflating class androidx.fragment.app.FragmentContainerView
     Caused by: java.lang.IllegalStateException: FragmentContainerView must have an android:id to add Fragment androidx.navigation.fragment.NavHostFragment
私はこのエラーでだいぶ詰まってしまったのですが、よく見ると上記エラーの最終行に「FragmentContainerView must have an android:id to add Fragment」って書いてありました。エラーはしっかり読まないとだめですね...
android:name
android:name="androidx.navigation.fragment.NavHostFragment"
android:nameはFragmentを追加するための属性(Attribute)です。
android:name="com.example.MyFragment"みたいな感じで書くとMyFragmentを追加するという役割を担ってくれるというわけですね。
navigationを使う場合は上記をそのまま書けばおkです。
※ちなみにAndroidStudioでshiftキーを2回押して「navhostfragment」で検索をかけると「NavHostFragment.java」が出てきます。今回はこのフラグメントを追加しているというわけですね。
android:layout_width/height
fragmentを表示したいサイズを指定します。(割とmatch_parentで使うことが多い気がしています。)
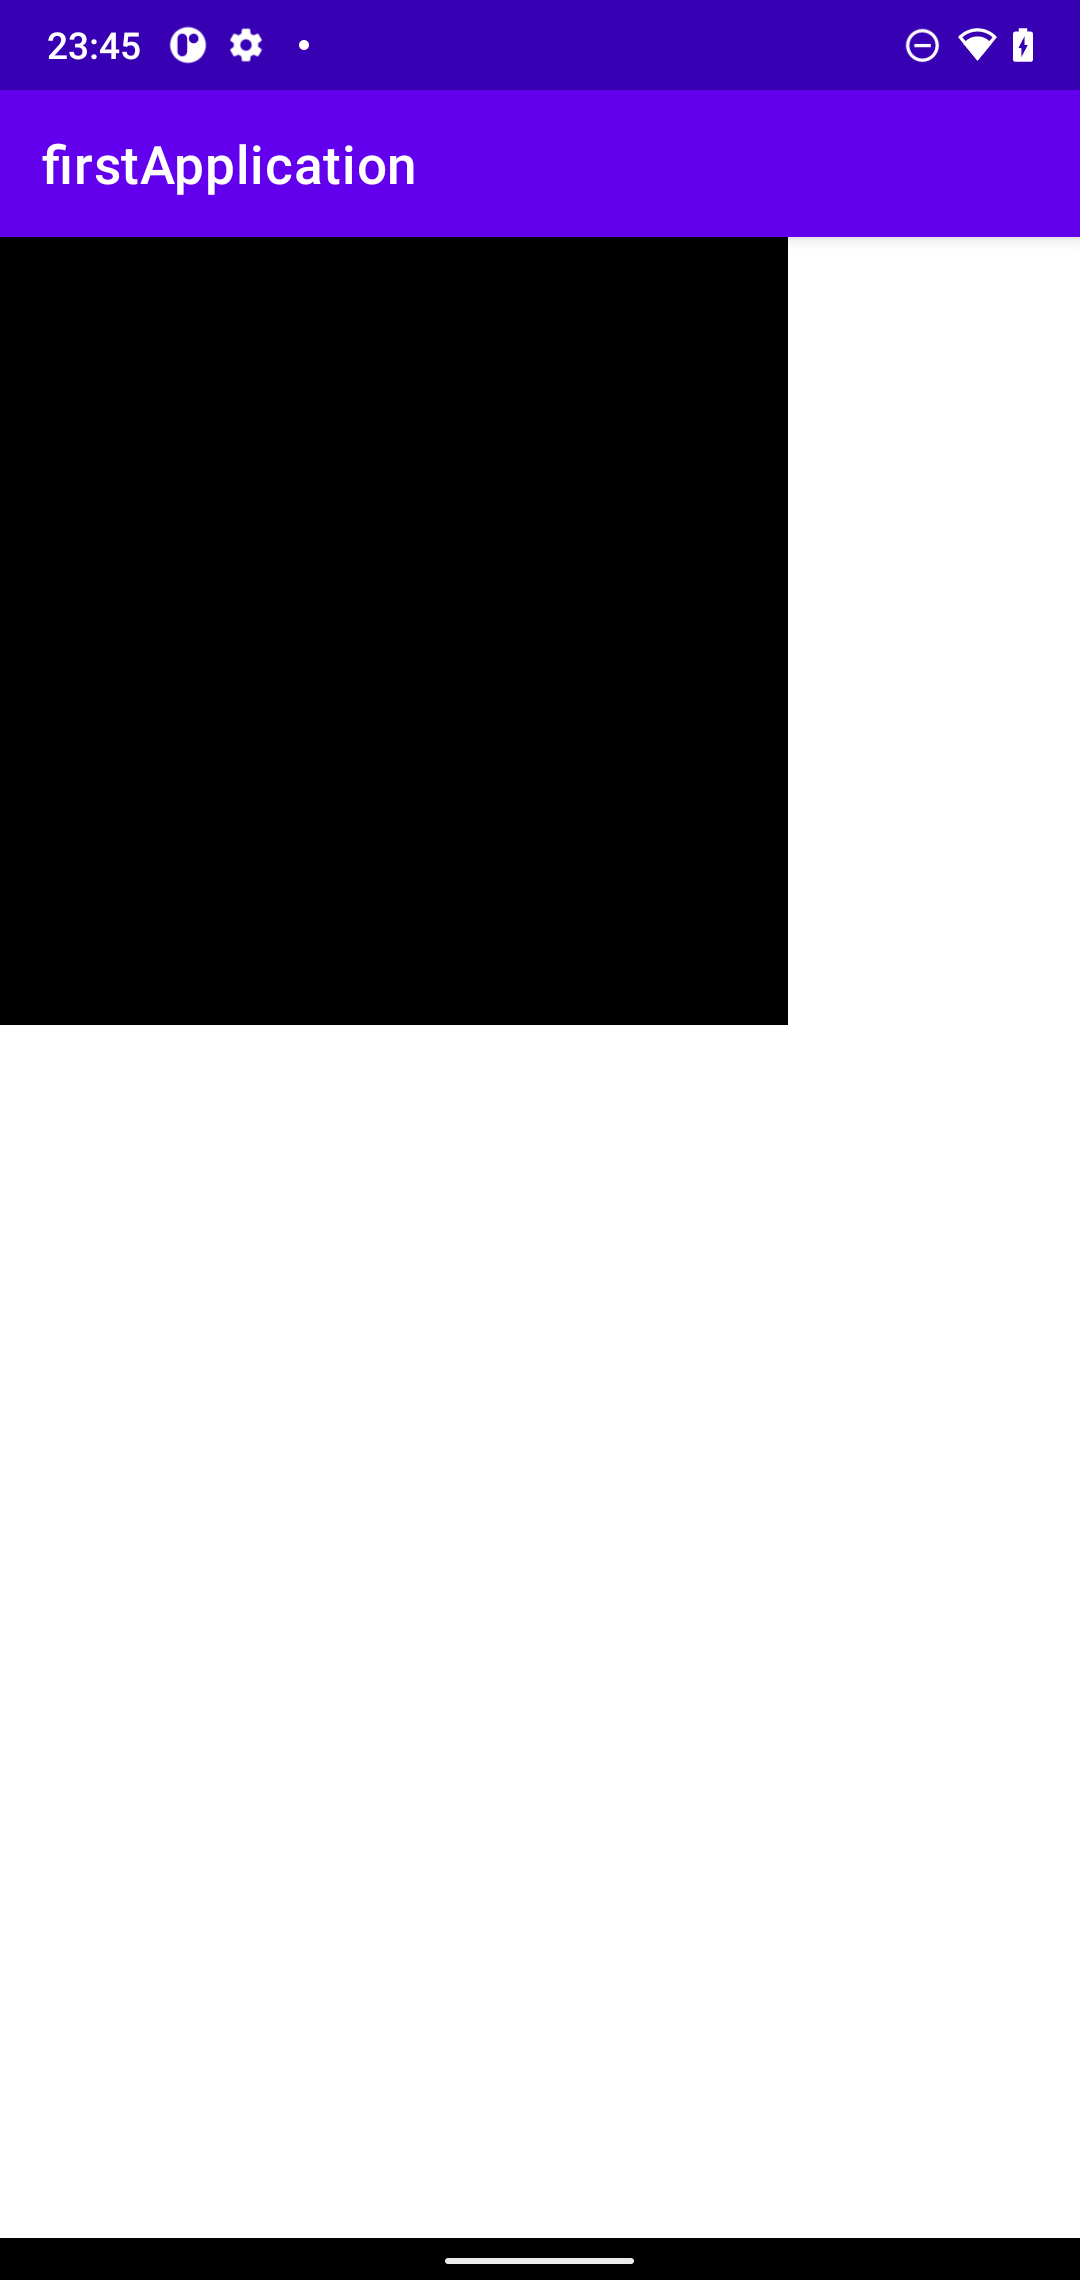
ちなみにFragmentContainerViewはFrameLayoutを拡張する形で作られているため、height/widthをそれぞれ300dpとかに設定するとこんな感じで左上に配置されます。(比較のためFragmentの背景を黒くしてあります)

app:defaultNavHost
true/falseで設定。
戻るボタンを押した時の挙動をどうするかというのを決めるやつですね。
こちらの神記事がとてもわかりやすかったです。
app:navGraph="@navigation/hogefuga_navigation"
FragmentContainerViewとは別で作成したnavigationのファイル名を設定します。navigationのid(下の例で言うところの@+id/hoge_navigation)ではないので注意。
別で作成したnavigationの例は以下の通り。
<?xml version="1.0" encoding="utf-8"?>
<navigation xmlns:android="http://schemas.android.com/apk/res/android"
    xmlns:app="http://schemas.android.com/apk/res-auto"
    xmlns:tools="http://schemas.android.com/tools"
    android:id="@+id/hoge_navigation"
    app:startDestination="@id/hogeFragment">

    <fragment
        android:id="@+id/hogeFragment"
        android:name="com.example.firstapplication.HogeFragment"
        android:label="hoge_fragment"
        tools:layout="@layout/hoge_fragment" />
</navigation>
navigation側には追加したいfragmentを書いていきます。ちなみにapp:startDestination="@id/hogeFragment"を書き忘れるとこれまたクラッシュするので注意してください。
結果

Activityの上にHogeFragmentが乗っかって表示されるようになりました!
ここからさらにNavigationやFragmentTransactionを使うと複数のFragmentを追加でき、1つのActivityの上でいろんなFragmentを切り替えて表示などといったこともできるようになります!