はじめに
ちょっとしたSPAつくるのにCreate React App がいい感じすぎる。なんか個人的にはReactでのアプリ開発環境はこれで当面決まった気がしてる。そうなったらCordovaでの開発でもCreate React Appを使いたい。いままでは React Hot Reloading Template使ってたんだけどちょっと古びてきてるし、環境統一できたらいいし。
で、いろいろ調べてみて Cordova Create React App Tutorial が一番しっくりきたのでこちらに沿って開発環境を準備してみることにした。
しかし上記のドキュメントは多少説明不足だったり、Cordovaとかのバージョンが上がったせいかそのままではうまくアプリがビルドできなかったりしたので、下記にちゃんとできたやつを記載する。
やってみる
Create React App、Cordovaをインストールしていない場合はインストールする。
npm install -g create-react-app
npm install -g cordova

create-react-app -V
1.5.2
cordova -v
8.0.0
Create React App プロジェクトを作成する
create-react-app tutorial
cd tutorial
react-scriptsをディレクトリに展開する
yarn run eject
yarn run v1.5.1
$ react-scripts eject
? Are you sure you want to eject? This action is permanent. (y/N) y
config/paths.js を開いて44行目あたりの appBuild: resolveApp('build') を appBuild: resolveApp('www') に変更して保存する。
package.json を開いて dependencies の上あたりに "homepage": "./", を追加して保存する。
別のディレクトリに Cordova プロジェクトを作成する
cd ..
cordova create tutorial-cordova com.example.tutorial Tutorial
tutorial-corodova/config.xml を tutorial 下にコピーする
cp tutorial-cordova/config.xml tutorial/
tutorial/src/index.js を開いて以下のように編集する
import React from 'react';
import ReactDOM from 'react-dom';
import './index.css';
import App from './App';
import registerServiceWorker from './registerServiceWorker';

const startApp = () => {
  ReactDOM.render(<App />, document.getElementById('root'));
  registerServiceWorker();
};

if(window.cordova) {
  document.addEventListener('deviceready', startApp, false);
} else {
  startApp();
}
public/index.htmlを開いて <script type="text/javascript" src="cordova.js"></script> と 以下のようなmeta要素を追加する
<meta http-equiv="Content-Security-Policy" content="default-src 'self' data: gap: https://ssl.gstatic.com 'unsafe-eval'; style-src 'self' 'unsafe-inline'; media-src *; img-src 'self' data: content:;">
<meta name="format-detection" content="telephone=no">
<meta name="msapplication-tap-highlight" content="no">
index.htmlは以下のようになる
<!DOCTYPE html>
<html lang="en">
  <head>
    <meta charset="utf-8">
    <meta name="viewport" content="width=device-width, initial-scale=1, shrink-to-fit=no">
    <meta name="theme-color" content="#000000">
    <meta http-equiv="Content-Security-Policy" content="default-src 'self' data: gap: https://ssl.gstatic.com 'unsafe-eval'; style-src 'self' 'unsafe-inline'; media-src *; img-src 'self' data: content:;">
    <meta name="format-detection" content="telephone=no">
    <meta name="msapplication-tap-highlight" content="no">
    <!--
      manifest.json provides metadata used when your web app is added to the
      homescreen on Android. See https://developers.google.com/web/fundamentals/engage-and-retain/web-app-manifest/
    -->
    <link rel="manifest" href="%PUBLIC_URL%/manifest.json">
    <link rel="shortcut icon" href="%PUBLIC_URL%/favicon.ico">
    <!--
      Notice the use of %PUBLIC_URL% in the tags above.
      It will be replaced with the URL of the `public` folder during the build.
      Only files inside the `public` folder can be referenced from the HTML.

      Unlike "/favicon.ico" or "favicon.ico", "%PUBLIC_URL%/favicon.ico" will
      work correctly both with client-side routing and a non-root public URL.
      Learn how to configure a non-root public URL by running `npm run build`.
    -->
    <title>React App</title>
  </head>
  <body>
    <noscript>
      You need to enable JavaScript to run this app.
    </noscript>
    <div id="root"></div>
    <!--
      This HTML file is a template.
      If you open it directly in the browser, you will see an empty page.

      You can add webfonts, meta tags, or analytics to this file.
      The build step will place the bundled scripts into the <body> tag.

      To begin the development, run `npm start` or `yarn start`.
      To create a production bundle, use `npm run build` or `yarn build`.
    -->
    <script type="text/javascript" src="cordova.js"></script>
  </body>
</html>
Create React Appをビルドする
cd tutorial
yarn run build
ビルドが成功すると、www ディレクトリが以下のようにできる
tree www
www
├── asset-manifest.json
├── favicon.ico
├── index.html
├── manifest.json
├── service-worker.js
└── static
    ├── css
    │   ├── main.c17080f1.css
    │   └── main.c17080f1.css.map
    ├── js
    │   ├── main.6f0a8148.js
    │   └── main.6f0a8148.js.map
    └── media
        └── logo.5d5d9eef.svg
このCreate React Appのプロジェクト上で、Cordova プラットフォームを追加する。とりあえずAndroidとiOSを追加。先ほどコピーしたconfig.xmlに従ってプラットフォームが追加される
cordova platform add ios
cordova platform add android
ここで、npm installを実行しなおす。これは参考にしたドキュメントにはなかったが、Cordovaがnode_modlesを変更しているようなので、これをやらないとビルド時にエラーが発生した。
npm install
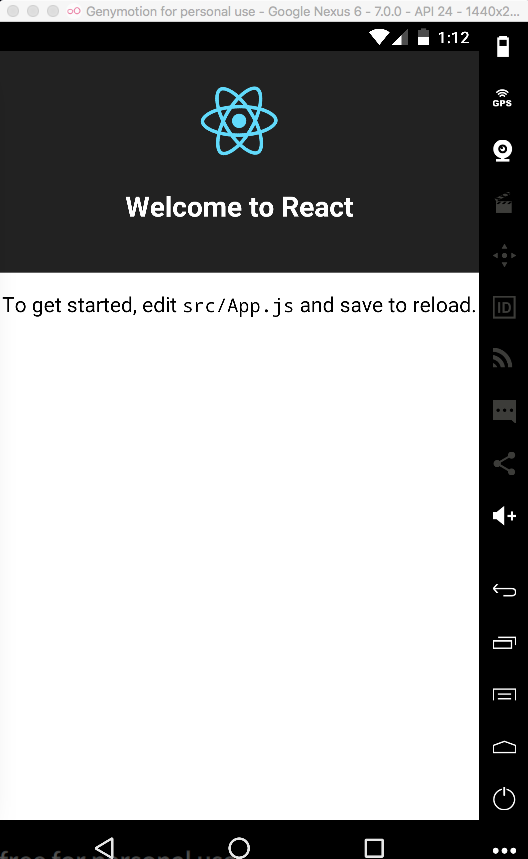
アプリをビルドして実行する。Androidの場合ぼくはGenymotionのエミュレーターを使ってるのでGenymotionエミュレーターを起動したのちrunする
cordova run android
アプリがエミュレーターで実行された
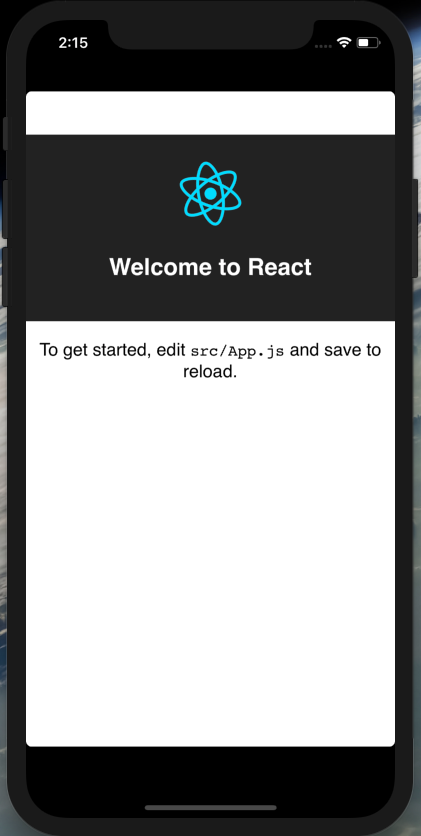
iOSでも実行してみる
cordova run ios
実行できた
これで基本的な開発ができそうだが、このプロジェクトにCordova Pluginを追加した場合webpackで正常にビルドできるかどうか気になったので、このサンプルプロジェクトにプラグインを追加してみることにする。
PhoneGap Toast plugin を追加してボタンをクリックするとToastを表示するアプリにしてみる。
プラグインを追加する
cordova plugin add cordova-plugin-x-toast
tutorial/src/App.js を開いて以下のように変更する
import React, { Component } from 'react';
import logo from './logo.svg';
import './App.css';

class App extends Component {

  popUp() {
    window.plugins.toast.showLongBottom('Hello there!',
      function(a){console.log('toast success: ' + a)},
      function(b){alert('toast error: ' + b)}
    );
  }

  render() {
    return (
      <div className="App">
        <header className="App-header">
          <img src={logo} className="App-logo" alt="logo" />
          <h1 className="App-title">Welcome to React</h1>
        </header>
        <p className="App-intro">
          To get started, edit <code>src/App.js</code> and save to reload.
        </p>
        <div>
          <button onClick={ this.popUp.bind(this) }>Click!</button>
        </div>
      </div>
    );
  }
}

export default App;
webアプリをビルドする
yarn run build
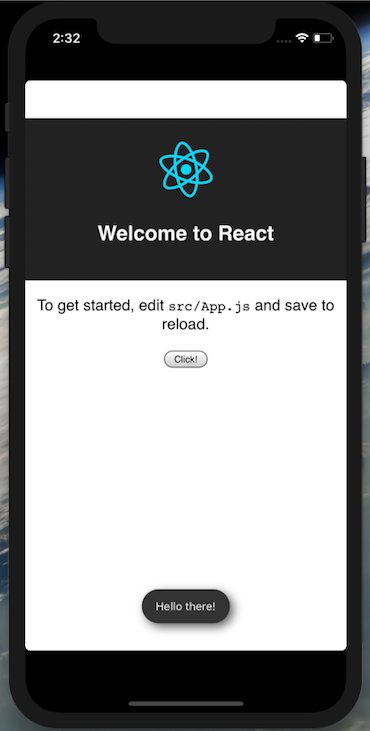
iOSエミュレーターでアプリを実行する
cordova emulate ios
起動したアプリの Click! ボタンをタップするとアプリ下部にToastが表示された
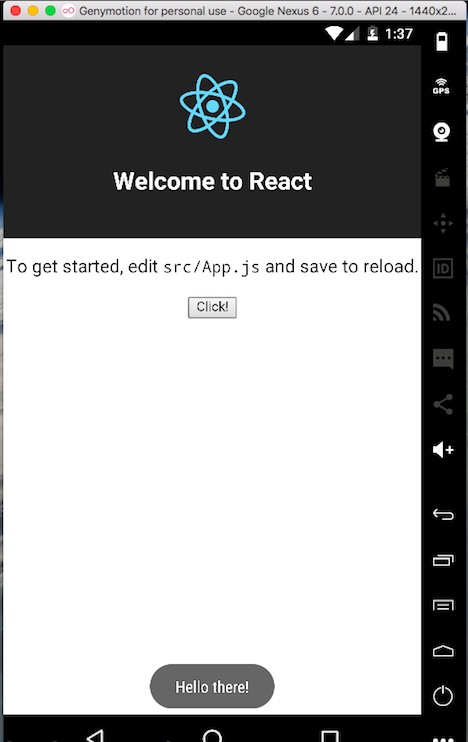
Androidアプリをビルドすると同様となる
cordova run android
まとめ
開発環境をつくるおおまかな流れとしては
- create-react-app プロジェクトを作成する
- webpackビルドの出力先を
wwwに変更する -
config.xmlのみをプロジェクトにコピーする - Cordova Platformを追加する
- Webアプリをビルドする
- Cordovaアプリをビルドする
という感じか。とりあえずこれでCordovaアプリは開発できそうな感じ。
しかし今後のCreate React App、Cordovaのバージョンアップでこのフローが壊れる可能性がある。なので2018年4月時点で可能な方法として掲載しておくが、それでもしばらくはこれで快適にCordovaアプリが開発できそうだ。


