はじめに
ESXi上にCentOS8の最小構成でのインストールをしてみました。
ごくごく基本的な設定しかしていません。
対象機器および環境など
検証環境
- ESXi 6.7
- CentOS8(8.1.1911)
ネットワーク情報
| 項目 | 値 |
|---|---|
| サーバFQDN | vmnetserv01.prosper2.net |
| サーバアドレス | 10.254.10.251 |
作業内容
メディア準備
国内のてきとうなミラーからISOを落としてくる。
ESXiにSSHでログインしてwgetで取得すると楽ですね。
$ ssh root@esxi
で、ログインして

# cd /vmfs/..../images (ISOを保存する場所に移動)
# wget http://ftp.iij.ad.jp/pub/linux/centos/8/isos/x86_64/CentOS-8.1.1911-x86_64-boot.iso
ESXiでVM作成
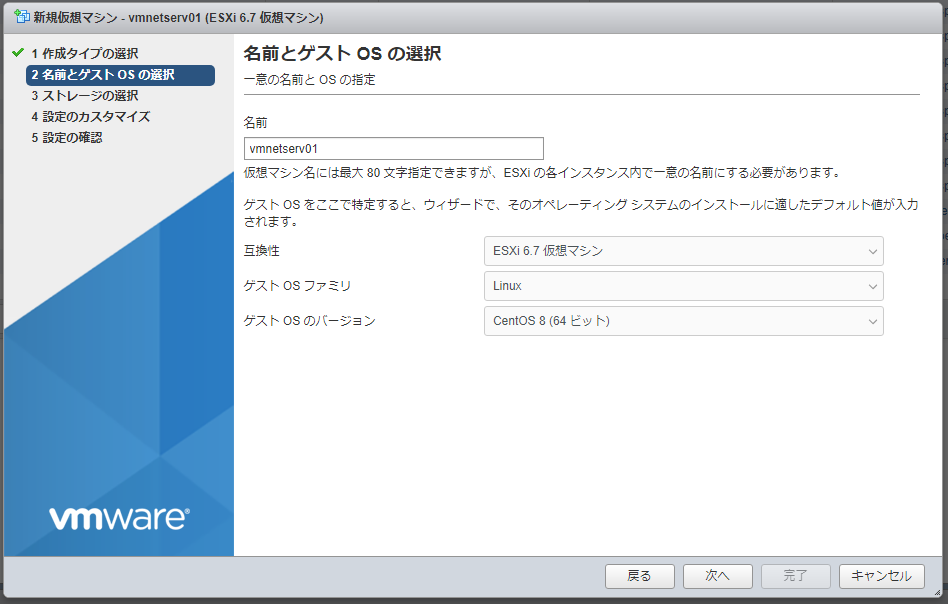
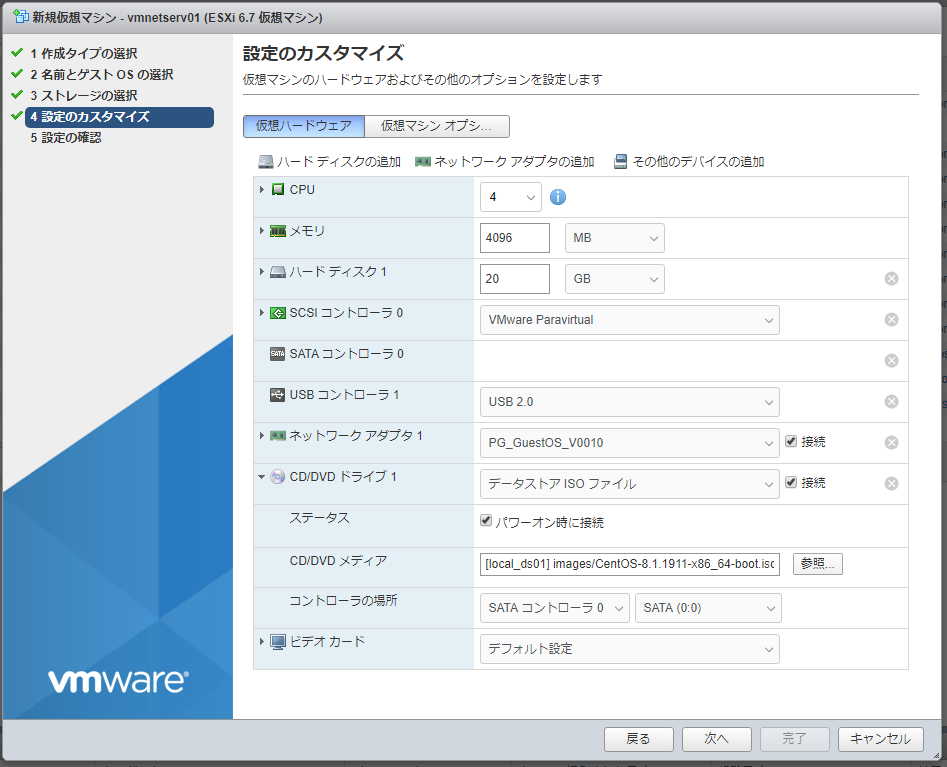
カラのVMを作成します。
ゲストOSのバージョンで「CentOS8」があるので、それを選択
CentOS8のインストール
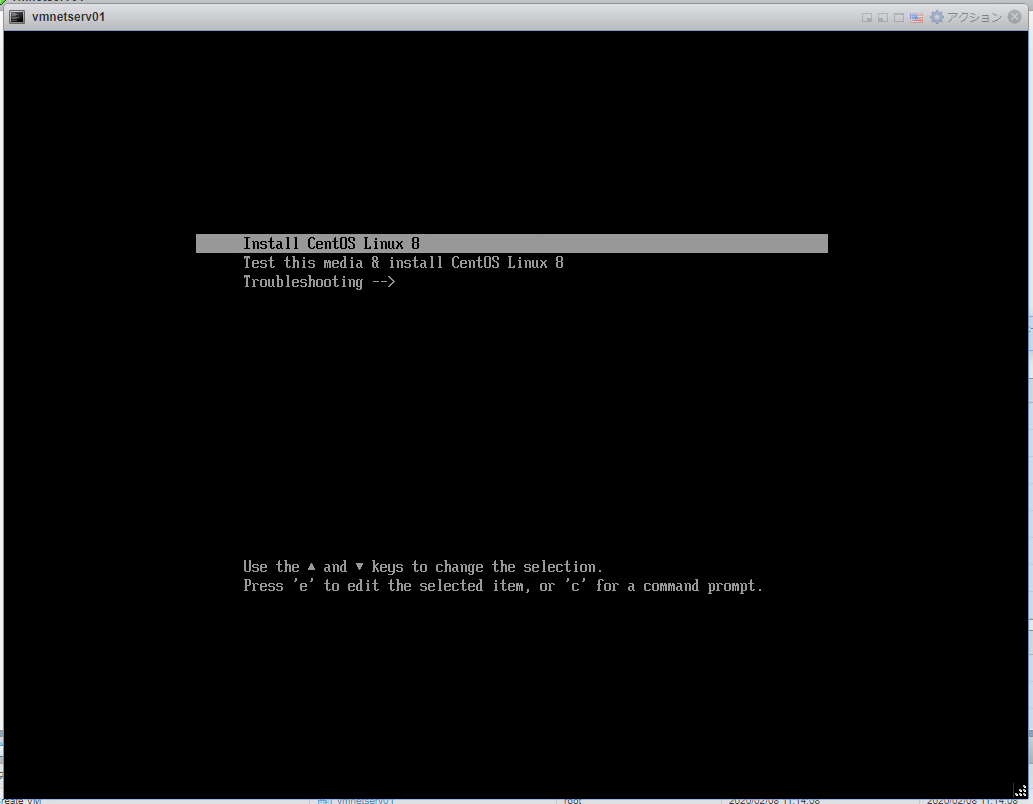
パワーオンしたら、解像度をあわせるためにオプションが必要です。
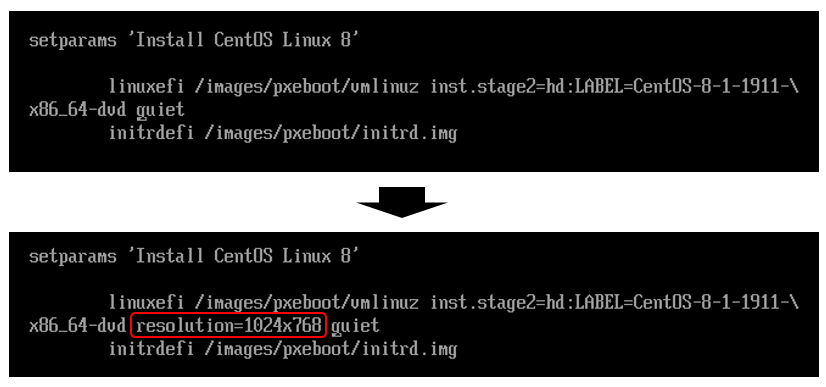
起動画面でUpキーを押して「Install CentOS Linux 8」を選択 eキーを押すとオプション入力画面に切り替わります。
この画面で、 resolution=1024x768 を挿入し、 Ctrl-x を入力すると、インストーラが起動します。
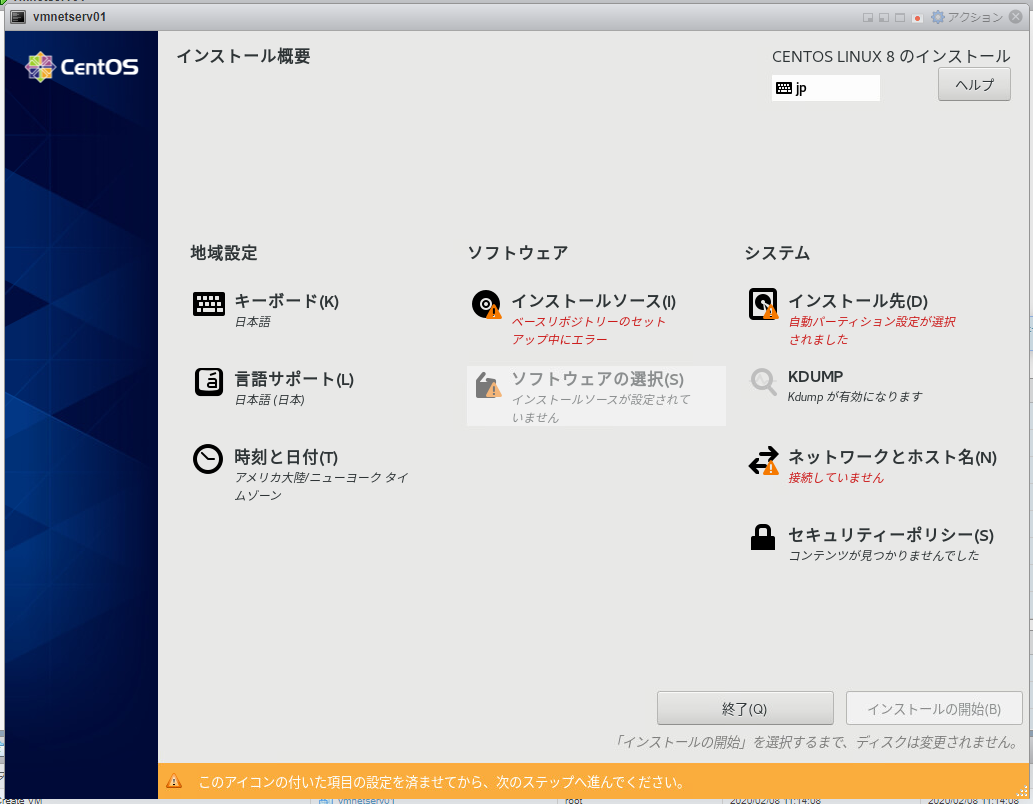
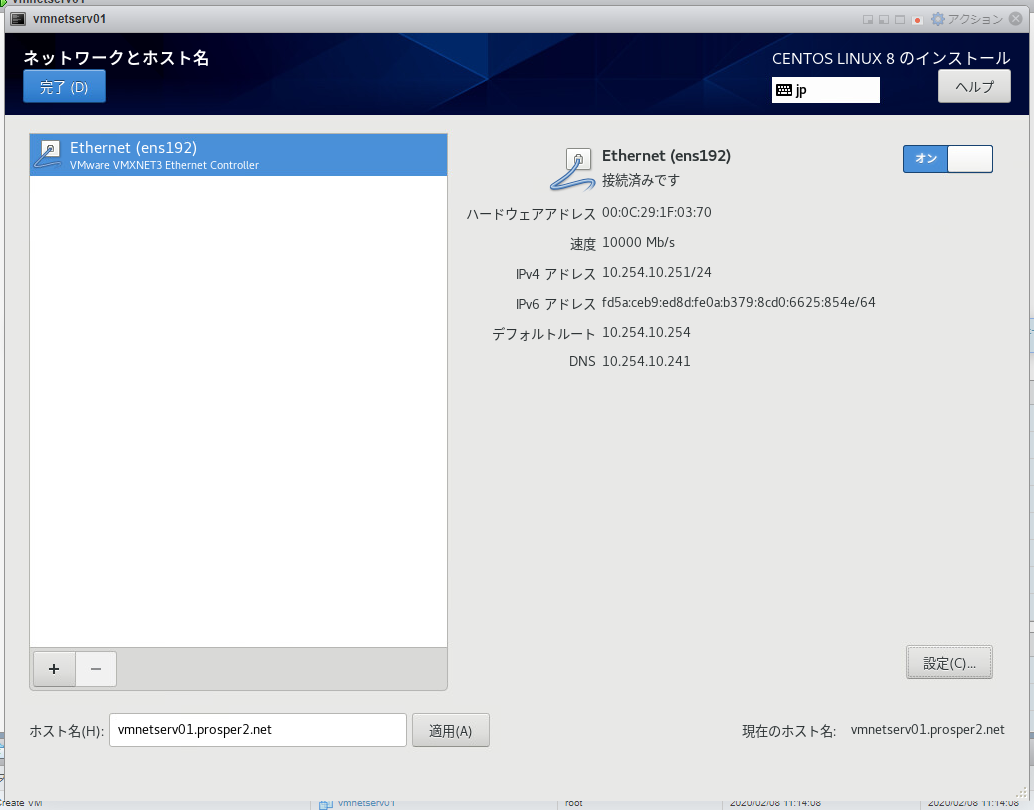
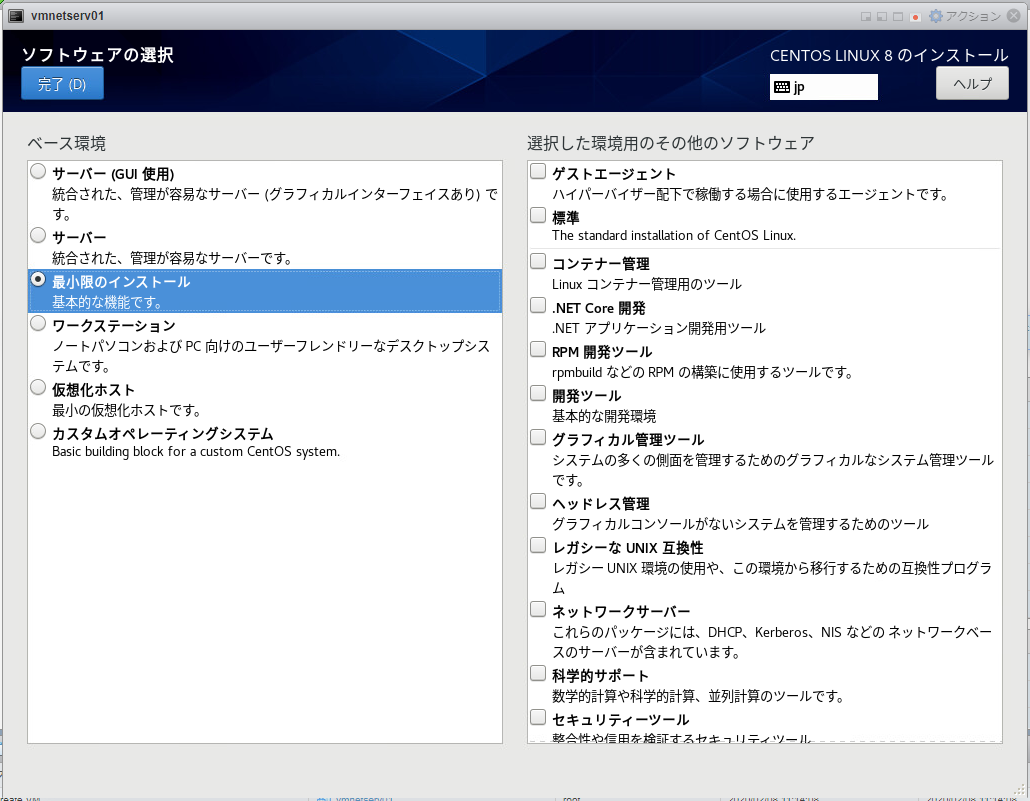
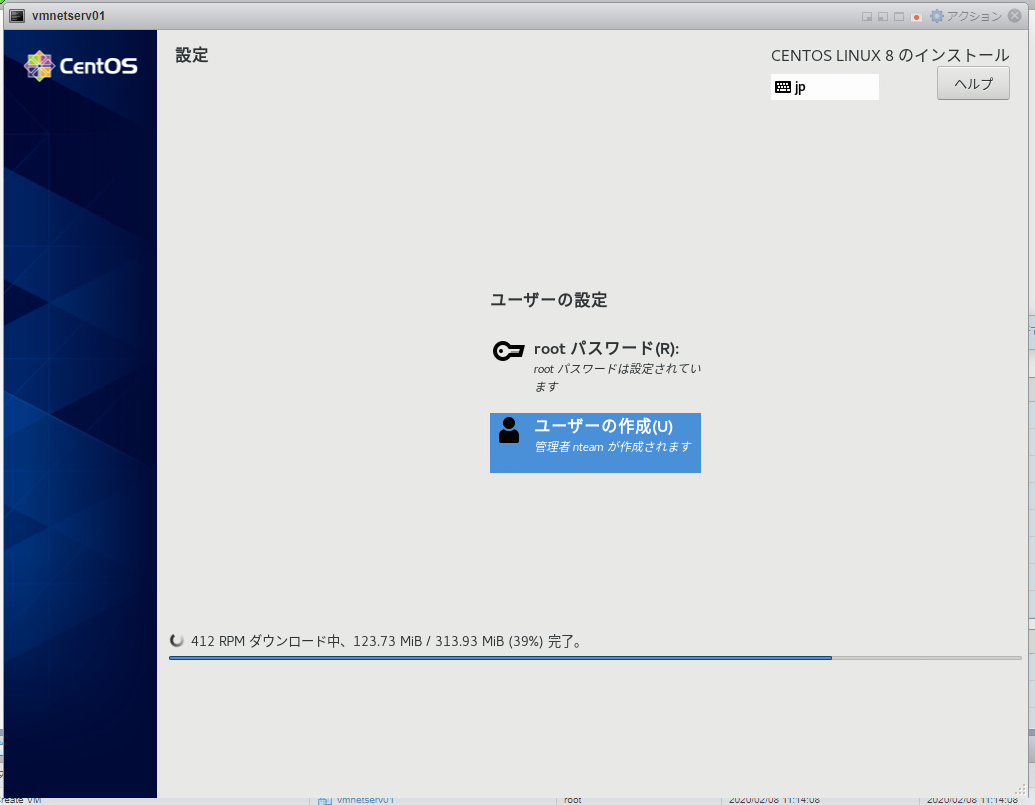
インストーラに従って作業していく。言語選択後、こんな画面になる。
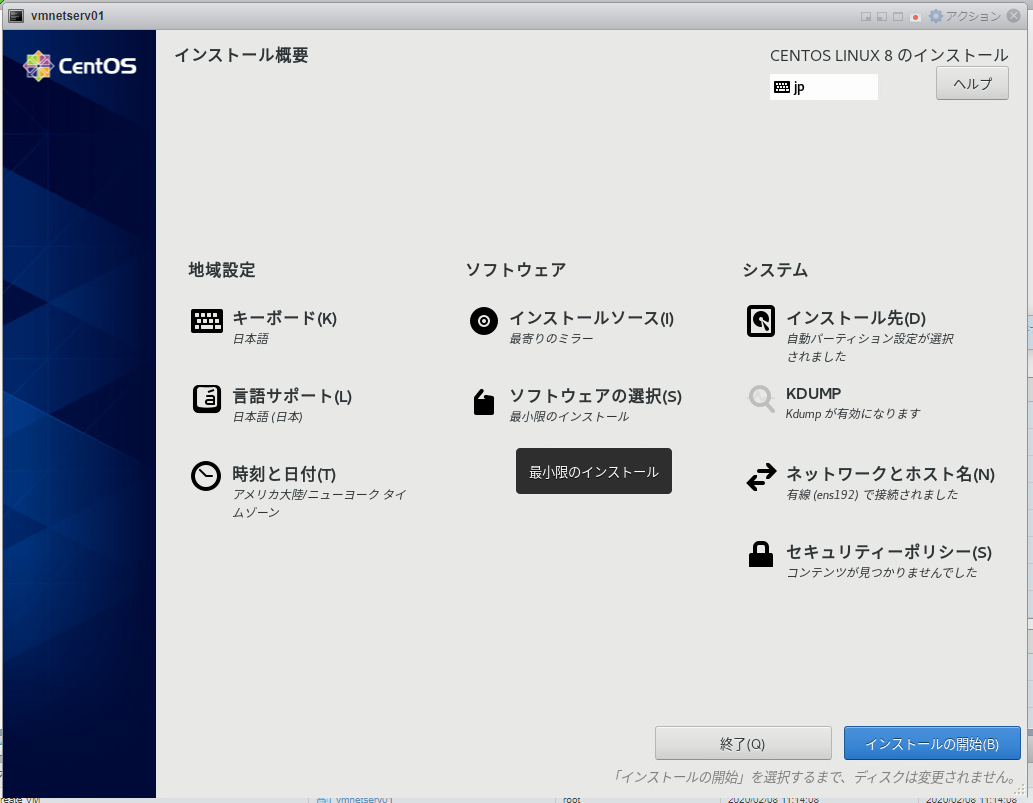
インストール先を選択すると、「インストール」ボタンが押せるようになるので、クリック
ダウンロード、インストールが進んでいる最中に、rootパスワードとユーザ作成をしておく。
ユーザ作成時には、「このユーザを管理者にする」にチェックを入れておくと、後で楽。
CentOS8の設定
初期状態でsshログインができるので、作成したユーザでログイン。
毎回 sudo がめんどいので、 sudo su - しちゃう。
SSH設定
rootログイン無効化と、ポート修正
# vi /etc/ssh/sshd_config
-----8<-----snip-----8<-----
# Port 22
Port XXXX

# PermitRootLogin yes
PermitRootLogin no
-----8<-----snip-----8<-----

# systemctl restart sshd
firewall設定
cockpitはwebからサーバ管理できるアプリケーションらしいですが、使わないので、閉じます。
上記設定でSSHのポートを変更したら、firewallもそれに合わせて設定します。(この例ではTCP22のまま)
# firewall-cmd  --list-services
cockpit dhcpv6-client ssh

# firewall-cmd --remove-service  dhcpv6-client --zone=public --permanent
# firewall-cmd --remove-service cockpit  --zone=public --permanent
# firewall-cmd --reload

# firewall-cmd --list-service
ssh
SELinux無効化
いつもすんません。。。
# vi /etc/selinux/config
-----8<-----snip-----8<-----
# SELINUX=enforcing
SELINUX=disabled
-----8<-----snip-----8<-----
で、一度再起動。
よく使うパッケージをいれておく
パッケージ管理はdnfというものになったみたいです。
本体はdnf-3ってやつみたいですね。
$ ll /usr/bin/yum
lrwxrwxrwx. 1 root root 5 12月 19 10:43 /usr/bin/yum -> dnf-3
$ ll /usr/bin/dnf
lrwxrwxrwx. 1 root root 5 12月 19 10:43 /usr/bin/dnf -> dnf-3
最初なんで無条件にアップデートしてしまおう。
$ sudo dnf -y install epel-release
$ sudo dnf -y update
$ sudo dnf -y install screen vim lftp wget open-vm-tools mlocate tcpdump unzip bind-utils telnet
時刻設定
タイムゾーンを確認
$ date
2020年  2月  7日 金曜日 21:59:21 EST
(ESTって、どこだよ、それ)

$ sudo timedatectl set-timezone Asia/Tokyo
$ date
2020年  2月  4日 火曜日 11:02:51 JST
NTPの設定はさいしょからされてるぽい
$ chronyc sources
210 Number of sources = 4
MS Name/IP address         Stratum Poll Reach LastRx Last sample
===============================================================================
^* ec2-13-230-38-136.ap-nor>     2   6   377    57    -65us[ +200us] +/-   40ms
^+ 122x215x240x51.ap122.ftt>     2   6   377    58   -254us[+9893ns] +/-   48ms
^- mx.execve.net                 2   6   377    56  +1322us[+1322us] +/-  164ms
^+ hit-bridge.com                2   6   377    56   +152us[ +152us] +/-   47ms
なるほど、初期設定の時点で負荷分散しているのね。
$ grep pool /etc/chrony.conf
# Use public servers from the pool.ntp.org project.
# Please consider joining the pool (http://www.pool.ntp.org/join.html).
pool 2.centos.pool.ntp.org iburst

$ dig 2.centos.pool.ntp.org +short
13.230.38.136
203.178.135.73
122.215.240.52
45.76.111.149
SNMP(あとから追記しました)
遠隔から監視できるように、SNMPをうごかしておく。
パッケージは net-snmp でよい。
$ sudo dnf -y install net-snmp net-snmp-utils
もとの設定ファイルに追記でもよいし、まるっと書き換えでもOK
com2sec p2user  default rocomm
group   p2group v2c p2user
view    p2view    included   .1
access  p2group ""      any       noauth    exact     p2view none none
ポートの穴あけとサービス起動をしておく
# firewall-cmd --add-service=snmp --zone=public --permanent
# firewall-cmd --reload
# systemctl enable snmpd
# systemctl start snmpd
よその端末から見れるか確認しておこう。
$ snmpwalk -c rocomm -v 2c 10.254.10.251 sysdescr
SNMPv2-MIB::sysDescr.0 = STRING: Linux vmnetserv01.prosper2.net 4.18.0-147.5.1.el8_1.x86_64 #1 SMP Wed Feb 5 02:00:39 UTC 2020 x86_64
さいごに
CentOS7でopensslのバージョンを上げるのが面倒なので、これからCentOS8に乗り換えていきたいと思います!
出典
とくにありません。
