たまにrobotframeworkの動作確認するため、シナリオ作成、実行するのは面倒。また、勉強・説明資料を作成するため、jupyterbookは有効な方法である。そのため、チームのためにさくっとrobotframework(RF)のキーワードが確認できるように、jupyter bookとRF kernelの組み合わせについてのメモをまとめた。
環境
- osX Mojave
- docker desktop Version 2.0.0.3
構築
まず、root権限でdockerがインストールされている環境でdockerhub からjupyterhub コンテナを作成する(ローカルにimageがない場合、dockerhubから自動的にダウンロードされる)
bash-3.2# docker run -p 8000:8000 -d --name jupyterhub jupyterhub/jupyterhub jupyterhub
このようにjupyterhubという名前のdebianベースのjupyterhubコンテナが動いている。
bash-3.2# docker ps
CONTAINER ID        IMAGE                   COMMAND             CREATED             STATUS              PORTS                    NAMES
bd25d04bff2f        jupyterhub/jupyterhub   "jupyterhub"        30 seconds ago      Up 28 seconds       0.0.0.0:8000->8000/tcp   jupyterhub
次に、jupyterhubへログインし、サンプルのユーザを作成する。
bash-3.2# docker exec -it jupyterhub bash
root@bd25d04bff2f:/srv/jupyterhub#
root@bd25d04bff2f:/srv/jupyterhub# mkdir -p /home/robot/notebook
root@bd25d04bff2f:/srv/jupyterhub# useradd robot
root@bd25d04bff2f:/srv/jupyterhub# passwd robot
Enter new UNIX password:
Retype new UNIX password:
passwd: password updated successfully
root@bd25d04bff2f:/srv/jupyterhub# chown -R robot:robot /home/robot
root@bd25d04bff2f:/srv/jupyterhub#
ユーザを準備できたら、必要パケージをインストールする
root@bd25d04bff2f:/srv/jupyterhub# pip install robotframework robotkernel
これで準備が完了である。追加内容を反映するため、一旦 docker 環境から変更をcommitする。
bash-3.2# docker commit jupyterhub local/jupyterhub-rf:latest
sha256:9107815c5eed5c32bff7f26e63f3217832bc8a772c7513c4042df4dfa2086c8d
bash-3.2# docker images | grep jupyter
local/jupyterhub-rf       latest              9107815c5eed        9 seconds ago       1.04GB
jupyterhub/jupyterhub     latest              64d82994fd55        7 days ago          932MB
jupyterhubを止め、新しく作成したコンテナを開始する
bash-3.2# docker stop jupyterhub
jupyterhub
bash-3.2# docker rm jupyterhub
jupyterhub
bash-3.2# docker run -p 8000:8000 -d --name jupyterhub local/jupyterhub-rf:latest jupyterhub
79c5ff202ba9f8607fa48767ce9ed9b3b84df1f1a3f56c3e3c196f3e038c18cf
これで環境準備が完了である。
利用開始
ブラウザでローカルホストの8000へアクセス (http://127.0.0.1:8000 )し、作成したアカウント(robot/入力したパスワード)でログインする
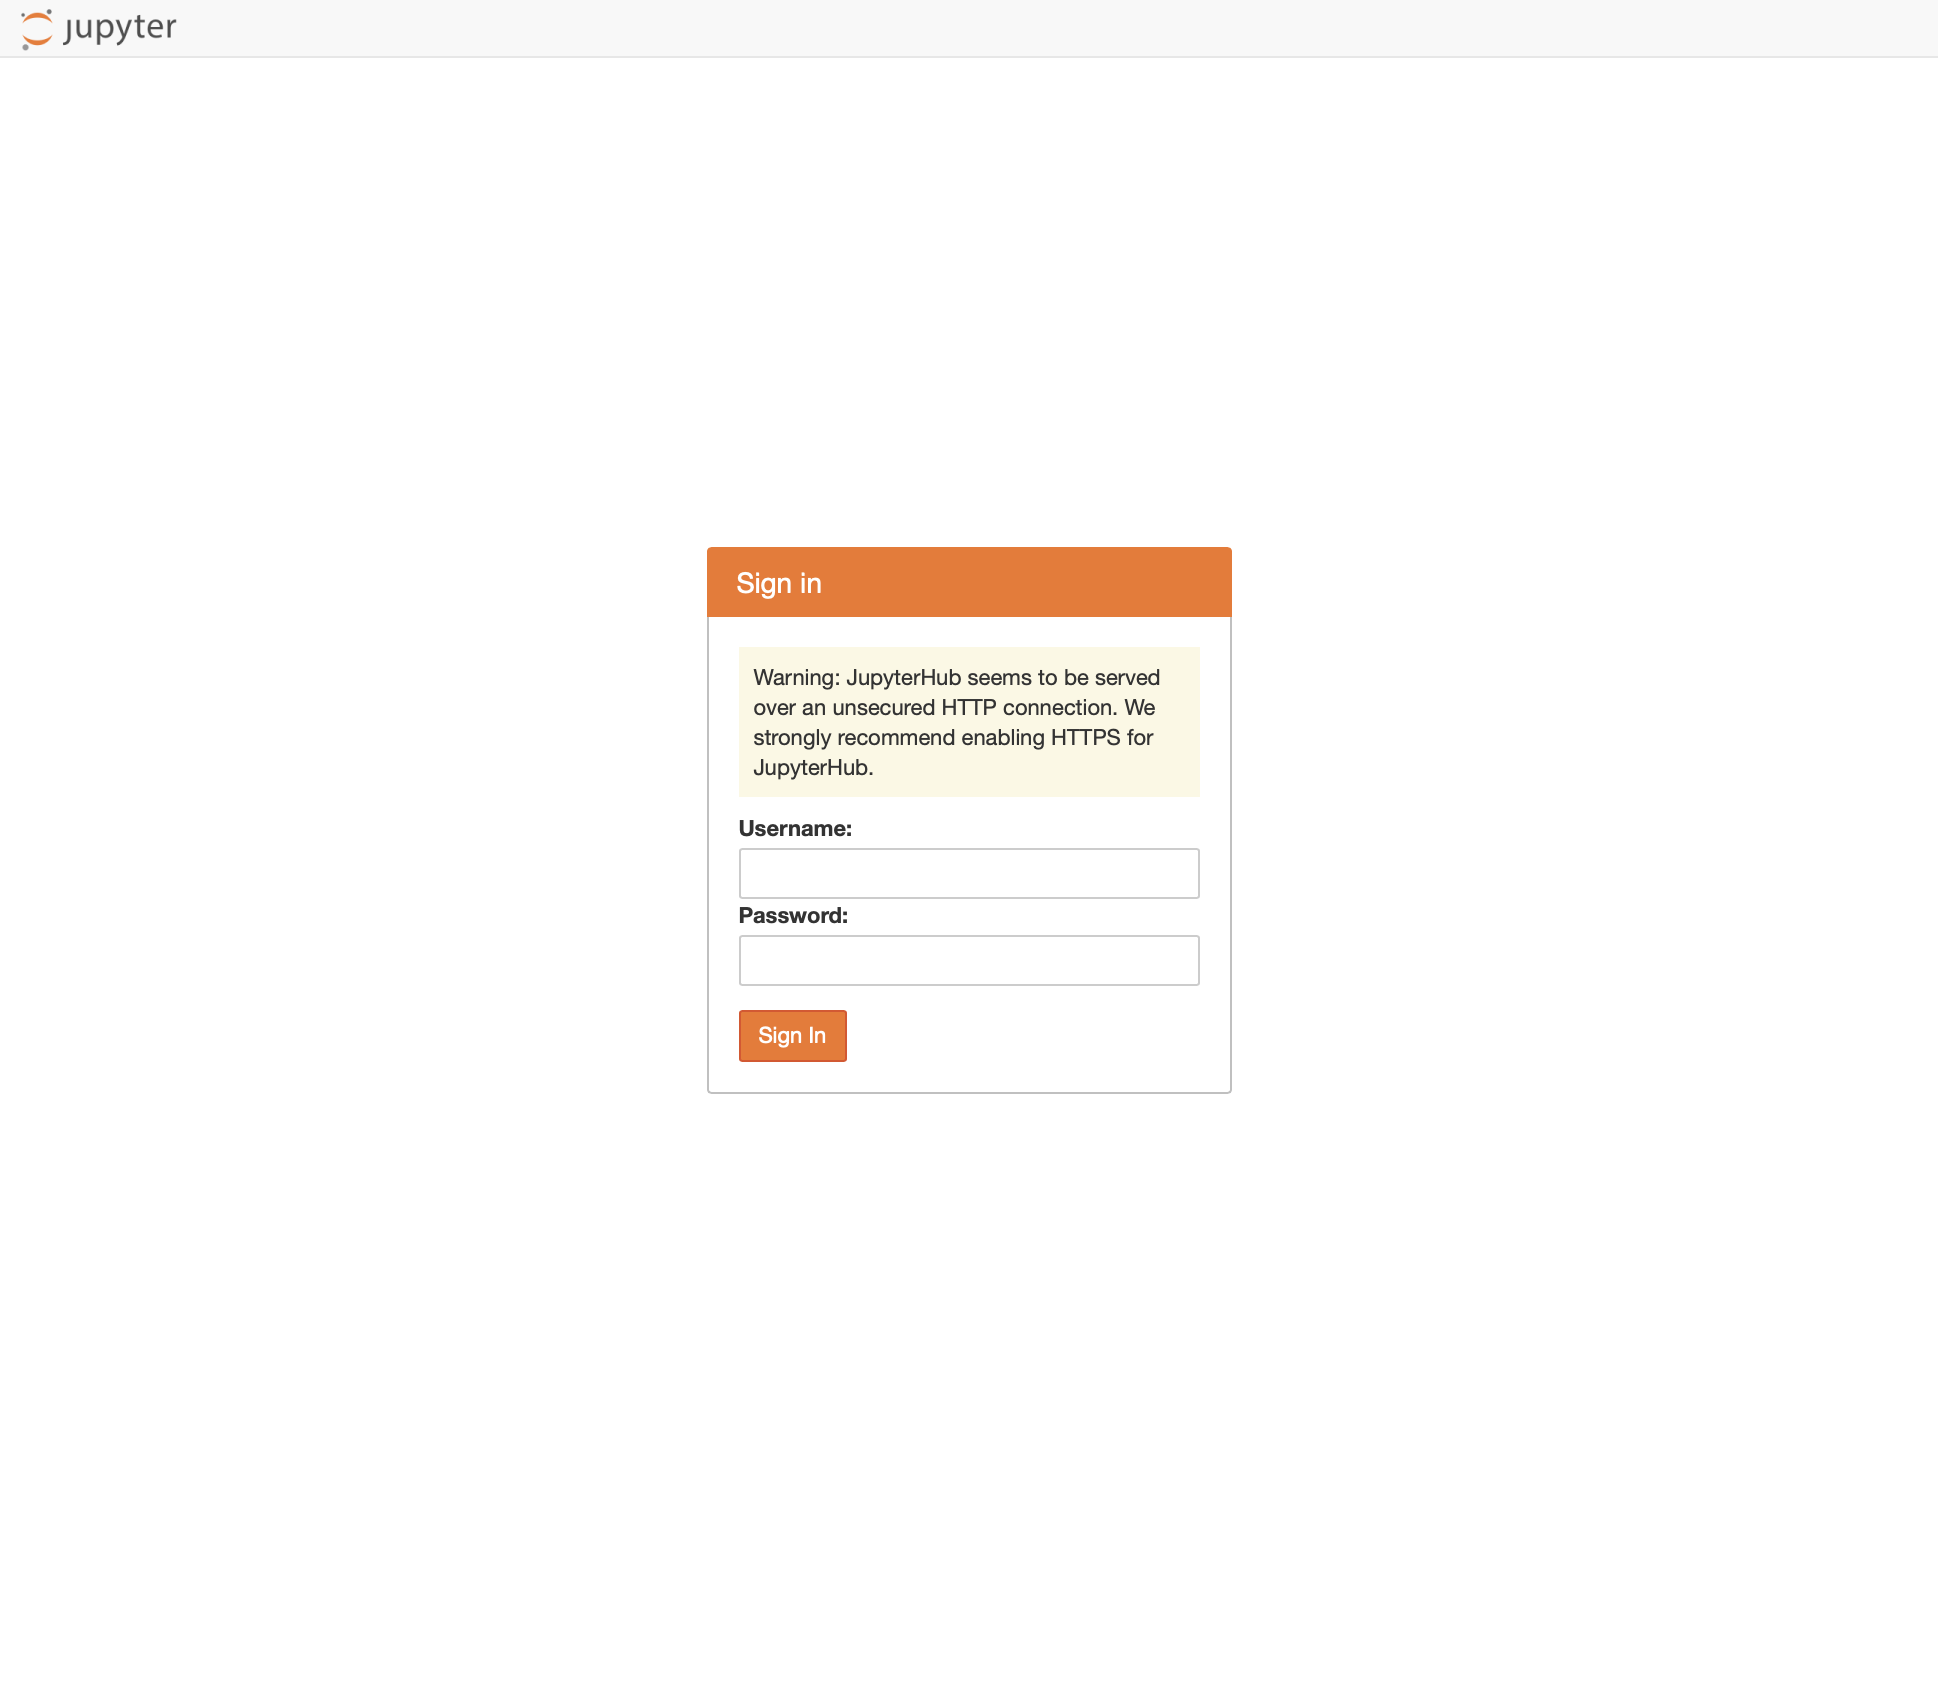 |
|---|
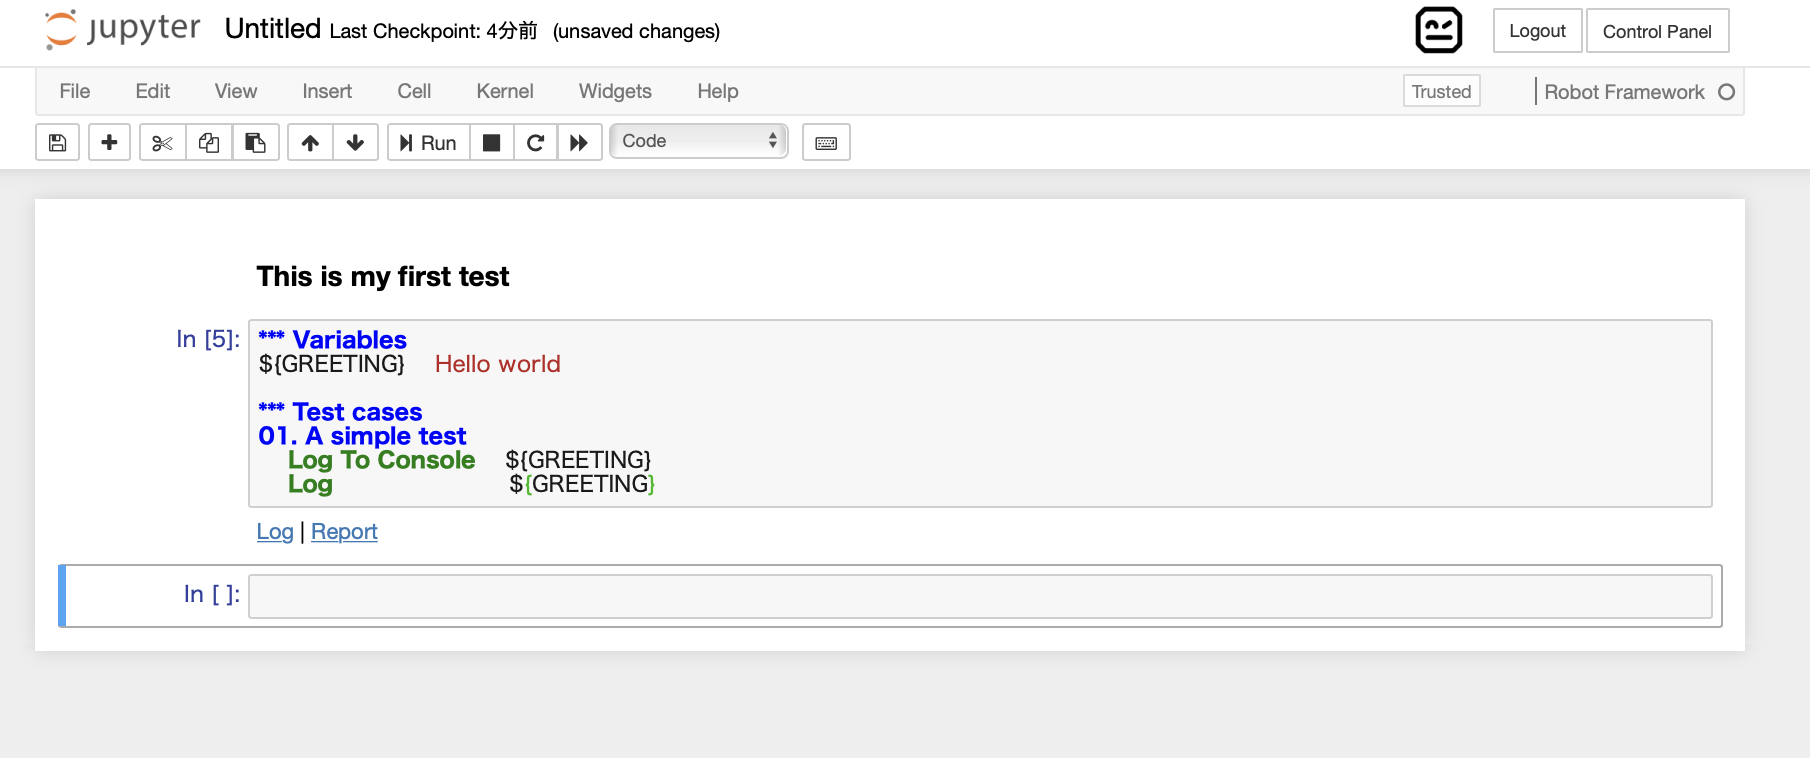
jupyterbookの使い方の詳細を省略するが、notebookを選択し、右上のNewからRobot Frameworkをえらび、新しいbookを作成する。
図のように、従来通り、すぐrobotframeworkのケースを作成、Shift-Enter で実施できる。
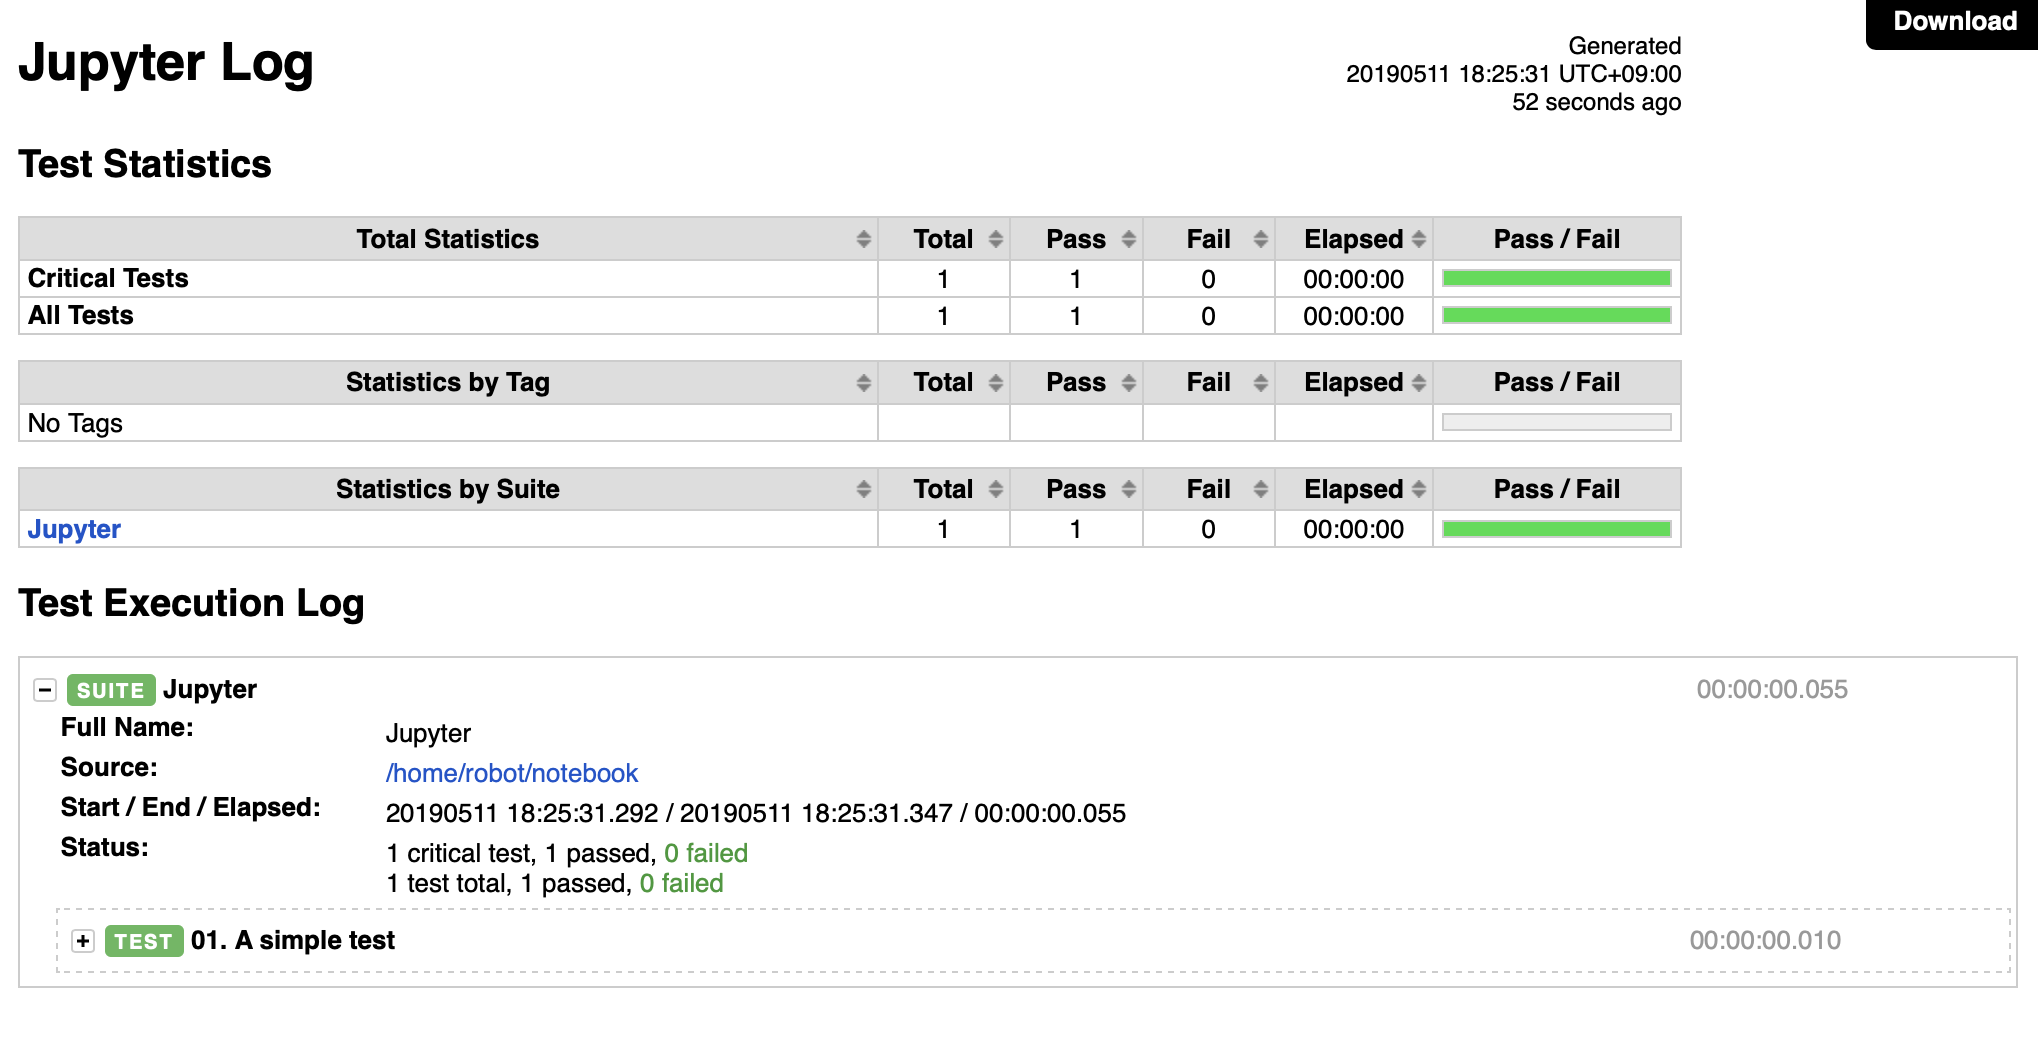
上記のLogやReportリンクを選択すると、いつものRFのレポートが確認できる
ちなみに、このjupyterhubでは、kernelを変更すれば、Python3のテストもできる。
まとめ
dockerからjupyterhubおよびrobotframeworkのkernelを簡単に試すための方法を説明した。試すだけだと良いが、本格利用するためセキュリティ、アカウント管理、bookの保存方法等を考慮した方が良い(詳細は下記のjupyterhubのサイトから参考すること)