bash on windowsのC++とgdbのlaunch.jsonの書き方を探してもいい記事が見つからなかったので、メモみたいな感じで書いてます。
Windows側の環境
windows10
VisualStudioCode(x64) v.1.20.1
bash on windows側の環境
Ubuntu 16.04.3 LTS (Xenial Xerus)
g++ 5.4.0
gdb 7.11.1
デバッグしたいファイルを用意する
とりあえずファイルとしてDesktop/cpp_test/test.cppを用意しました。
# include <iostream>

int main(){
    int hoge = 34;

    std::cout << hoge << "\n";

    return 0;
}
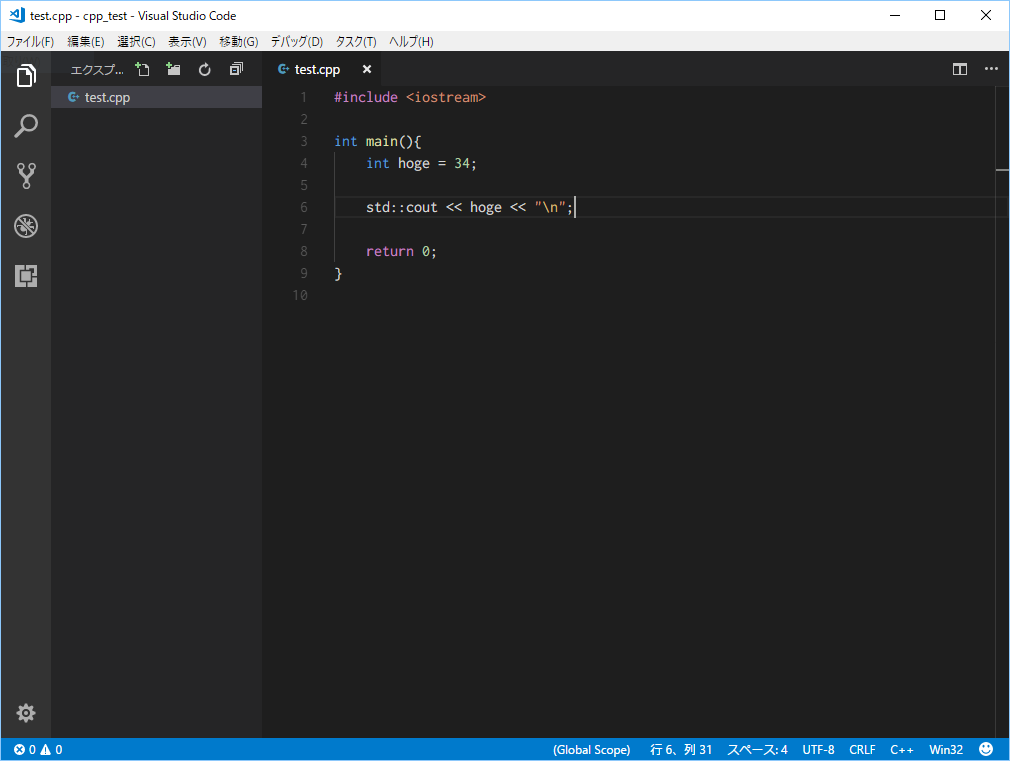
このファイルをデバッグしていきます。
launch.jsonの作成
デバッグしたいファイルを用意したら
「デバッグ」→「構成の追加」
からlaunch.jsonを作成します。
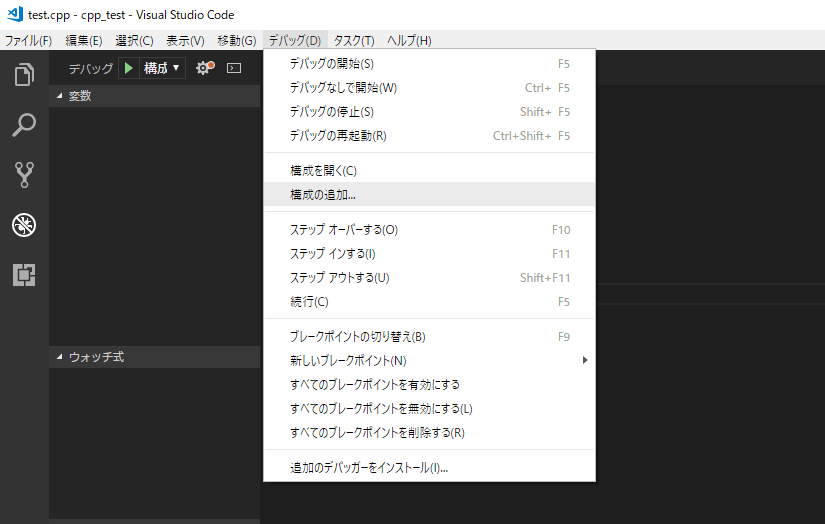
C++のgdb、windowsのどちらかを選んであげましょう。
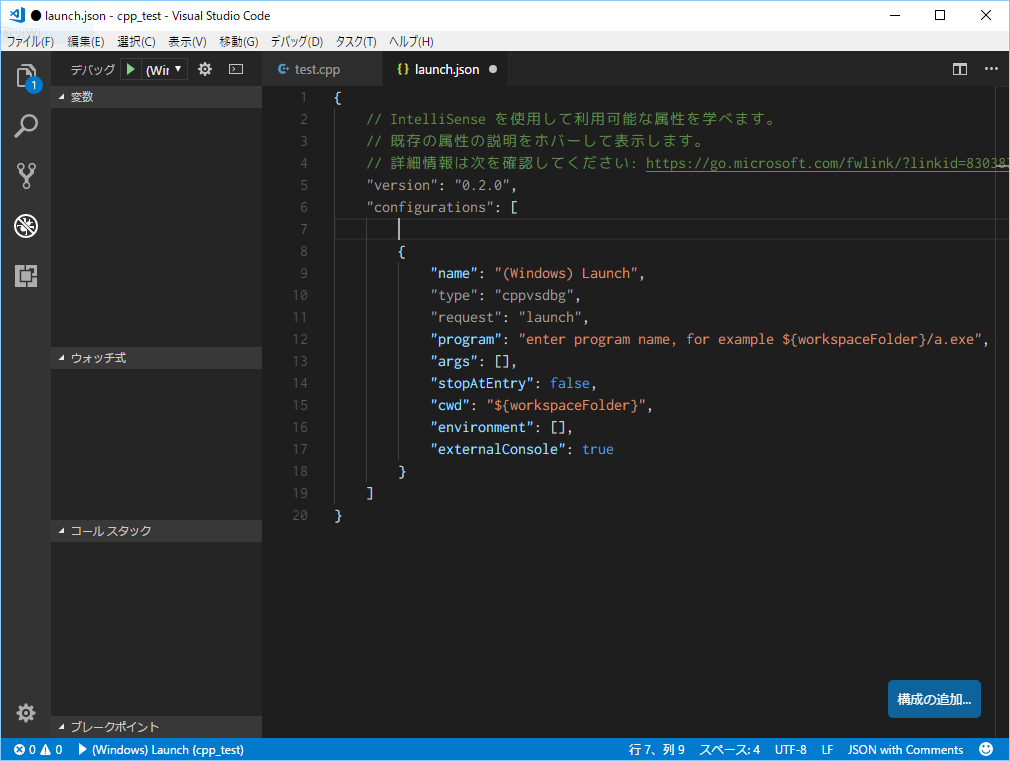
以下のようなlaunch.jsonが生成されるはずです。
launch.jsonの編集
右下の「構成の追加...」を押して、
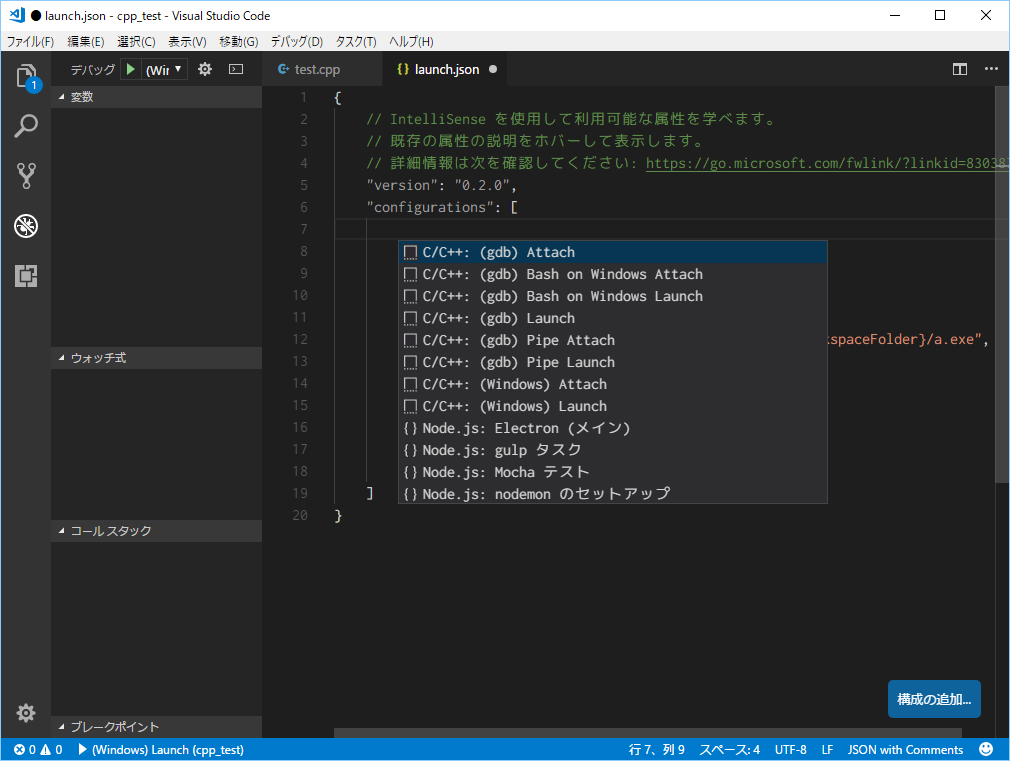
「C/C++: (gdb) Bash on Windows Launch」
を選んであげましょう。
もともとあったコードを消すと、以下のようなコードになると思います。
{
    // IntelliSense を使用して利用可能な属性を学べます。
    // 既存の属性の説明をホバーして表示します。
    // 詳細情報は次を確認してください: https://go.microsoft.com/fwlink/?linkid=830387
    "version": "0.2.0",
    "configurations": [
        {
            "name": "(gdb) Bash on Windows Launch",
            "type": "cppdbg",
            "request": "launch",
            "program": "enter program name, for example ${workspaceFolder}/a.exe",
            "args": [],
            "stopAtEntry": false,
            "cwd": "${workspaceFolder}",
            "environment": [],
            "externalConsole": true,
            "pipeTransport": {
                "debuggerPath": "/usr/bin/gdb",
                "pipeProgram": "C:\\Windows\\sysnative\\bash.exe",
                "pipeArgs": [],
                "pipeCwd": ""
            },
            "setupCommands": [
                {
                    "description": "Enable pretty-printing for gdb",
                    "text": "-enable-pretty-printing",
                    "ignoreFailures": true
                }
            ]
        }
    ]
}
しかし、このままでは動きません。少し編集してあげましょう。
変更する箇所は以下の通りです。
| キー | 説明 | (例) |
|---|---|---|
| name | 構成のところに表示される名前 | "debug for a.out" |
| program | bash上での実行ファイルの位置 | "/mnt/c/~~~/cpp_test/a.out" |
| args | 実行時に渡す引数(必ず""で囲うこと) | ["2", "4", "abc"] |
| stopAtEntry | エントリーポイントで止まるかどうか | false |
| cwd | bash上での実行位置 | "/" |
| pipeTransport:debuggerPath | bash上でのgdbの位置 | "/usr/bin/gdb" |
| pipeTransport:pipeProgram | Windowsでのbashの位置 | "C:\Windows\sysnative\bash.exe" |
| pipeTransport:pipeArgs | pipe時につけるオプション | ["-c"] |
| pipeTransport:pipeCwd | bashの実行位置? | "/" |
| sourceFileMap | windowsとbashの連携時に必要? | {"/mnt/c": "C:\\"} |
sourceFileMapは元々のファイルにないので新しく追加する必要があります。
最終的なファイルは以下のようになりました。
{
    // IntelliSense を使用して利用可能な属性を学べます。
    // 既存の属性の説明をホバーして表示します。
    // 詳細情報は次を確認してください: https://go.microsoft.com/fwlink/?linkid=830387
    "version": "0.2.0",
    "configurations": [
        {
            "name": "(gdb) Bash on Windows Launch",
            "type": "cppdbg",
            "request": "launch",
            "program": "/mnt/c/Users/~~~/Desktop/cpp_test/a.out",
            "args": [],
            "stopAtEntry": false,
            "cwd": "/",
            "environment": [],
            "externalConsole": true,
            "pipeTransport": {
                "debuggerPath": "/usr/bin/gdb",
                "pipeProgram": "C:\\Windows\\sysnative\\bash.exe",
                "pipeArgs": ["-c"],
                "pipeCwd": "/"
            },
            "setupCommands": [
                {
                    "description": "Enable pretty-printing for gdb",
                    "text": "-enable-pretty-printing",
                    "ignoreFailures": true
                }
            ],
            "sourceFileMap": {
                "/mnt/c": "C:\\"
            }
        }
    ]
}
ブレイクポイント
launch.jsonが書けたら、デバッグしたい箇所にブレイクポイントを設定しておきましょう。
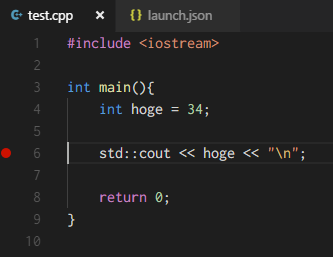
今回は6行目につけてみました。
コンパイル
「表示」→「統合ターミナル」でターミナルを表示し、
bash
でBash On Windowsに入り、
g++ -g test.cpp
と打ち、デバッグ用にコンパイルします。
デバッグ実行
F5を押してデバッグを実行してみましょう。
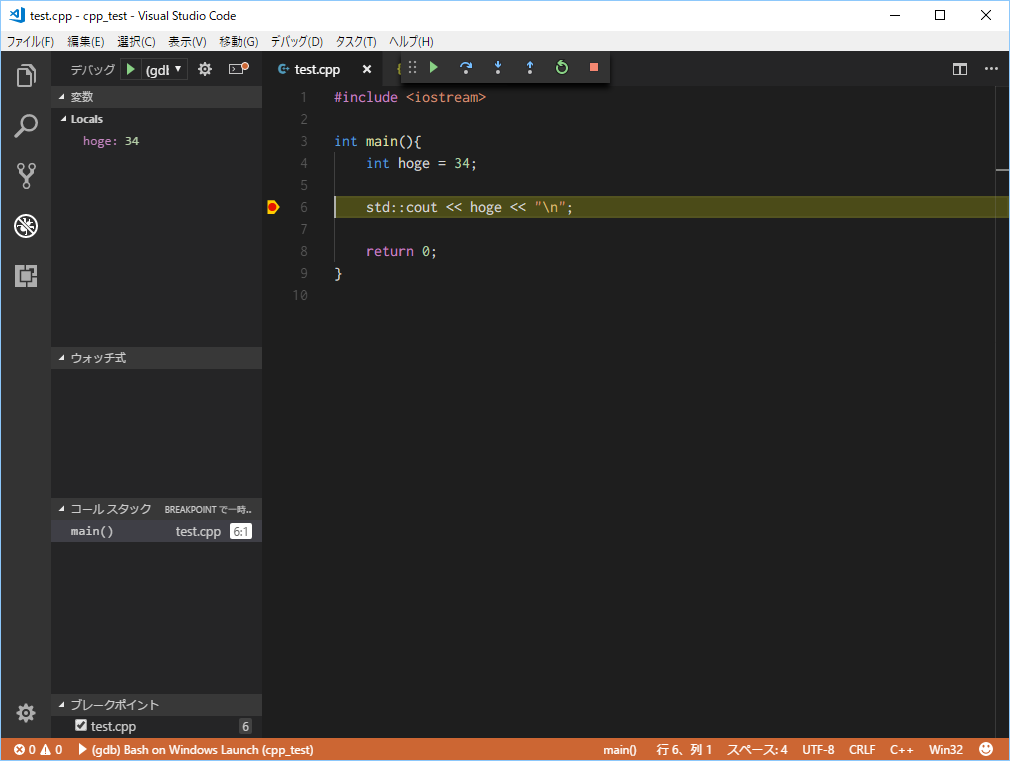
ちゃんと6行目で止まり、hogeの値が表示されていますね。
最後に
gdbでデバッグをしようとしたらlaunch.jsonのデバッグをしていた...
なんてことが起こってしまう、いまいち書き方のわからないlaunch.json。
詳しい説明があればいいんですけどね...