はじめに
Seleniumを使用してみる機会があったため,備忘録としてまとめようと思い,記事を書きました。
現在主にJavascriptを使用しているため,Node.jsを使ってSeleniumを動かそうと思います。
Node.jsの環境構築に関しては,こちらの手順で行なっています。
Seleniumとは
Webブラウザの操作を自動化するためのツール。
今回は,SeleniumをNode.js内で使用して,Webブラウザを操作してみたいと思います。
大まかな流れ
- 必要なパッケージ・ドライバのダウンロード
- 実行ファイル作成
- 実行
以下で詳細に説明していきます。
必要なパッケージ・ドライバのダウンロード
selenium-webdriverのインストール
$ npm install --save selenium-webdriver
-
--save: package.jsonのdependenciesに追加される
各ブラウザのDriverのダウンロード
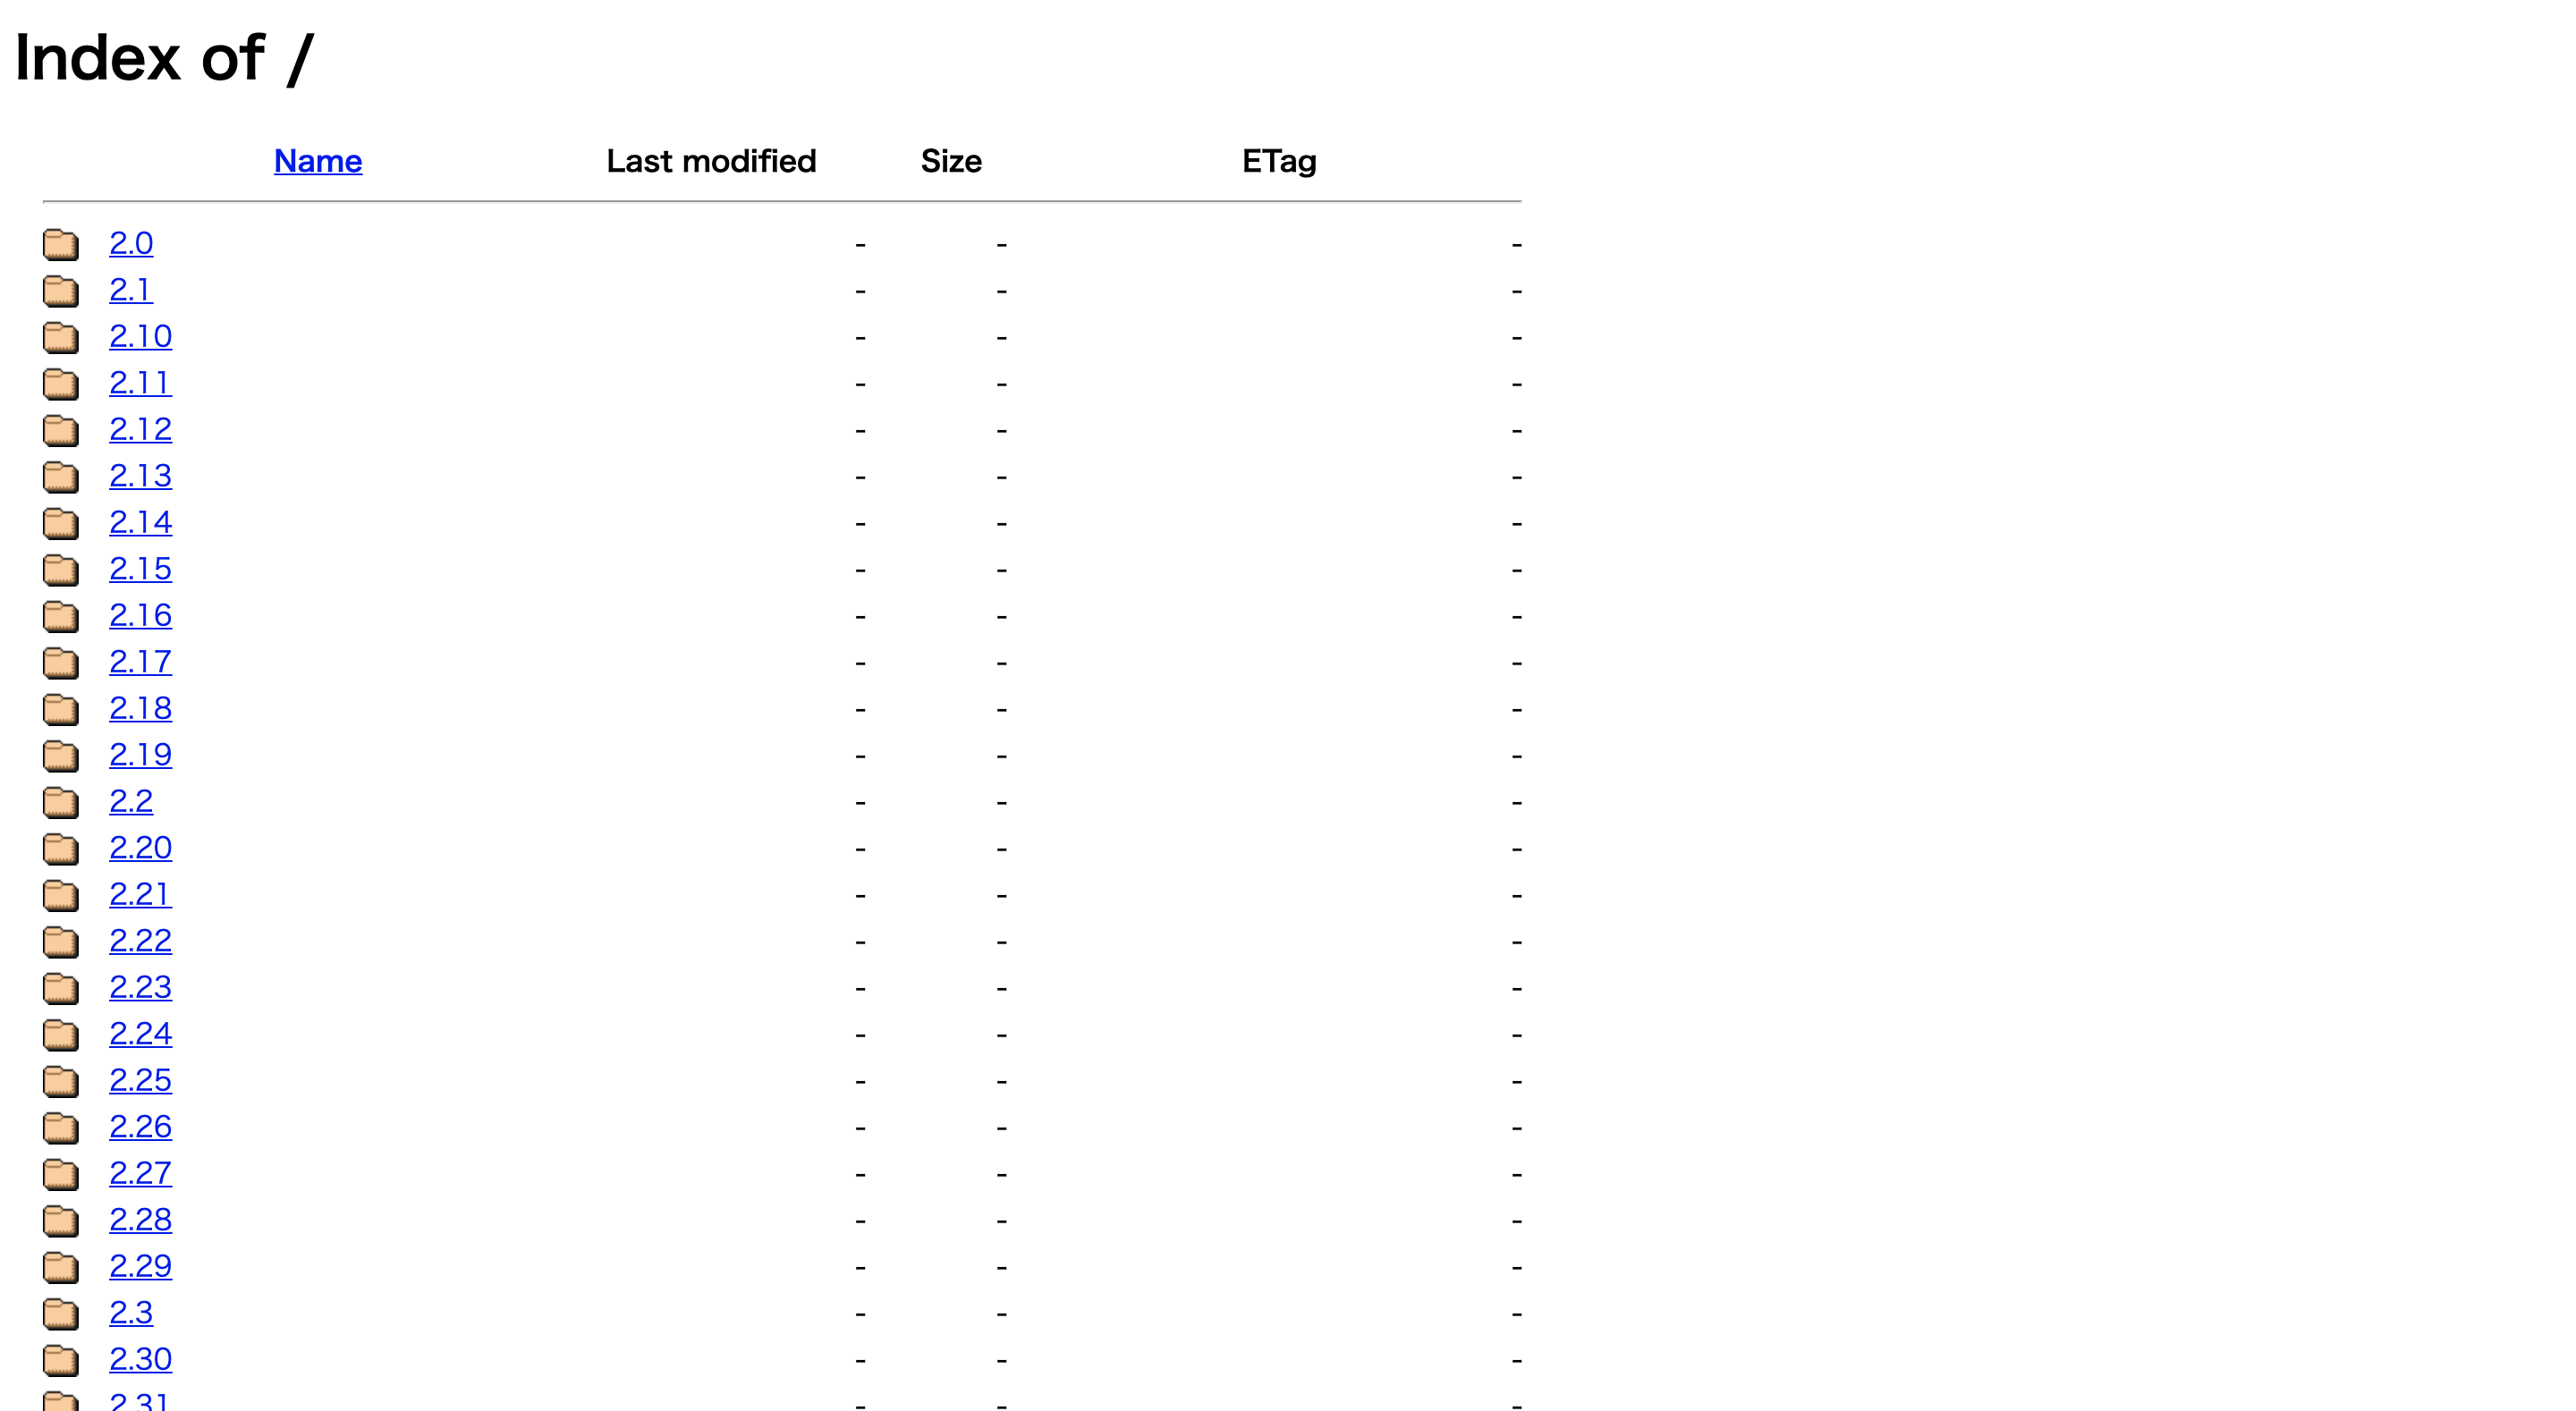
主要なブラウザで動作させるには,上記のパッケージに加えて以下のドライバをダウンロードし,実行ファイルと同じパスに配置する必要があります.
| ブラウザ | ドライバ |
|---|---|
| Chrome | chromedriver(.exe) |
| Internet Explorer | IEDriverServer.exe |
| Edge | MicrosoftWebDriver.msi |
| Firefox | geckodriver(.exe) |
| Safari | safaridriver |
今回はChromeを使用するので,上記表中のChromeドライバのページをクリックします.
バージョン86を使用するので,対象バージョンの欄をクリックします.
(どのバージョンのドライバをダウンロードするかはこちらのページを参照)
Macのドライバ(chromedriver_mac64.zip)を選択し,ダウンロードします.
zip解凍後,Nodeの実行ファイルと同じパスに配置すれば,準備は完了です.
$ cp ~/Downloads/chromedriver .
実行ファイル作成
今回は,Qiitaのトップページを開き,コンソールログを取得してみます。
実行ファイルの完成形
// ライブラリを呼び出す
const webdriver = require("selenium-webdriver");
const chrome = require("selenium-webdriver/chrome");
const { Builder } = webdriver;
const { Preferences, Type, Level } = require("selenium-webdriver/lib/logging");

// await を使うため,async function 内で処理を記述する
(async function () {
  // オプション付きでブラウザを立ち上げる
  const capabilities = webdriver.Capabilities.chrome();

  const logPrefs = new Preferences();
  logPrefs.setLevel(Type.BROWSER, Level.ALL);
  capabilities.setLoggingPrefs(logPrefs);

  const options = new chrome.Options(capabilities);

  const driver = await new Builder().forBrowser("chrome").setChromeOptions(options).build();

  // Qiitaのトップページへ遷移
  await driver.get("https://qiita.com/");

  // 5秒待機
  await driver.sleep(5000);

  // コンソールログの取得
  const consoleLogs = await driver.manage().logs().get(Type.BROWSER);

  for (let i = 0; i < consoleLogs.length; i++) {
    console.log(consoleLogs[i]);
  }

  // 終了
  await driver.quit();

})();
以下で詳細を説明します.
実行ファイルの作成
まずは新規ファイルを作成します
$ touch selenium_app.js
webdriverを呼び出す
公式のドキュメントを参考に,実行ファイル内でchromeのwebdriverを呼び出します。
また,ログを取得するために必要なwebdriver内のライブラリも呼び出します。
// ライブラリを呼び出す
const webdriver = require("selenium-webdriver");
const chrome = require("selenium-webdriver/chrome");
const { Builder } = webdriver;
const { Preferences, Type, Level } = require("selenium-webdriver/lib/logging");
ブラウザを立ち上げる
コンソールログを取得するためのオプションを指定して,ブラウザを立ち上げます。
// オプション付きでブラウザを立ち上げる
const capabilities = webdriver.Capabilities.chrome();

const logPrefs = new Preferences();
logPrefs.setLevel(Type.BROWSER, Level.ALL);
capabilities.setLoggingPrefs(logPrefs);

const options = new chrome.Options(capabilities);

const driver = await new Builder().forBrowser("chrome").setChromeOptions(options).build();
- 今回はコンソールログを取得するため,ログのタイプを
Type.BROWSERと指定していますが,デベロッパツールのNetworkの情報を取得したい場合はこの箇所をType.PERFORMANCEに変更すれば取得することができます。
ページ遷移
操作したいページのURLを指定し,そのURLへ遷移させます。
// Qiitaのトップページへ遷移
await driver.get("https://qiita.com/");
コンソールログの取得
// コンソールログの取得
const consoleLogs = await driver.manage().logs().get(Type.BROWSER);
- こちらも
Type.BROWSERの箇所をType.PERFORMANCEにすることで,デベロッパーツールのNetworkの情報を含むログ情報を取得することができます。
ドライバーの終了
// 終了
await driver.quit();
実行
実行ファイルが存在しているディレクトリに移動し,以下のコマンドを実行します。
$ node selenium_app.js
以下のような結果が表示されれば成功
Entry {
  level: Level { name_: 'DEBUG', value_: 700 },
  message: 'https://qiita.com/ - [DOM] Input elements should have autocomplete attributes (suggested: "current-password"): (More info: https://goo.gl/9p2vKq) %o',
  timestamp: 1610609498344,
  type: ''
}

