概要
- 現在、私はNuxt3を使ってアプリケーションの開発を行っています。
- 今回は勉強の一環として、Bootstrap5/FirebaseAuth/Nuxt3を使ってログイン機能を作成しました。
目次
- 全体像
- 完成品
- Bootstrapのコード
全体像
-
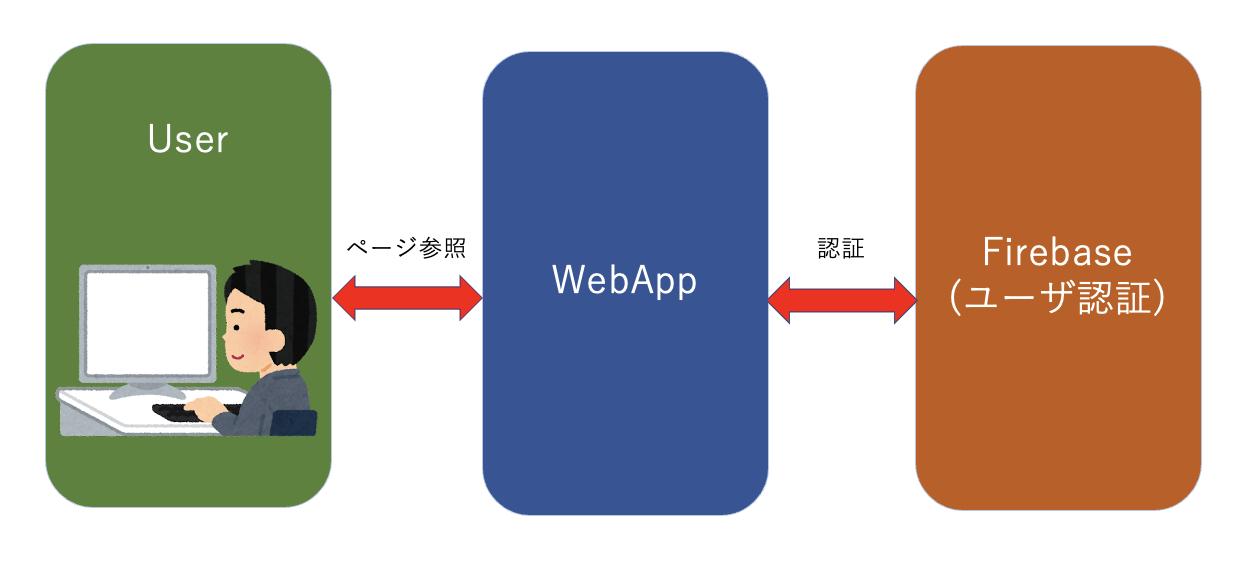
全体図
-
使用技術
-- Nuxt3 (vue.js,typescript) : ルーティングや認証処理のコーディング
-- Bootstrap5 : デザインフレームワークとしてログイン画面を作成
-- Firebase Authentication : ユーザ認証 -
作成手順
まずは、Nuxt3の公式ページに沿ってサーバを起動まで実施。
Nuxt3 Installation
https://nuxt.com/docs/getting-started/installation
続いて、Bootstrap5をインストールし、公式のページのコーディング方法を参考にしながらログイン画面を作成。
Bootstrap v5.0ダウンロード
https://getbootstrap.jp/docs/5.0/getting-started/download/
→yarn add bootstrapを実施
次にFirebaseへの登録を行い、プロジェクトを作成しSDKの準備およびAPI Keyを発行する。
Firebase Authentication
https://firebase.google.com/docs/auth?hl=ja
→Autenthicationの設定で認証で使用するメールとパスワードも登録する。
最後に、Nuxt3でルーティング方法や認証時の処理の記述を行っていく。
以下のWebページがわかりやすかった。
Nuxt3 & Firebase9でFirebase Authentication決定版
https://zenn.dev/gyumesy/articles/e1da3fafddefa2
- 設計
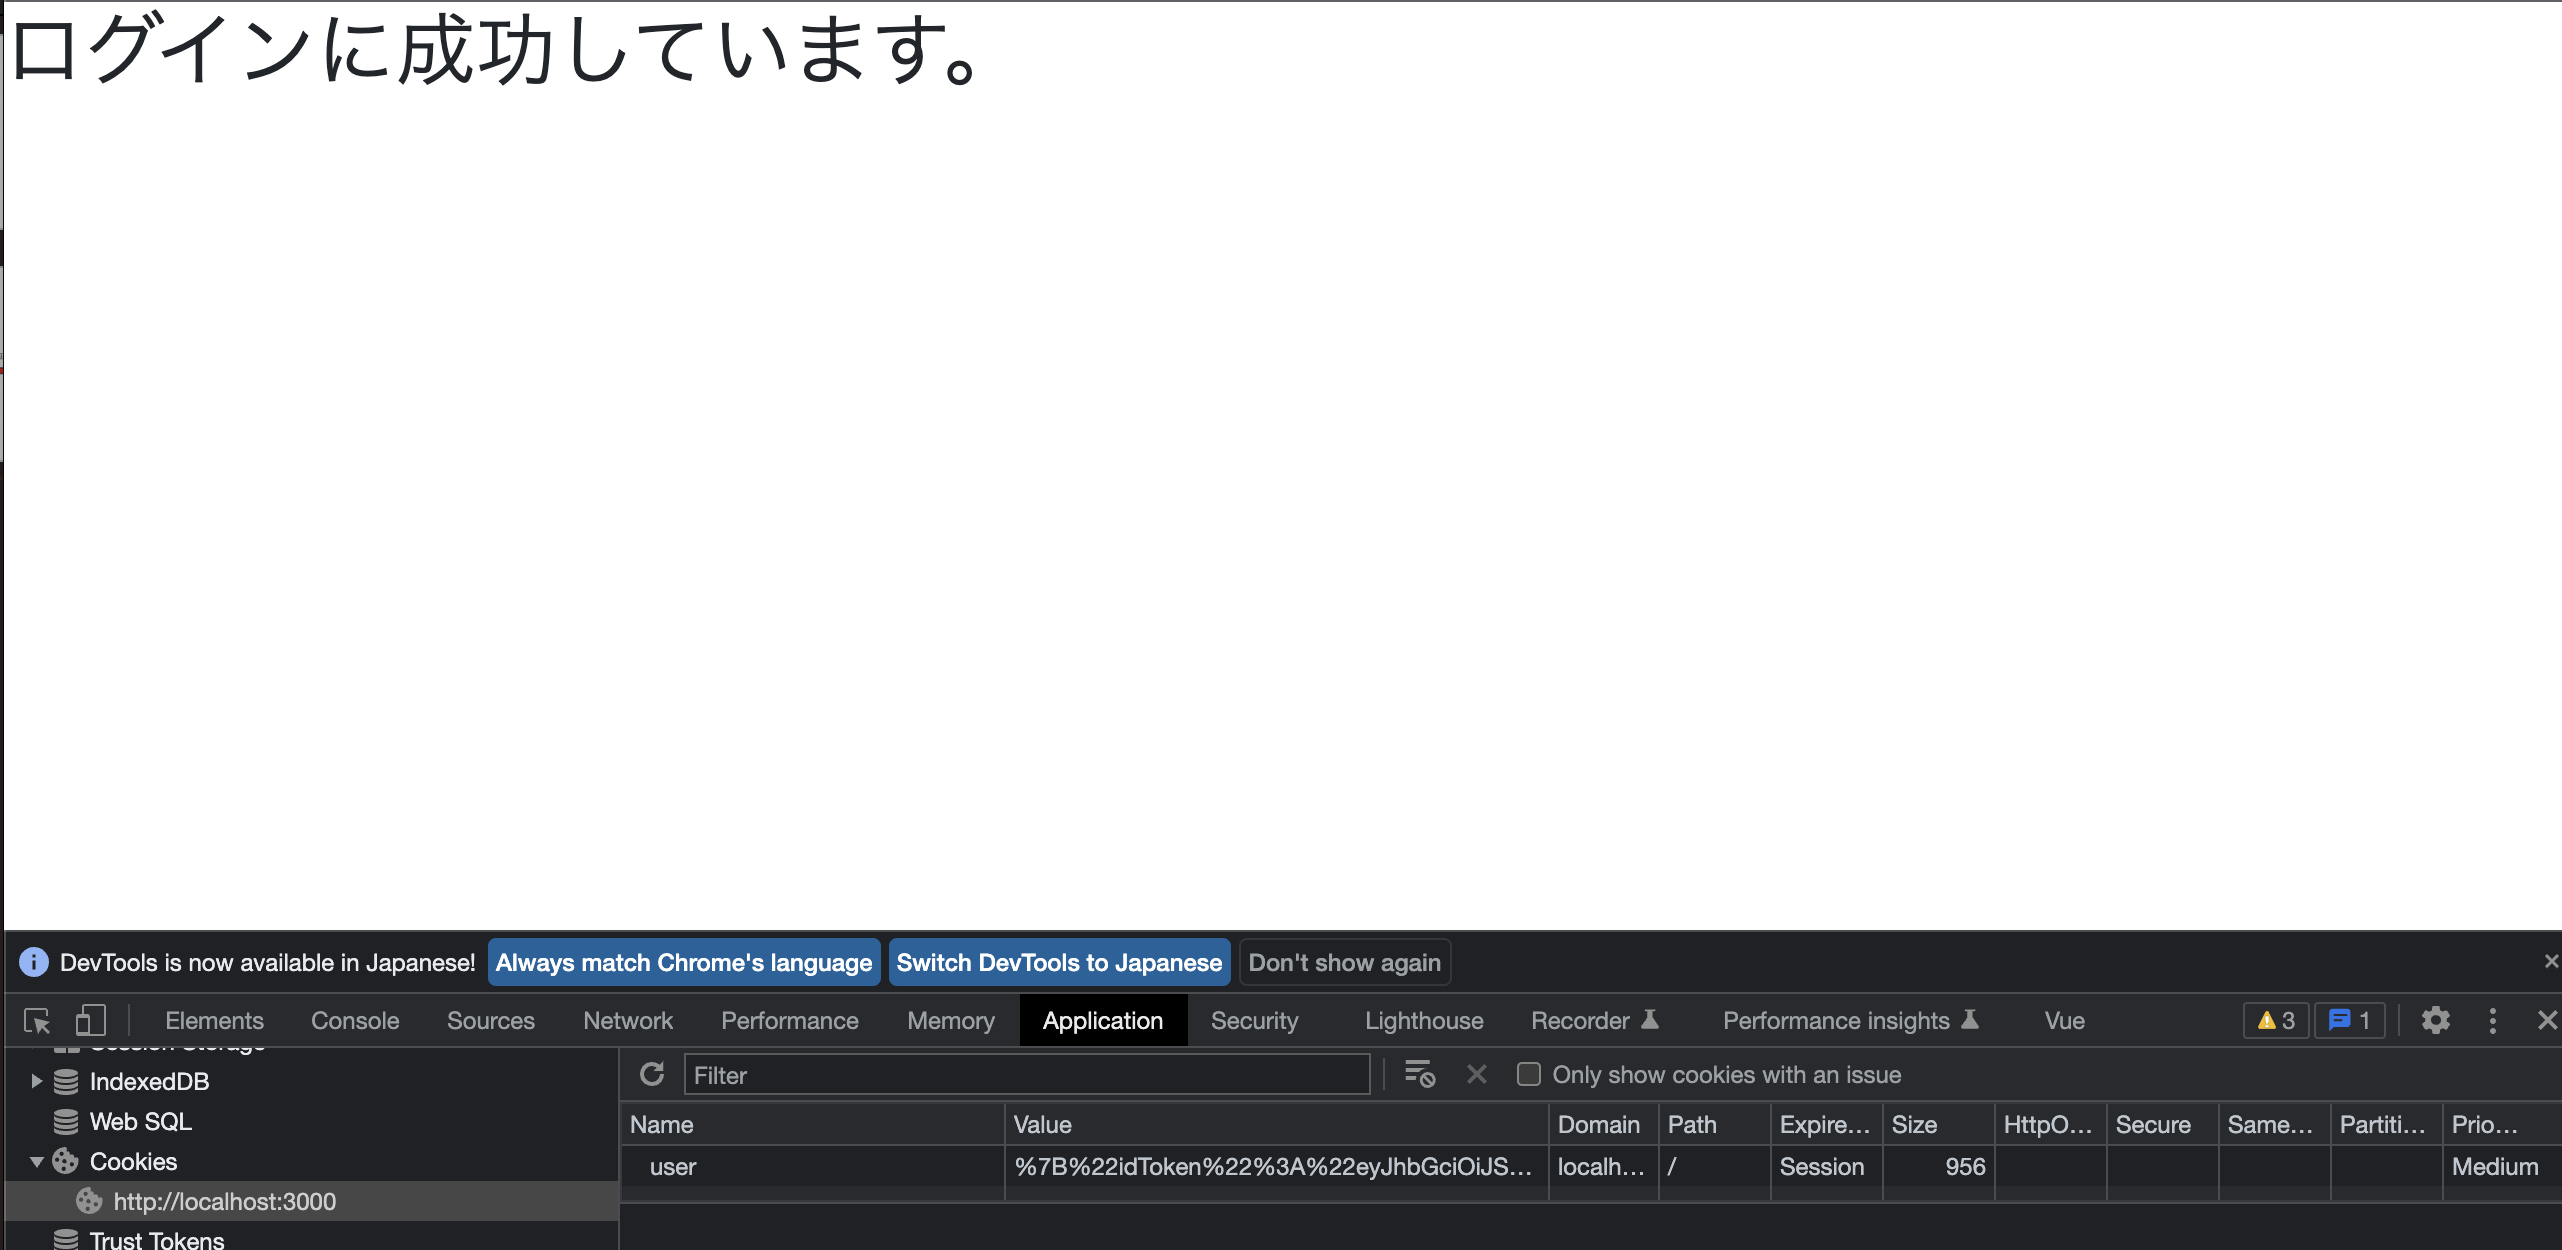
私は、クリーンアーキテクチャについて勉強中なので、なるべくその概念にそうようにディレクトリ構造やデータフローを意識しながらコードを書きました。特にログインページとトップページを分けて、ルートページ(トップページ)にアクセスしたときに認証ができていない場合、ログインページにリダイレクトするようになっています。Firebase Authで認証に成功しトークンが発行されている場合のみ、トップページにアクセスできます。
JWT認証(以下の記事がわかりやすい)を使用しており、トークンIDはCookieで管理し、リロードしてもセッションを保っています。
【JWT】 入門
https://qiita.com/knaot0/items/8427918564400968bd2b
JSON Web Token(JWT)の紹介とYahoo! JAPANにおけるJWTの活用
https://techblog.yahoo.co.jp/advent-calendar-2017/jwt/
完成品
-
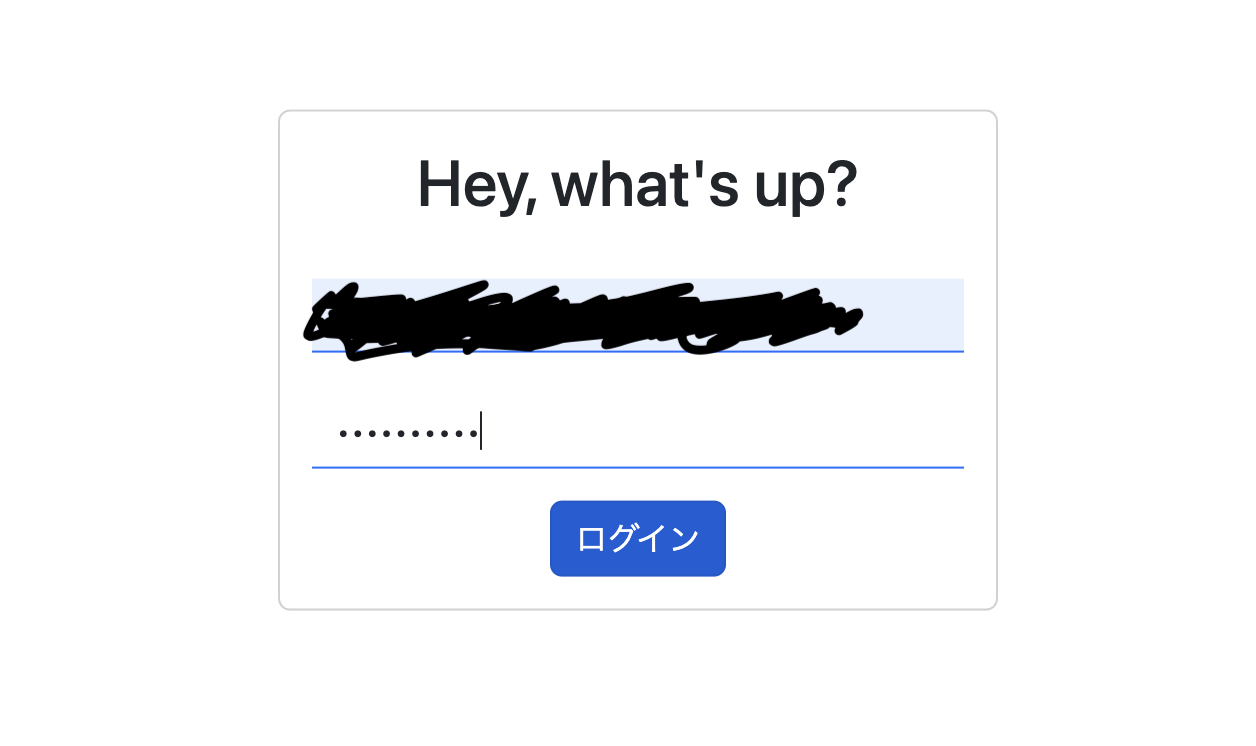
ログイン画面

-
ログイン情報を入力
-
トップページ(ログインしてる場合アクセス可能)、トークンID
Bootstrapのコード
<template>
  <div class="container">
    <div class="position-absolute top-50 start-50 translate-middle">
      <div class="card" style="width: 360px;">
        <div class="card-body">
          <h5 class="card-title text-center fs-2">Hey, what's up?</h5>
          <div class="mb-3 small">
            <label for="exampleFormControlInput1" class="form-label"></label>
            <input
              type="email"
              class="form-control underline-only"
              id="exampleFormControlInput1"
              placeholder="メールアドレス"
              v-model="email"
            >
            <label for="exampleFormControlInput1" class="form-label"></label>
            <input
              type="password"
              class="form-control underline-only"
              id="inputPassword"
              placeholder="パスワード"
              v-model="password"
            >
          </div>
          <div class="d-flex justify-content-center">
            <button type="button" class="btn btn-primary" @click="onLogin">ログイン</button>
          </div>
        </div>
      </div>
    </div>
  </div>
</template>
<script lang="ts">

//処理を記述

</script>
<style scoped>
.underline-only {
  border: none;
  border-bottom: 1px solid #0d6efd;
  border-radius: 0;
  outline: none;
  box-shadow: none;
}
</style>
Bootstrapを使用したログイン画面のコードを記載しました。
scriptタグ内の処理は省略しています。また、Bootstrapでは入力フォームを四角形にしかできなかったので、style scopedタグ内で、underline-onlyといったクラス名を定義し、下線のUIに変更しました。
おわりに
- デザインフレームワークについて、Tailwindを本当は使おうと思っていましたが、課金しないと使用できないコンポーネントが多そうだったのでBootstrapを選択しました。
- クリーンアーキテクチャやWebStorageなどの知識をより深めて、サインアウト処理やその他のコンポーネントも実装していきたいと思います。