この記事はFusic Advent Calendar 20242日目の記事です。
記念すべき1日目となる記事は清家さんの記事でした。清家さんはAWS re:Invent参加のため、今頃ラスベガスにいるはずです。参加される方、是非声をかけてみてください!
2日目となるこの記事では、AWS Amplify Gen2でCognitoのユーザーをLambdaで操作する、ということをやりました。
記事の趣旨
Amplify Gen2を最近初めて使用しました。
フロントエンドとバックエンドの境界線がなくなるような開発体験で、開発していて楽しいなと感じています。
管理画面のユーザー管理について、Cognitoを用いてユーザーを管理しています。
ドキュメントに認証についても記載があるのですが、Cognitoのユーザー一覧を取得するような管理画面でユーザーを操作する処理について記載がなさそう?でしたので、自分の実装した方法を一例として共有します。
想定読者
- AWS AmplifyやCognitoを使ったアプリ開発で、ユーザー管理画面の作り方に悩んでいる方
- AWS Amplifyどんな感じか一度触ってみたいという方
プロジェクト作成
Amplify Gen2のプロジェクトを作成します。
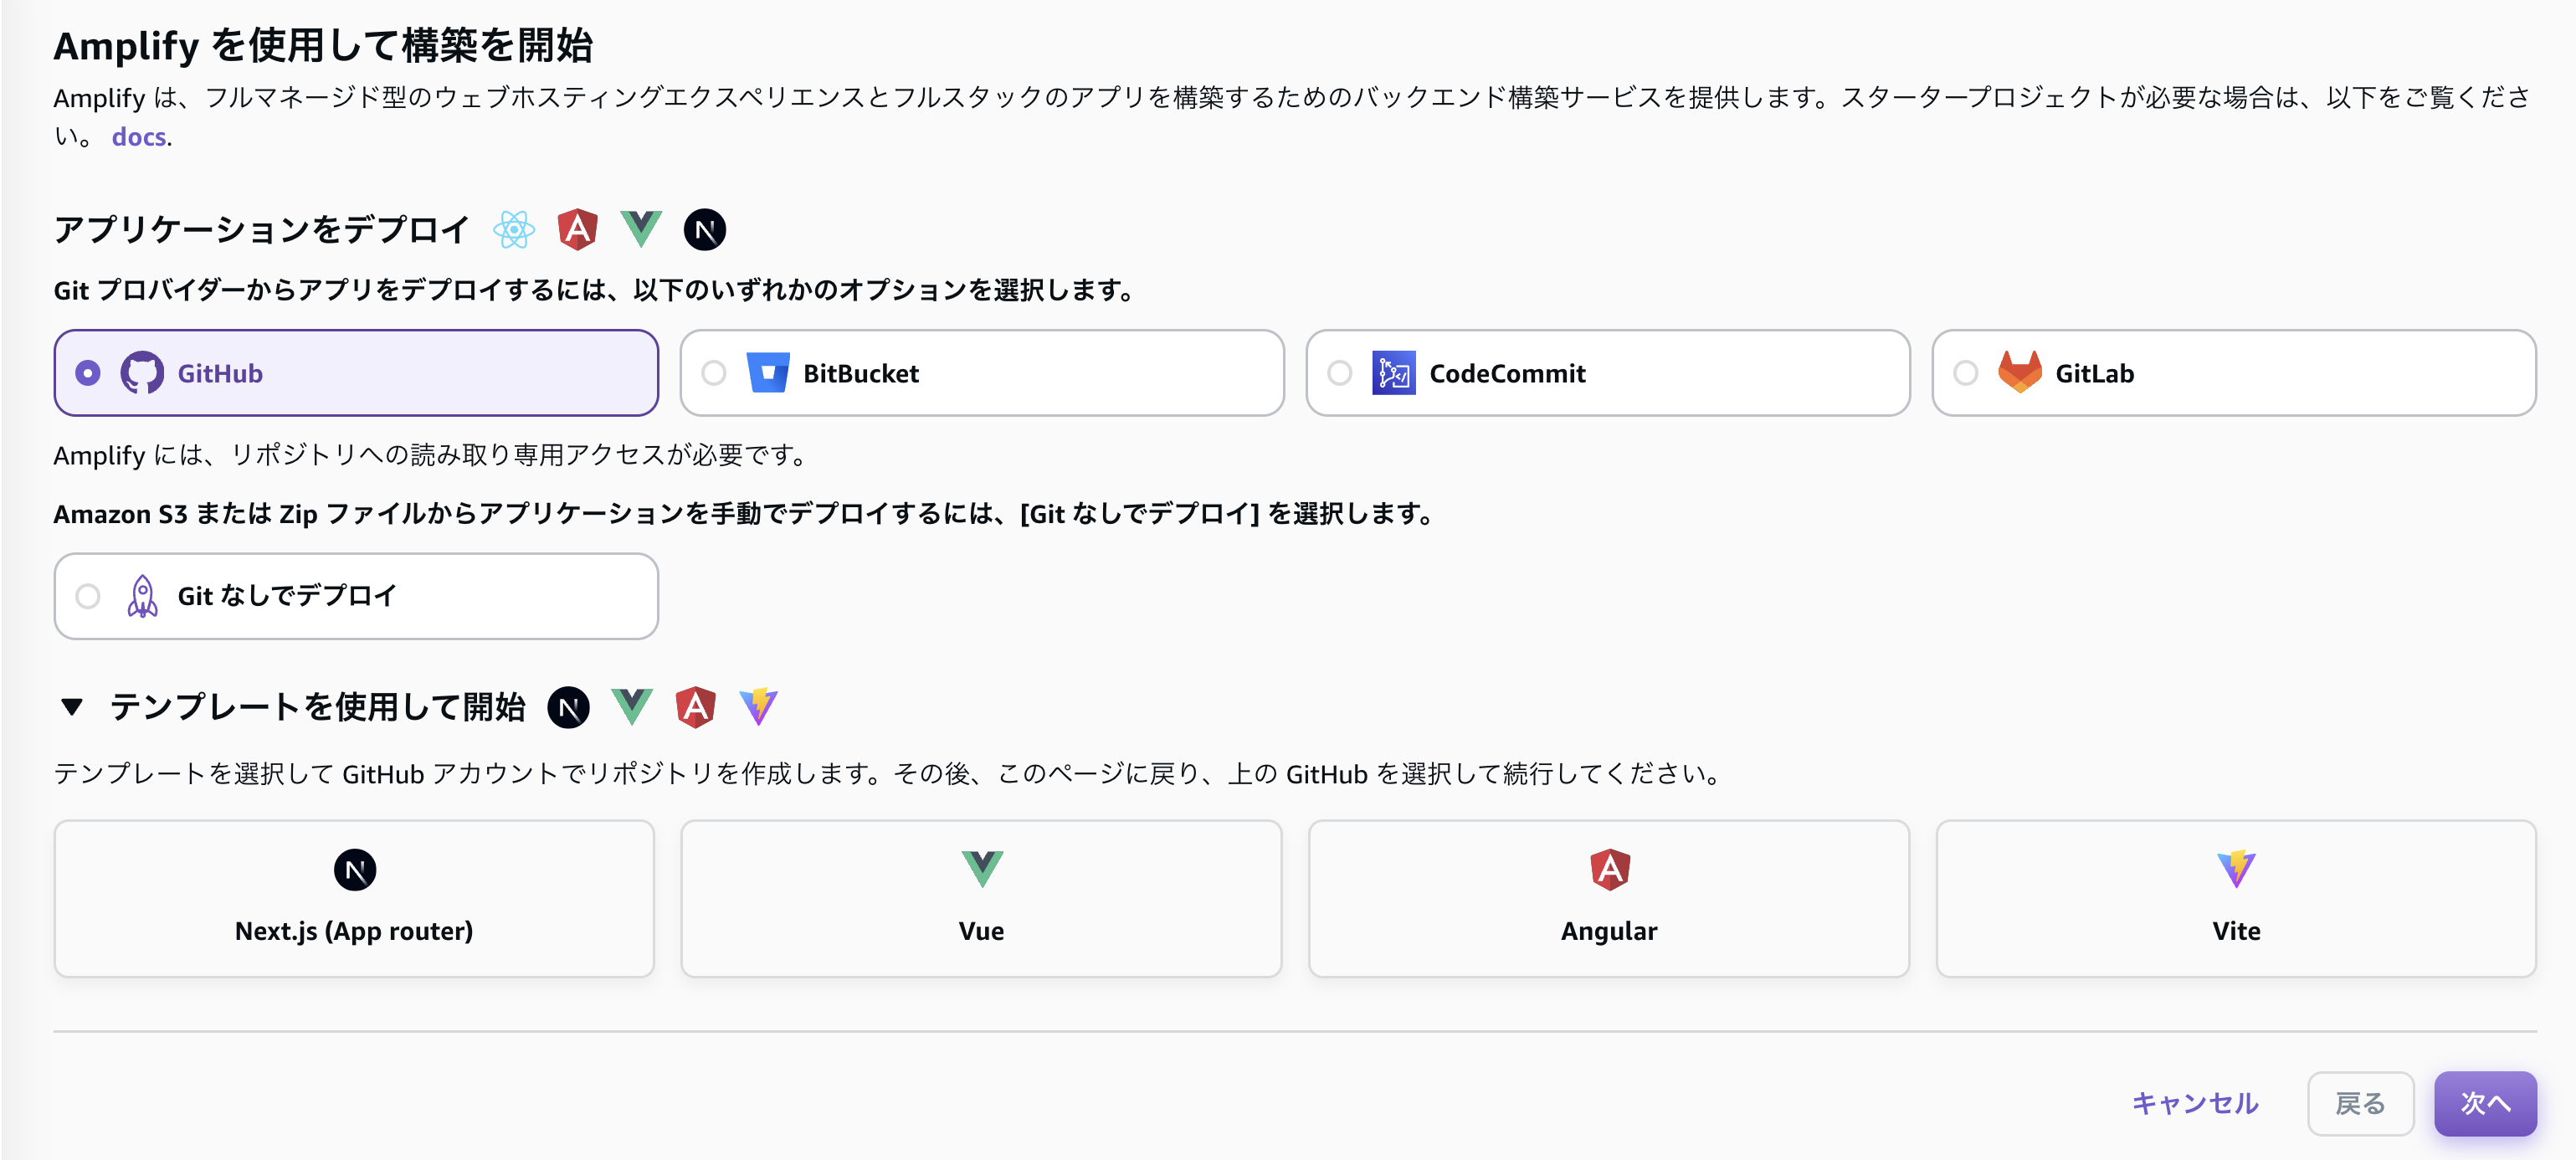
今回は以下のテンプレートを使ってリポジトリを作ります。
リポジトリを作成したら、AWSのコンソールでAmplifyを開き、新しいプロジェクトを作成。
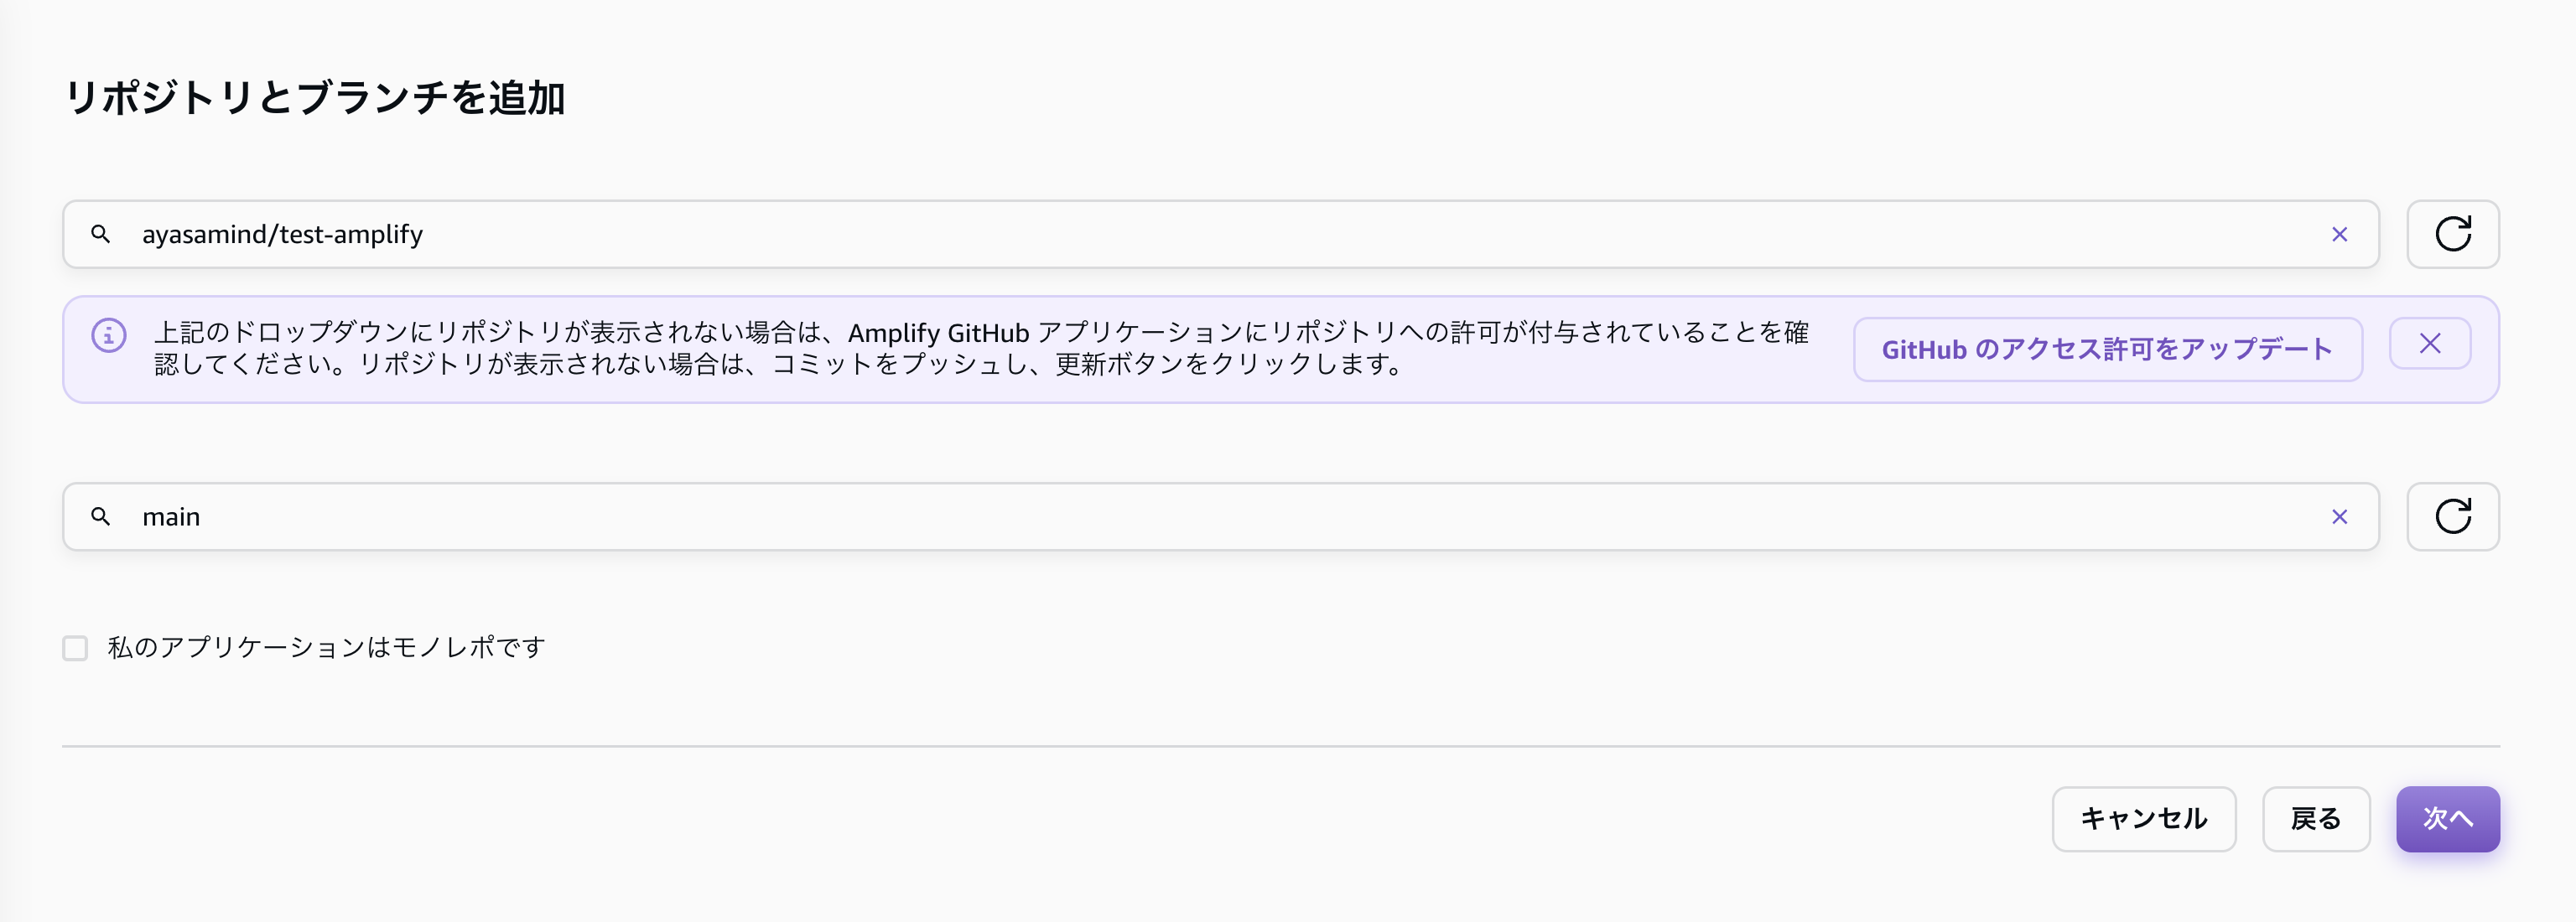
先ほどテンプレートを使って作成したリポジトリを指定。
設定も基本的にデフォルトのままでOKです。
保存してデプロイを実行すると、以下のような画面になり自動でデプロイが開始されます。
デプロイが終わるまで待ちます。
7分ほど時間がかかります。
デプロイが完了すると以下の画面が表示されます。
サンプルのTODOアプリですね。
プロジェクトの作成が完了しました!
ローカル開発の準備
プロジェクトの作成が完了したところで、ローカル開発環境を準備します。
ローカルにコードを持ってきます。
$ git clone 作成したリポジトリ
必要なライブラリをインストール
$ npm install
ローカルで実行するためのサンドボックスを作成
$ npx ampx sandbox
サンドボックスが作成されたら、別タブでローカルサーバーを立てます。
$ npm run dev
本番環境と同様にMy todosの画面がでたらOKです。
tailwindcssをインストール
デザイン部分も簡単に変更できるようにtailwindcssをインストールします。
tailwindcssの公式の手順に則って進めます。
以下を実行。
$ npm install -D tailwindcss postcss autoprefixer
$ npx tailwindcss init -p
生成されるconfigファイルは、今回JSからTSに変えておきます。
import type { Config } from 'tailwindcss';

const config: Config = {
  content: ['./app/**/*.{js,ts,jsx,tsx}', './pages/**/*.{js,ts,jsx,tsx}', './components/**/*.{js,ts,jsx,tsx}'],
  theme: {
    extend: {
      colors: {
        background: 'var(--background)',
        foreground: 'var(--foreground)',
      },
    },
  },
  plugins: [],
  corePlugins: {
    preflight: false,
  },
};
export default config;
最後に、app.cssに以下を追加します。
@tailwind base;
@tailwind components;
@tailwind utilities;
ユーザー一覧、追加の画面をつくる
まだ関数を作成していないため、一旦関数でユーザーを取得した際にユーザー一覧を表示する予定の画面と、ユーザーを作成する予定の画面をつくります。
ユーザー一覧ページ
'use client';

import { useState, useEffect } from 'react';
import { generateClient } from 'aws-amplify/data';

import { Amplify } from 'aws-amplify';
import Link from 'next/link';
import outputs from '@/amplify_outputs.json';

Amplify.configure(outputs);

import type { Schema } from '@/amplify/data/resource';
const client = generateClient<Schema>();

export default function ListUsers() {
  function listUsers() {
    // ここにユーザー一覧取得のメソッドを書く
  }
  useEffect(() => {
    listUsers();
  }, []);
  return (
    <main>
      <div className="p-6">
        <div className="flex justify-between items-center mb-4">
          <h2 className="text-2xl font-semibold">ユーザー一覧</h2>
          <button className="bg-blue-500 text-white px-4 py-2 rounded hover:bg-blue-600">
            <Link href="/users/add">新規追加</Link>
          </button>
        </div>
        <table className="min-w-full bg-white border border-gray-200">
          <thead>
            <tr>
              <th className="px-4 py-2 border-r border-b">ユーザー名</th>
              <th className="px-4 py-2 border-r border-b">メールアドレス</th>
              <th className="px-4 py-2 border-r border-b">操作</th>
            </tr>
          </thead>
        </table>
      </div>
    </main>
  );
}
ユーザー作成ページ
'use client';

import { useState } from 'react';
import { generateClient } from 'aws-amplify/data';
import { useRouter } from 'next/navigation';
import type { Schema } from '@/amplify/data/resource';
import { Amplify } from 'aws-amplify';
import outputs from '@/amplify_outputs.json';

Amplify.configure(outputs);

const client = generateClient<Schema>();

export default function AddUser() {
  const [name, setName] = useState('');
  const [email, setEmail] = useState('');
  const router = useRouter();

  const handleSubmit = async (e: React.FormEvent) => {
    e.preventDefault();
    // ここにユーザー追加のメソッドを書く
  };

  return (
    <div className="max-w-md mx-auto">
      <h1 className="text-2xl font-bold mb-4">ユーザー作成</h1>
      <form onSubmit={handleSubmit} className="space-y-4">
        <div>
          <label htmlFor="name" className="block text-sm font-medium text-gray-700">
            ユーザー名
          </label>
          <input
            id="name"
            type="text"
            value={name}
            onChange={(e) => setName(e.target.value)}
            required
            className="mt-1 p-2 block w-full border border-gray rounded-md"
          />
        </div>
        <div>
          <label htmlFor="email" className="block text-sm font-medium text-gray-700">
            メールアドレス
          </label>
          <input
            id="email"
            type="email"
            value={email}
            onChange={(e) => setEmail(e.target.value)}
            required
            className="mt-1 p-2 block w-full border border-gray rounded-md"
          />
        </div>
        <button type="submit" className="w-full bg-blue-500 text-white p-2 rounded-md">
          作成
        </button>
      </form>
    </div>
  );
}
今回ユーザーにはメールアドレスの他に、ユーザー名という独自attributeを追加してみます。
ユーザー作成関数を実装する。
やっと本題になります。
AWS Lambda上でユーザー作成の関数を作成します。
Cognitoの操作に必要なパッケージをインストールします。
$ npm install @aws-sdk/client-cognito-identity-provider
Lambdaに必要なファイルを作成します。
import { defineFunction } from '@aws-amplify/backend';
import outputs from '../../../amplify_outputs.json';

export const addUser = defineFunction({
  name: 'addUser',
  entry: './handler.ts',
  environment: {
    USER_POOL_ID: outputs.auth.user_pool_id, // 今回使用するユーザープールを指定
  },
});
Lambda関数のコード
import { CognitoIdentityProviderClient, AdminCreateUserCommand } from '@aws-sdk/client-cognito-identity-provider';
import { Context, AppSyncResolverEvent } from 'aws-lambda';

const client = new CognitoIdentityProviderClient();

interface AddUserInput {
  username: string;
  name: string;
  email: string;
  password: string;
}

export const handler = async (event: AppSyncResolverEvent<AddUserInput>, context: Context) => {
  const { name, email } = event.arguments;

  const command = new AdminCreateUserCommand({
    UserPoolId: process.env.USER_POOL_ID,
    Username: email,
    UserAttributes: [{ Name: 'name', Value: name }],
  });

  try {
    const data = await client.send(command);
    return {
      statusCode: 200,
      body: JSON.stringify({ message: 'User created successfully', data }),
    };
  } catch (error) {
    return {
      statusCode: 500,
      body: JSON.stringify({ message: 'Error creating user', error }),
    };
  }
};
関数をAmplifyに登録します。
import { type ClientSchema, a, defineData } from "@aws-amplify/backend";
import { addUser } from './../functions/addUser/resource'; // 追加

/*== STEP 1 ===============================================================
The section below creates a Todo database table with a "content" field. Try
adding a new "isDone" field as a boolean. The authorization rule below
specifies that any user authenticated via an API key can "create", "read",
"update", and "delete" any "Todo" records.
=========================================================================*/
const schema = a.schema({
  Todo: a
    .model({
      content: a.string(),
    })
    .authorization((allow) => [allow.publicApiKey()]),

  // 追加
  addUser: a
    .mutation()
    .arguments({
      name: a.string().required(),
      email: a.string().required(),
    })
    .returns(a.json())
    .authorization((allow) => [allow.publicApiKey()]) // 今回はPublicで作成できる形にします。
    .handler(a.handler.function(addUser)),
});

export type Schema = ClientSchema<typeof schema>;

export const data = defineData({
  schema,
  authorizationModes: {
    defaultAuthorizationMode: "apiKey",
    apiKeyAuthorizationMode: {
      expiresInDays: 30,
    },
  },
});
import { defineBackend } from '@aws-amplify/backend';
import { auth } from './auth/resource.js';
import { data } from './data/resource.js';
import { addUser } from './functions/addUser/resource'; // 追加

const backend = defineBackend({
  auth,
  data,
  addUser, // 追加
});

// 追加
const userPool = backend.auth.resources.userPool;
const addUserFunc = backend.addUser.resources.lambda;
userPool.grant(addUserFunc, 'cognito-idp:AdminCreateUser'); // Lambdaに対してユーザー作成の権限を付与します
以上でLambda関数が作成、登録できました。
npx ampx sandboxを実行していれば、AWS上のリソースが自動で作成されます。
AWSコンソールでLambdaを開くと、作成されたことを確認することができます。
ここまでできたら、実際にAPIを画面から実行してみましょう。
handleSubmit内に以下を追加します。
const handleSubmit = async (e: React.FormEvent) => {
    e.preventDefault();
    // ここにユーザー追加のメソッドを書く
    const { data } = await client.mutations.addUser({
      name: name,
      email: email,
    });
    if (data) {
      const res = typeof data === 'string' ? JSON.parse(data) : data;
      console.log(res);
      if (res.statusCode === 200) {
        router.push('/users');
      } else {
        let errorMessage = 'エラーが発生しました';
        const body = JSON.parse(res.body);
        if (body.error.name === 'UsernameExistsException') {
          errorMessage = 'このメールアドレスはすでに登録されています';
        }
      }
    }
  };
実際にユーザー名とメールアドレスを入力して、作成してみましょう。
この際、メールアドレスは存在するメールアドレスを入力するように注意してください。
作成後、Cognitoから初回パスワードのコードが届くためです。
作成がうまくいくと、ブラウザのconsoleに以下のように表示され、ユーザー一覧画面に遷移します。
また、以下のようなメールが届きます。
Cognitoのログイン画面をつくっていれば、このTemporaryPasswordを入力すると、ログインすることができます。(その後パスワードの変更を求められる画面に遷移します)
今回はログイン画面については解説しませんが、Amplifyの公式のドキュメントで簡単に実装できます。
(import { Authenticator } from '@aws-amplify/ui-react'; のComponentを使うだけなので本当に簡単に実装できます!)
ユーザー一覧の関数を作成する
ユーザー作成ができましたが、作成したユーザーを見れない状態です。
作成したユーザーの一覧を表示するために、関数を作成します。
手順としては、ユーザー作成の関数を作成した手順と一緒です。
import { defineFunction } from '@aws-amplify/backend';
import outputs from '../../../amplify_outputs.json';

export const listUsers = defineFunction({
  name: 'listUsers',
  entry: './handler.ts',
  environment: {
    USER_POOL_ID: outputs.auth.user_pool_id, // 今回使用するユーザープールを指定
  },
});
Lambda関数内のコード
import { name } from './../../../node_modules/@aws-amplify/graphql-api-construct/node_modules/ci-info/index.d';
import { Handler, Context, APIGatewayProxyResult, APIGatewayEvent } from 'aws-lambda';
import {
  CognitoIdentityProviderClient,
  ListUsersCommand,
  ListUsersCommandInput,
  UserType,
  AttributeType,
} from '@aws-sdk/client-cognito-identity-provider';

const client = new CognitoIdentityProviderClient();

interface CognitoUser {
  username: string;
  name: string;
  email?: string;
  status?: string;
  enabled?: boolean;
  createdAt: Date | undefined;
}

export const handler = async (event: APIGatewayEvent, context: Context): Promise<APIGatewayProxyResult> => {
  const userPoolId = process.env.USER_POOL_ID;

  if (!userPoolId) {
    console.error('USER_POOL_ID is not set');
    return {
      statusCode: 500,
      body: JSON.stringify({ error: 'Server configuration error' }),
    };
  }

  const limit = event.queryStringParameters?.limit ? parseInt(event.queryStringParameters.limit, 10) : 60;

  const params: ListUsersCommandInput = {
    UserPoolId: userPoolId,
    Limit: limit,
    PaginationToken: event.queryStringParameters?.nextToken,
  };

  try {
    const command = new ListUsersCommand(params);
    const data = await client.send(command);

    const users: CognitoUser[] = data.Users?.map(mapUserToCognitoUser) ?? [];

    return {
      statusCode: 200,
      headers: {
        'Access-Control-Allow-Origin': '*',
        'Access-Control-Allow-Headers': '*',
      },
      body: JSON.stringify({
        users,
        nextToken: data.PaginationToken,
      }),
    };
  } catch (error) {
    console.error('Error fetching Cognito users:', error);
    return {
      statusCode: 500,
      headers: {
        'Access-Control-Allow-Origin': '*',
        'Access-Control-Allow-Headers': '*',
      },
      body: JSON.stringify({ error: 'Failed to fetch users' }),
    };
  }
};

function mapUserToCognitoUser(user: UserType): CognitoUser {
  return {
    username: user.Username ?? '',
    name: findAttributeValue(user.Attributes, 'name') ?? '',
    email: findAttributeValue(user.Attributes, 'email'),
    status: user.UserStatus,
    enabled: user.Enabled,
    createdAt: user.UserCreateDate,
  };
}

function findAttributeValue(attributes: AttributeType[] | undefined, name: string): string | undefined {
  return attributes?.find((attr) => attr.Name === name)?.Value;
}
import { type ClientSchema, a, defineData } from "@aws-amplify/backend";
import { addUser } from './../functions/addUser/resource';
import { listUsers } from './../functions/listUsers/resource'; // 追加

const schema = a.schema({
  Todo: a
    .model({
      content: a.string(),
    })
    .authorization((allow) => [allow.publicApiKey()]),

  addUser: a
    .mutation()
    .arguments({
      name: a.string().required(),
      email: a.string().required(),
    })
    .returns(a.json())
    .authorization((allow) => [allow.publicApiKey()])
    .handler(a.handler.function(addUser)),

  // 追加
  listUsers: a
    .query()
    .returns(a.json())
    .authorization((allow) => [allow.publicApiKey()])
    .handler(a.handler.function(listUsers)),

  // ユーザーモデルのSchemaを定義
  User: a
    .model({
      username: a.string(),
      name: a.string(),
      email: a.string(),
    })
    .authorization((allow) => [allow.publicApiKey()]),
});
import { defineBackend } from '@aws-amplify/backend';
import { auth } from './auth/resource.js';
import { data } from './data/resource.js';
import { addUser } from './functions/addUser/resource';
import { listUsers } from './functions/listUsers/resource'; // 追加

const backend = defineBackend({
  auth,
  data,
  addUser,
  listUsers, // 追加
});

const userPool = backend.auth.resources.userPool;
const addUserFunc = backend.addUser.resources.lambda;
userPool.grant(addUserFunc, 'cognito-idp:AdminCreateUser');

// 追加
const listUsersFunc = backend.listUsers.resources.lambda;
userPool.grant(listUsersFunc, 'cognito-idp:ListUsers');
同じように、変更してnpx ampx sandboxでデプロイが完了するまで待ちます。
デプロイが完了すると、AWSコンソールで同じく関数が作成されていることが確認できます。
作成したAPIをフロントエンドで実行し、ユーザー一覧を取得・表示してみましょう!
'use client';

import { useState, useEffect } from 'react';
import { generateClient } from 'aws-amplify/data';

import { Amplify } from 'aws-amplify';
import Link from 'next/link';
import outputs from '@/amplify_outputs.json';

Amplify.configure(outputs);

import type { Schema } from '@/amplify/data/resource';
const client = generateClient<Schema>();

export default function ListUsers() {
  const [users, setUsers] = useState<Array<Schema['User']['type']>>([]);
  function listUsers() {
    // ここにユーザー一覧取得のメソッドを書く
    client.queries.listUsers().then((data) => {
        if (data && data.data) {
          try {
            const res = typeof data.data === 'string' ? JSON.parse(data.data) : data.data;
            const users = res.body ? JSON.parse(res.body).users : [];
            setUsers([...users]);
          } catch (error) {
            console.error('Error parsing JSON:', error);
          }
        } else {
          console.warn('No data received');
        }
      });
  }
  useEffect(() => {
    listUsers();
  }, []);
  return (
    <main>
      <div className="p-6">
        <div className="flex justify-between items-center mb-4">
          <h2 className="text-2xl font-semibold">ユーザー一覧</h2>
          <button className="bg-blue-500 text-white px-4 py-2 rounded hover:bg-blue-600">
            <Link href="/users/add">新規追加</Link>
          </button>
        </div>
        <table className="min-w-full bg-white border border-gray-200">
          <thead>
            <tr>
              <th className="px-4 py-2 border-r border-b">ユーザー名</th>
              <th className="px-4 py-2 border-r border-b">メールアドレス</th>
              <th className="px-4 py-2 border-r border-b">操作</th>
            </tr>
          </thead>
          <tbody>
            {users.map((user) => (
              <tr key={user.username}>
                <td className="px-4 py-2 border-r border-b">{user.name}</td>
                <td className="px-4 py-2 border-r border-b">{user.email}</td>
                <td className="px-4 py-2 border-r border-b text-center">
                </td>
              </tr>
            ))}
          </tbody>
        </table>
      </div>
    </main>
  );
}
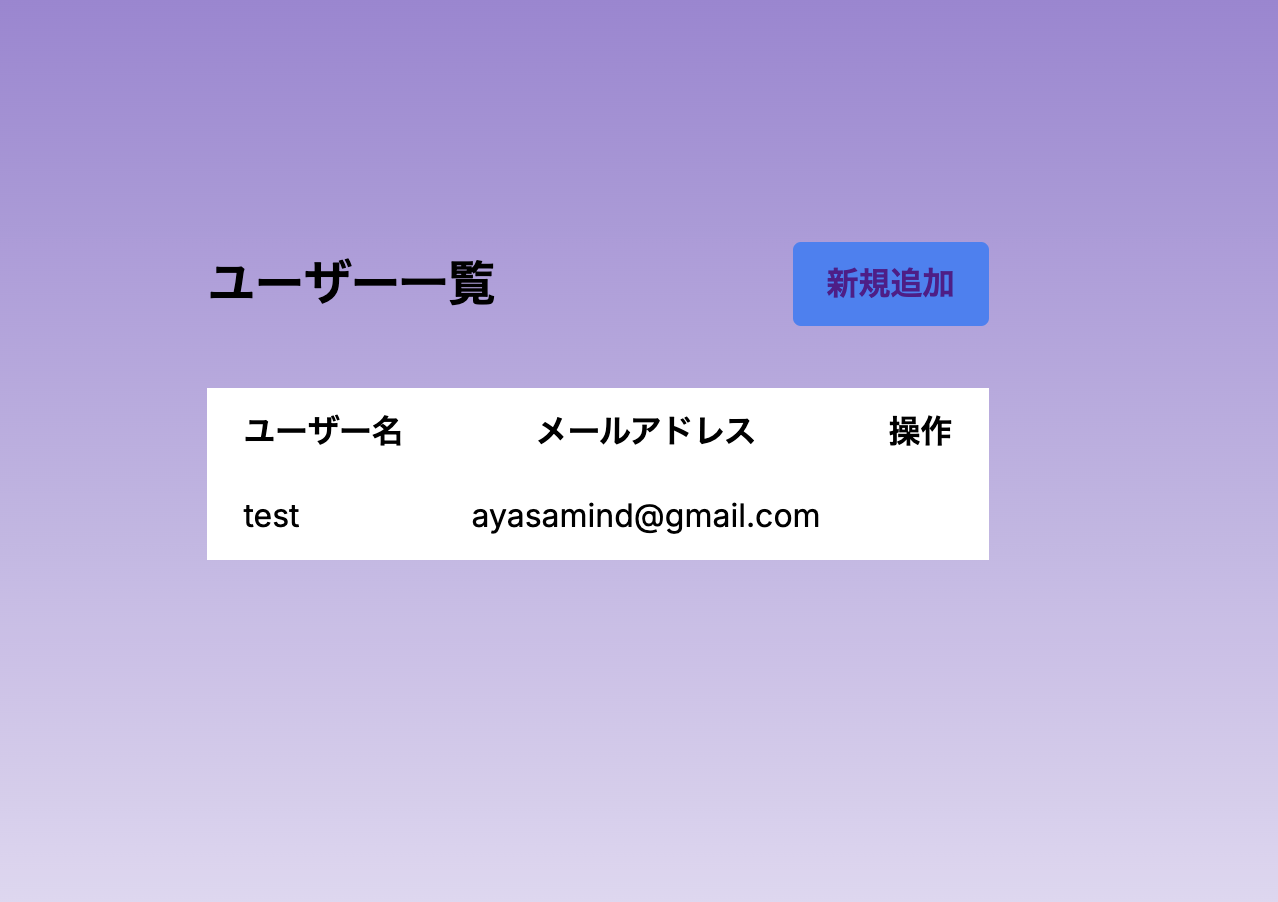
上記を実行してみると、以下のように作成したユーザー情報が表示されます。
終わりに
お疲れ様でした!
これに追加して、途中少し触れたユーザーのログイン部分についても是非実装してみてください。
それではよいAmplifyライフを!
おまけ
ユーザー追加時に来るメールを日本語化したい!という方は、amplify/auth/resource.tsに以下のように書くと簡単にできます。
import { defineAuth } from '@aws-amplify/backend';

export const auth = defineAuth({
  loginWith: {
    email: {
      verificationEmailStyle: 'CODE',
      verificationEmailSubject: 'メールアドレス認証',
      verificationEmailBody: (createCode) => `認証コードは「${createCode()}」です。`,
      userInvitation: {
        emailSubject: '新規管理ユーザー登録',
        emailBody: (user, code) => `${user()}さん 初回パスワードは「${code()}」です。`,
      },
    },
  },
});


