業務でNuxt.jsを使うことになったので、定番ですが簡単なtodoアプリを作成してみました。
本で勉強していると、どの部分から実装していけば分かりにくいところもあるので、
順を追って実装できるように書いてみました。
初めてNuxt.jsを勉強する、とりあえずNuxt.jsで動くものを作ってみたい、という方の参考になると幸いです。
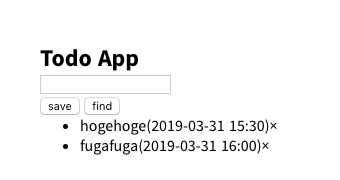
今回作成したアプリ
 todo追加/検索/削除機能のみのシンプルなtodoアプリです。前提
・Node.jsはインストール済(バージョンは現時点でv10.13.0) ・Vue.jsはある程度理解している (私はVue.js & Nuxt.js超入門で勉強していました)作成の手順
(1)Nuxt.jsのプロジェクト作成 (2)template作成 (3)store作成 (4)追加機能作成 (5)検索機能作成 (6)削除機能作成 (7)cssファイル作成この記事では(1)〜(3)、次回の記事で(4)以降について書きます。
(1)Nuxt.jsのプロジェクト作成
公式サイトに書いてある通り、Nuxt.jsはVueアプリケーションを作成するフレームワークです。 todoアプリ作成にあたり、まずはNuxt.jsのプロジェクトを作成します。 プロジェクトを作成したいディレクトリに移動し、以下のコマンドを実行します。 私はDesktopにpracticeというフォルダを作って、そこにsample-todo-appという名前のプロジェクトを作成しました。$ cd Desktop/practice
$ npx create-nuxt-app sample-todo-app
ProjectNameなど確認する表示が出てきますが、初期設定のままEnterを押していって大丈夫です。
AutherNameは自分の名前のローマ字など適当に入力してください。
installが完了したら、以下のように作成したプロジェクトに移動して実行します。
$ cd sample-todo-app
$ npm run dev
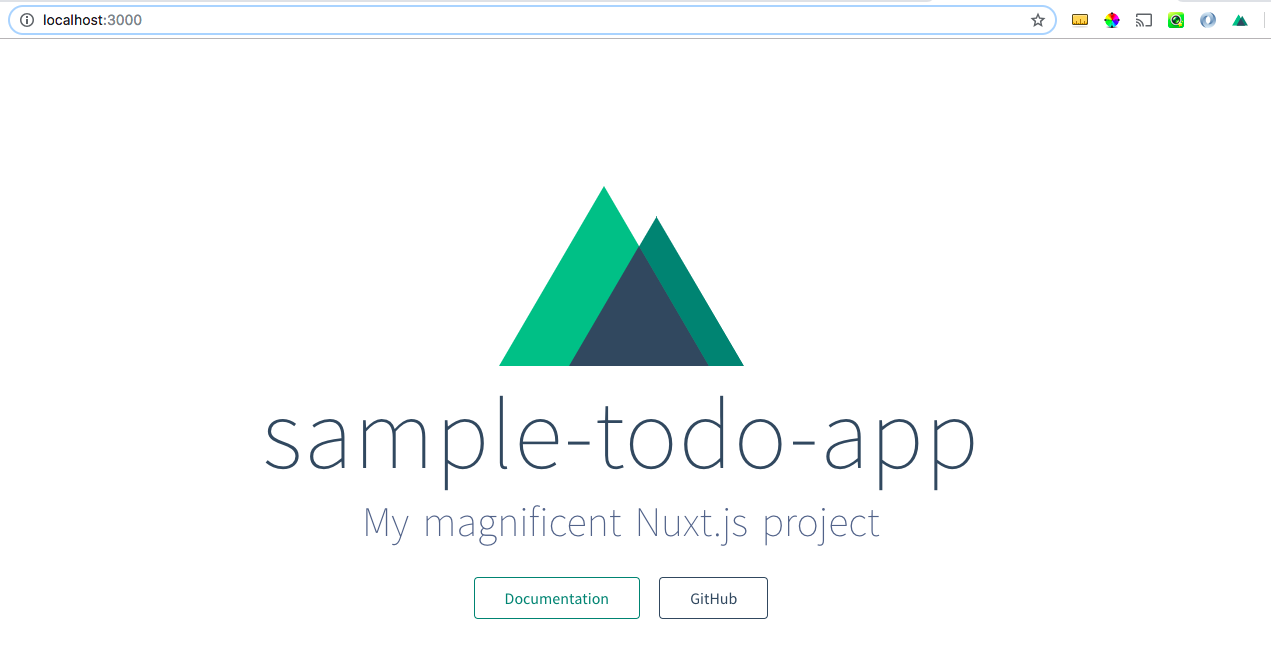
localhost:3000にアクセスして、以下の画面になっていればプロジェクトの作成は完了です。

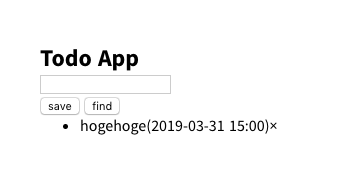
(2)template作成
作成したプロジェクトのpagesフォルダのindex.vueファイルを開いて、template部分を作成します。<template>
<section class="container">
<h1>Todo App</h1>
<p><input type="text" name="content"/></p>
<div>
<button>save</button>
<button>find</button>
</div>
<ul>
<li>
<span>hogehoge</span><span>(2019-03-31 15:00)</span><span>×</span>
</li>
</ul>
</section>
</template>
<script>
</script>
(3)store作成
続いてstoreを作成していきます。 storeフォルダの中に、index.jsという名前のファイルを作成し、以下のようにコードを書いていきます。import Vuex from 'vuex';
const createStore = () => {
return new Vuex.Store({
state: () => ({
todos: [
{content: 'hogehoge', created: '2019-03-31 15:30'},
{content: 'fugafuga', created: '2019-03-31 16:00'}
]
}),
mutations: {
insert: function(state, obj) {
var d = new Date();
var fmt = d.getFullYear()
+ '-' + ('00' + (d.getMonth() + 1)).slice(-2)
+ '-' + ('00' + d.getDate()).slice(-2)
+ ' ' + ('00' + d.getHours()).slice(-2)
+ ':' + ('00' + d.getMinutes()).slice(-2);
state.todos.unshift({
content: obj.content,
created: fmt
})
},
remove: function(state, obj) {
for(let i = 0; i < state.todos.length; i++) {
const ob = state.todos[i];
if(ob.content == obj.content && ob.created == obj.created) {
alert('remove ' + '"' + ob.content + '"');
state.todos.splice(i, 1);
return;
}
}
}
}
})
}
export default createStore;
Vuexとは?
VuexはVue.jsアプリケーションのための状態管理パターン+ライブラリです。 Nuxt.jsでは表示するページをそれぞれvueファイルとして作成しますが、すべてのページで利用するデータをまとめて保管するための仕組みがVuexです。 コンポーネントからVuexの変数や処理を利用するために$storeという値が用意されていて、その中から値などを取り出すことができます。stateの中身
todosという配列を設定し、この中にtodoを追加したり削除したりします。 todoには、todoの内容(content)とtodoが追加された日時(created)の2つのプロパティを持たせます。 (一旦仮で2つ、todoを設定しています。)mutationsの中身
stateの値を変更するための処理をmutationsの中に書きます。1つめのinsertでは、state(todos)と入力されたtodoを引数として、
入力されたtodoと入力された時間(fmt)を配列todosに追加します。
2つめのremoveでは、insertと同じくstate(todos)と入力されたtodoを引数として、
入力されたtodoの内容と日時が配列todosのtodoと一致した場合に、
「remove (todoの内容)」というalertを表示させ、配列todosから削除します。
todosの表示
ここまでできたらtodosを表示させてみます。
pagesフォルダのindex.vueを以下のように修正します。
<template>
  <section class="container">
    <h1>Todo App</h1>
    <p><input type="text" name="content"/></p>
    <div>
      <button>save</button>
      <button>find</button>
    </div>
    <ul>
      <li v-for="(todo, index) in todos" :key="index">
        <span>{{ todo.content }}</span><span>({{ todo.created }})</span><span>×</span>
      </li>
    </ul>
  </section>
</template>

<script>
import {mapState} from 'vuex';

export default {
  data: function() {
    return {
      content: ''
    }
  },
  computed: {
    ...mapState(['todos'])
  }
}
</script>

mapStateを使うことで、scriptの中ではthis.stateの名前、templateでは{{stateの名前}}でstateの値を利用することができます。
(もしエラーが表示される場合は、再起動してからもう一度localhost:3000にアクセスしてみてください)
