前提
クラスターが準備できること。
環境準備について、下記を参照してください。
https://qiita.com/awszhoubo/items/5b98d995af48d1a0e9ca
手順
- kubernetes-dashboard Podをmasterノードにデプロイするには、下記のコマンドを実行します。
admin~$ kubectl taint nodes --all node-role.kubernetes.io/master-
node/ip-172-31-41-73 untainted
error: taint "node-role.kubernetes.io/master" not found
- もし、直接下記のようにデプロイすると、workerノードにデプロイし、結局、Podの実行エラーが発生してしまいます。)
# Podの実行Errorが発生しますので、実行しないように注意!
admin~$ kubectl apply -f https://raw.githubusercontent.com/kubernetes/dashboard/v2.0.0/aio/deploy/recommended.yaml

admin~$ kubectl get pods --all-namespaces
NAMESPACE              NAME                                         READY   STATUS             RESTARTS   AGE
kube-system            coredns-558bd4d5db-4vmfk                     1/1     Running            1          88m
kube-system            coredns-558bd4d5db-79c42                     1/1     Running            1          88m
kube-system            etcd-ip-172-31-41-73                         1/1     Running            1          88m
kube-system            kube-apiserver-ip-172-31-41-73               1/1     Running            2          88m
kube-system            kube-controller-manager-ip-172-31-41-73      1/1     Running            1          88m
kube-system            kube-flannel-ds-4tkhd                        1/1     Running            1          87m
kube-system            kube-flannel-ds-fcbv5                        1/1     Running            1          56m
kube-system            kube-proxy-8pwvq                             1/1     Running            1          88m
kube-system            kube-proxy-wphv8                             1/1     Running            1          56m
kube-system            kube-scheduler-ip-172-31-41-73               1/1     Running            1          88m
kubernetes-dashboard   dashboard-metrics-scraper-5594697f48-lp9bg   0/1     CrashLoopBackOff   13         38m
kubernetes-dashboard   kubernetes-dashboard-57c9bfc8c8-bgblc        0/1     CrashLoopBackOff   11         38m

admin~$ kubectl logs kubernetes-dashboard-57c9bfc8c8-bgblc -n kubernetes-dashboard
2021/04/10 01:45:43 Starting overwatch
2021/04/10 01:45:43 Using namespace: kubernetes-dashboard
2021/04/10 01:45:43 Using in-cluster config to connect to apiserver
2021/04/10 01:45:43 Using secret token for csrf signing
2021/04/10 01:45:43 Initializing csrf token from kubernetes-dashboard-csrf secret
panic: Get https://10.96.0.1:443/api/v1/namespaces/kubernetes-dashboard/secrets/kubernetes-dashboard-csrf: dial tcp 10.96.0.1:443: i/o timeout
- デプロイ用YAMLファイルをダウンロードして、masterノードにデプロイするために、下記のように編集します。
curl https://raw.githubusercontent.com/kubernetes/dashboard/v2.0.0/aio/deploy/recommended.yaml -o dashboard.yaml
cp dashboard.yaml dashboard.yaml.bak

vi dashboard.yaml
---
kind: Service
apiVersion: v1
metadata:
  labels:
    k8s-app: kubernetes-dashboard
  name: kubernetes-dashboard
  namespace: kubernetes-dashboard
spec:
  ports:
    - port: 443
      targetPort: 8443
      nodePort: 32500                   #Added ①
  type: NodePort                        #Added ②
  selector:
    k8s-app: kubernetes-dashboard
---
    spec:
      nodeName: ip-172-31-41-73         #Added ③
      containers:
        - name: kubernetes-dashboard
---
    spec:
      nodeName: ip-172-31-41-73         #Added ④
      containers:
        - name: dashboard-metrics-scraper
---

diff dashboard.yaml.bak dashboard.yaml
42a43,44
>       nodePort: 32500
>   type: NodePort
187a190
>       nodeName: ip-172-31-41-73
271a275
>       nodeName: ip-172-31-41-73
- デプロイの実施
admin~$ kubectl apply -f dashboard.yaml
namespace/kubernetes-dashboard created
serviceaccount/kubernetes-dashboard created
service/kubernetes-dashboard created
secret/kubernetes-dashboard-certs created
secret/kubernetes-dashboard-csrf created
secret/kubernetes-dashboard-key-holder created
configmap/kubernetes-dashboard-settings created
role.rbac.authorization.k8s.io/kubernetes-dashboard created
clusterrole.rbac.authorization.k8s.io/kubernetes-dashboard created
rolebinding.rbac.authorization.k8s.io/kubernetes-dashboard created
clusterrolebinding.rbac.authorization.k8s.io/kubernetes-dashboard created
deployment.apps/kubernetes-dashboard created
service/dashboard-metrics-scraper created
deployment.apps/dashboard-metrics-scraper created
admin~$
- Podの確認
admin~$ kubectl get pods --all-namespaces
NAMESPACE              NAME                                         READY   STATUS    RESTARTS   AGE
kube-system            coredns-558bd4d5db-4vmfk                     1/1     Running   1          3h
kube-system            coredns-558bd4d5db-79c42                     1/1     Running   1          3h
kube-system            etcd-ip-172-31-41-73                         1/1     Running   1          3h
kube-system            kube-apiserver-ip-172-31-41-73               1/1     Running   2          3h
kube-system            kube-controller-manager-ip-172-31-41-73      1/1     Running   1          3h
kube-system            kube-flannel-ds-4tkhd                        1/1     Running   1          178m
kube-system            kube-flannel-ds-fcbv5                        1/1     Running   1          148m
kube-system            kube-proxy-8pwvq                             1/1     Running   1          3h
kube-system            kube-proxy-wphv8                             1/1     Running   1          148m
kube-system            kube-scheduler-ip-172-31-41-73               1/1     Running   1          3h
kubernetes-dashboard   dashboard-metrics-scraper-85fff7b68d-b2pkn   1/1     Running   0          17s
kubernetes-dashboard   kubernetes-dashboard-594744ddbb-gkgxs        1/1     Running   0          17s
admin~$
- Dashboard UIにログインするため、サービスアカウントを作成して、tokenを取得します。
admin~$ kubectl create serviceaccount dashboard -n default
serviceaccount/dashboard created
admin~$ kubectl create clusterrolebinding dashboard-admin -n default --clusterrole=cluster-admin --serviceaccount=default:dashboard
clusterrolebinding.rbac.authorization.k8s.io/dashboard-admin created
admin~$
# ログイン用のtokenを取得しておきます。
admin~$ kubectl get secret $(kubectl get serviceaccount dashboard -o jsonpath="{.secrets[0].name}") -o jsonpath="{.data.token}" | base64 --decode
eyJhbGciOiJSUzI1NiIsImtpZCI6InZnSXZmTHQ2WkJIQmxnVFRCcVJrTFNoVXhwbnFUdFdER0dndkFXSHlyMjQifQ.eyJpc3MiOiJrdWJlcm5ldGVzL3NlcnZpY2VhY2NvdW50Iiwia3ViZXJuZXRlcy5pby9zZXJ2aWNlYWNjb3VudC9uYW1lc3BhY2UiOiJkZWZhdWx0Iiwia3ViZXJuZXRlcy5pby9zZXJ2aWNlYWNjb3VudC9zZWNyZXQubmFtZSI6ImRhc
- ローカルのMACパソコンから、dashboard web UIにログインします。
scp -i key/kp1.pem admin@18.183.102.81:/home/admin/.kube/config ./admin.conf
# インターネット経由でアクセスするので、public ipに変更します。
vi admin.conf
# server: https://172.31.41.73:6443
server: https://18.183.102.81:6443
:wq
#  MACパソコン上で、事前にkubectlのインストールが必要です。
kubectl --insecure-skip-tls-verify --kubeconfig ./admin.conf proxy
- Dashboard UIにアクセスします。
http://localhost:8001/api/v1/namespaces/kubernetes-dashboard/services/https:kubernetes-dashboard:/proxy/
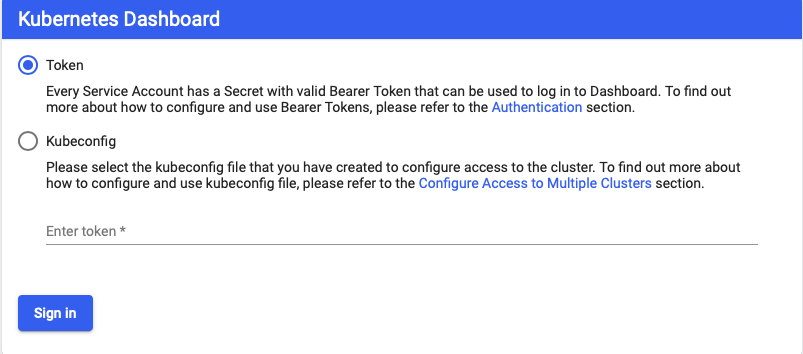
- 前に取得したtokenを入力し、Sign inボタンを押下します。
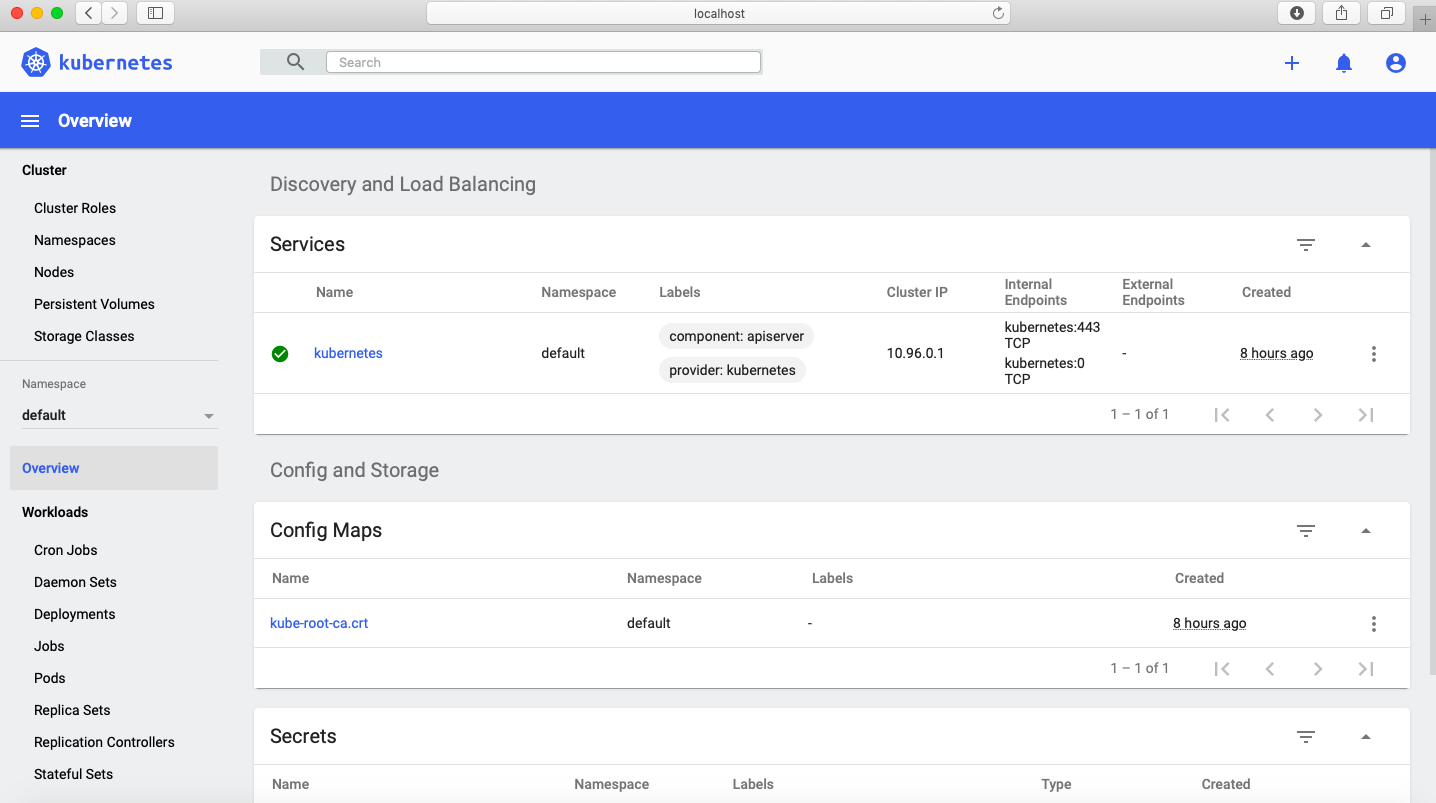
ここまで、Dashboardが利用できるようになりました!