はじめに
ゲームを作る練習として初心者がUnityを使って、強制横スクロールアクションゲームを作るお話です。出来るだけ細かくどのような作業をしたか書いていくつもりです。今回は以下の続きです。
*強制横スクロールアクションゲームを作る_1 ~Unityで画像をObjectとして使う,Colliderをつける~
仕様
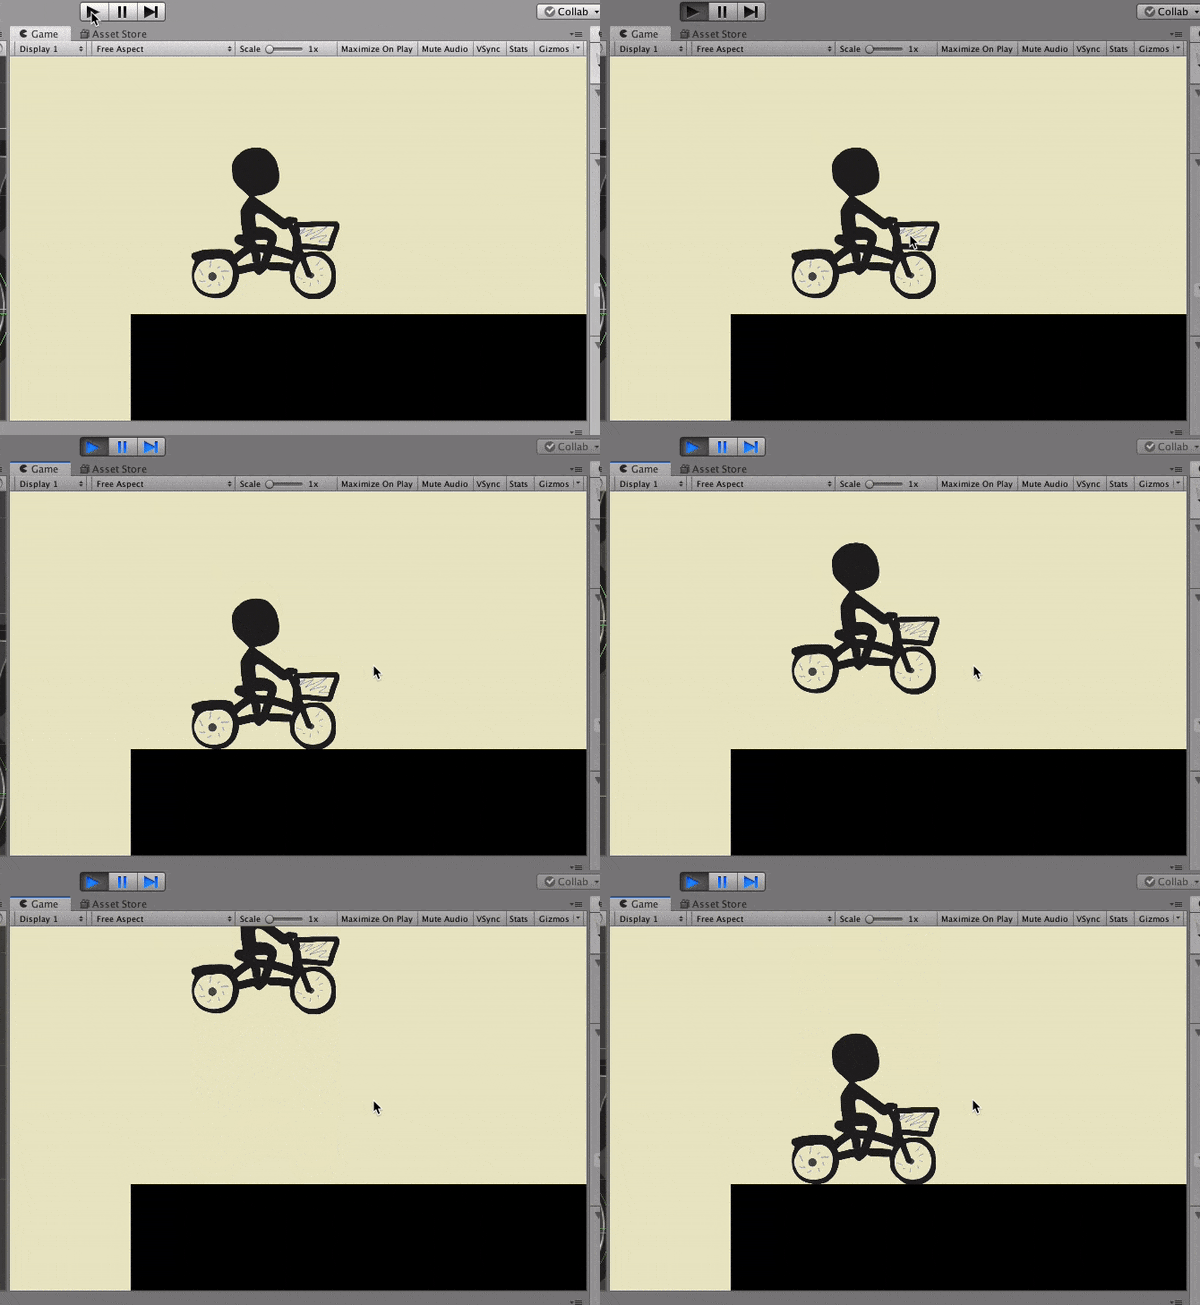
自転車に乗った人(=Player)が穴に落ちないようにジャンプして進むシンプルなゲームです。
- Playerは右方向に等速で進んでジャンプは3段ジャンプまで
- 床がランダムに生成されて、大きすぎる穴ができないように
- Playerが床の横側にぶつかった時、画面下に落ちた時にゲームオーバー
- 右上に進んだ距離を表示
- ゲームオーバーになるとゲーム終了の画面でその距離を表示
開発
ものすごくシンプルな仕様を元にゲームを作り始めました。
今回使用したUnityのバージョンは2019.2.6f1で、2Dのプロジェクトにしました。
3.Playerの移動(強制右スクロール)
まずProjectタブの中にあるAssets内で
右クリック --> Create --> C# Script
とした後、PlayerControllerと名前をつけておきます。これをダブルクリックして編集します。
using System.Collections;
using System.Collections.Generic;
using UnityEngine;

public class PlayerController : MonoBehaviour
{
    private float STEP = 5.0f;

    void Update()
    {
        //右向きに等速で進む
        this.transform.position += new Vector3(STEP * Time.deltaTime, 0, 0);
    }
}
このスクリプトをHierarchy内のPlayerにドラックでアタッチすることでPlayerが右向きに直進します。
続いて、カメラがPlayerを追跡するようにHierarchy内のMain Cameraに新しい以下のスクリプトをアタッチしておきます。
ついでにCameraのInspectorの中にあるBackgroundを編集して背景の色を好きな色にしておきましょう。
using System.Collections;
using System.Collections.Generic;
using UnityEngine;

public class CameraController : MonoBehaviour
{
    private float px;

    void Update()
    {
        px = GameObject.Find("Player").transform.position.x;
        this.transform.position = new Vector3(px, 0, -20.0f);
    }

}
これで右向きにPlayerが等速で移動できます。床を長くして確かめてみてください。

4.Playerのジャンプ
先ほど作ったPlayerControllerにこのスクリプトを追加することで、以下の実装ができます。
- クリックでジャンプ
- ジャンプは空中でも可能だが、三段ジャンプまで
- ジャンプ力は1回目2回目3回目が同様になるように
public class PlayerController : MonoBehaviour
{
    Rigidbody2D rigid2D;
    private Vector2 velocity;
    public float JUMP_POWER;
    private int MAX_JUMP_COUNT = 3;
    private int jumpCount = 0;
    private bool jump = false;
    [SerializeField] ContactFilter2D filter2d;

    void Update()
    {
        //クリックでJumpをtrueにしてジャンプ、
        //空中で3回以上ジャンプしてたらジャンプできない
        if (jumpCount < MAX_JUMP_COUNT && Input.GetMouseButtonDown(0))
        {
            jump = true;
        }
        if (jump)
        {
            // 速度をゼロにして、2回目のジャンプも1回目と同じ挙動にする
            this.rigid2D = GetComponent<Rigidbody2D>();
            rigid2D.velocity = Vector2.zero;

            //ジャンプさせる
            this.rigid2D.AddForce(transform.up * JUMP_POWER);

            //ジャンプ回数をカウント
            jumpCount++;

            jump = false;
        }
        // 床に着地したか判定し、床に接地したら3段ジャンプできるようにする
        if (GetComponent<Rigidbody2D>().IsTouching(filter2d))
        {
            jumpCount = 0;

        }
    }
}
InspectorでPlayerControllerのスクリプトを開いて、publicにしておいたJUMP_POWERの大きさを調整します。合わせてPlayerのRigidbody 2Dの中にあるMass(重さ)を調整します。
ちなみに速度を0にする部分は非常に大事です。
AddForceというのは力を加える関数なので、物理法則で速度を決定してしまいます。Playerがどんな速度で空中にいても同じ空中ジャンプをキメるためには、AddForceをする前にPlayerの速度を0にしておく必要があります。
また上向きのジャンプを安定させるためにPlayerオブジェクトを選択して、Inspector内のRigidbody 2DコンポーネントにあるConstraintsというところで、Freeze RotaionのZにチェックを入れました。こうすることでPlayerの上向きの力は常に画面に対して上向きの力になり、ジャンプが安定します。
接地判定は以下を参考にしました。
まとめ
自転車に乗った人が右向きに強制スクロールで進んで三段ジャンプできるようにしました。
