はじめに
こんにちは、あつくりです。
現在は某CtoCサービスの会社でアプリエンジニアをやっております。
「ReactNativeでアプリを作ってくれ!」と言われたものの、何もわからない状態からドキュメント読んでごりごり作っていく中で日本語の記事があんまないな〜と思ったので、少しでも日本人エンジニアに「ReactNativeはいいぞ!」と伝えたいので簡単なチュートリアルを作ってみました。
内容としては、githubのリポジトリを検索するというごくシンプルなアプリです。
実際に触ってみて、ReactNativeの良さを知ってもらえたらなと思います。
expoでプロジェクトを作る
nodejsが必要なので、インストールしていない方はnodejsのインストールから始めてくださいまし
詳細→https://expo.io/learn
expoのcliをインストール
npm install expo-cli --global
インストールに成功したらinitでreactプロジェクトを作成します
expo init react-native-github
この時、? Choose a templateと聞かれますが
、今回は必要なものだけで作るのでexpo-template-blankを選択します。
ライブラリ管理についてyarnかnpmかも聞かれますが、お好きな方を選んでください。
作成したら、リポジトリに移動して
expo start
するとMetro Bundlerっていうのが立ち上がります。
それぞれのシミュレータで動かせるので、iOSかAndroid、好きなやつを選んでね(シミュレータ入れてない人はインストールしてね)

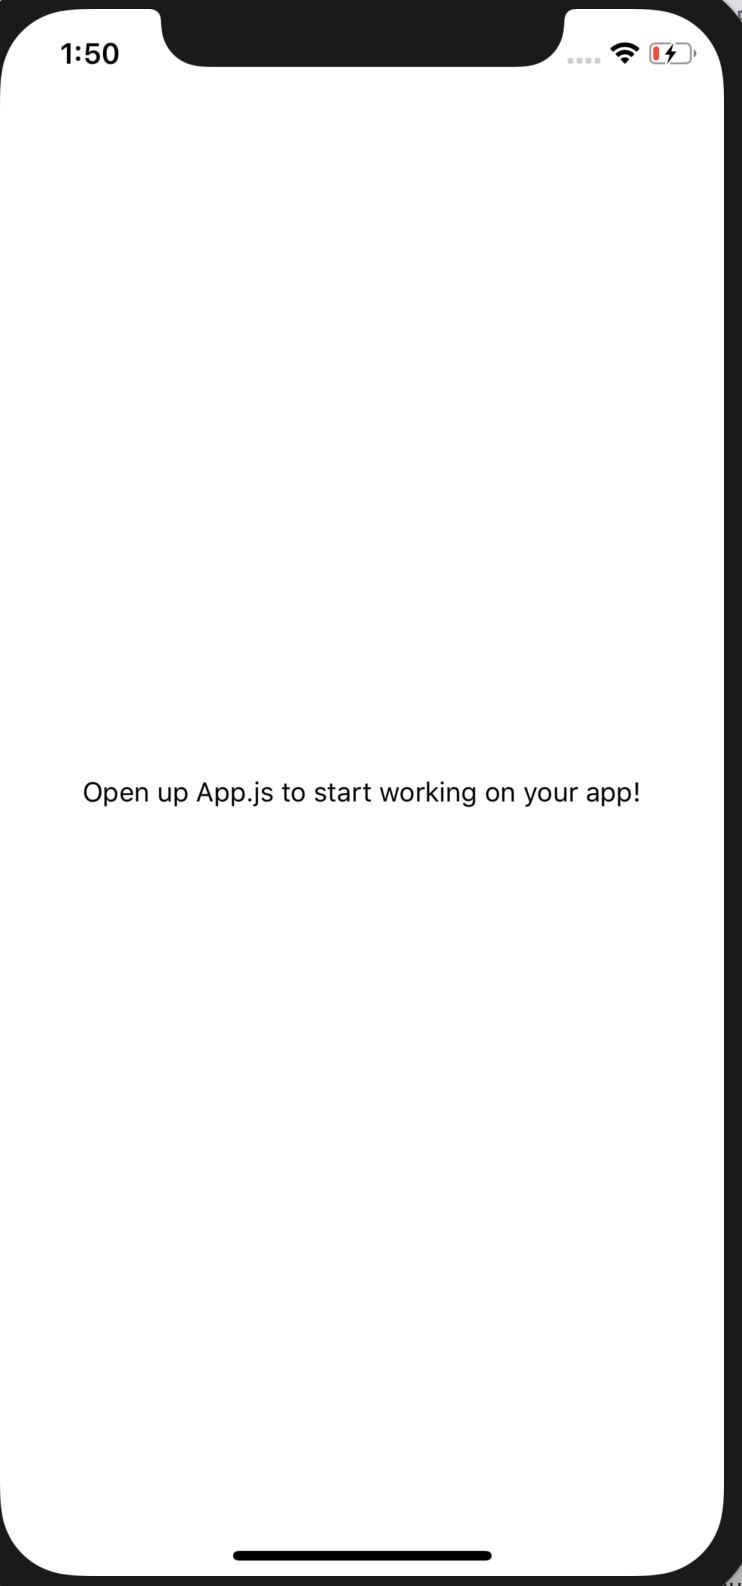
この画面が出たら成功!やったね!
実装していく
今回は非常にシンプルなgithubのリポジトリ検索ツールを作ります。
github APIを使用するので、事前にtokenを発行しておいてください。
https://github.com/settings/tokens/new
今回は理解のしやすさを重視するため、コンポーネントの切り出しなどは行わず、一つのjsファイルに機能全てを書いちゃいます。
まず、App.jsの書き換えをします
import React from "react";
import SearchScreen from "./SearchScreen";
export default function App() {
  return <SearchScreen />;
}
こんな感じで、メインの画面を実装するSearchScreenをimportし、コンポーネントとしてreturnだけしておきます。
次に、SearchScreen.jsを作成し、ディレクトリ直下に配置します。
作成が完了したら、いざコンポーネント作成!
検索バーを作る
import React from "react";
import { Text, SafeAreaView, TextInput, View } from "react-native";

export class SearchScreen extends React.Component {
  constructor(props) {
    super(props);
    this.state = {
      search_value: ""
    };
  }

  changeText(text) {
    this.setState({
      search_value: text
    });

    return fetch(
      `https://api.github.com/search/repositories?q=${text}+in:name&sort=stars`,
      {
        headers: {
          "Content-type": "sapplication/json; charset=UTF-8",
          Authorization: "token " + your_access_token
        }
      }
    )
      .then(response => response.json())
      .then(responseJson => {
        console.log(responseJson.items[0]);
        this.setState({
          items: responseJson.items
        });
      });
  }

  render() {
    return (
      <SafeAreaView style={{ backgroundColor: "#23282E" }}>
        <View style={{ height: 50, backgroundColor: "#23282E" }}>
          <Text
            style={{
              fontSize: 20,
              fontWeight: "bold",
              textAlign: "center",
              color: "white",
              paddingTop: 0
            }}
          >
            Github Searcher
          </Text>
        </View>
        <TextInput
          style={{
            height: 40,
            marginHorizontal: 12,
            marginTop: 4,
            paddingLeft: 8,
            marginBottom: 20,
            backgroundColor: "white"
          }}
          onChangeText={text => this.changeText(text)}
          placeholder={"キーワードを入力"}
          value={this.state.search_value}
        />
      </SafeAreaView>
    );
  }
}

export default SearchScreen;
こんな感じで、必要なコンポーネントをバシバシ置いて行きます。
reactの基本として、render下部分と上部分に別れていて、render上ではstateの管理や関数の定義、render下ではViewの定義をするって覚えておくとイメージしやすいと思います。
出力するコンポーネントには固有のpropsを持っており、それに適当な値を渡してあげることでコンポーネントの機能を使うことができます。
詳しい内容は公式ドキュメントに書いてあります。
TextInputの場合は、onChangeTextというプロパティがあり
onChangeText={text => this.changeText(text)}
のように値を渡して上げることで、changeText関数にtextの値を渡すことが出来ます。
  changeText(text) {
    this.setState({
      search_value: text
    });

    return fetch(
      `https://api.github.com/search/repositories?q=${text}+in:name&sort=stars`,
      {
        headers: {
          "Content-type": "sapplication/json; charset=UTF-8",
          Authorization: "token " + your_access_token
        }
      }
    )
      .then(response => response.json())
      .then(responseJson => {
        console.log(responseJson.items[0]);
        this.setState({
          items: responseJson.items
        });
      });
  }
changeText関数では、TextInputから渡された値を元にgithub APIを叩いてその結果を出力しています。
setState関数はreactに標準搭載されている機能で、state情報を登録することが出来ます。
fetchのレスポンス部分でsetStateしていますよね、これはレスポンス情報を記録しておいて、次に実装するFlatListコンポーネントに渡してあげるために用意しています。
取得した値からリストを表示する
import React from "react";
import {
  Text,
  SafeAreaView,
  TextInput,
  FlatList,
  View,
  Image,
  TouchableOpacity,
  Alert,
  Linking
} from "react-native";


export class SearchScreen extends React.Component {
  constructor(props) {
    super(props);
    this.state = {
      search_value: ""
    };
  }

  changeText(text) {
    this.setState({
      search_value: text
    });

    return fetch(
      `https://api.github.com/search/repositories?q=${text}+in:name&sort=stars`,
      {
        headers: {
          "Content-type": "sapplication/json; charset=UTF-8",
          Authorization: "token " + your_access_token
        }
      }
    )
      .then(response => response.json())
      .then(responseJson => {
        console.log(responseJson.items[0]);
        this.setState({
          items: responseJson.items
        });
      });
  }

  openURL(url) {
    Linking.openURL(url).catch(err => Alert("URLを開けませんでした。", err));
  }

  render() {
    return (
      <SafeAreaView style={{ backgroundColor: "#23282E" }}>
        <View style={{ height: 50, backgroundColor: "#23282E" }}>
          <Text
            style={{
              fontSize: 20,
              fontWeight: "bold",
              textAlign: "center",
              color: "white",
              paddingTop: 0
            }}
          >
            Github Searcher
          </Text>
        </View>
        <TextInput
          style={{
            height: 40,
            marginHorizontal: 12,
            marginTop: 4,
            paddingLeft: 8,
            marginBottom: 20,
            backgroundColor: "white"
          }}
          onChangeText={text => this.changeText(text)}
          placeholder={"キーワードを入力"}
          value={this.state.search_value}
        />
        <View style={{ backgroundColor: "white" }}>
          <FlatList
            data={this.state.items}
            renderItem={({ item }) => (
              <TouchableOpacity onPress={() => this.openURL(item.html_url)}>
                <View
                  style={{
                    flexDirection: "row",
                    padding: 8,
                    borderTopWidth: 1,
                    borderColor: "#f5f5f5",
                    backgroundColor: "white"
                  }}
                >
                  <Image
                    source={{ uri: item.owner.avatar_url }}
                    style={{ height: 60, width: 60, marginRight: 12 }}
                    resizeMode="contain"
                  />
                  <View>
                    <Text
                      style={{
                        marginBottom: 4,
                        fontSize: 14,
                        color: "#508CCC",
                        fontWeight: "bold"
                      }}
                    >
                      {item.name}⭐️{item.stargazers_count}
                    </Text>
                    <Text
                      note
                      numberOfLines={2}
                      ellipsizeMode={"tail"}
                      style={{ textAlign: "left", marginRight: 80 }}
                    >
                      {item.description}
                    </Text>
                  </View>
                </View>
              </TouchableOpacity>
            )}
            enableEmptySections={true}
            style={{ marginTop: 10 }}
            keyExtractor={(item, index) => index.toString()}
          />
        </View>
      </SafeAreaView>
    );
  }
}

export default SearchScreen;
こちらが完成図のコードになります。
<FlatList
   data={this.state.items}
   renderItem={({ item }) => (
FlatListコンポーネントに先ほど保存したitemsをdataとして渡し、renderItemで繰り返し表示する子要素に値を渡しています。
あとは子要素でitemsの配列から渡されている情報を呼び出してあげるだけで完成です。
表示するだけだと少し物足りないのでTouchableOpacityにリンクを渡してweb viewを開けるようにしていますが、説明は省略します笑
完成図

実装自体はシンプルでしたが、UIを少し整えるだけでもいい感じになりますね!
webとは一味違う描画の速さも魅力の一つです。
なにより、Javascriptでアプリが作れるのは感動ですね!
React Nativeに少しでも魅力を感じてくれた方はこれを機に入門してみてください!
↓ソースコード
acculief/ReactNativeGithubSearcher: A Searching github repository app