はじめに
こんにちはメッシーです。
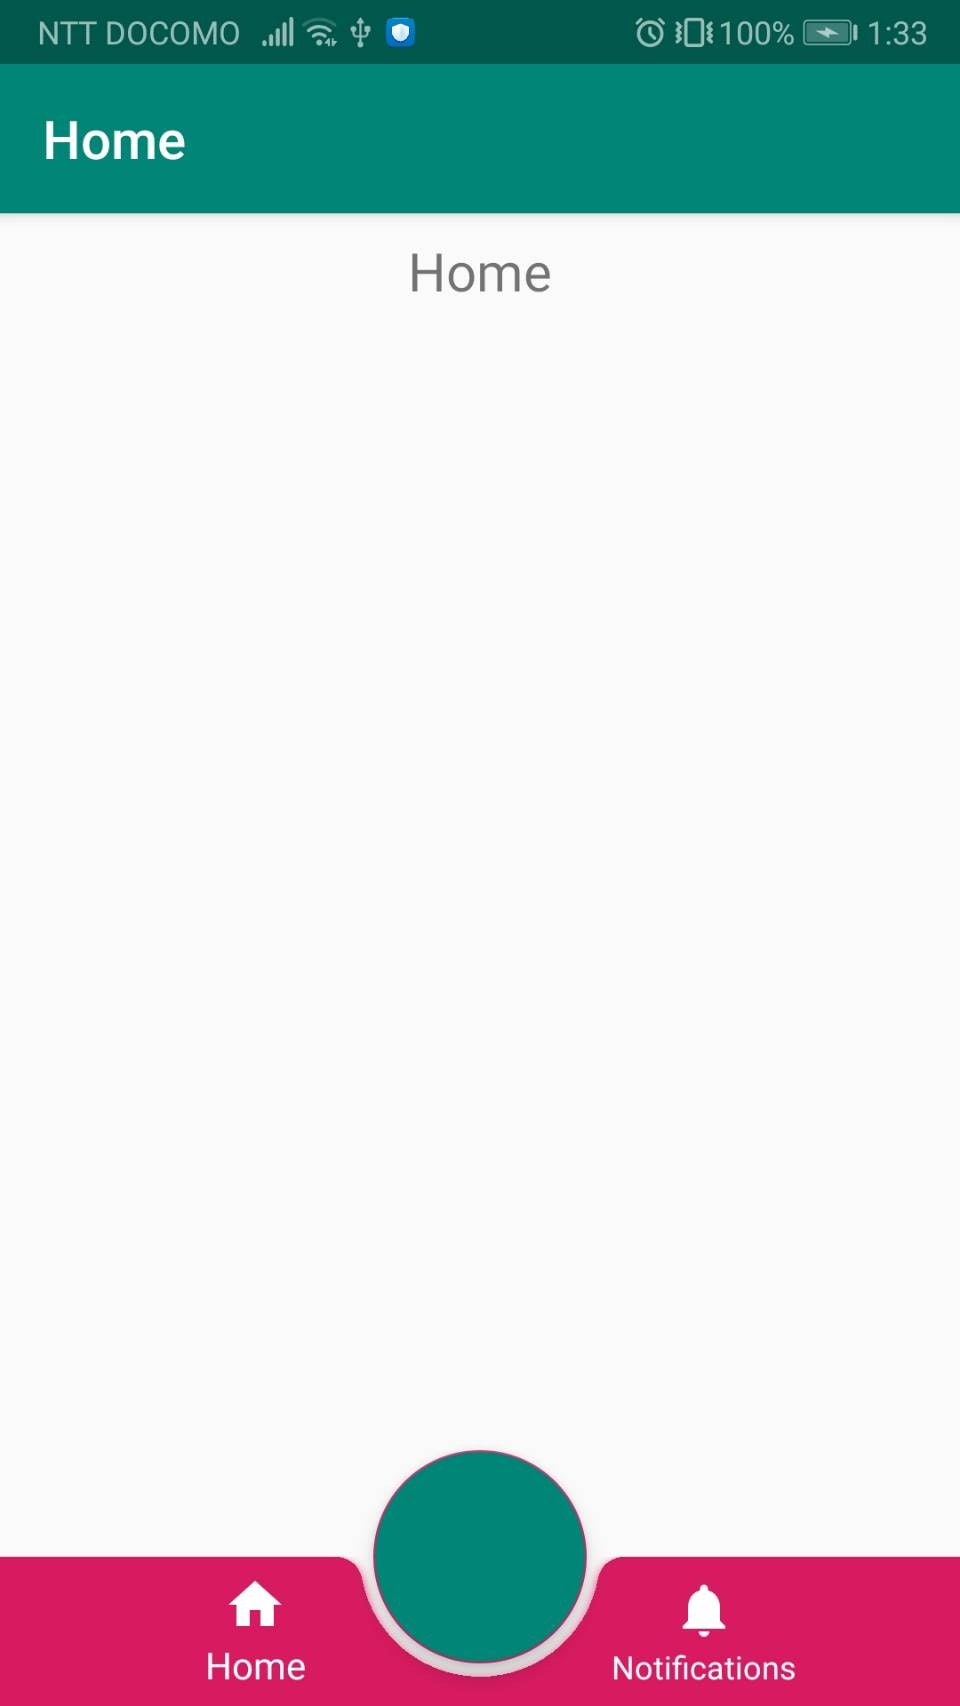
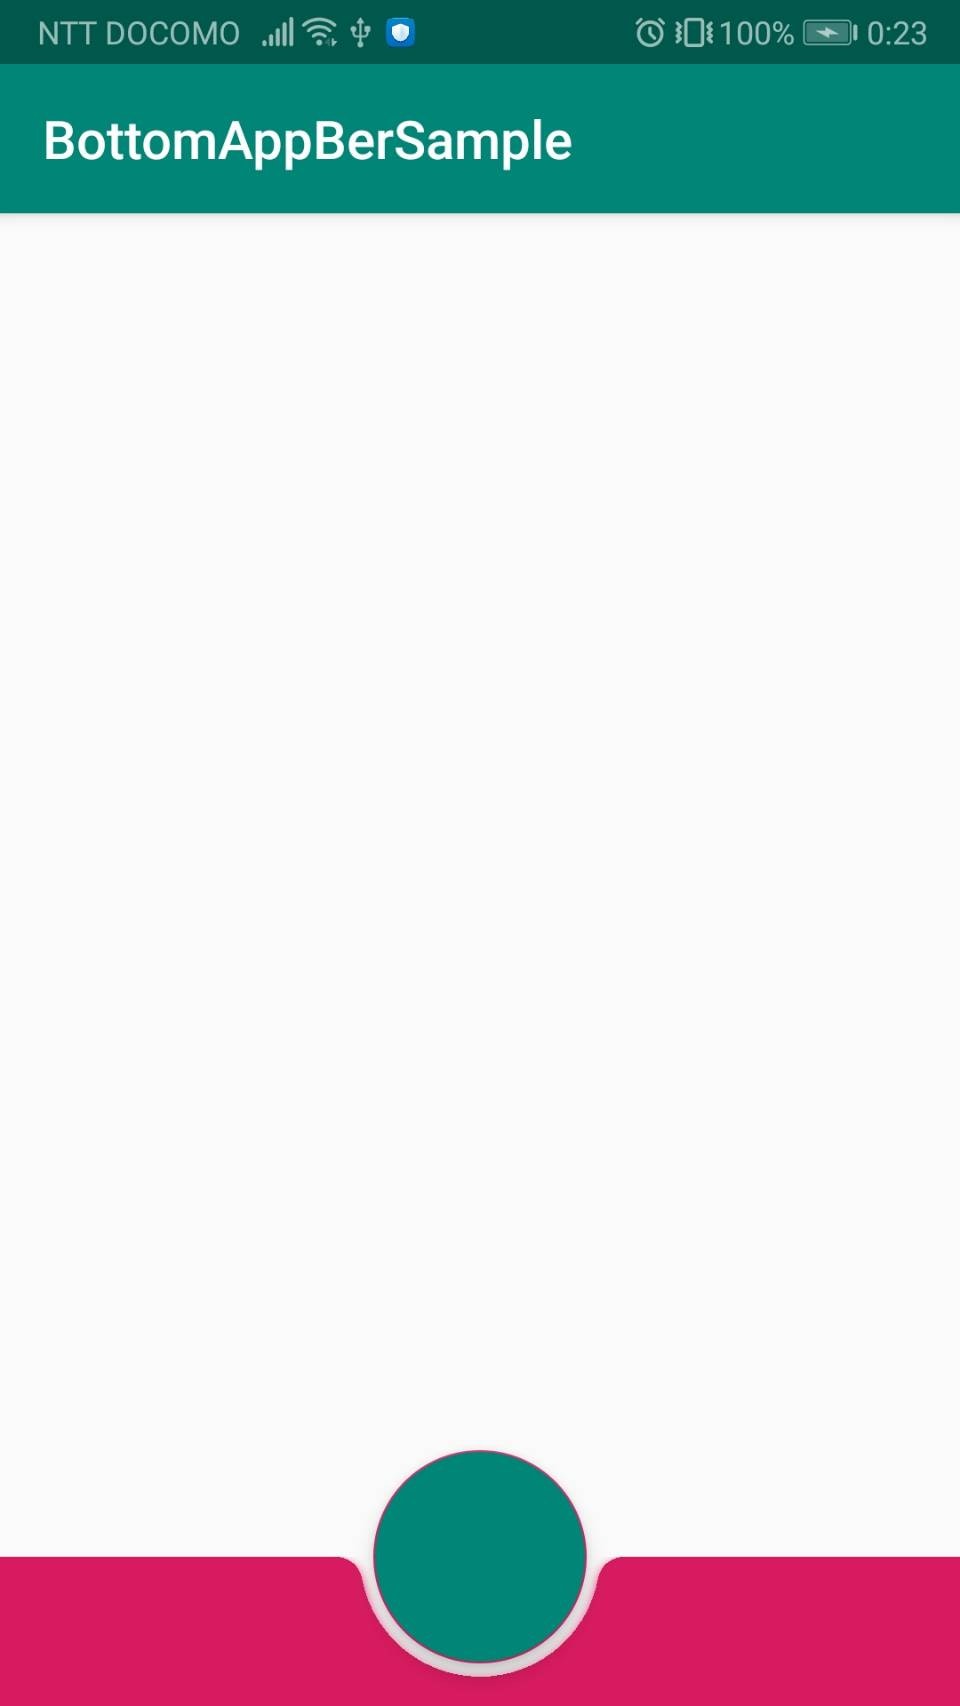
今回はBottomAppBarを見た目に入れながらBottomNavigationによるFragmentの切り替えを実装します
BottomAppBarだけを使ってみたとか、BottomAppBarにボタンを配置してみたなどの記事はあったがBottomNavigationを追加してFragmentoの切り替えも加えてる記事がなかったのでこれを書くことにしまいした。
BottomAppBarの詳細についても軽く紹介しながら行っていきます
最後にサンプルのgithubを載っけるのでそのまま使えます
Gradle設定
はじめにGradlにMaterialとNavigationを追加します。
記事によってはAPIのバージョンを指定しているとこがあったが特に気にしなくてもできた。
dependencies {
    //Material
    implementation 'com.google.android.material:material:1.0.0-alpha1'

    //Navigation
    implementation 'androidx.navigation:navigation-fragment:2.0.0'
    implementation 'androidx.navigation:navigation-ui:2.0.0'
}
BottomAppBar作成
BottomAppBarはCoordinatorLayoutの子でなければなりません。
<?xml version="1.0" encoding="utf-8"?>
<androidx.coordinatorlayout.widget.CoordinatorLayout
    xmlns:android="http://schemas.android.com/apk/res/android"
    xmlns:app="http://schemas.android.com/apk/res-auto"
    xmlns:tools="http://schemas.android.com/tools"
    android:layout_width="match_parent"
    android:layout_height="match_parent"
    tools:context=".MainActivity">

    <com.google.android.material.bottomappbar.BottomAppBar
        android:id="@+id/bottomAppBar"
        android:layout_width="match_parent"
        android:layout_height="?attr/actionBarSize"
        android:layout_gravity="bottom"
        app:backgroundTint="@color/colorAccent"
        app:fabAlignmentMode = "center"
        app:fabCradleRoundedCornerRadius="10dp"
        app:fabCradleMargin="5dp"
        app:titleTextColor="@android:color/black">


    </com.google.android.material.bottomappbar.BottomAppBar>

    <com.google.android.material.floatingactionbutton.FloatingActionButton
        android:id="@+id/fab"
        android:layout_width="80dp"
        android:layout_height="match_parent"
        android:backgroundTint="@color/colorPrimary"
        app:layout_anchor="@id/bottomAppBar" />

</androidx.coordinatorlayout.widget.CoordinatorLayout>
属性
BottomAppBarのUIをいじることができます。
BottomAppBarの場所を変えられる
app:fabAlignmentMode = "center" app:fabAlignmentMode = "end"
BottomAppBarの隙間を変える
app:fabCradleMargin="数字dp"
BottomAppBarの角を丸くする
app:fabCradleRoundedCornerRadius="数字dp"
BottomAppBarのボタンの高さを調整する
app:fabCradleVerticalOffset = "数字dp"
下の参考にリンクを載せたので色々好きな形を試してみてください!
BottomNavigation作成
Fail→Naw→Activity→BottomNavigation
を選択して作成してください。
実際に生成されるActivityは今回は必要ないですが、Menuなどの項目を自動で作ってくれるので便利です。
AndroidManifestの設定
今回使用するのはMainActivityなのでFailを作った際にAndroidManifestのActivityにBottomNavigationも追加されてしまうので消します。
消さないと落ちます。
Menuの設定
デフォルトだと3つになっているますが今回は左右の2つでいいので1つ消します。
<?xml version="1.0" encoding="utf-8"?>
<menu xmlns:android="http://schemas.android.com/apk/res/android">

    <item
        android:id="@+id/navigation_home"
        android:icon="@drawable/ic_home_black_24dp"
        android:title="item1" />

    <item
        android:id="@+id/navigation_notifications"
        android:icon="@drawable/ic_notifications_black_24dp"
        android:title="item2" />

</menu>
XMLの設定
activity_mainに起動時に最初に開くFragmentを設定します。
<?xml version="1.0" encoding="utf-8"?>
<androidx.coordinatorlayout.widget.CoordinatorLayout
//省略
>

    <fragment
        android:id="@+id/nav_host_fragment"
        android:name="androidx.navigation.fragment.NavHostFragment"
        android:layout_width="match_parent"
        android:layout_height="match_parent"
        app:defaultNavHost="true"
        app:layout_constraintBottom_toTopOf="@id/nav_view"
        app:layout_constraintLeft_toLeftOf="parent"
        app:layout_constraintRight_toRightOf="parent"
        app:layout_constraintTop_toTopOf="parent"
        app:navGraph="@navigation/mobile_navigation" />

    <com.google.android.material.bottomappbar.BottomAppBar
    //省略
    >
    </com.google.android.material.bottomappbar.BottomAppBar>

    <com.google.android.material.floatingactionbutton.FloatingActionButton
    //省略
    />

</androidx.coordinatorlayout.widget.CoordinatorLayout>
Activityの設定
最初に開くFragmentの設定などを行います。
ここに書いたコードは主にBottomNavigationを作った際にできるActivityを元に作りました。
class MainActivity : AppCompatActivity() {

    override fun onCreate(savedInstanceState: Bundle?) {
        super.onCreate(savedInstanceState)
        setContentView(R.layout.activity_main)
        val navView: BottomNavigationView = findViewById(R.id.bottomNavigationView)
        val navController = findNavController(R.id.nav_host_fragment)

        val appBarConfiguration = AppBarConfiguration(
            setOf(
                R.id.navigation_home, R.id.navigation_notifications
            )
        )
        setupActionBarWithNavController(navController, appBarConfiguration)
        navView.setupWithNavController(navController)
    }
}
完成です!
今回のgithubです
https://github.com/175atsu/BotannAppBarSample
参考
属性のところを詳しく書いてあります。

